By Design Bundles
How to use Backgrounds in Affinity Designer
In Affinity Designer you can quickly add a background to your design. Backgrounds add texture, color and character to designs and images. You can use them for wedding invites, sublimation designs, replacing photo backgrounds and so much more. In this tutorial we will give you a quick guide on how to use backgrounds in Affinity Designer.

For this tutorial we will be using a summer SVG bundle and this beach sublimation design. Before we begin, make sure that you have unzipped the files to your PC.
Step 1 - Open the SVG File
You can use a SVG or PNG design but preferably one that has a transparent background. This is so you don’t have to worry about cutting out the design from its background.
We do have a great tutorial on removing and changing a background in Affinity Designer if needed.
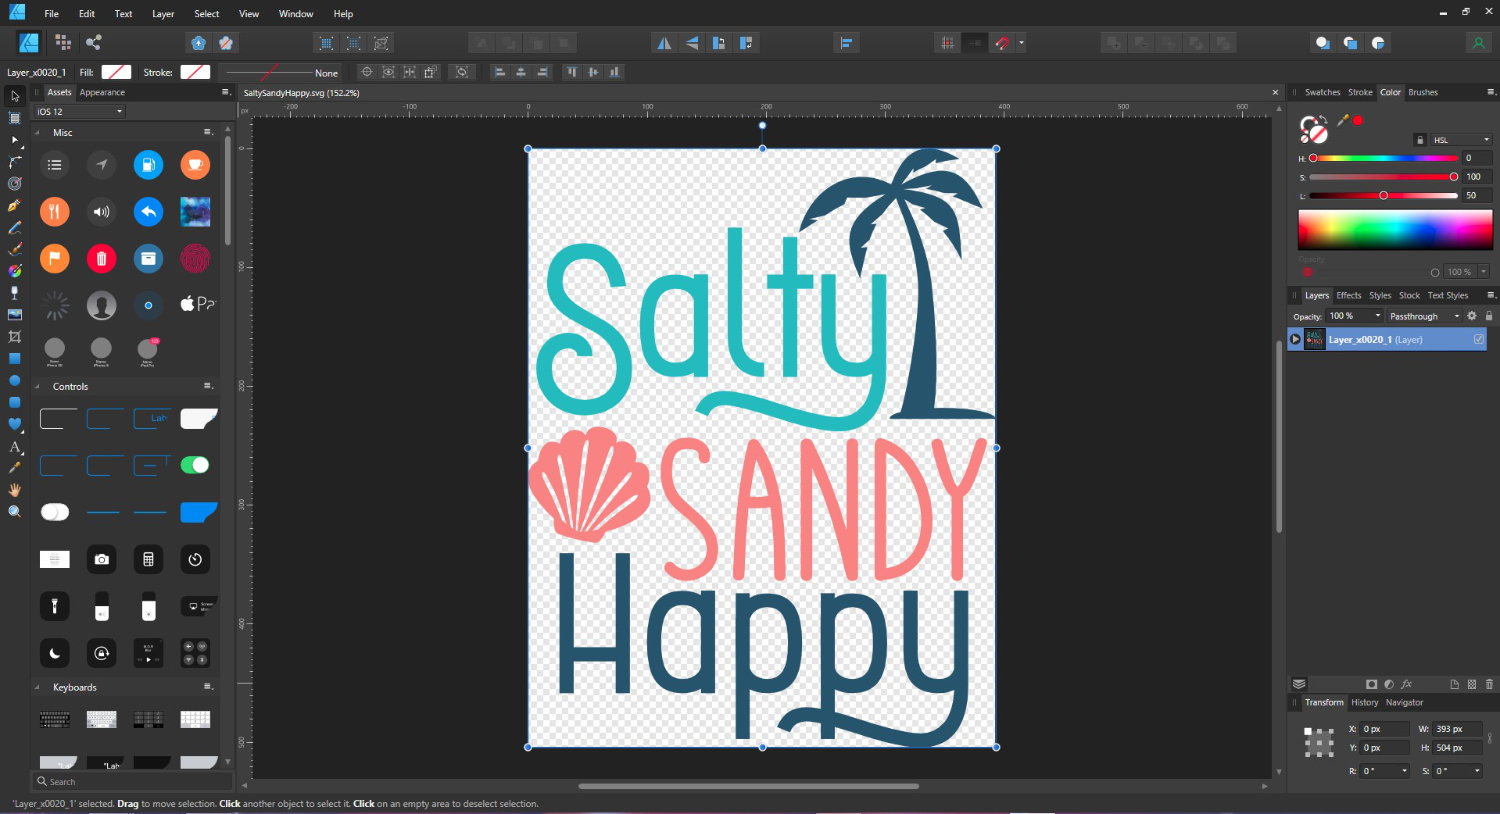
Next, we want to resize the canvas so everything can fit together. We also resized our design to fit on the page by clicking on the Move Tool top left. Then clicking + dragging the corner node to resize.

Step 2 - Import the Background
You can add a background either by using the drag and drop method or copy and paste. If using copy and paste, open the background in Affinity Designer. Then, go to Edit > Copy. Go back to the SVG file and select Edit > Paste.

You will notice that the background we chose has a transparency. This is not always the case with backgrounds but does allow for use in various applications. It will not make a difference when saving as a JPEG.
You may need to resize the background to fit as needed.

As we want the background to be behind the SVG, we need to change the order of the layer. Go to the top toolbar and click on Move to Back.

The result should look similar to the image below.

Step 3 - Edit Design Further if Needed
You can edit the design further if needed. The word “Salty” is a bit too light against the background. We clicked on the layer, then went to the Color Panel at the top and adjusted the color.

Our design is now ready for use in other projects but we need to save it first. Go to File > Export and select the file format of your choice. We chose the JPEG format then clicked Export.

Here is how our final image looks.

Affinity Designer makes it so easy to add a background to your project. Adding a background is done non-destructively so you are able to edit or replace it at any point. We hope that you enjoyed following this tutorial and learned something new to boost your crafting.