By Design Bundles
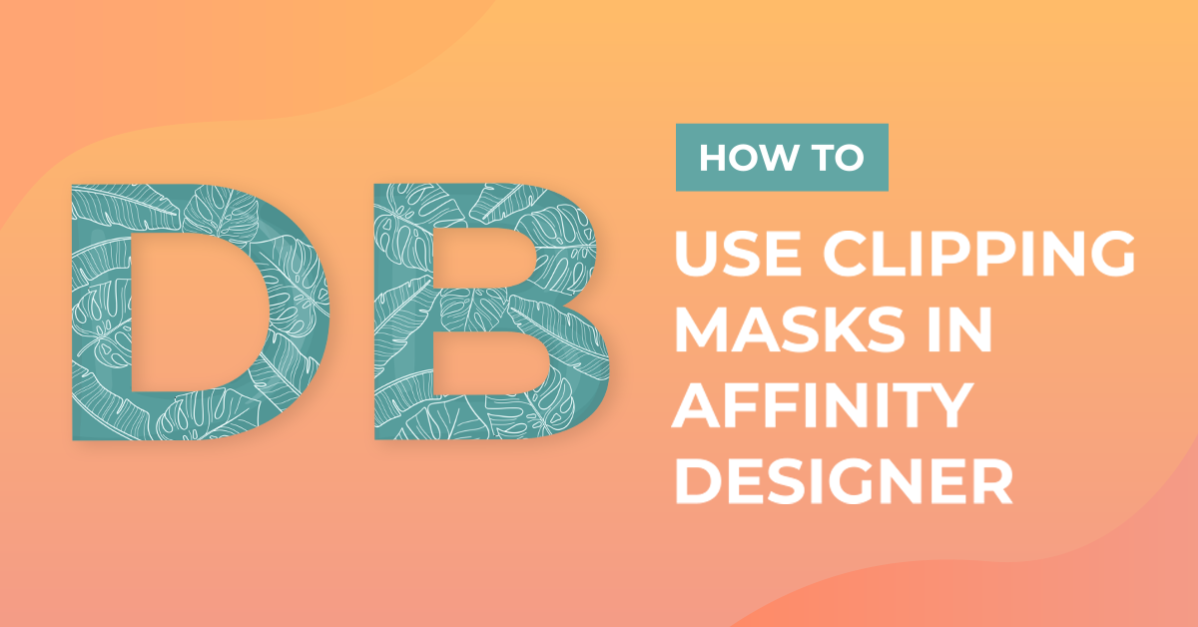
How to Use Clipping Masks in Affinity Designer
Affinity Designer contains various options for layering images or vector shapes quickly and efficiently. Clipping Masks are a non-destructive way of layering while still being able to edit each layer independently. To create a clipping mask, click and drag one layer onto another layer.
The process of creating a clipping mask produces a Parent (main layer) and Child (clipping mask) relationship. The Parent layer can contain many child layers including Adjustment layers.
In this tutorial you will learn how to create clipping masks with fonts and images.
Using Clipping Masks with Fonts
Bold fonts work very well with Clipping masks as there is more visual space for adding images/objects. Once you have clipped an image/object to the Font layer it becomes a Child layer. This Child layer can still be edited by resizing, panning/repositioning, adding adjustment layers and more.
Step 1 - Create a New Document in Affinity Designer
Click on Affinity Designer to open it. A welcome page will load automatically, select New Document. Choose your page setup and click Create. A new blank page will open.

Step 2 - Type out your text and choose a font
Select the Artistic Text Tool that looks like a capital A on the left side panel. If you see a box frame with the letter T, click on the little white arrow next to it to open the menu. Then select the Artistic Text Tool. Click and drag the Text Tool out anywhere on the workspace/canvas area. Now type out your text.
A new pixel layer with the text is automatically created.

At the top left of the page is the Font Family selection. With the text still selected, choose a font. The font we've used is the Unlucky font.

Step 3 - Copy and paste a background design
We will be using a textured watercolor background in this step. Start by clicking on File, select Open and locate where your file is stored. Once opened, click Edit at the top of the screen and select Copy. Go back to the document containing your text, right click anywhere and select Paste. The background will be placed above the text.
Alternatively press Ctrl + V to paste.

Step 4 - Create a clipping mask
Creating a clipping mask of the design onto the font is easy but where you place the design layer is important. We need to click and drag the Background layer onto the Text layer. But when doing so we need to drag the mouse over the name of the layer and not the thumbnail.

The watercolor background has been placed beneath the Text layer as a Child or attached layer. Click on the white arrow next to the Text layer to open and view the Background layer. The layer can still be edited.
Step 5 - Resize and reposition Background layer
To edit the Background layer, click the layer to select it. With the layer selected click on the text and move your mouse around. You are able to pan/shift and resize the Background layer in the text.

Step 6 - Add an Adjustment to the Background layer
Adjustments such as Levels, Curves and more can be added to the Background layer. On the bottom right of the screen below the Layers panel, click on the Adjustments menu, which looks like a half colored in circle. Select an Adjustment. We chose the HSL Adjustment and changed the color using the Hue Shift Option.

Using Clipping Masks with Images
Objects can be clipped to images where they are restricted to the boundaries of the shape. This is the same as restricting the background image to the boundaries of the text. In the steps below we will use a sweet garden gnome by Whimsical Inklings.
Step 1 - Open your image in Affinity Designer
Click File and select Open, then locate where your image is stored, click to open. The image is locked by default, which means you can't reposition or resize on the canvas. To unlock the layer, under the Layers Panel on the right hand side click on the little lock icon. Now you can move the image around and resize.

Step 2 - Draw out a shape
On the left side panel select the Ellipse tool then click and drag your mouse out over the gnome. The Ellipse will be created on its own pixel layer so you are able to resize as you wish. This layer is placed above the gnome image.
Add a color by clicking on the Fill color top right of the screen and choose a color from the palette. A light purple was used.

Step 3 - Create a clipping mask with the Ellipse
Click on the gnome image layer to select and then click and drag it up to the Ellipse layer. Remember to drag your mouse over the Ellipse word description and not the thumbnail.

When you have released your mouse button, the gnome image will be clipped to the Ellipse layer and appear as a Child layer beneath it.

You can adda gradient (insert tutorial on gradients) to the Ellipse for a more colorful background. A gradient with green and pink color stops was added.
Step 4 - Add an Adjustment layer (optional)
Adjustment layers can be added to the Parent (main) layer as well as the Child (clipped) layer. This allows the designer to adjust each layer independently without affecting any of the other layers. In this case, a Curves Adjustment layer was added to the Gnome layer where the highlights and shadows were adjusted. The gradient Ellipse was not affected by this adjustment.

Note: if you drag the image layer over to the thumbnail of Ellipse instead of the text description you will create a Masking Layer. This will mask the Ellipse to the shape of the layer beneath it.
Example:

Result:

Now that you know the basics of using Clipping Masks you can have some fun by combining images.
The vibrant background was added as a clipping mask to the text layer Fontbundles.net. The watercolor butterflies and fall gnome layers were clipped to the Rectangle layer.

Check out the rest of our Affinity Designer Tutorials such as how to type on a path, or how to type within shapes.