By Design Bundles
Text in Shapes in Affinity Designer
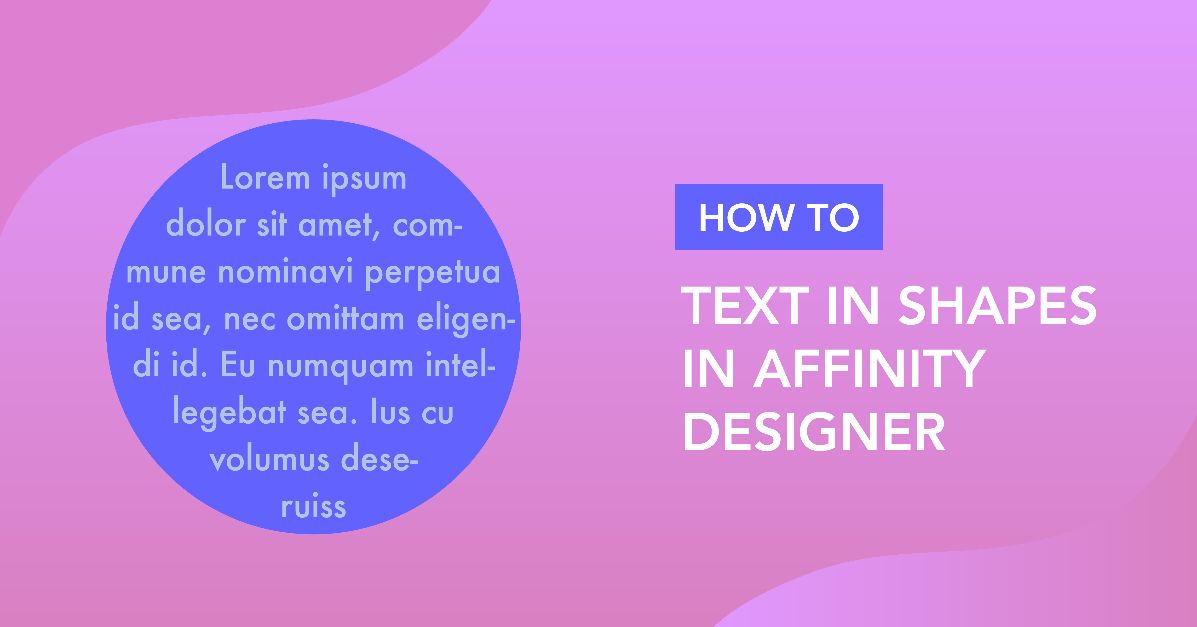
In the following tutorial, we will be working with Affinity Designer and placing text in shapes. All it takes is a single click using the Frame Text tool. Your text remains confined to the shape, making it extremely useful for items like invitations, notices, product information, and more.

For this tutorial, we will be using the wonderful Firecrackers script font. If you want to use another font, go ahead and check out our wide selection of handwriting fonts. We will also use a graphic border design as the background.
Step 1 - Create the Shape
First, we need to create the shape we want to place our text into. So let’s select a shape tool from the left toolbar to draw the shape. We decided to use the Rounded Rectangle (M) for our demonstration.
If you prefer, you can create your shape manually using the Pen tool.

Step 2 - Convert Shape into a Text Frame
To add the text, we first need to convert the shape into a text frame. There are two ways to achieve this, and we will explore both below.
Use the Frame Text Tool
You can head to the Artistic Text tool on the toolbar and click on the little grey triangle. This will bring up a drop-down box where you can select the Frame Text tool.

With your shape selected, position the text frame cursor over it until a small pentagon appears.

Then, click on your shape to turn it into a framed text box.

Use Convert to Text Frame
The second way is to select your shape, then go to Layers > Convert to Text Frame. This will turn your shape into a text box.

Step 3 - Add Text to the Frame
You can now add your text to the shape. The text will only stay inside the borders of that shape.

Now that you have added text inside the shape, we have a guide on the basics of using text in Affinity Designer if you would like to edit the look of your text.

Well, now we have learned a really quick process in Affinity Designer of placing text in shapes.
You are not restricted to just using set shapes. Instead of adding text inside a shape, you can put text on a path. You have the flexibility to create any shape you want to apply your text to.