By Design Bundles
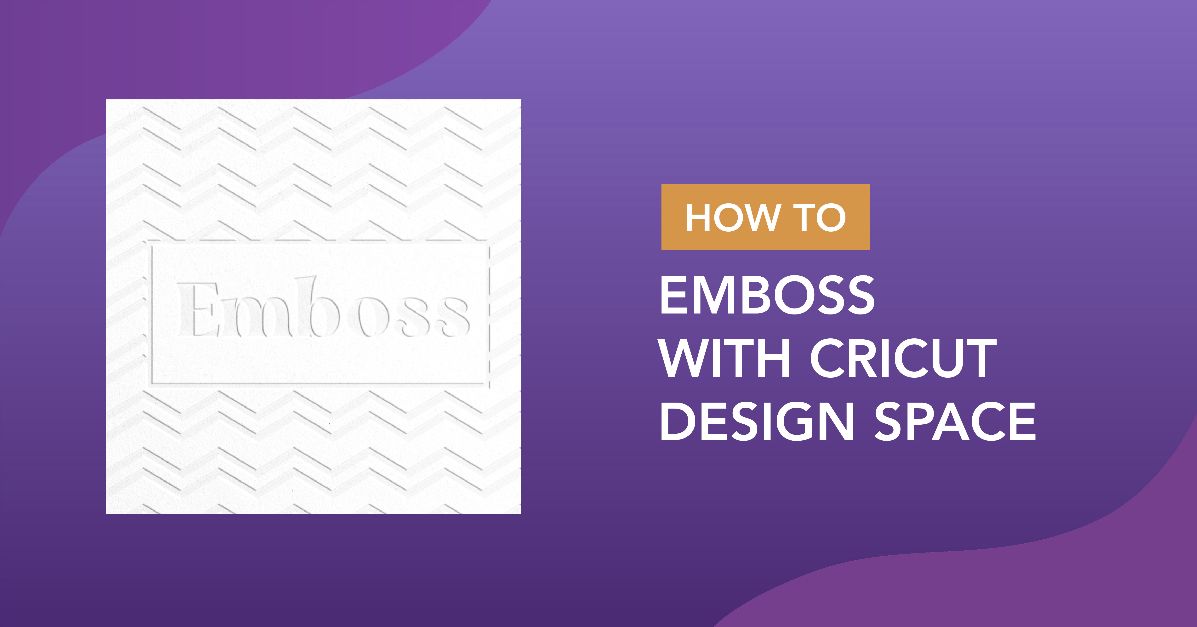
How to Emboss with Cricut Design Space
*Part 2 of 2. To design your embossing stencil you will require 3rd party software like SCAL4.
You can find part 1 here
1- Log into Cricut Design Space, and open a new project.

2-Click on the shape tool .

3- Select the square shape tool.

4- Click on your square. We now need to resize the square to the largest possible print and cut area.

5- Resize to 6.75 x 9.25 inches. Then select the fill colour as white.
Click on upload image to get your embossing design you created in SCAL4.

6- Click on upload image.

7- Find the file you created in SCAL4 and open.

8- Click save.

9- Your design will now appear in the upload image section. Click on it and insert the image.

10- Your design will appear on your design space.

11- Place inside your white rectangle. Select both the embossing design and the rectangle. Select the align icon and align horizontal.

12- Select the 2 pink layers and then select the score option.

13- Select the green layer and select the print(and cut) option.

14- Select the white rectangle that borders the embossed design and select draw.

15- Select the large white rectangle and change the setting to draw. Next turn off the 2 pink score layers. you can do this by clicking on the little eye icon in each layer. A line will go through the eye when it is turned off. This will create the first part of your file which with cut the stencil half of your embossing.

16- Select all of the layers and right click and duplicate. Next with everything still selected click on attach.

17- You now have a second copy of the stencil file.

18- Select the duplicate file.

19- Re-select the 2 score layers so they are turned back on. Next go to the cut layer (green) and turn that layer off. Turn the smaller white rectangle draw line off also. Now you only have the score lines on . With the duplicate all selected, click on attach.

20- Leave the large white rectangle on as a print and cut. We will not actually be cutting or printing the file again, but this will trick the machine to find our original stencil and therefore automatically set up the embossing.

21- Click on make it. Your designs should Stay in 2 parts. The first is print cut and draw. The second is print score and cut.
Click on continue.

22- Follow the prompts load the drawing tool and the cut tool. Continue.

23- After drawing and cutting, take out the unwanted parts of the stencil and place back on your mat.

24- Place a piece of card over the stencil you have made. Adhere with washi tape. Place in your cricut machine and follow the print instructions. Replace the sketch pen with the scoring tool and remove the cutting tool as we do not need to recut.

25- Your finished design will look like below. Stenciled.

As quick as that you have learned how to emboss with Cricut Design Space.