By Nadine Spires
How to Layer Graffiti Fonts in Cricut Design Space
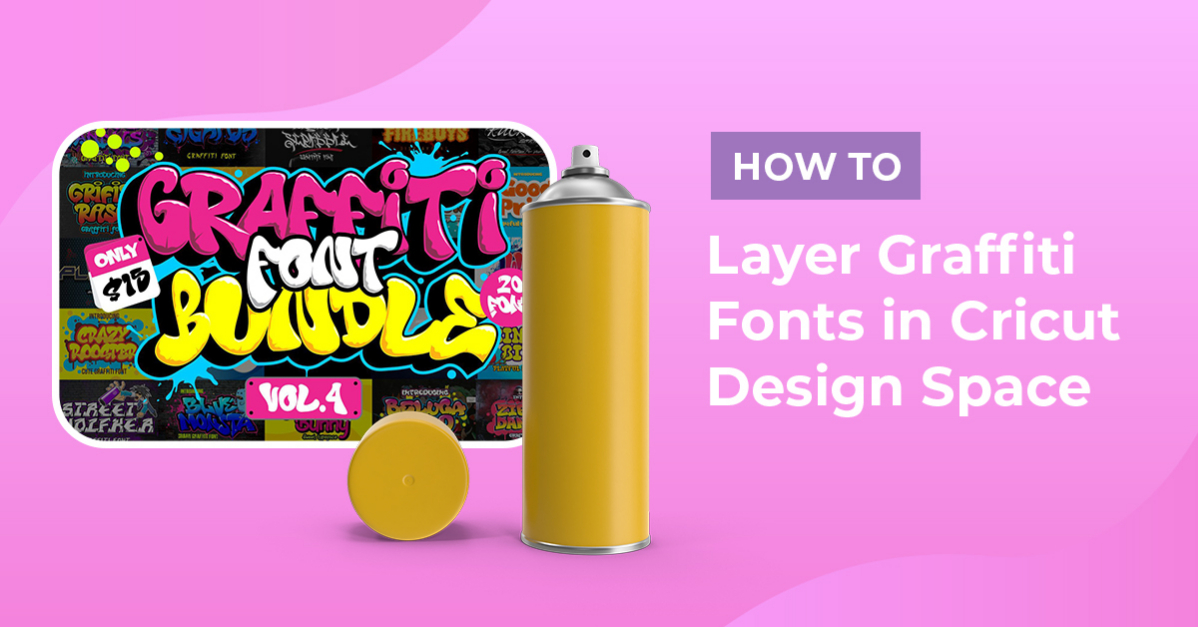
Graffiti fonts turn bland, boring text in artistic expressions and epic designs. They can have a spray painted look, a vintage appeal, be heavy metal or look like dripping paint. One way to make use of these decorative fonts is on a shirt or hoodie with Heat Transfer Vinyl.
Adding an offset creates impact but some HTV can’t be layered one on top of the other. In this tutorial you will learn how to create a text cutout using an offset to make layering much easier.
We are going to use a graffiti font called Vandal Prime from the Plus Hub section. Not a Plus Member yet? Sign up for a FREE 30 Day Trial of the Gold Plus Membership today! You can also give our free font collection a try if you are looking for something specific.
Make sure to download and unzip your purchased fonts before proceeding with the first step.
Step 1 - Create your Graffiti Text in Cricut Design Space
Once you have opened Cricut Design Space, click on the New Project button top right. This will open a new canvas. On the left side click on the Text icon then begin typing in your text.

Next, we want to edit the text and change the font. When searching for the font name, click on the System icon to search on your PC or Mac. After changing the font you can resize your text as needed.

To make the text easier to see, we are going to change the color. At the top menu bar click on the small box (color picker) next to Operation. Then, click on your color to change it. We went with a nice dark purple.

Step 2 - Create an Offset Around the Graffiti Font
Now we can create a text offset in Cricut Design Space for that extra punch. You can decide how thick or thin you want the offset to be. We went with 0.8cm then clicked on Apply.
A black offset will be added around the text but you can change the color. Make sure the offset is selected, then change the color with the color picker box.

Step 3 - Use the Slice Option to Create a Text Cut Out
This is where the fun begins. The Slice Tool is located at the bottom right corner of the screen. Select the text and offset by clicking and dragging a selection box around both items.

Next, click on the Slice Tool in the lower right corner. It may take a few seconds depending on the size of your design.

At first it will look as though nothing has changed. But when you view the right side panel you will see an additional layer has been added. You can separate the elements like we did in the image below.

We don’t need the cut out piece from the offset. So you can go ahead and delete this. You will then be left with your original text and the hollow offset. You can align these if you want by clicking on the Align tool on the top toolbar.
Select Center Horizontally then Center Vertically. This is not necessary as long as both elements are not resized separately. Cricut Design Space will cut these pieces on their own mats.

All that’s left to do is click on Make It in the top right corner. Don’t forget to mirror your design if cutting HTV by clicking the icon below each mat on the left. This is because you will cut with the carrier side down and heat set with the carrier side up. Select the material you want then follow the prompts to cut.

If you need a visual guide for heat pressing, check out Crystal’s video below on how to layer HTV designs.
There you go, you have now created a layered Graffiti text design in Cricut Design Space. Why not create products for your craft stall? Every single font includes a dual license for commercial and personal use. With Font Bundles, your font needs are all sorted.