By Jordyn
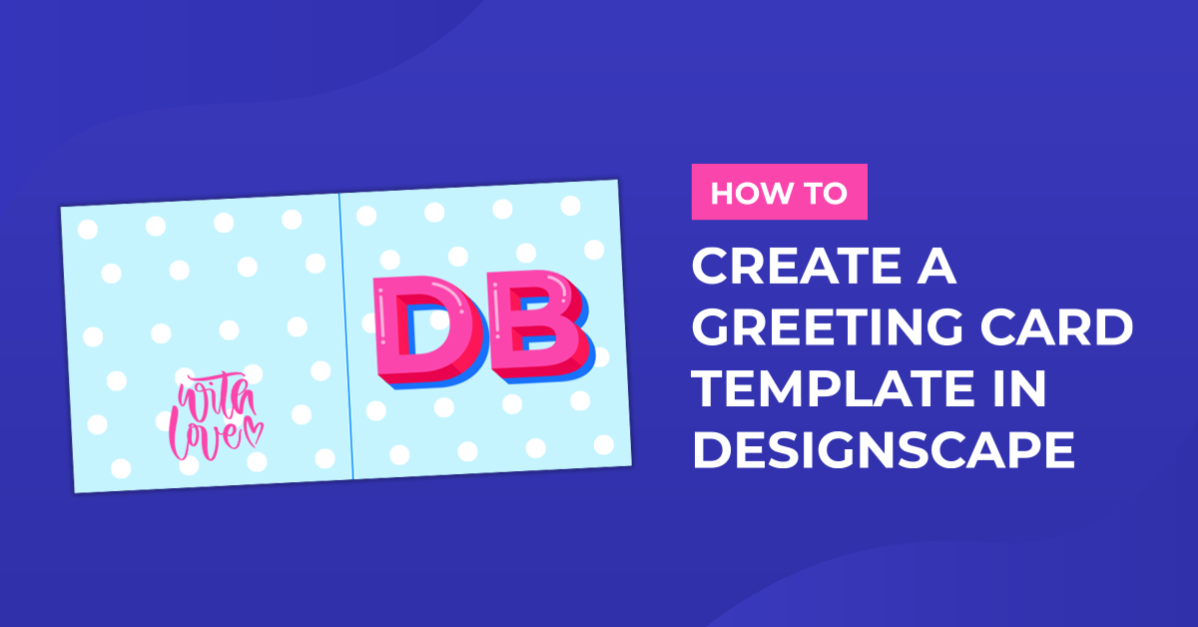
How to Create a Greeting Card Template in DesignScape
In this tutorial we'll be showing you how to create your own Greeting Card Template, right here in DesignScape! DesignScape is an online editing software from Design Bundles, and it's included with your Gold Plus Membership. Not a member yet? Then sign up for a free 30 Day Trial of the Gold Plus Membership today!
There are a few ways you might want to create a greeting card template, and that would depend on how you plan to print the cards. For my printer I'm able to print 8.5 x 11" sheets as well as a custom size like 8.5 x 5.5". I like to stick to the smaller size since I prefer to cut before printing, and that folds to the standard A2 size.

Step 1: Create a New Document
I've created a document that is 8.5 x 5.5 inches, and has a 300 DPI.

Step 2: Turn on Rulers
To make things a bit easier, turn on the rulers by going to View > Rulers. Or by pressing Cmd/Ctrl + R.

You can change the rulers from Pixels to your preferred measurement by right clicking on the rulers. I've selected Inches as my choice.

Drag Guideline to Center
Next you'll want to drag a ruler guideline to the center of the card. You can do this by clicking your mouse on the left ruler and dragging over to the right. I've stopped mine right at 4.25 inches as that will be the center of this template.

Step 3: Create a Rectangle
You'll want to use the rectangle shape tool to make a template that is one half of your paper. Use your mouse to drag and drop the rectangle into place. It should snap into place, but if it isn't make sure you've turned that feature on by going to View > Snap To > Guides & Grids.

Duplicate the Rectangle
Next you'll want to duplicate your rectangle for the back part of your card. Right click on the shape layer and select Duplicate layer. Then drag the rectangle to the left while holding down Shift.

Step 4: Add Your Information to the Back of Card
The back of your cards is most likely the one thing that will stay consistent each time. Add your logo, your website, or social media if you'd like. You can center your text by selecting all of it (Cmd/Ctrl + A) then clicking on the Center button in the top menu panel (shown in video below).
Make sure to check out our guides on importing fonts to DesignScape and changing the leading of your fonts, if you're new to using fonts in DesignScape.

Center Your Text to the Rectangle
Now you'll want to make sure you are centering your design to the rectangle. This will ensure that when you fold your card, both the front and back are centered properly.
Select the layers and the rectangle by holding down Cmd/Ctrl and clicking on each layer. Then by pressing V on your keyboard click the Center Horizontally button in the top menu panel.

Step 5: Save Your Design
Save your design as a PSD file so you can come back to it at any time. This way you'll be able to drop your artwork in to the right side, saving you time from creating the template over and over!

You can save as a JPG if you're happy with your design by going to File > Export As > JPG.

And there you have it! An easy to use Greeting Card template, that you can come back to at anytime by opening the PSD file. The adorable flamingo illustration used in this tutorial is from the Plus hub.
What other things would you like to learn in DesignScape? Drop a comment below!