By Kia Lor
How to Use DesignScape to Make Sublimation Designs
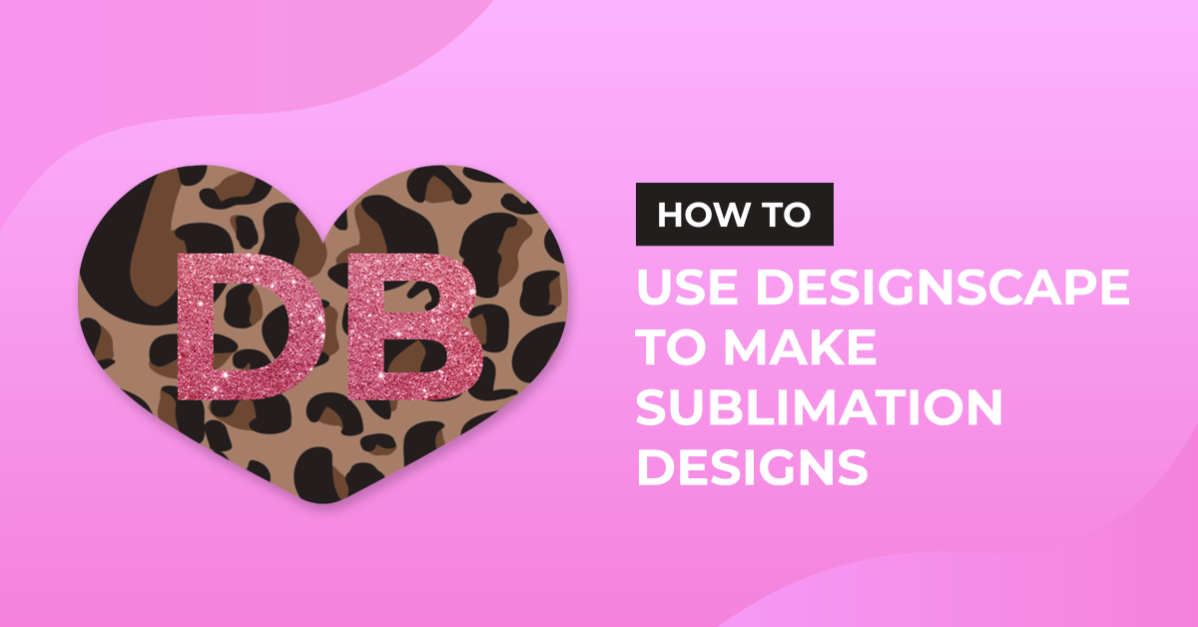
Creating sublimation designs has never been easier using DesignScape! We will go over the steps for creating a simple sublimation design that anyone can make. Sublimation designs can be used on items like mugs, pillowcases, mousepads, bags, and so much more!!

DesignScape is available at the Gold Plus Membership level at no extra cost. Not a Gold Plus Member yet? Sign up for a free 30 day trial of the Gold Plus Membership today! DesignScape is fantastic to use in place of Illustrator/Photoshop. There's no need to download any software onto your computer as DesignScape is all online, and you can still use your own fonts.
We also have an awesome video that shows you how to create a sublimation file in DesignScape if you'd like to check that out!
First, open the background image. For sublimation designs, you want to use images that have a transparent background. We will be using a rose gold cheetah print background.
Step 1 - Add a White Background
In DesignScape, you can tell that an image has a transparent background if you see a white and grey checkerboard behind it.

Let's add a white background to make it easier to see while designing.
Add a New Layer
Click the New Layer button near the bottom right corner.

Keep in mind that this new layer is named Layer 1.
Select Paint Bucket Tool
Select the Paint Bucket Tool (G) from the left toolbar. It's located in the same spot as the Gradient Tool. If you don't see the Paint Bucket Tool, click and hold the Gradient Tool until the menu pops open. Then select the Paint Bucket Tool.

Select White
Click on the Fill icon in the left toolbar. In the Color Picker dialog, move the circle color picker to the top-left corner to choose the color white and click OK.

Click on the Canvas
Make sure Layer 1 is selected. Then click on the canvas to fill the whole layer with white.

Move Layer 1 (White Layer) Below the Background Image Layer
In the Layers panel, click and drag Layer 1 below the background image layer.

Step 2 - Add Text and Move It to the Center
Select the Text Tool (T) and choose your font. Then click on the canvas and start typing. We're using the font Freshly Baked from Font Bundles.
We have guides on how to import a font and how to use alternate glyphs if needed.

Adjust the font size in the top toolbar. Then select the Move Tool (V) and move the text to the center.

Step 3 - Duplicate Text Layer and Make Top Text Layer White
Select and drag the text layer to the New Layer button at the bottom right to duplicate the layer.

With the top text layer selected, click the Text Tool (T). Then click the Color Picker icon in the top toolbar. Next, move the circle color picker to white and click OK.

Step 4 - Shift Top Text Layer Over a Little
Select the Move Tool (V) and shift the top text layer over a little bit so you can see the drop shadow below. You can hold Shift while clicking the arrow keys to move the layer over in larger increments versus clicking only the arrow keys.

Step 5 - Group Text Layers
Hold Shift and select both text layers. Then click on the New Folder button in the bottom right to group the layers. You can also go to Layer > Group Layers or click Ctrl/Cmd + G.

Step 6 - Align Text to the Center of the Background
Select the text group/folder and the background image layer, then click the Move Tool (V). In the top toolbar, click the horizontal center align button and the vertical center align button.

Step 7 - Hide or Delete the White Background
We want the background to be transparent, so we need to hide or delete the white background.
To hide the white background, you can click the eye icon to the left of Layer 1's thumbnail.

To delete the layer, select Layer 1 and press Delete.

Step 8 - Export the Sublimation Design
Now we need to export the sublimation design as a PNG to maintain the transparent background. Go to File > Export as > PNG.

Change settings if needed and click Save. Your sublimation design will now download onto your computer.

Now you know how to make a sublimation design in DesignScape!! With the steps that you've learned, you'll be creating amazing sublimation designs in no time!! Just remember that sublimation designs need transparent backgrounds.