By Christine Hattingh
How to Draw a House
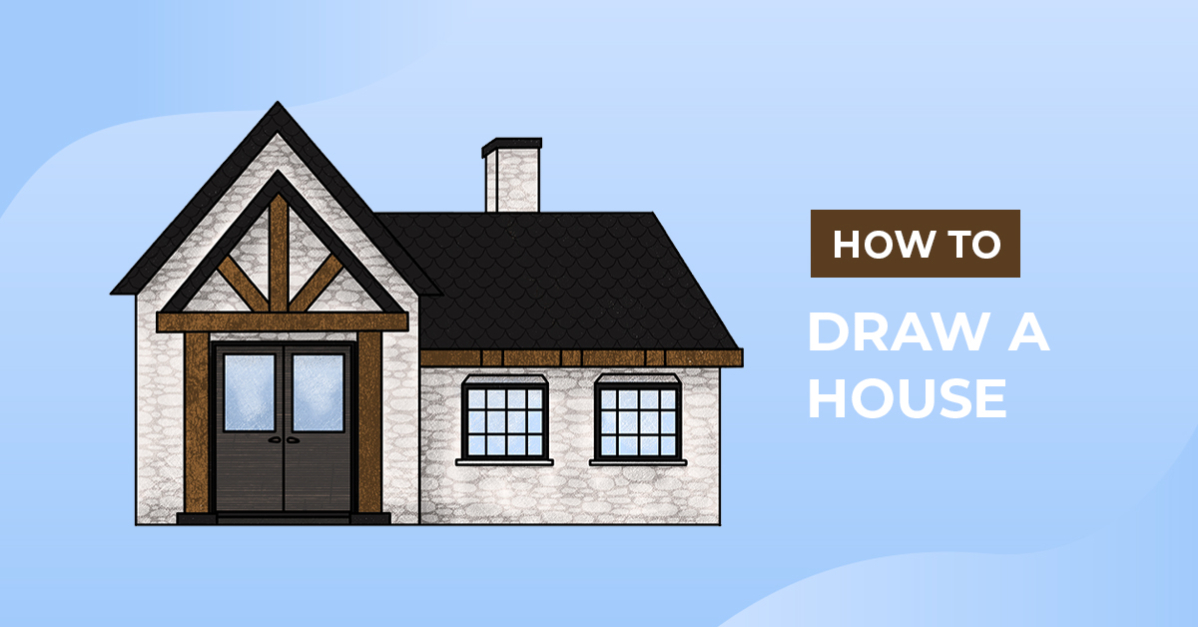
Learn how to create a custom home with our easy-to-follow guide on how to draw a house. Illustrating a house can be a great way to express your creativity and bring your dream home to life. Follow this tutorial to add your illustration to unique and personalized crafts easily. Create wall prints, sublimated pillows, coloring pages, and more.

Before you start with the steps, get your supplies ready. In this drawing exercise, you will need a sketching, lining, and coloring medium. You will also need equipment to help draw straight lines, like a ruler or grid paper, or use QuickShape in Procreate.
Do you want to create home decor clipart to accompany your house drawing? Check out this bed drawing, or make festive artwork with our how to draw a Christmas tree tutorial.
Step 1 - Sketch the Base of the House
With a sketching medium, such as a pencil or light-colored medium, begin creating the base sketch of your house. You can look at reference photos or use your imagination to make your house sketch.
Create Walls
In your drawing area, sketch rectangles or squares to create the walls. Combine shapes and sizes to create the main structure of your house and include any additional structures like a garage.

Shape the Roof
On top of your wall, start sketching the shape of your roof. In our example image below, we added a high triangular roof on one and a standard one on the right.

Step 2 - Add the House Features
With your base shape drawn, it's time to add features to your home, such as windows, doors, and pillars. For this step, keep using your sketching medium to make corrections quickly.
Main Features
Start by adding your front door, with a frame going around it. Then, draw your windows in any shape on open walls and doors. Remember to add a frame around your windows.
A chimney is a classic house feature, so let's add one by drawing a rectangle on your roof. Add dimension to your chimney by adding a narrow angled shape on one of the sides. See our example below.

Final touches
Create the finishing touches of your home drawing. Create pillars next to your front door, add dividers to your windows, and add beams and seams where needed.

Step 3 - Permanently Line your Sketch
Create a clean and polished house outline with a lining medium like a marker. Trace over your sketch lines carefully, including the base shape and features using a steady hand or your ruler. Make sure to skip any rough sketches you do not want to include.
If you are using Procreate, check out our collection of outline brushes to make quick double outlines for your line art. Once you have traced your pencil lines, use an eraser to remove the remaining sketches.

Step 4 - Color your House Illustration
In our fourth and final step, switch to your coloring mediums and add your chosen color palette. Color your entire drawing with your favorite tools and color combinations.

Once you have your base colors down, add patterns, textures, and shading. For our house clipart, we used these versatile Procreate brushes. We added a design to the roof and walls and created depth with shading.

Great work following along and reaching the end of our house drawing guide. We hope this tutorial was helpful and that you had fun creating your artwork. Why not illustrate multiple homes with different colors and shapes? Imagine how many hand-drawn elements you can add to your digital library.