By Christine Hattingh
How to Draw an Airplane
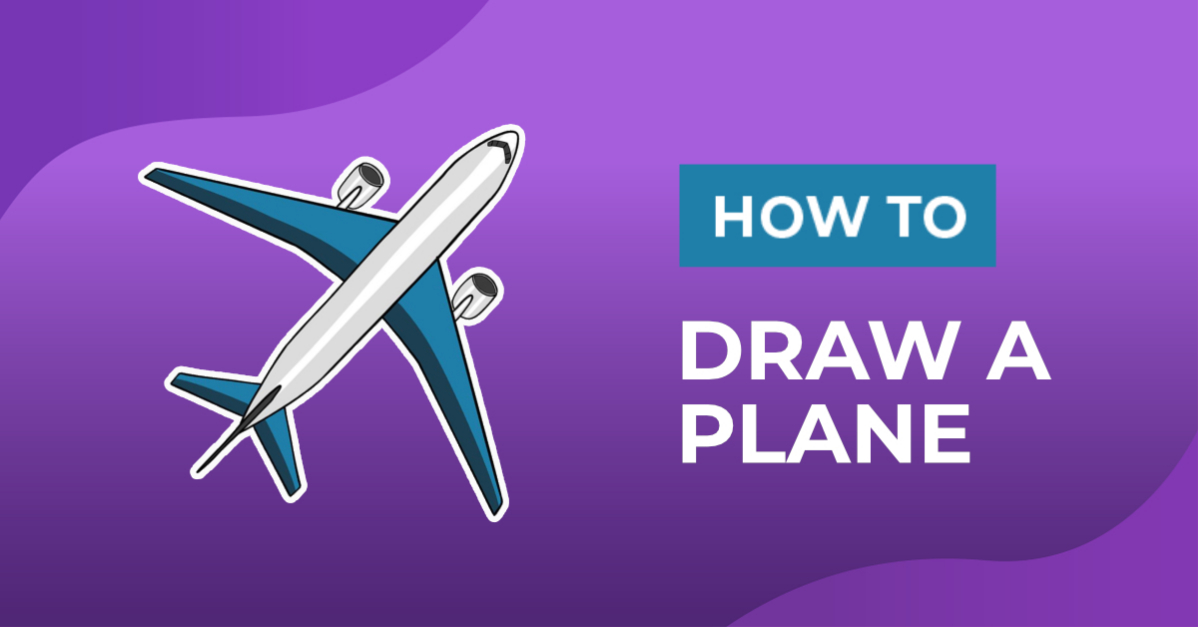
In today’s easy beginner drawing tutorial you will learn how to draw an airplane. To keep it simple, you will create a top view of an airplane, making it perfect for travel projects. Turn your airplane illustration into icons, and planner stickers, or create a printable flight plan for your next family holiday.

For your travel drawing, you can use any art supplies you have on hand. Our drawing tutorials can be used with traditional mediums like crayons and paint or digital apps on your tablet and computer.
For our airplane clipart drawing guide, we are using Procreate. You can use your favorite brushes or get free Procreate brushes on Design Bundles to use in this drawing exercise.
Step 1 - Create the Shape of your Airplane
Start your airplane drawing lesson by using any type of sketching medium. If you do not have a removable tool like a pencil, you can always use a light color and cover it up when outlining or adding color.
For this step, we are going to create the main shape of our airplane, which consists of the center and wings.
Create the Center
To create the center of your airplane, roughly sketch a long vertical rectangle. Then, give it shape on the top and bottom. Do this by drawing a rounded point triangle at top and a pointier triangle at the bottom. See our example sketch below.

Add the Wings
On the left and right sides of the center, add the wings as we did below. Sketch two big wings angled down from the center of your center shape. Then, add the two smaller back wings at the bottom of your center shape.

Step 2 - Add Details to your Airplane
Let’s continue with our sketching medium and add a couple of details to finish off our airplane sketch. Looking at our image below as a reference, starting at the top, add an upside-down “V” shape with lines through it to create the front windows.
Then, close to the center on both front wings, draw a narrow rounded shape. This is where you will draw the engines. Add a long skinny teardrop shape to the bottom center shape to make the top back wing.

Lastly, roughly sketch the engines on your airplane, around the rounded shapes on the front wings. Simply draw a squared shape with a rounded top and bottom, similar to a barrel. Then on the top, draw a ring shape for the opening.

Step 3 - Permanently Outline your Rough Sketch
Swap to a more defined medium and trace over your airplane sketches. You can use a black color medium, marker, or writing pen to make your outlines. Outline all sketches to make one shape, excluding the two lines inside your airplane center.
As there are only the two center sketches left, you can remove them. You can also cover them up using an opaque color in the next step.

Step 4 - Add Color to your Airplane
Using any colors you have on hand, add color to your airplane outline. For our color palette, we used a light gray, dark gray, and white to add color to the center shape and engines. With two shades of blue, we added color to the front and back wings.
Use a ready-made palette or get inspiration on color combinations by having a look at our designer-made Procreate color palettes.

In four easy steps, you have learned how to sketch, outline, and color your airplane. Combine your drawing with other travel clipart to create digital, printable, and sublimation art.
Great work and thank you for following along and drawing an airplane with us. Have some extra time to make another quick illustration? Visit our design school for more easy beginner drawing tutorials like this one.