By Design Bundles
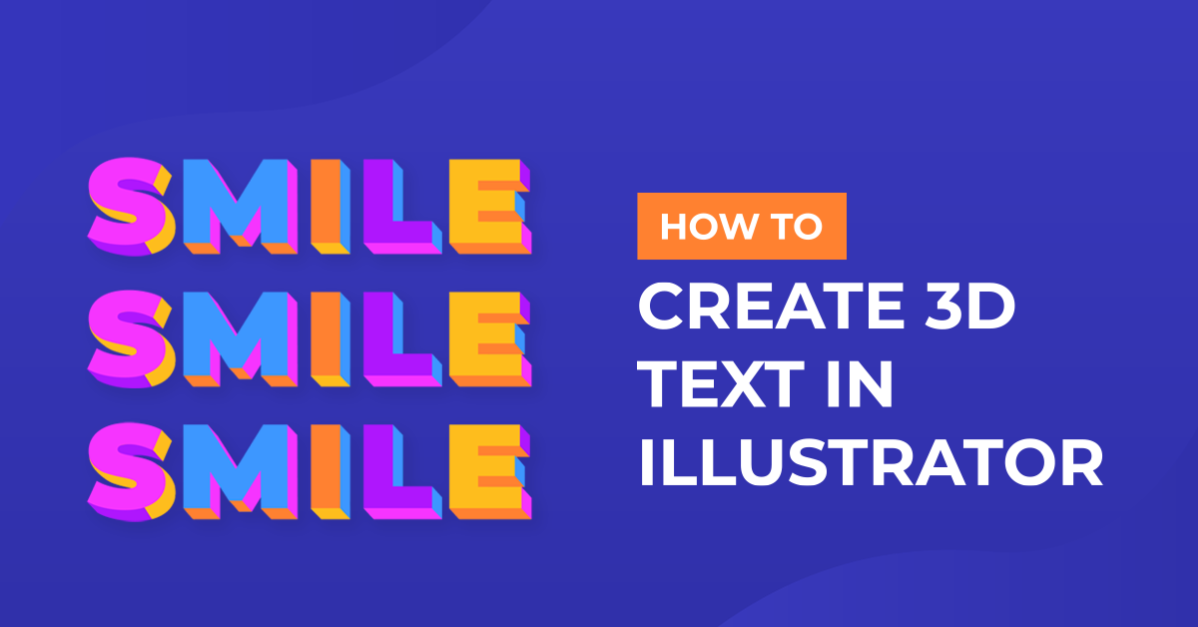
3D Text Without 3D Tools in Illustrator
For this tutorial, we will use “Myriad Pro Semibold” Font.
1 - In Illustrator, create a “New Document”.

2 - Select the “Type Tool” (T), choose your font and type your text. In the “Character Panel” set the “Tracking” to 100.


3 - Right-click on your text and choose “Create Outlines”, then, right-click again and choose “Ungroup”.


4 - Select all your letters, go to the “Appearance Panel”, click on the top-right menu and choose “Add New Fill”. Change the “Fill” color.


5 - With your “New Fill” selected click on the “Effects Menu” at the bottom, go to Distort & Transform > Transform and use 4.5 mm for “Horizontal Move” and 4 mm for “Vertical Move”. Click “OK”.


6 - Go to Object > Expand Appearance and then right-click on top of your text and choose “Ungroup” again.


7 - Select the “Pen Tool” (P), choose a different “Fill” color and draw some shapes filling the space between the two instances of your letters. If you don’t have the “Smart Guides” (Command/Control + U) on, go to View > Smart Guides and turn them on to make it easier to find the “Anchor Points”. Hold the “Shift” key while making your shapes to get “Straight Angles”. Repeat for all the parts of your letters that have “Straight Lines”. You can use several colors to differentiate the sides of the letters you are creating.


8 - In certain letters you will need a different approach. For the “p” select your two letters (different colors), “Copy” (Command/Control + C) and “Paste in Front” (Command/Control + F). Then, in the “Pathfinder Panel” choose “Subtract” (Minus Front), right-click on your resulting path and choose “Ungroup”.


9 - Zoom in, select the two bottom paths and choose “Divide” from the “Pathfinder Panel”. You may need to select the bottom square, right-click on it and go to Arrange > Bring to front. Use the “Direct Selection Tool” (A) to pick some points from the top of the letter and pull them up to “fix” the side. For the center portion use the “Delete Anchor Point Tool” (-) to get rid of some unwanted ones and then move them with the “Direct Selection Tool” (A). On the right and outside, fix the ends of the curves to make them more realistic.


10 - You may need to enter “Outline Mode” (Command/Control + Y) to find all the “Anchor Points”. (To get out, use “Command/Control + Y” again).

11 - For the “e” do something similar to what you did with the “p”. You can delete the complete colored letter that remains in the back if you don’t need it anymore.


12 - Make sure all the shapes facing the same side have the same “Fill” color. Change the “Fill” color the Front-facing Group with a medium shade of your choice (we used one from the “Swatches Panel”). Then, “Fill” the bottoms and sides of the flat letters with two different shades.


13 - Finally, “Fill” the curved portions with a “Radial Gradient” that uses the two colors used for bottoms and sides. Use the “Gradient Tool” to change the “Position” and “Angle” to achieve the correct shading.


14 - Your text should look similar to this.

by @lornacane