By Design Bundles
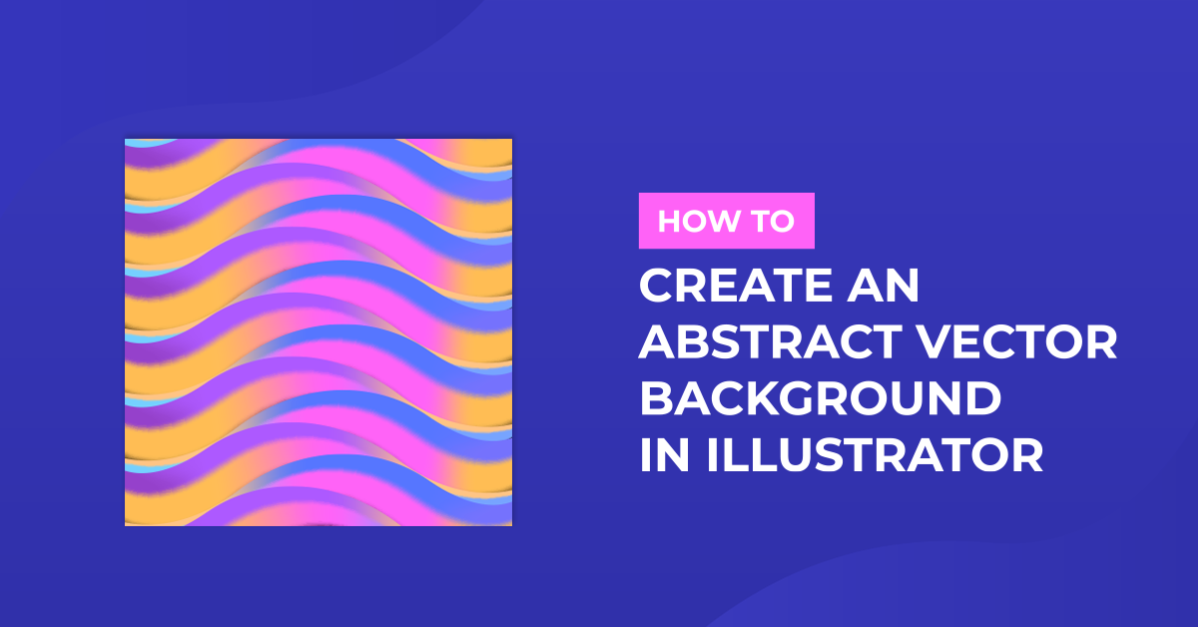
Abstract Vector Background in Illustrator
1 - In Illustrator, create a “New Document”.

2 - Select the “Rectangle Tool” (M), draw a rectangle covering your whole document and fill it with Black.


3 - Lock your “Background” Layer by clicking on the left side of its thumbnail to bring out the small “Padlock” icon. Create a “New Layer” by clicking on the small button at the bottom of the “Layers Panel”.


4 - Select the “Pen Tool” (P) and draw a shape inside the “Canvas”. Fill it with White.


5 - With the shape still selected, go to Object > Create Gradient Mesh… Use 3 “Rows”, 3 “Columns”, “Appearance: Flat” and “Highlight” 100%.


6 - Using the “Direct Selection Tool” (A), click on the 4 Central “Anchor Points” (using the “Shift” key to select all). Change their “Fill” color to Black.


7 - Select the ones in the “Left” side and fill them with a bright color (we used Yellow). Do the same with the ones on the Top and Bottom Center using different colors and finally with the “Right” side.


8 - You can change the shape of the “Mesh” by selecting the “Anchor Points” and moving them or adjusting the “Handles”.

9 - Once you are happy, duplicate the “Shape” by dragging it while holding the “Shift” and “Alt/Option” keys. Rotate it to start creating a “Pattern” and change the “Blending Mode” to “Exclusion” in the “Transparency Panel”. Repeat as many times as needed to cover the entire “Canvas” and experiment with different “Blending Modes” and Shape rotations.


10 - Select the “Ellipse Tool” (L) and draw a circle inside the Canvas. Choose a bright color (we used Green) and use it to fill the circle with a “Radial Gradient” from 100% to 0%. Change the “Blending Mode” to “Screen” in the “Transparency Panel”. Create other circles and fill them with different color gradients.


11 - Using the “Rectangle Tool” (M), draw another rectangle on top of everything. Use “None” as “Fill” and “Stroke” color, select everything (Command/Control + A) and go to Object > Clipping Mask > Make (Command/Control + 7).


12 - Check out your “Background”.

by @lornacane