By Design Bundles
Custom Skin Tone Color Palettes in Illustrator
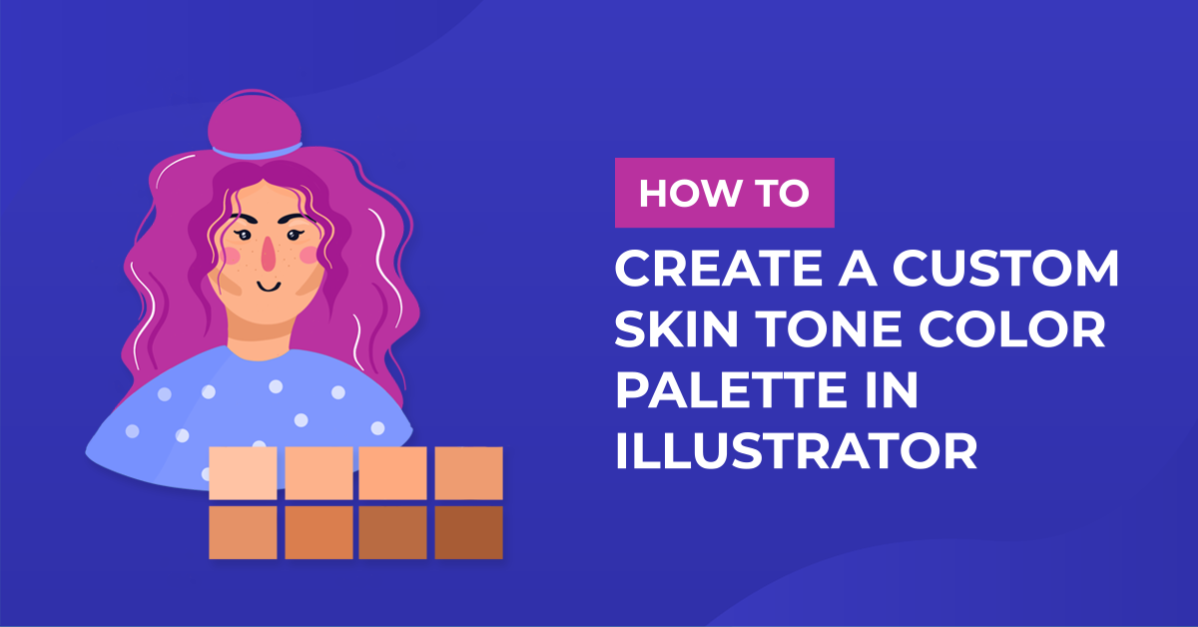
Have you ever needed a skin tone color palette and not have one? Well, we’re going to show you how you can create your own custom skin tone color palettes in Illustrator. It’s actually very simple to do, and you can create as many different ones as you want.
For this tutorial, you will need a reference image for the desired skin tones. You can find many different photos of people on Design Bundles to choose from. You can use several reference images, but we’ll be using just one with three people in it to create three different custom skin tone color palettes.
Step 1 - Import Your Reference Image
Go to File > Place (Ctrl/Cmd + P).

Locate and select your reference image. Then click Place.
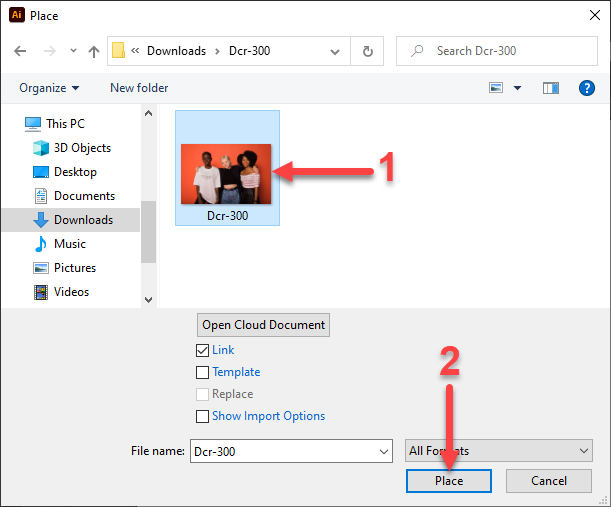
Click + drag on the artboard in Illustrator to place the reference image.
Note: you can also click on the artboard to place the image at its actual size. Then use the Selection Tool (V) to resize and move the image.

Step 2 - Create a Square Using the Rectangle Tool
Select the Rectangle Tool (M) from the left toolbar.

Click on the artboard, and in the Rectangle dialog, enter 30 px for the Width and Height. Then click OK.
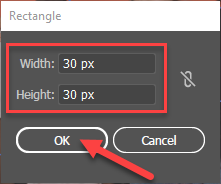
You can leave the Fill and Stroke colors as they are.

Step 3 - Duplicate the Square Using the Move Function
With the square still selected, go to Object > Transform > Move (Shift + Ctrl/Cmd + M).

Input 30 px for Horizontal and 0 px for Vertical in the Move dialog and click Copy.
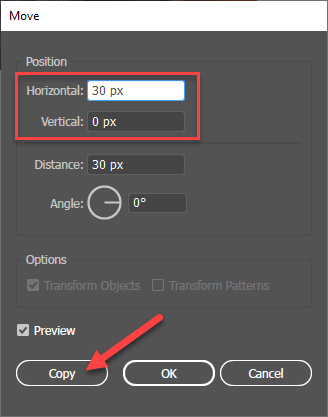
The duplicate square will be next to and touching the first square on the right, as shown in the following image.

Step 4 - Use Transform Again Function
Go to Object > Transform > Transform Again (Ctrl/Cmd + D).

Repeat Transform Again until you have a total of seven squares.

Step 5 - Create Another Color Palette
Select all the squares and quickly duplicate them by holding the Shift + Alt/Option keys while clicking + dragging them down. Repeat to make as many color palettes as you need.

Step 6 - Sample Colors Using the Eyedropper Tool
Select the first square and then the Eyedropper Tool (E).

Zoom in if needed and click on the reference image to sample it for a skin color shade. The selected square will fill with the sampled color.

Step 7 - Repeat Sampling for Rest of the Squares/Shades
When sampling for shades, start with the darker areas, then the medium-colored areas, and finally the lighter areas. Make sure you have an overall representation of the various shades present in the image.

Repeat the process for the other skin tone color palettes.

Step 8 - Save Color Palette as a Color Group
To save the color palettes and if you want to edit some of the shades, use Recolor Artwork. Select all the squares of one color palette and click the Recolor Artwork icon in the Control panel at the top.

If your Recolor Artwork popup looks like what’s shown in the following image, click on Advanced Options.

In the Recolor Artwork dialog, select the shade you want to edit and move the sliders until you achieve the desired changes. Repeat for any other shade you want to edit.
Once you are done, enter a name for the Color Group and click on the New Color Group icon on the top right that looks like a folder.

Your newly created Color Group will appear in the list.

Repeat this step with the other color palettes you’ve created.
Notice that you’ll also see your new color palettes/Color Groups in the Swatches panel.

Step 9 - Delete Unused Color Palettes
We want to export only our skin tone color palettes, so we’ll delete all the other color palettes before we export. Head to the Swatches panel. Click on the small menu icon in the top right and choose Select All Unused.

Then click on the small trash can icon at the bottom right of the Swatches panel to delete those color palettes.

When prompted, select Yes.
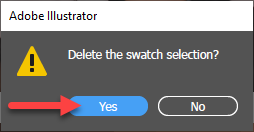
You will be left with only the skin tone color palettes.

Step 10 - Export Your Color Palettes
Back in the Swatches panel, click the small menu icon in the top right again and choose Save Swatch Library as ASE.

Select a location to save it, enter a file name, and click Save.
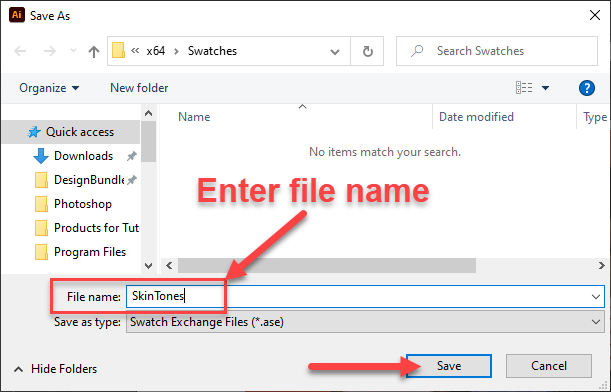
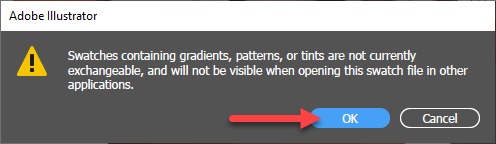
If you get a popup warning, click OK.
Step 11 - Access Your Color Palettes
If your color palettes are no longer in the Swatches panel and you want to access them, head to the Swatches panel and click on the Swatch Library Menu icon in the bottom left. Go to User Defined > Skin Tones or whatever you named your color palettes.

Your custom skin tone color palettes will open in a separate panel.

And that’s how you create, save, export, and access custom skin tone color palettes in Illustrator! If you didn’t already know, you can now use your exported skin tone color palettes in any Adobe application.