By Kia Lor
How to Create Kawaii Faces in Illustrator
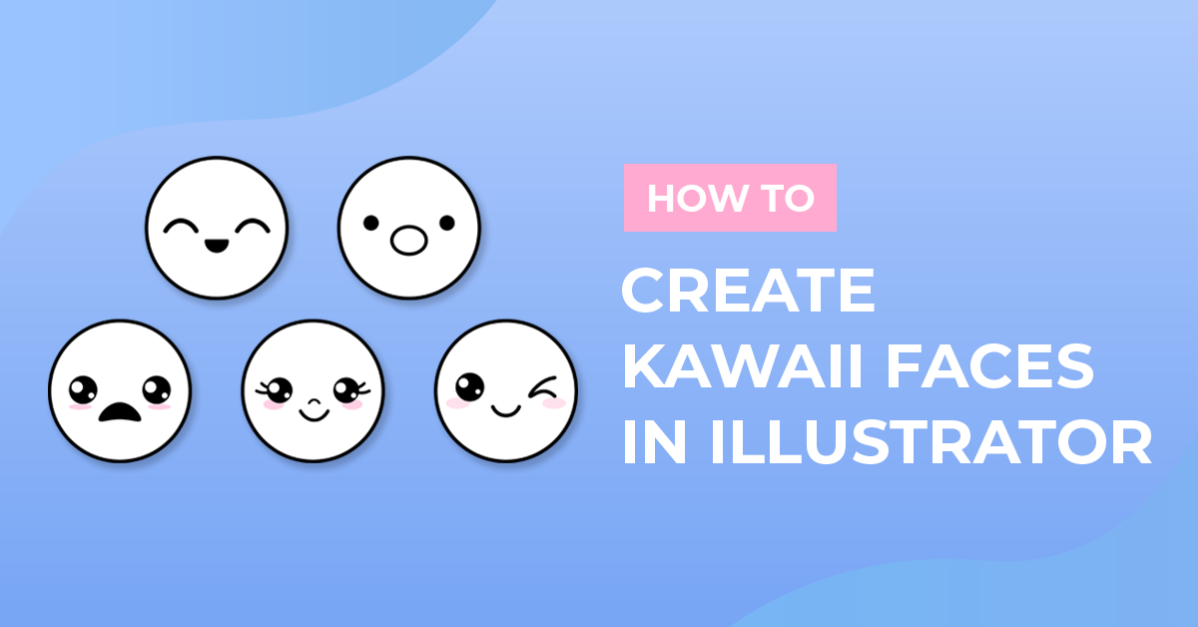
Anyone can create kawaii or cute faces in Illustrator even if you only know how to use Illustrator on a beginner level. We’ll show you how to create a few different eyes, mouths, and more so that you can create a variety of kawaii faces. If you're interested, continue reading!

If you’d rather purchase some kawaii faces instead, we have a collection of kawaii face PNGs available on Design Bundles.
Step 1 - Prepare New Document
Show Grid
Right-click on the canvas and select Show Grid.

Enable Smart Guides and Snap to Grid
Go to View > Smart Guides. Then enable Snap to Grid located in the same View menu.

Step 2 - Create the Eyes
Circle Eyes
Select the Ellipse Tool (L) from the left toolbar.

Click the Fill color icon on the left, and make sure it's in front of the Stroke color icon. Then open the Color panel (Window > Color) and click the black square. Now click the Stroke color icon and select the little None icon below.

Next, click + drag on the canvas while holding Shift to create a circle.

With the circle still selected, copy (Ctrl/Cmd + C) the circle and paste in place (Ctrl/Cmd + F). With the Selection Tool (V), click + drag one of the circles to the right. You can hold down Shift after you start moving the circle if you’re having difficulty keeping it in a straight line.

Winking Eye
The left eye will be a circle. Select the Curvature Tool (Shift + ~) and click on the canvas to place your first point. Then following the small grid squares, place the next point three squares to the left and one square down. Move three more squares to the left and three squares down to place the third point. Next, move to the right four squares and up one square for the fourth point. Finally, go two squares to the right and one square down for the last point.
You don't have to follow exactly how we're doing it, but your shape should look like a sideways curved V. See the following image for a better understanding.

We have a tutorial on how to curve a line in Illustrator if you'd like to learn more about that to help with making kawaii faces.
Modify Stroke Settings
With the winking eye selected, edit the Stroke settings in either the Control panel at the top or the Stroke panel (Window > Stroke) on the right. We set the following options:
- Weight: 4 pt
- Cap: Round Cap
- Corner: Round Join

We’ll use the same settings for the rest of the eyes and mouths that are made with a stroke.
Smiling Eyes
Select the Curvature Tool (Shift + ~). Click on the canvas for the first point. Go up two squares and to the right three squares and click again. Then go to the right three squares and down two squares for the last point. The shape is curved like a rainbow.

As we did with the circle eyes, duplicate the shape and move one over to the right.

Wincing Eyes
This time we’ll use the Pen Tool (P) and make the left wincing eye. Click on the canvas for the first point. Go down four squares and to the right five squares for the second point. Then go straight left six squares and click to add the last point.

With the wincing left eye selected, right-click and go to Transform > Reflect.

In the Reflect dialog, select Vertical and click the Copy button.

Then move the right eye over to the right using the Selection Tool (V), and hold down Shift if needed.

Unamused Eyes
These eyes are simple as they’re straight lines. You can create them using the Pen Tool (P) or the Line Segment Tool (\)

Here’s an image showing the different pairs of kawaii eyes we created.

Step 3 - Create the Mouth
You can create the kawaii mouths in the same document as the eyes, but we’ll be doing it in a separate document for the sake of keeping the tutorial images clean and easy to follow.
Smiling Mouth
Create the smiling mouth the same way we did the smiling eyes using the Curvature Tool (Shift + ~) but go down instead of up for the second point to curve the line in the other direction. The mouth should look like an upsidedown rainbow.

Big Smiling Mouth
For the big smiling mouth shape, create the first half like the smiling mouth above with the Curvature Tool (Shift + ~). Then select the Pen Tool (P) and click on the top-right anchor point to continue creating the mouth shape. Next, click the top-left anchor point to close the mouth shape. Make sure you’re actually clicking on the anchor points.
Notes: this shape only has a Stroke, but you can add a Fill as well.

Unamused Mouth
Just as the unamused eyes, the unamused mouth is simply a straight line.

Sad Mouth
You can create the sad mouth the same way as the smiling eye.
Surprised Mouth
With the Ellipse Tool (L), click + drag to create an oval for the surprised mouth. It can be a horizontal oval or a vertical oval. It can even be a circle if you want.

Distressed Mouth
To create the distressed mouth, make a relatively thin long horizontal oval. Our oval is six squares wide and two squares tall. Then click the Direct Selection Tool (A) from the left toolbar, select the two points in the center of the oval, and press the up arrow key once to move the points up one square.
Our distressed mouth only has a Fill, but it can also have only a Stroke or both.

Here’s an image showing the different kawaii mouths we created.

Step 4 - Put Eyes and Mouths Together
The kawaii face clearly isn’t complete until you put the pieces of the face together. You can mix and match the different eyes and mouths, resize them, and/or change their Fill and Stroke settings. See our examples of basic kawaii faces below for some inspiration.

Step 5 - Add Some Character to the Kawaii Faces
You can enhance the basic kawaii faces by adding highlights in the eyes, blush, a nose, and/or eyelashes.
Eye Highlights
If you’re using the circle eyes, you can add some small white circles as highlights to make them even cuter. You may need to enlarge the circle eyes and also disable Snap to Grid to move the white circles easier. The following image shows some examples of eye highlights.

Blush
To add some blush to the face, simply create light pink ovals. You can make them any size and place them wherever you want.
If you want the blush to be behind the eyes, select the blush shapes, then right-click > Arrange > Send to Back.

Here are some examples of kawaii faces with a variety of blush shapes.

Nose
You can add a small rainbow shape above the mouth, or a simple straight line makes for a cute nose as well.

Eyelashes
You can create each eyelash using the Curvature Tool (Shift + ~) and make however many you want. Then Reflect a copy of the eyelashes for the other eye. Remember to rearrange the eyelashes behind the eyes like we did the blush shapes if needed.

Step 6 - Edit Faces and Apply Outline Stroke Command
Once you’re happy with how your kawaii face looks, we will apply the Outline Stroke command to the lines/strokes in the face. This will convert the strokes into shapes and keep the face pieces in proportion to each other when scaling the overall face.
Select the lines in your kawaii face. Then go to Object > Path > Outline Stroke.

Look at the following image to see the difference between converting the strokes into objects and not converting them. We enlarged the face in both cases. You can see that the lines in the bottom face are still the same stroke weight as the original face size, so they’re pretty thin compared to the rest of the face.

And that’s how you create kawaii faces in Illustrator! You can save your document as an Illustrator file to reuse the eyes and mouths. Export your completed kawaii face as a transparent PNG to use on projects because adding a kawaii face on just about anything will make it cute!