By Lorna Cana
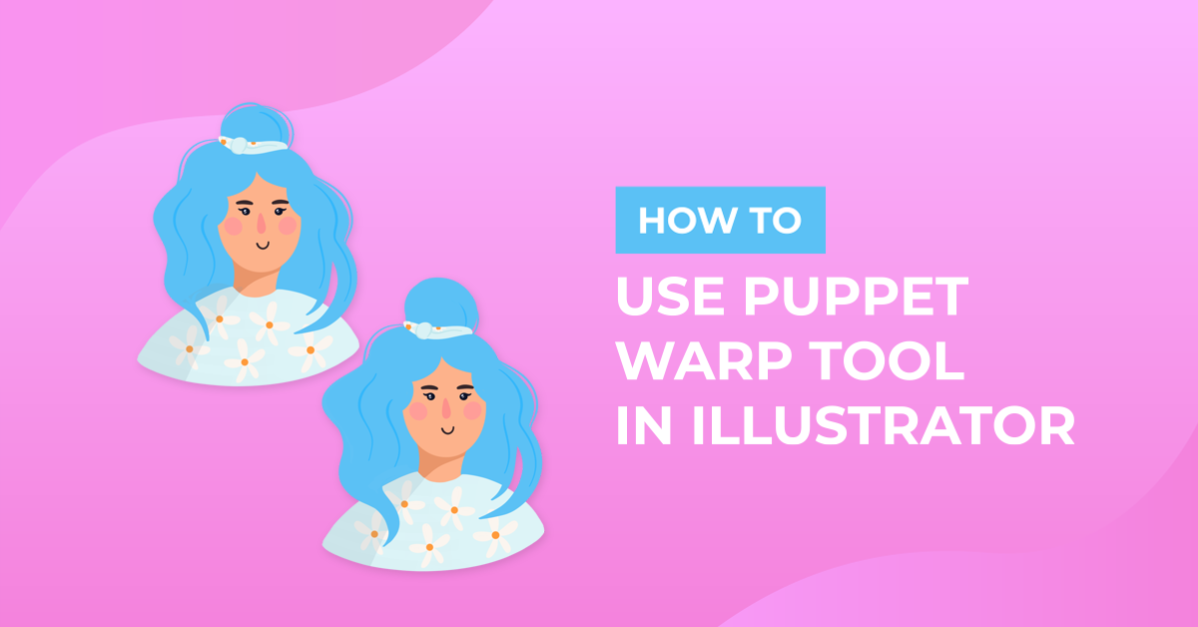
How to Use Puppet Warp Tool in Illustrator
The Puppet Warp tool allows you to distort portions of your artwork naturally and can help you create credible seamless artwork variations. This is really handy if you need to create some sort of animation or if you need to have different options for the same subject.
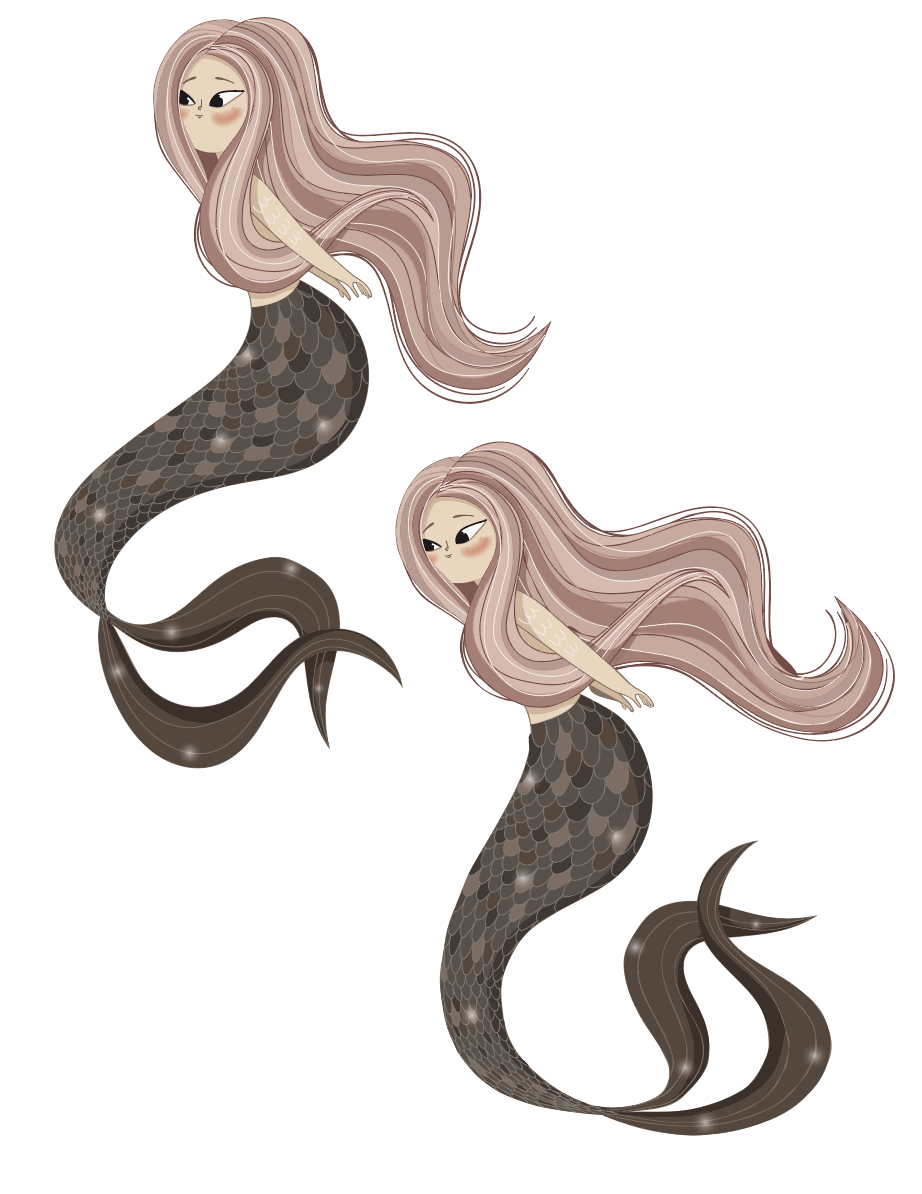
For this tutorial, we used a hand-drawn mermaid graphic. Or you can take a look at our other character illustrations to choose something else.
Step 1 - Select Your Subject and the Puppet Warp Tool
First, use the Selection tool (V) to select your subject.

Then, choose the Puppet Warp tool from the left toolbar.

By default, Illustrator will automatically add some pins in the areas it considers to be the most appropriate. If you wish to change this setting, head to Edit > Preferences > General and uncheck the Enable Content Aware Defaults box. This will let you add all the pins manually.

Step 2 - Add Pins to Your Selection
You can add more pins to the areas you want to anchor or transform by clicking on them. Usually, a minimum of three pins will allow you to achieve good results.
To get rid of a pin, just select it and hit Delete.

Step 3 - Modify Your Subject Using the Pins
Now you can use the pins to modify your subject to your liking. You can move the pinned areas around, rotate them to achieve different results, and make disjointed areas a part of your selection.
Select a Pin and Move It
To transform a section of your subject, click on a pin to select it. A dotted circle should appear around it.
Then, drag it around to reposition the selected section. The remaining ones will keep the rest of the subject in place.
Select More Than One Pin
Hold the Shift key to select multiple pins or choose Select All Pins from the Control panel on the top toolbar. You can also change this from the Properties panel (Window > Properties).

On the Control and Properties panels, you can also choose to show or hide the Mesh. Hiding it will leave just the pins visible.

Rotate a Pin to Twist the Selected Area
To twist your subject, select a pin and hover with your cursor around it until a curved arrow appears close to the dotted circle. Then you will be able to rotate the selection.
Use Expand Mesh to Modify Disjointed Objects
The Expand Mesh function will allow you to expand the mesh outside your subject and will let you bring objects disjointed from your subject together for transformations.
You may need to group them together first. You can adjust the size of the mesh on the Control and Properties panel.
Well, that's all. We were able to easily modify our subject with a few simple steps. Here’s a side-by-side comparison of our character before and after applying the Puppet Warp.
We also have guides on making flat characters in Procreate and flat characters in Illustrator if you’d rather create your own.