By Design Bundles
Mardi Gras Bead Brush in Illustrator
For this tutorial you will use the image of a T-Shirt to show how the brushes can be used.
1 - In Illustrator, create a “New Document”.
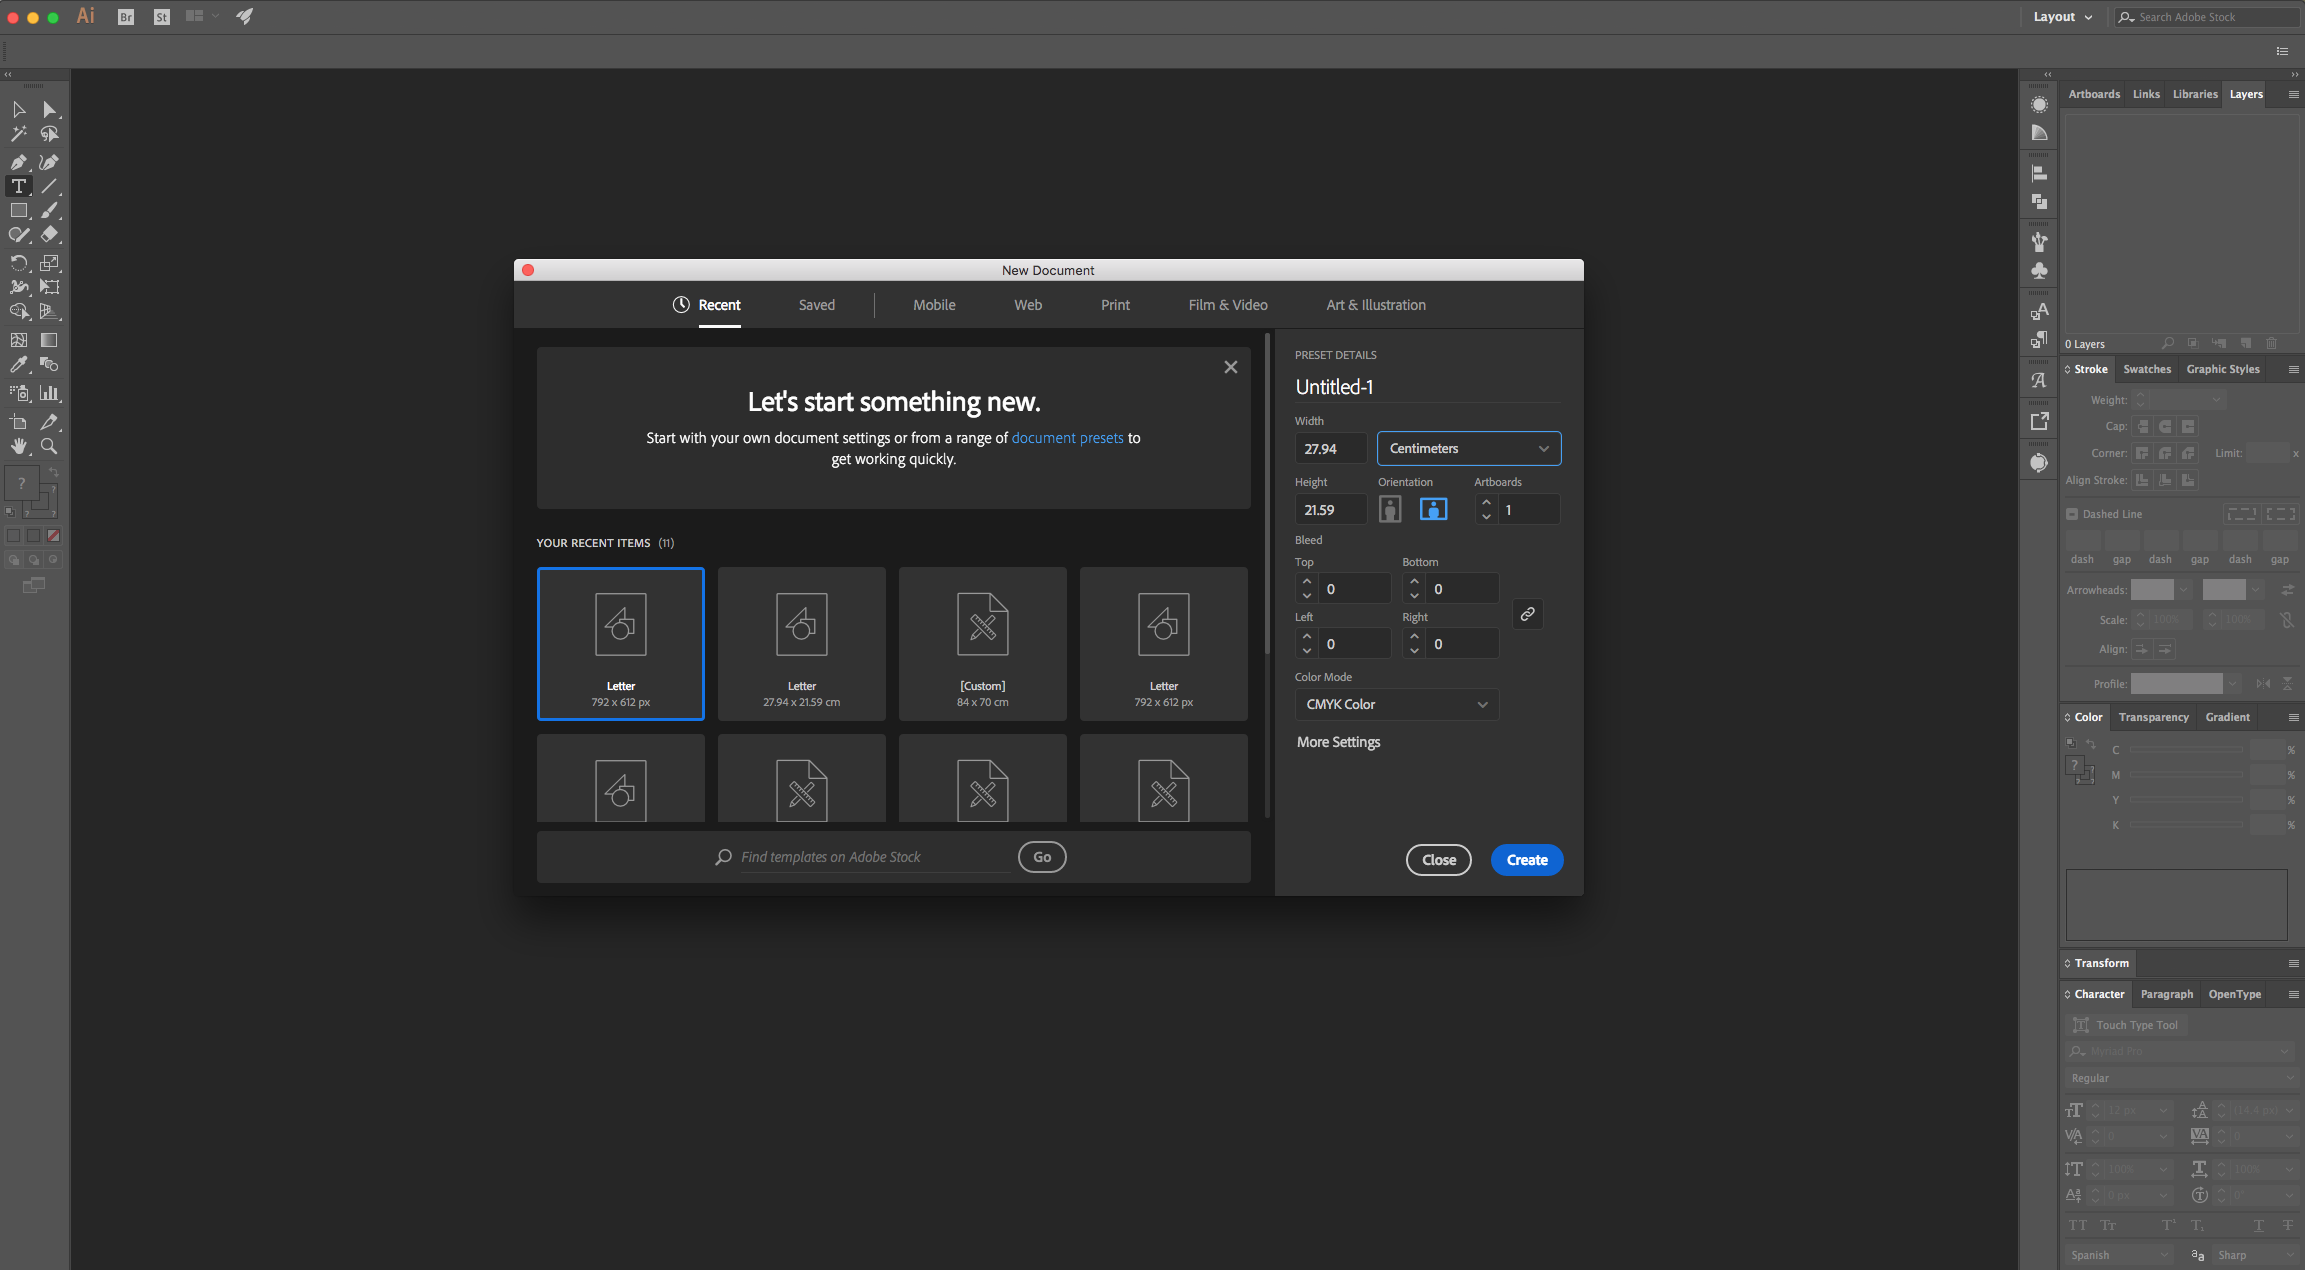
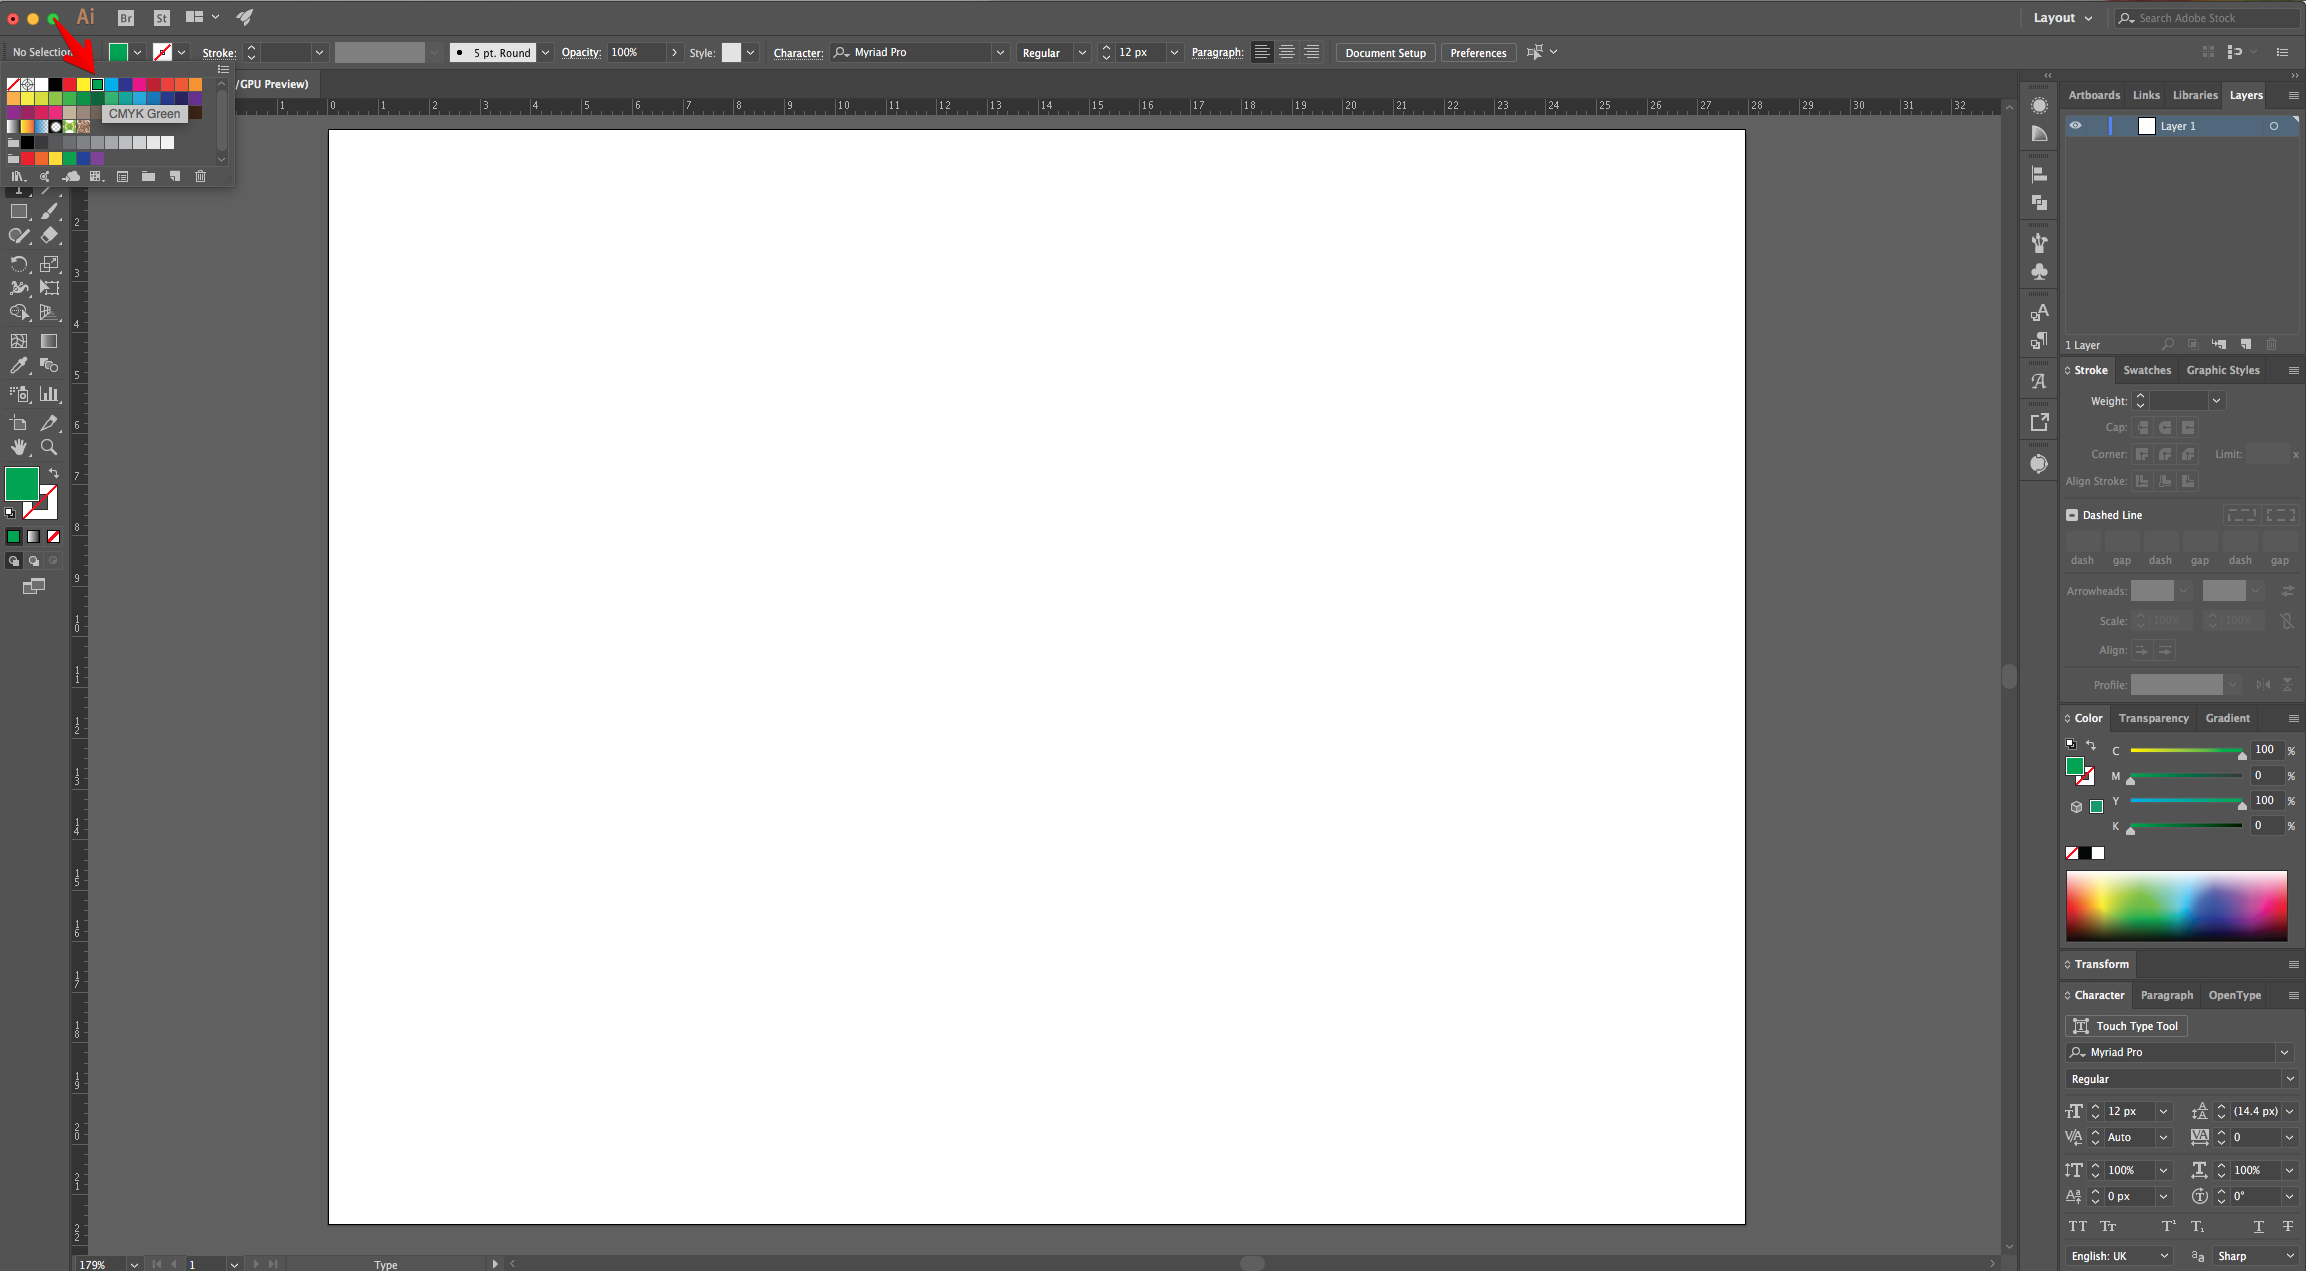
2 - Choose a medium Green from the “Swatches Panel” and “No Stroke”.
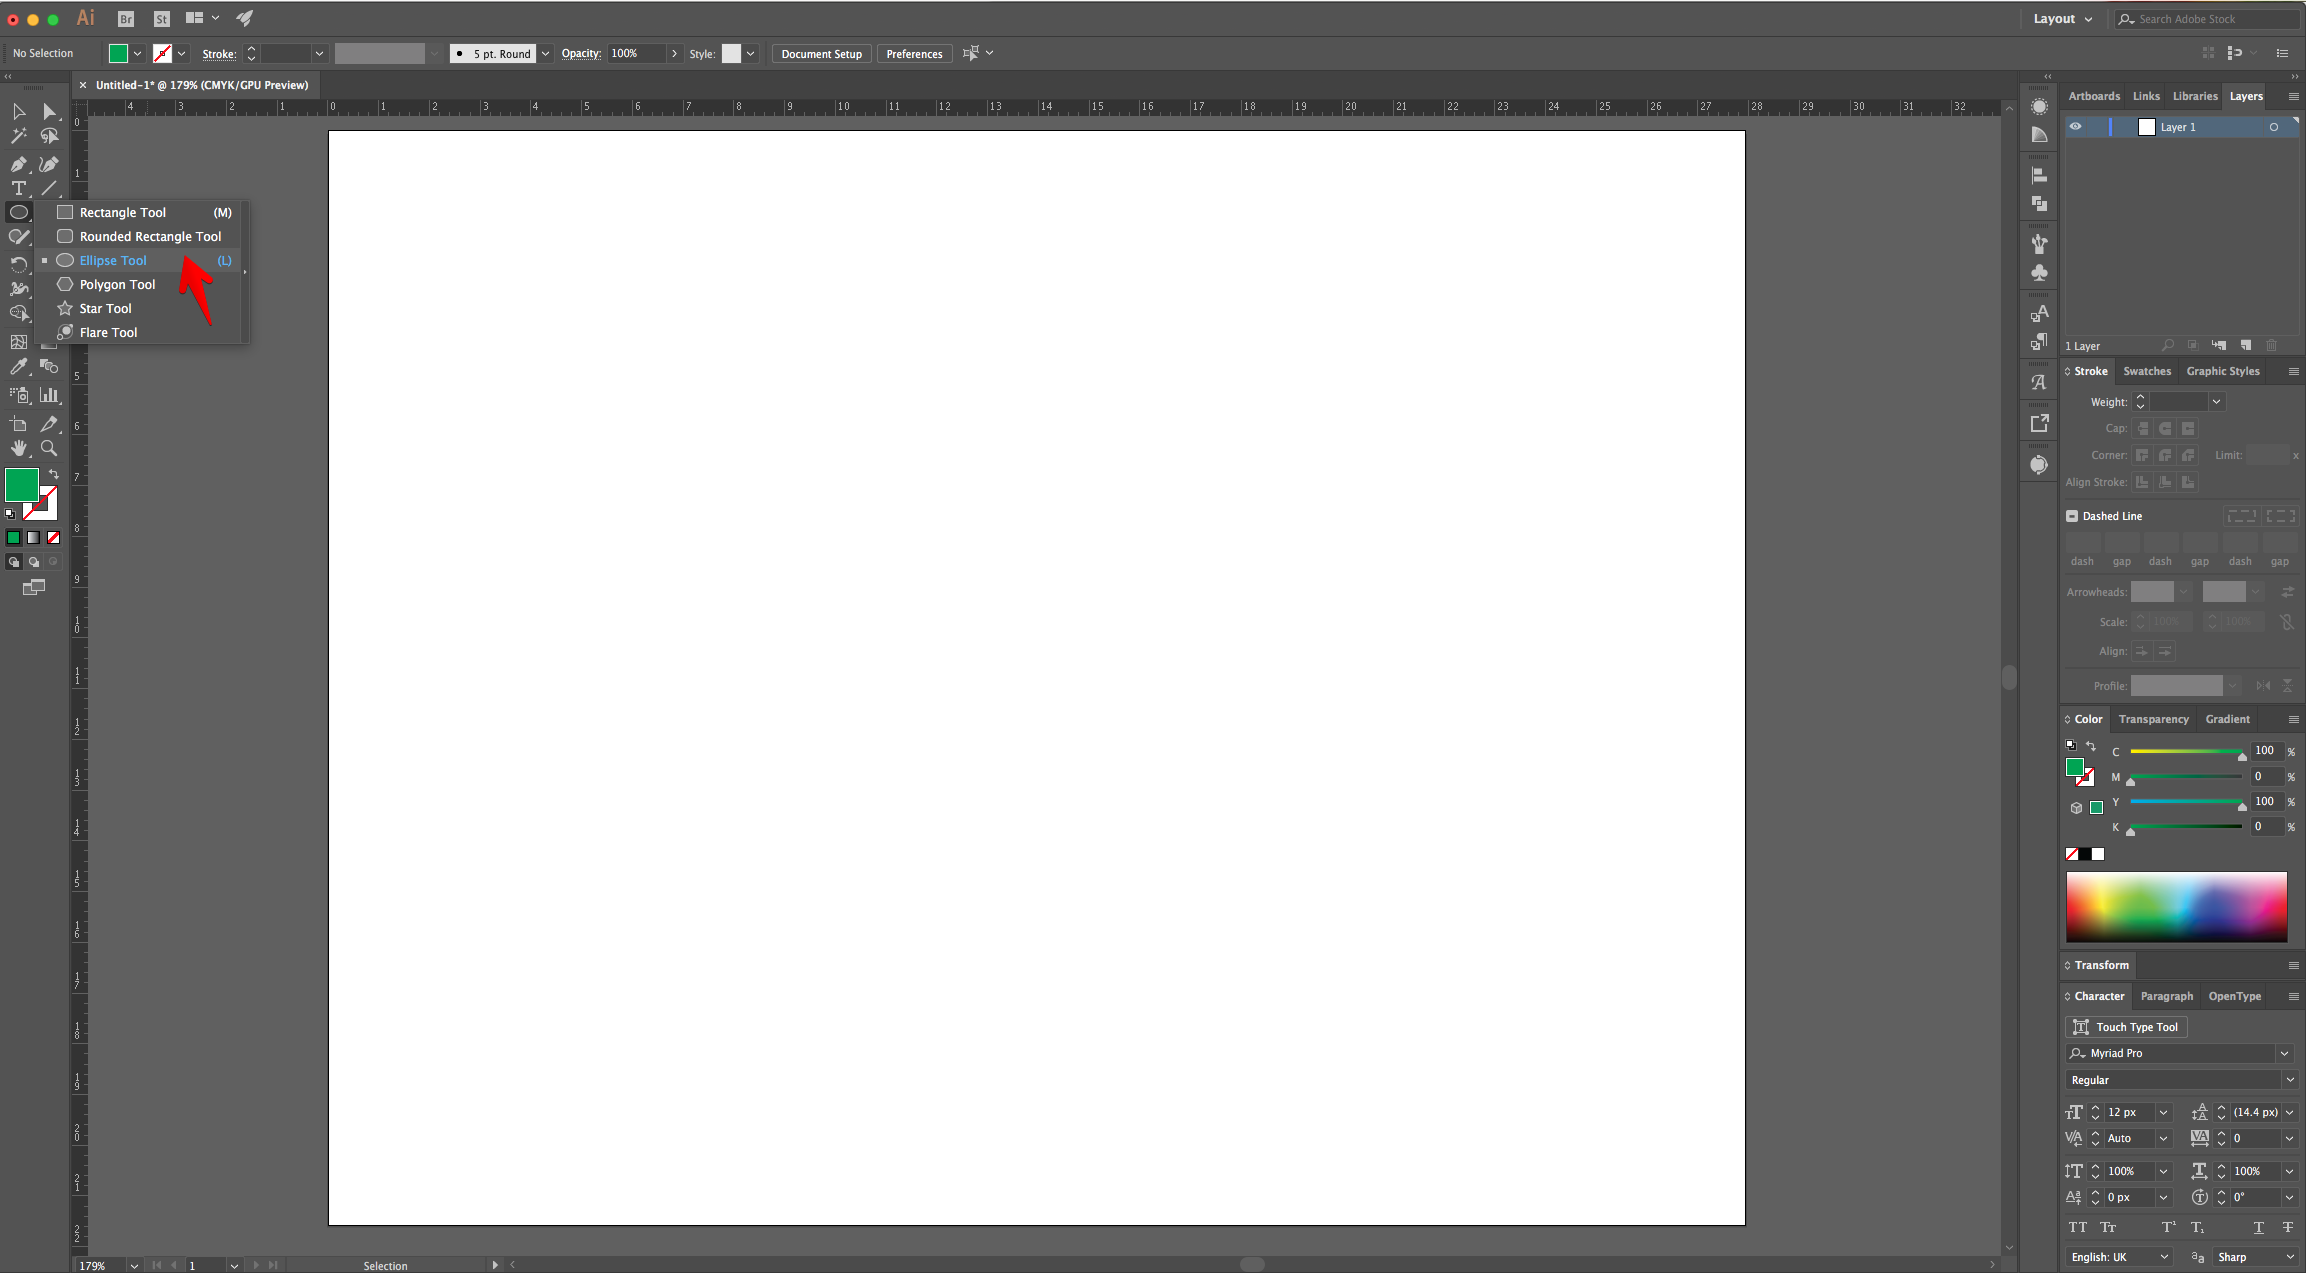
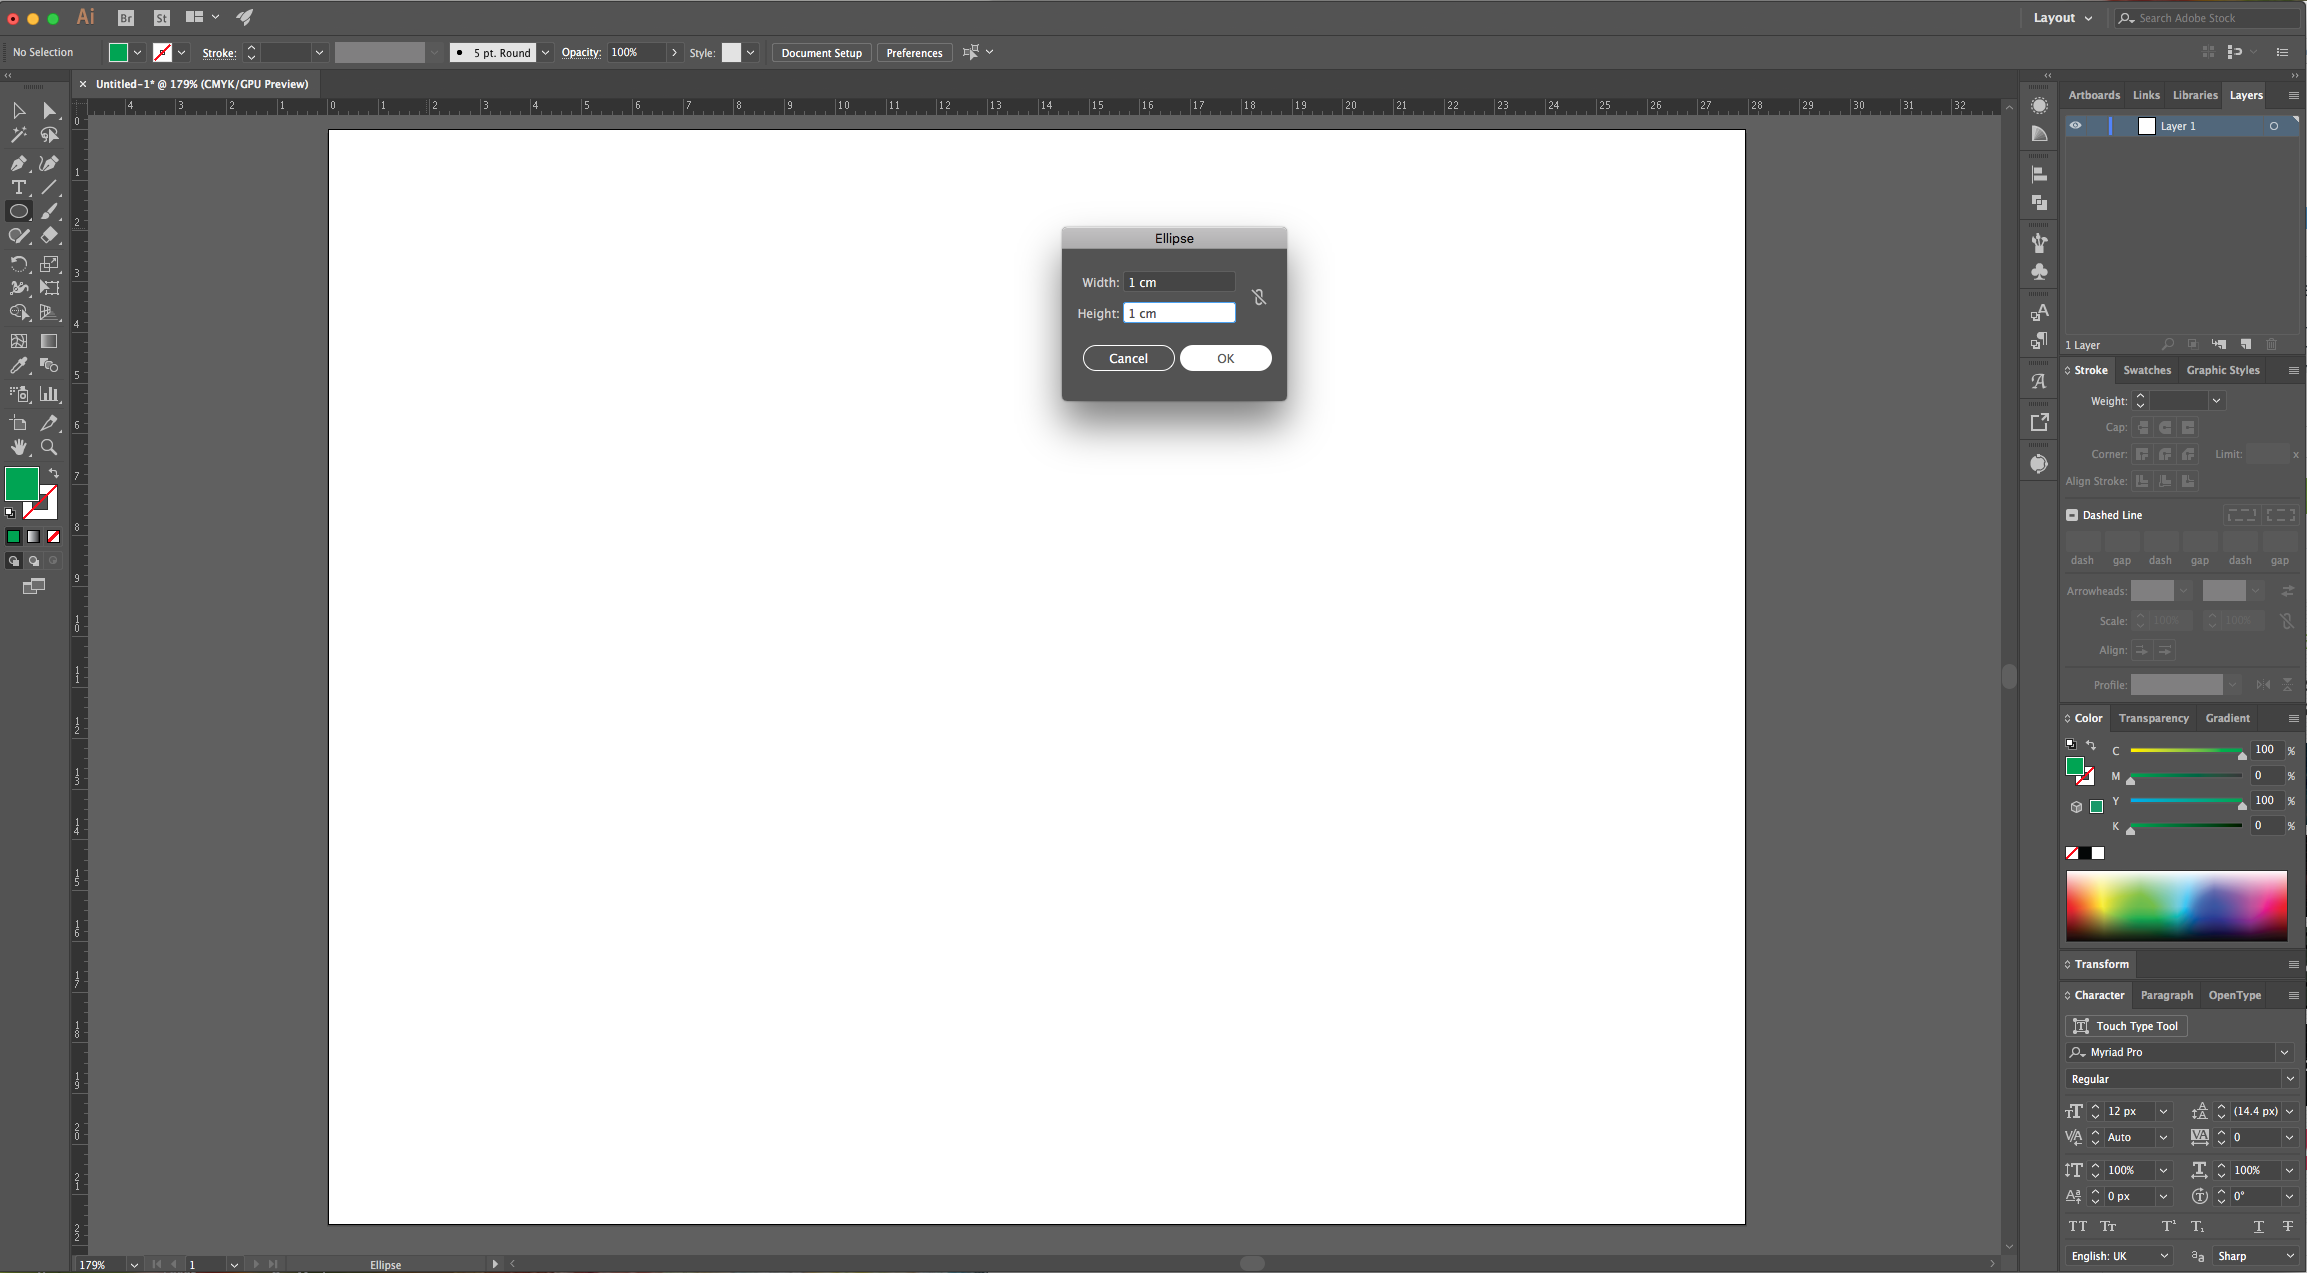
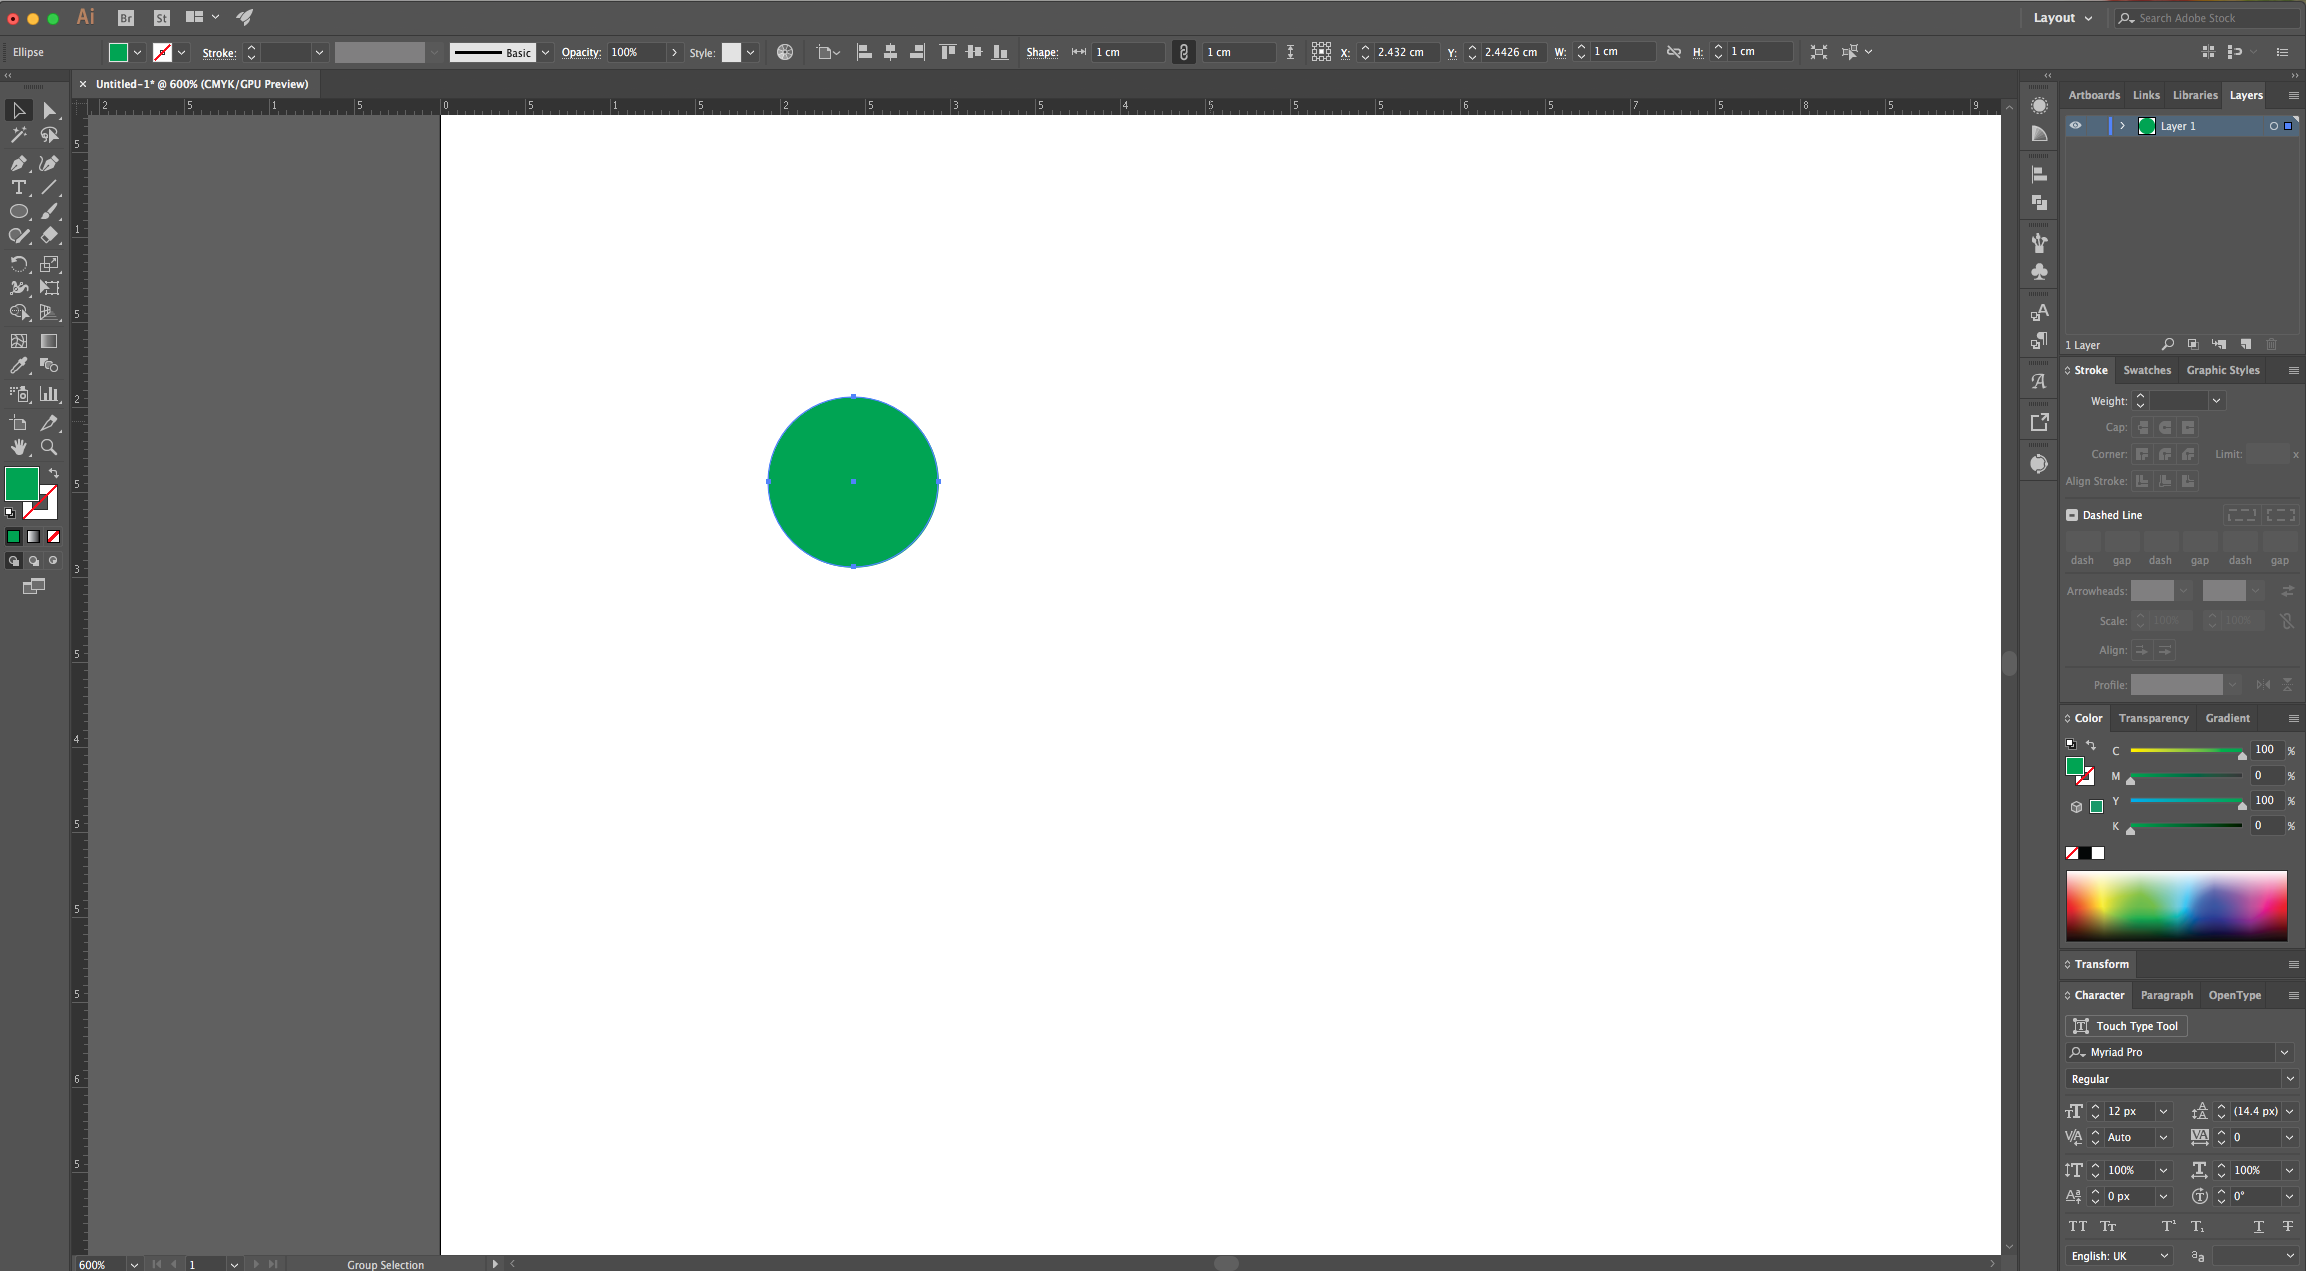
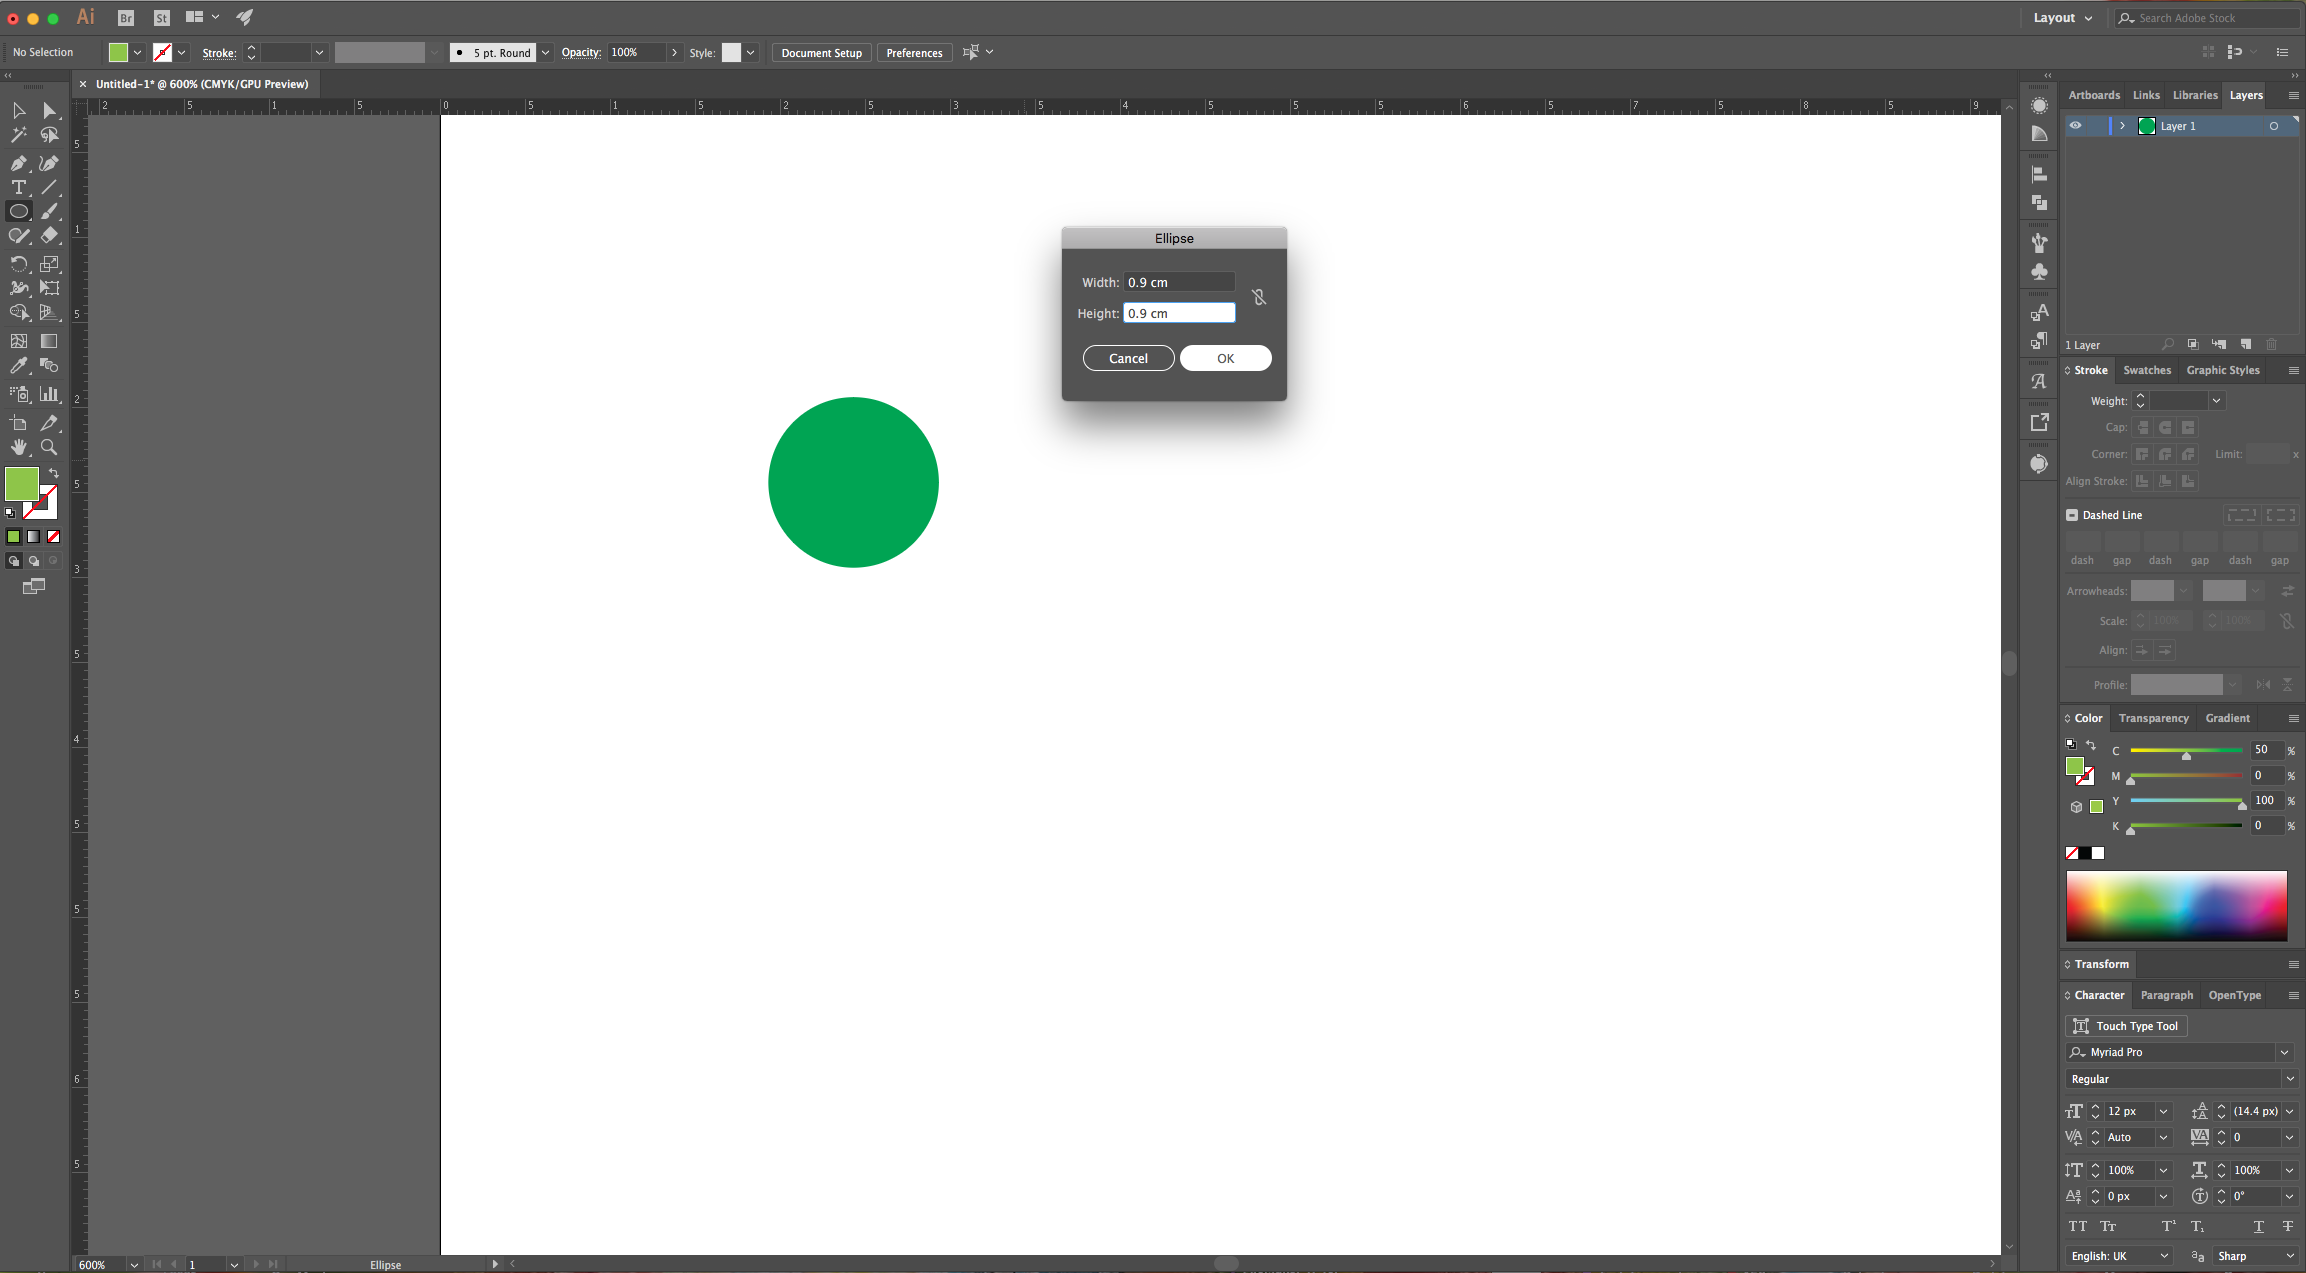
3 - Select the “Ellipse Tool” (L), click inside the “Canvas” and create a small “Circle” (it should be about 1 cm by 1cm.
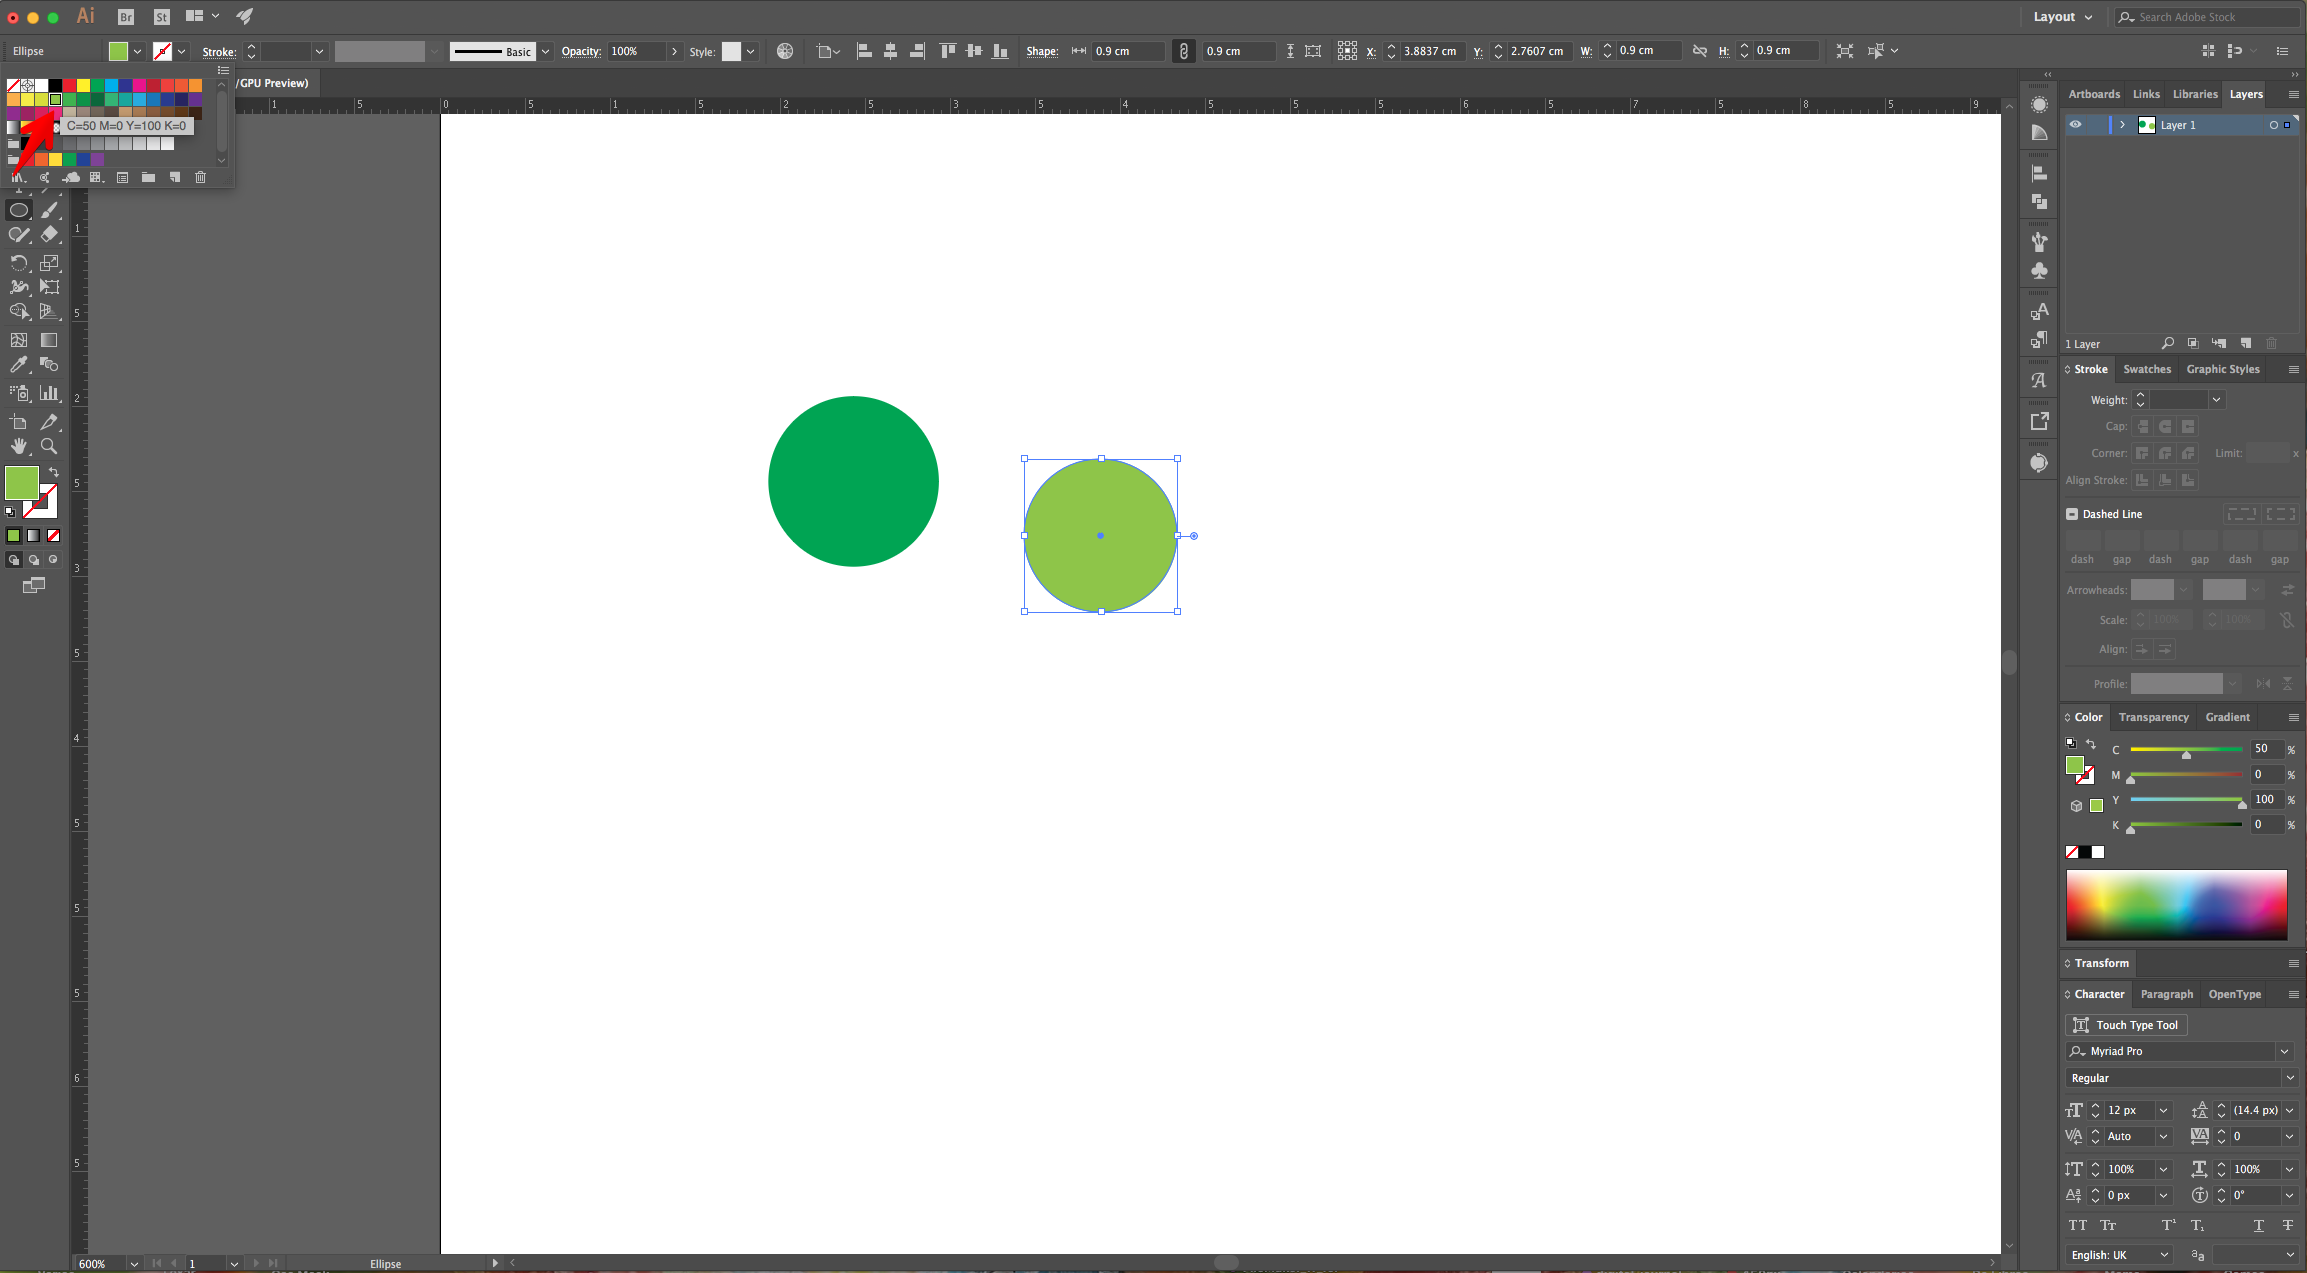
4 - Create a second “Circle” but this time make it 0.9 cm x 0.9 cm and fill it with a lighter shade of Green. Position it centered inside the first Circle, but almost touching the upper limit leaving just a small space between the two.
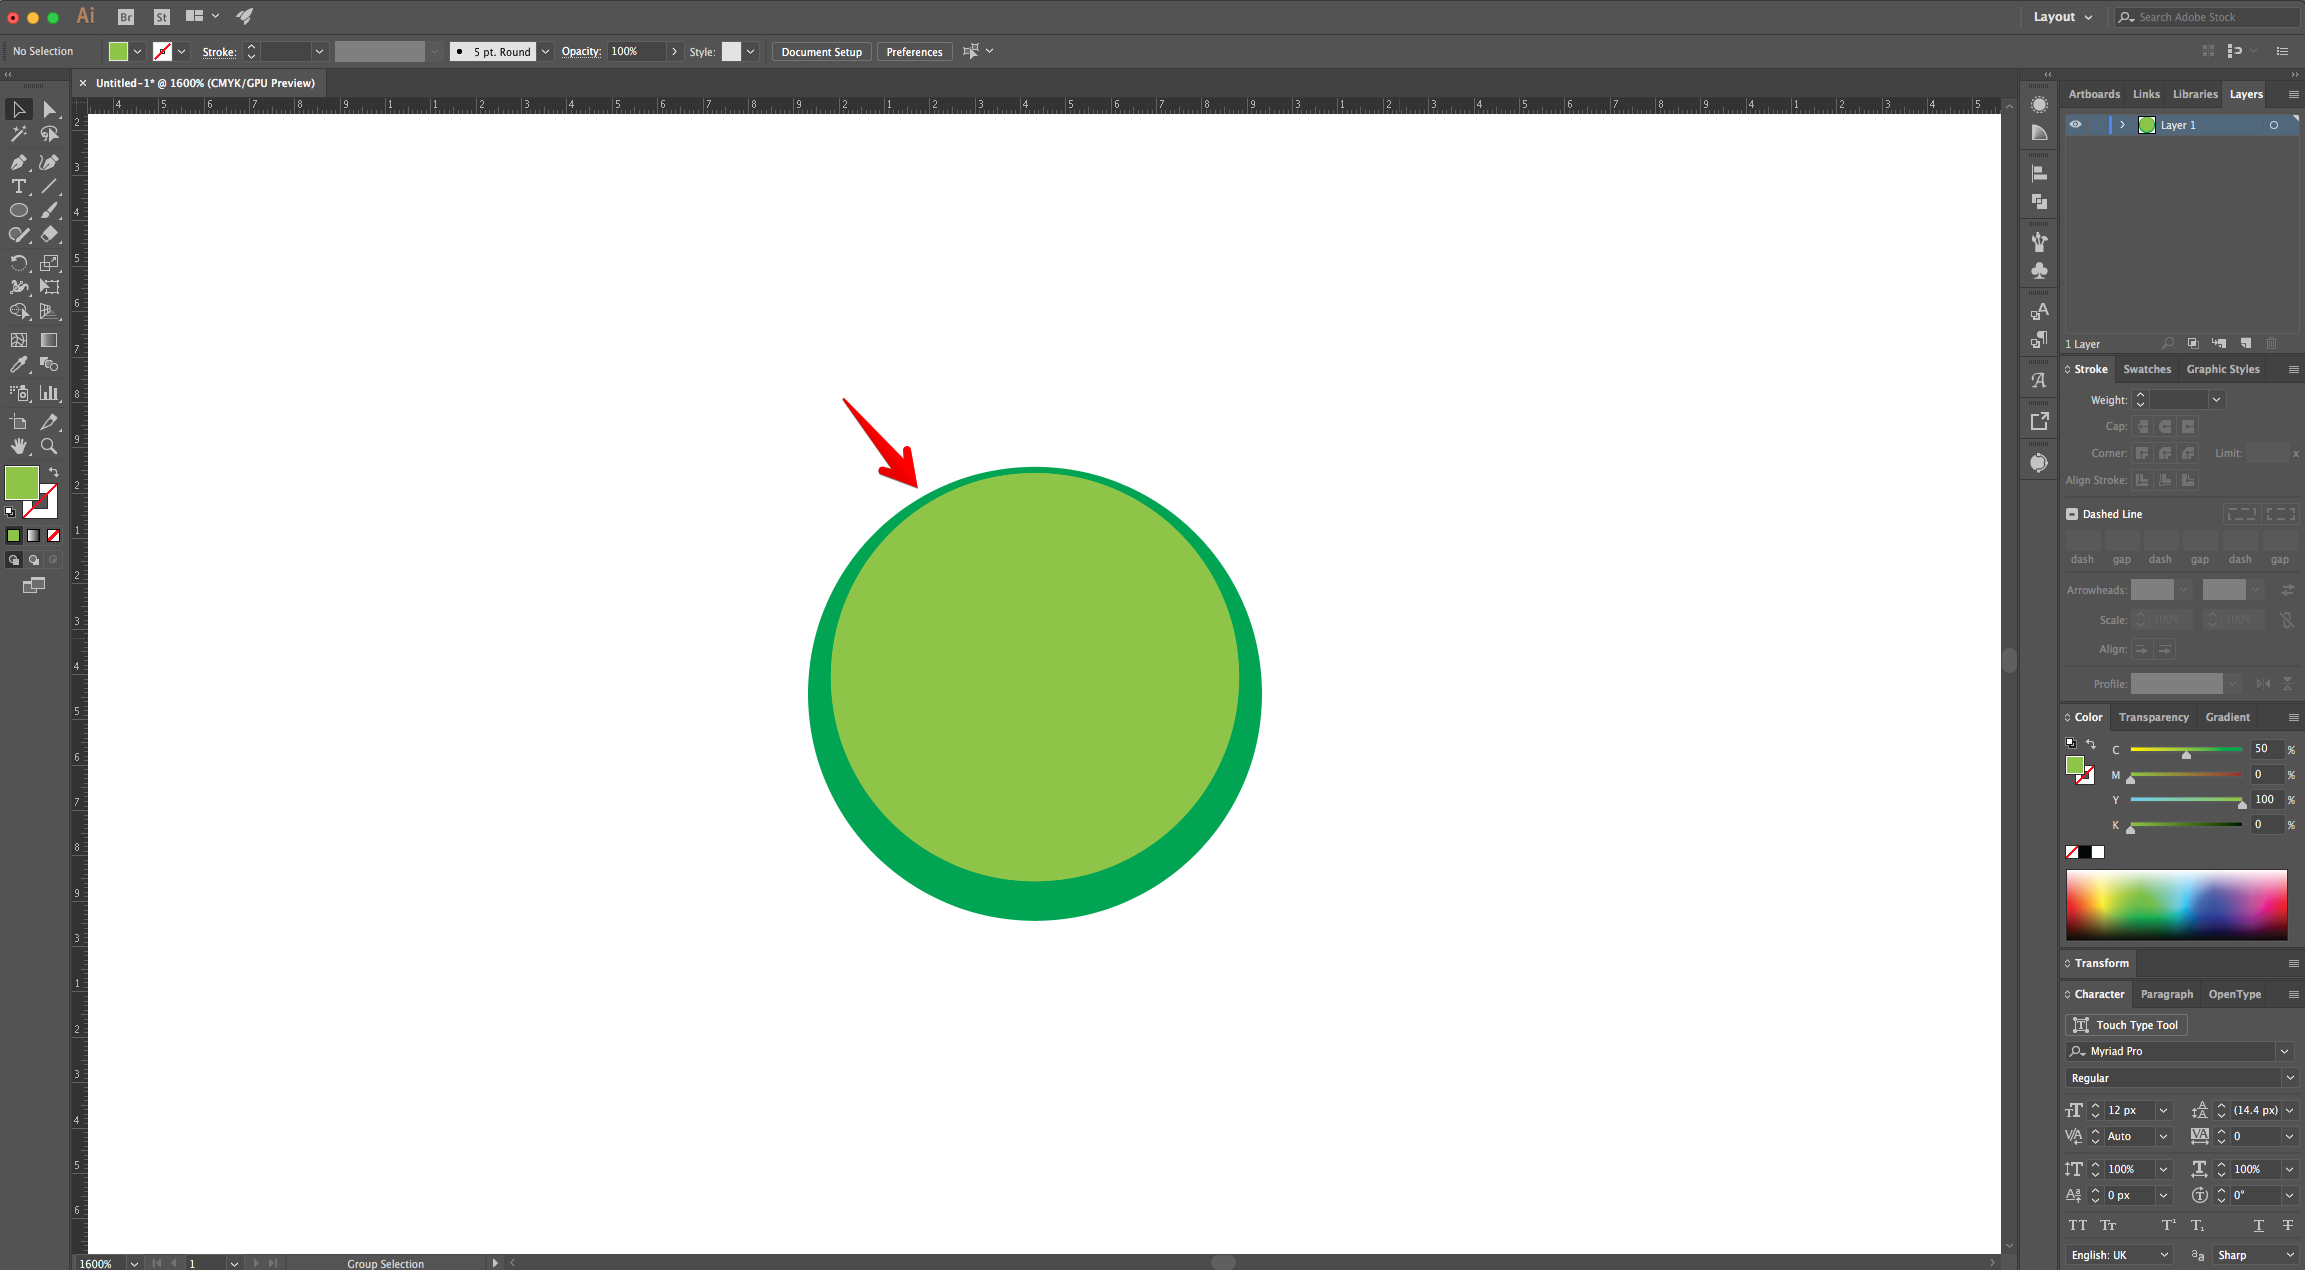
5 - Create a third Circle, make it 0.7 cm by 0.7 cm.
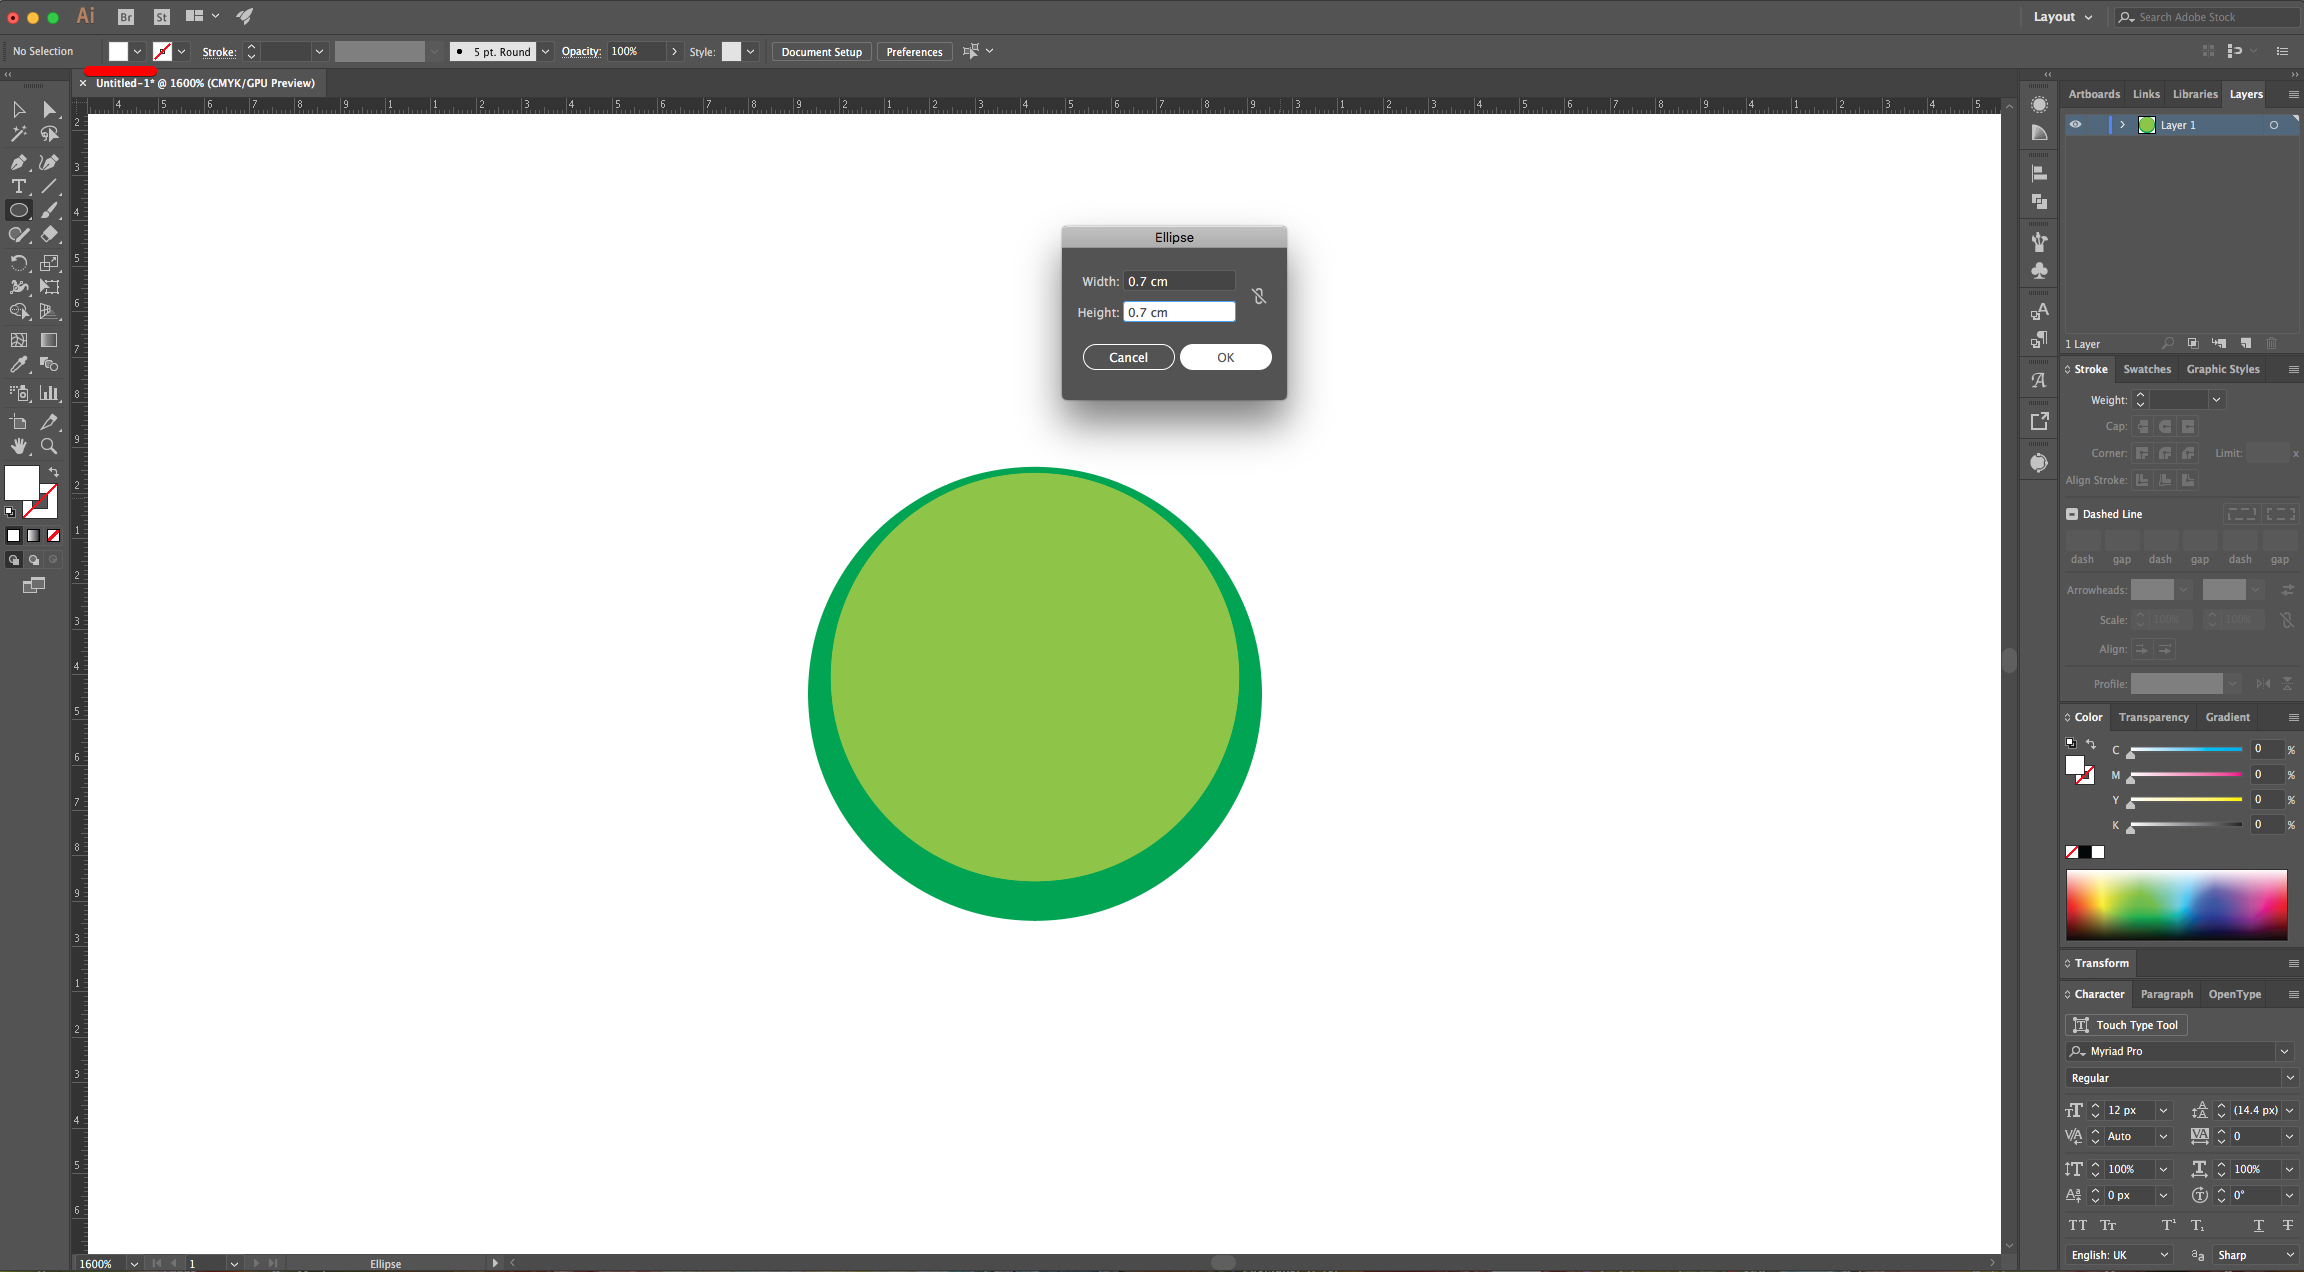
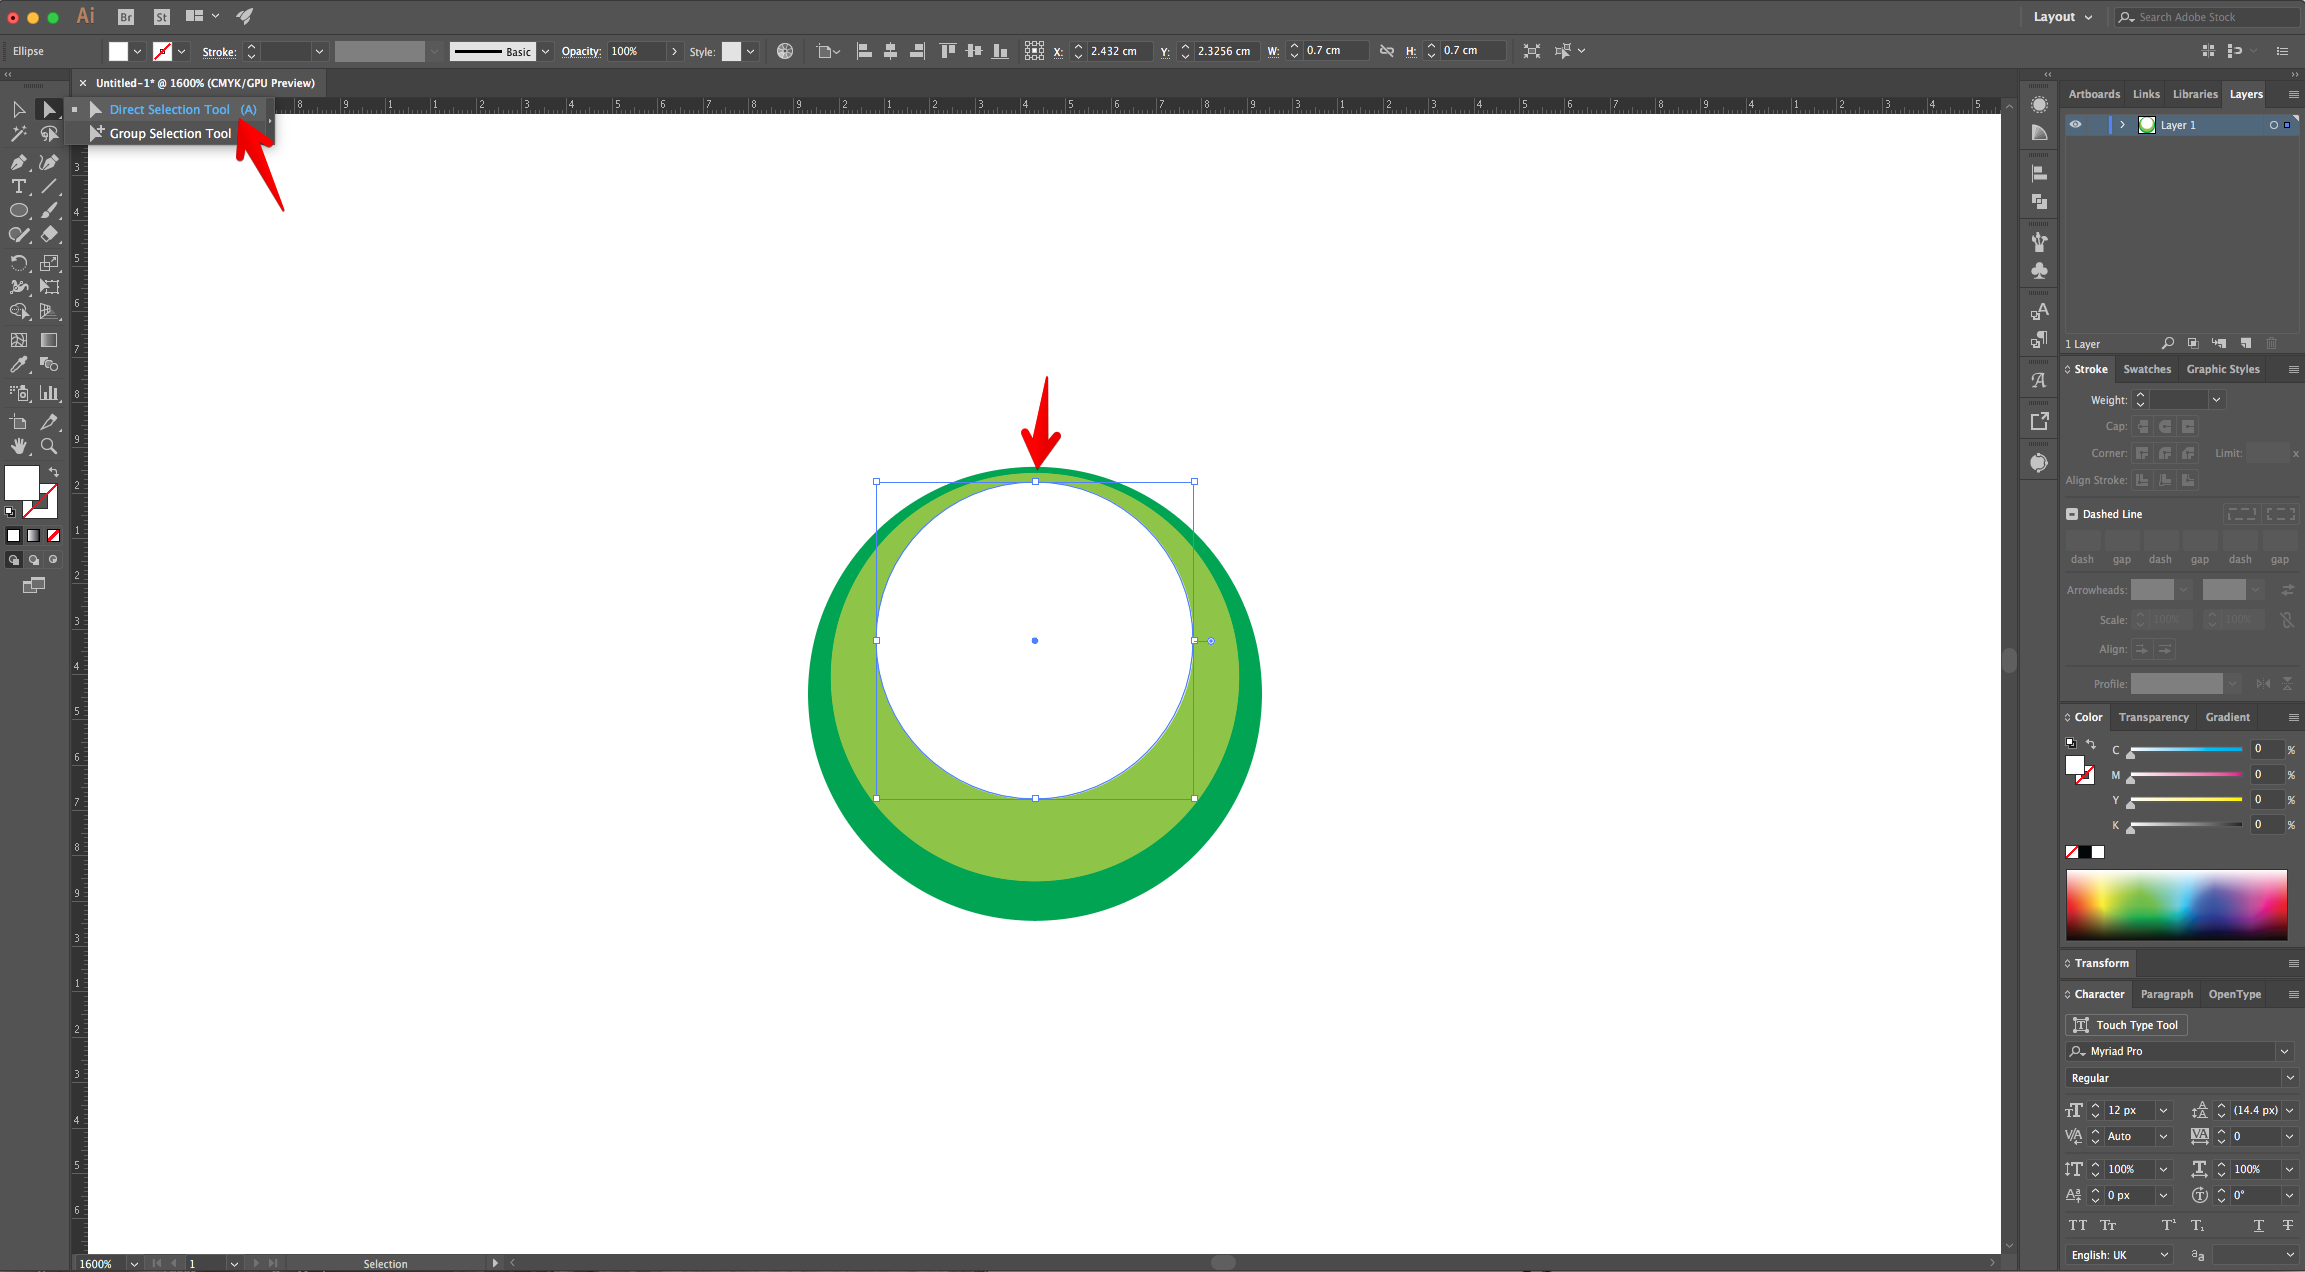
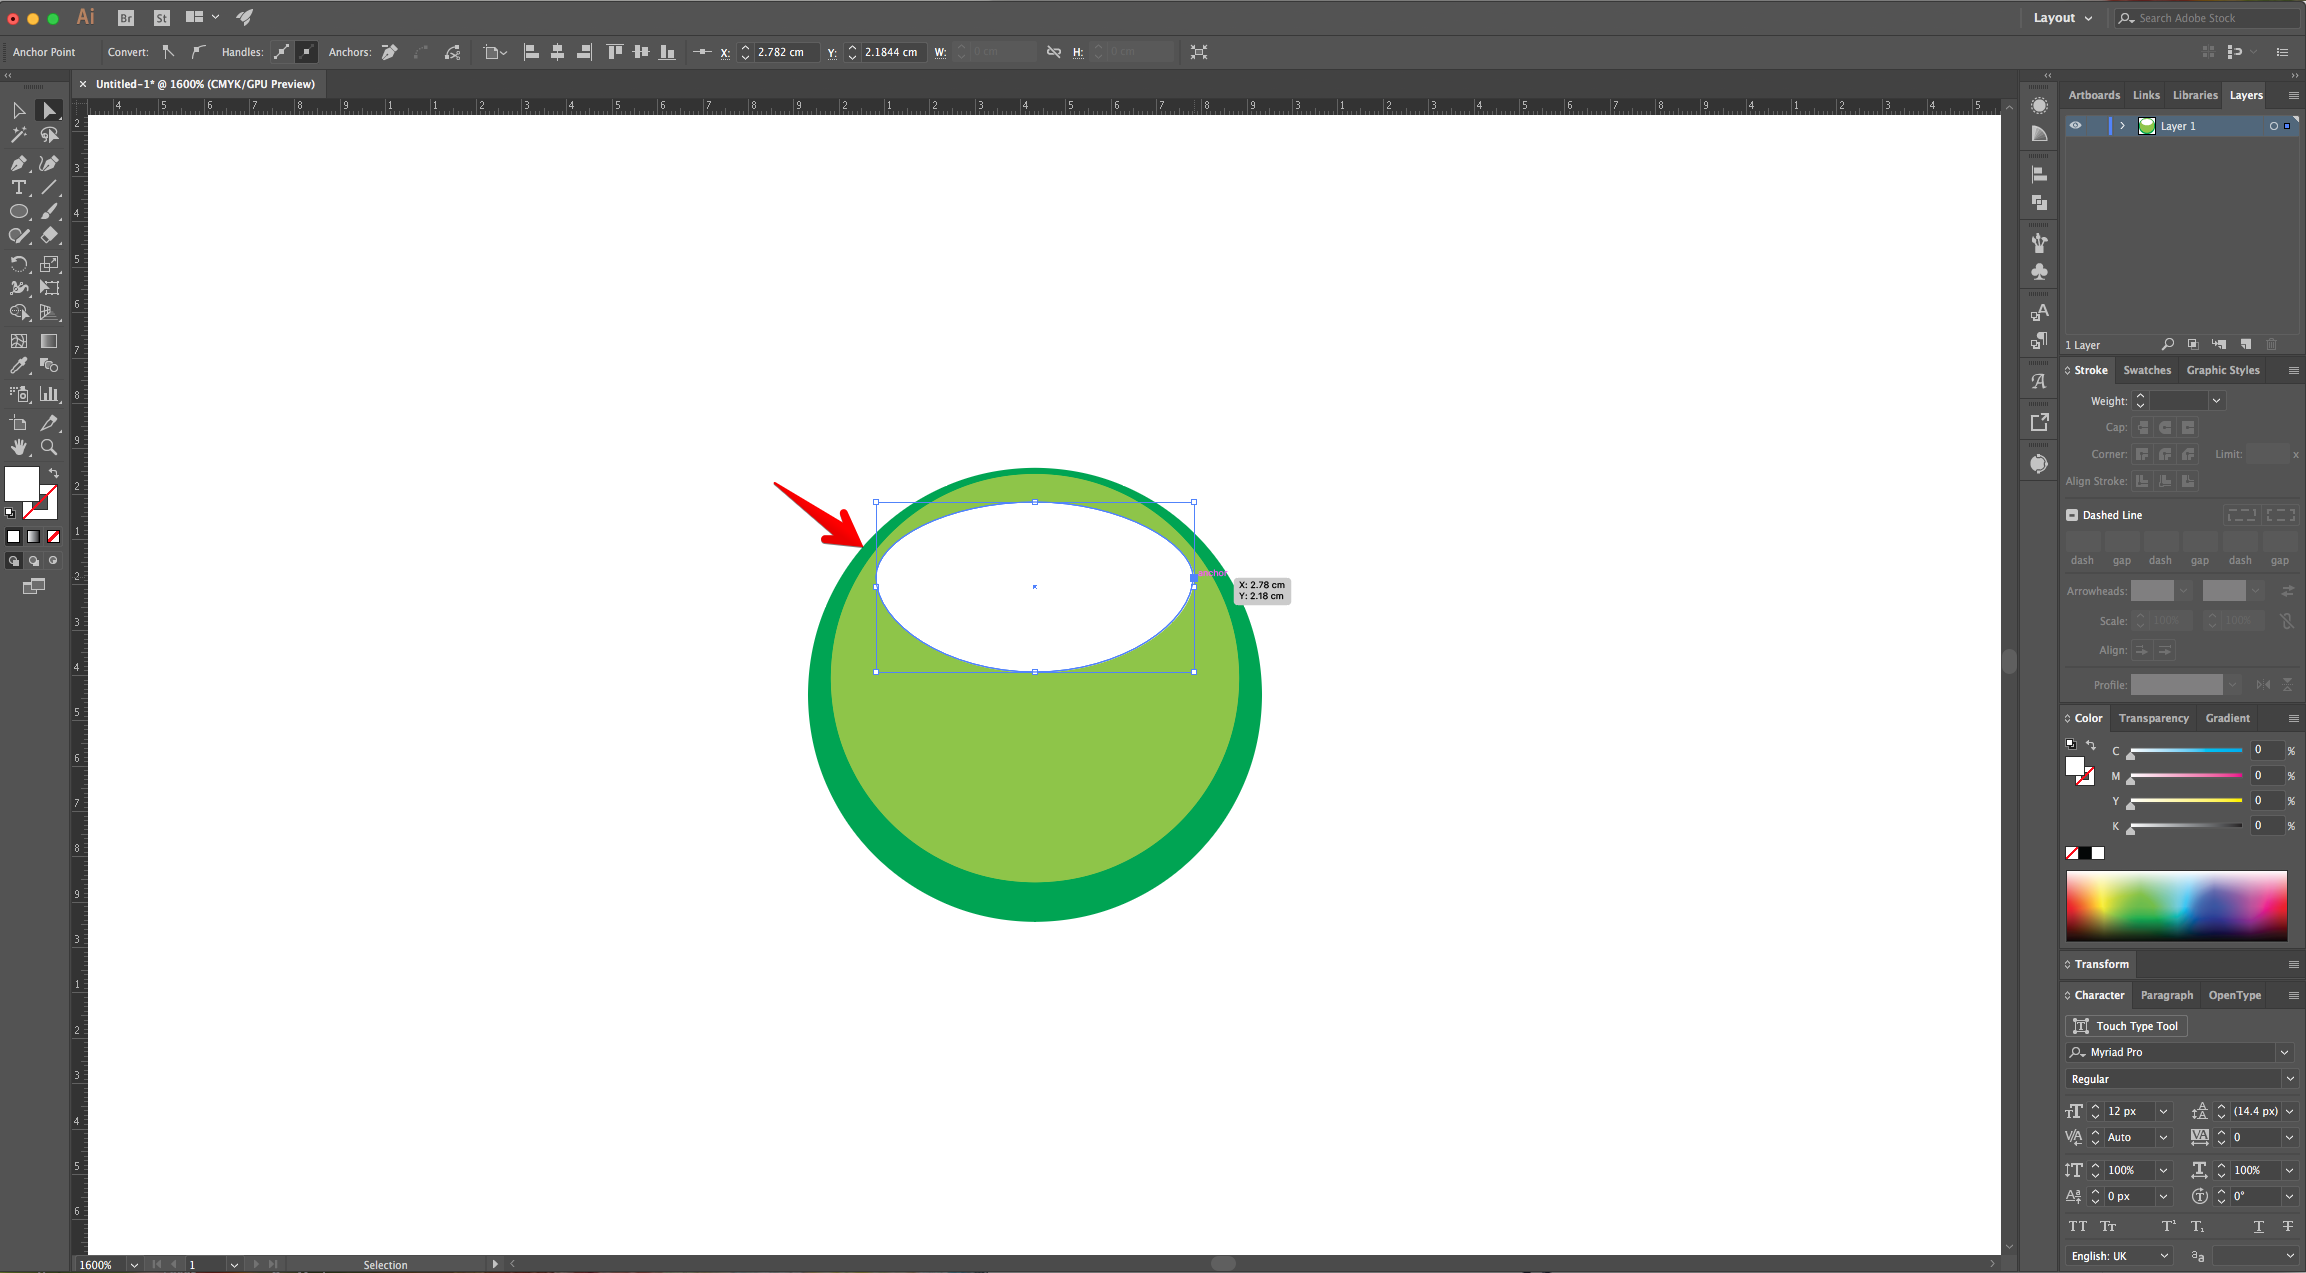
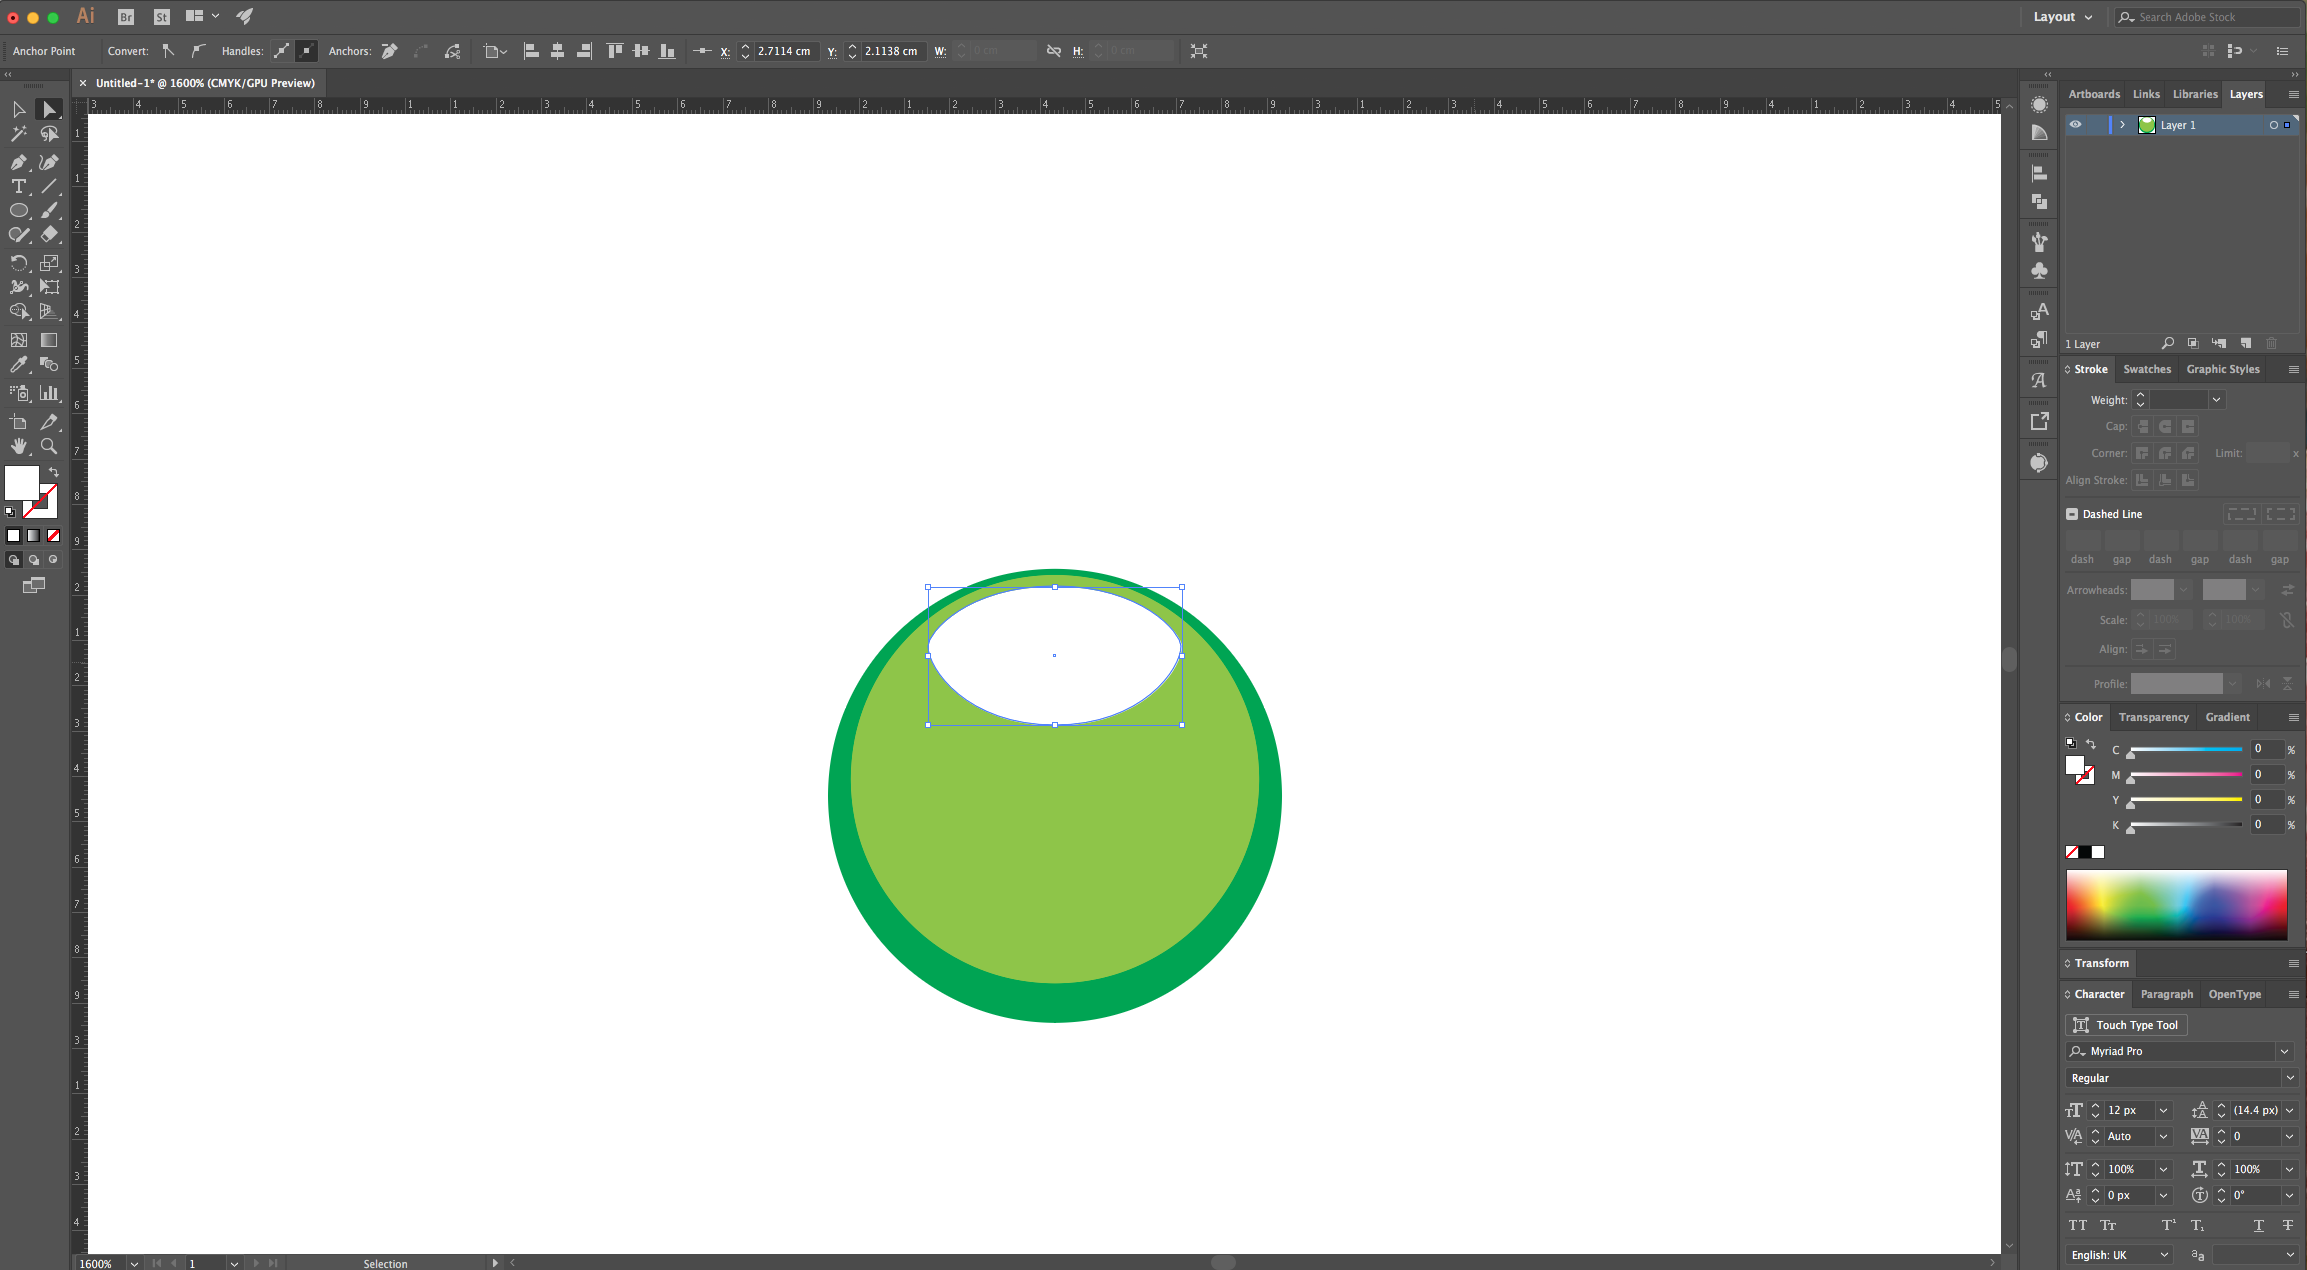
6 - Fill it with White and place it centered on the center-top of the previous two leaving a bit of space like before. Using the “Direct Selection Tool” (A), click on the side “Anchor Points” and modify them until your shape is similar to an Oval. It should seem a “Light” reflection.
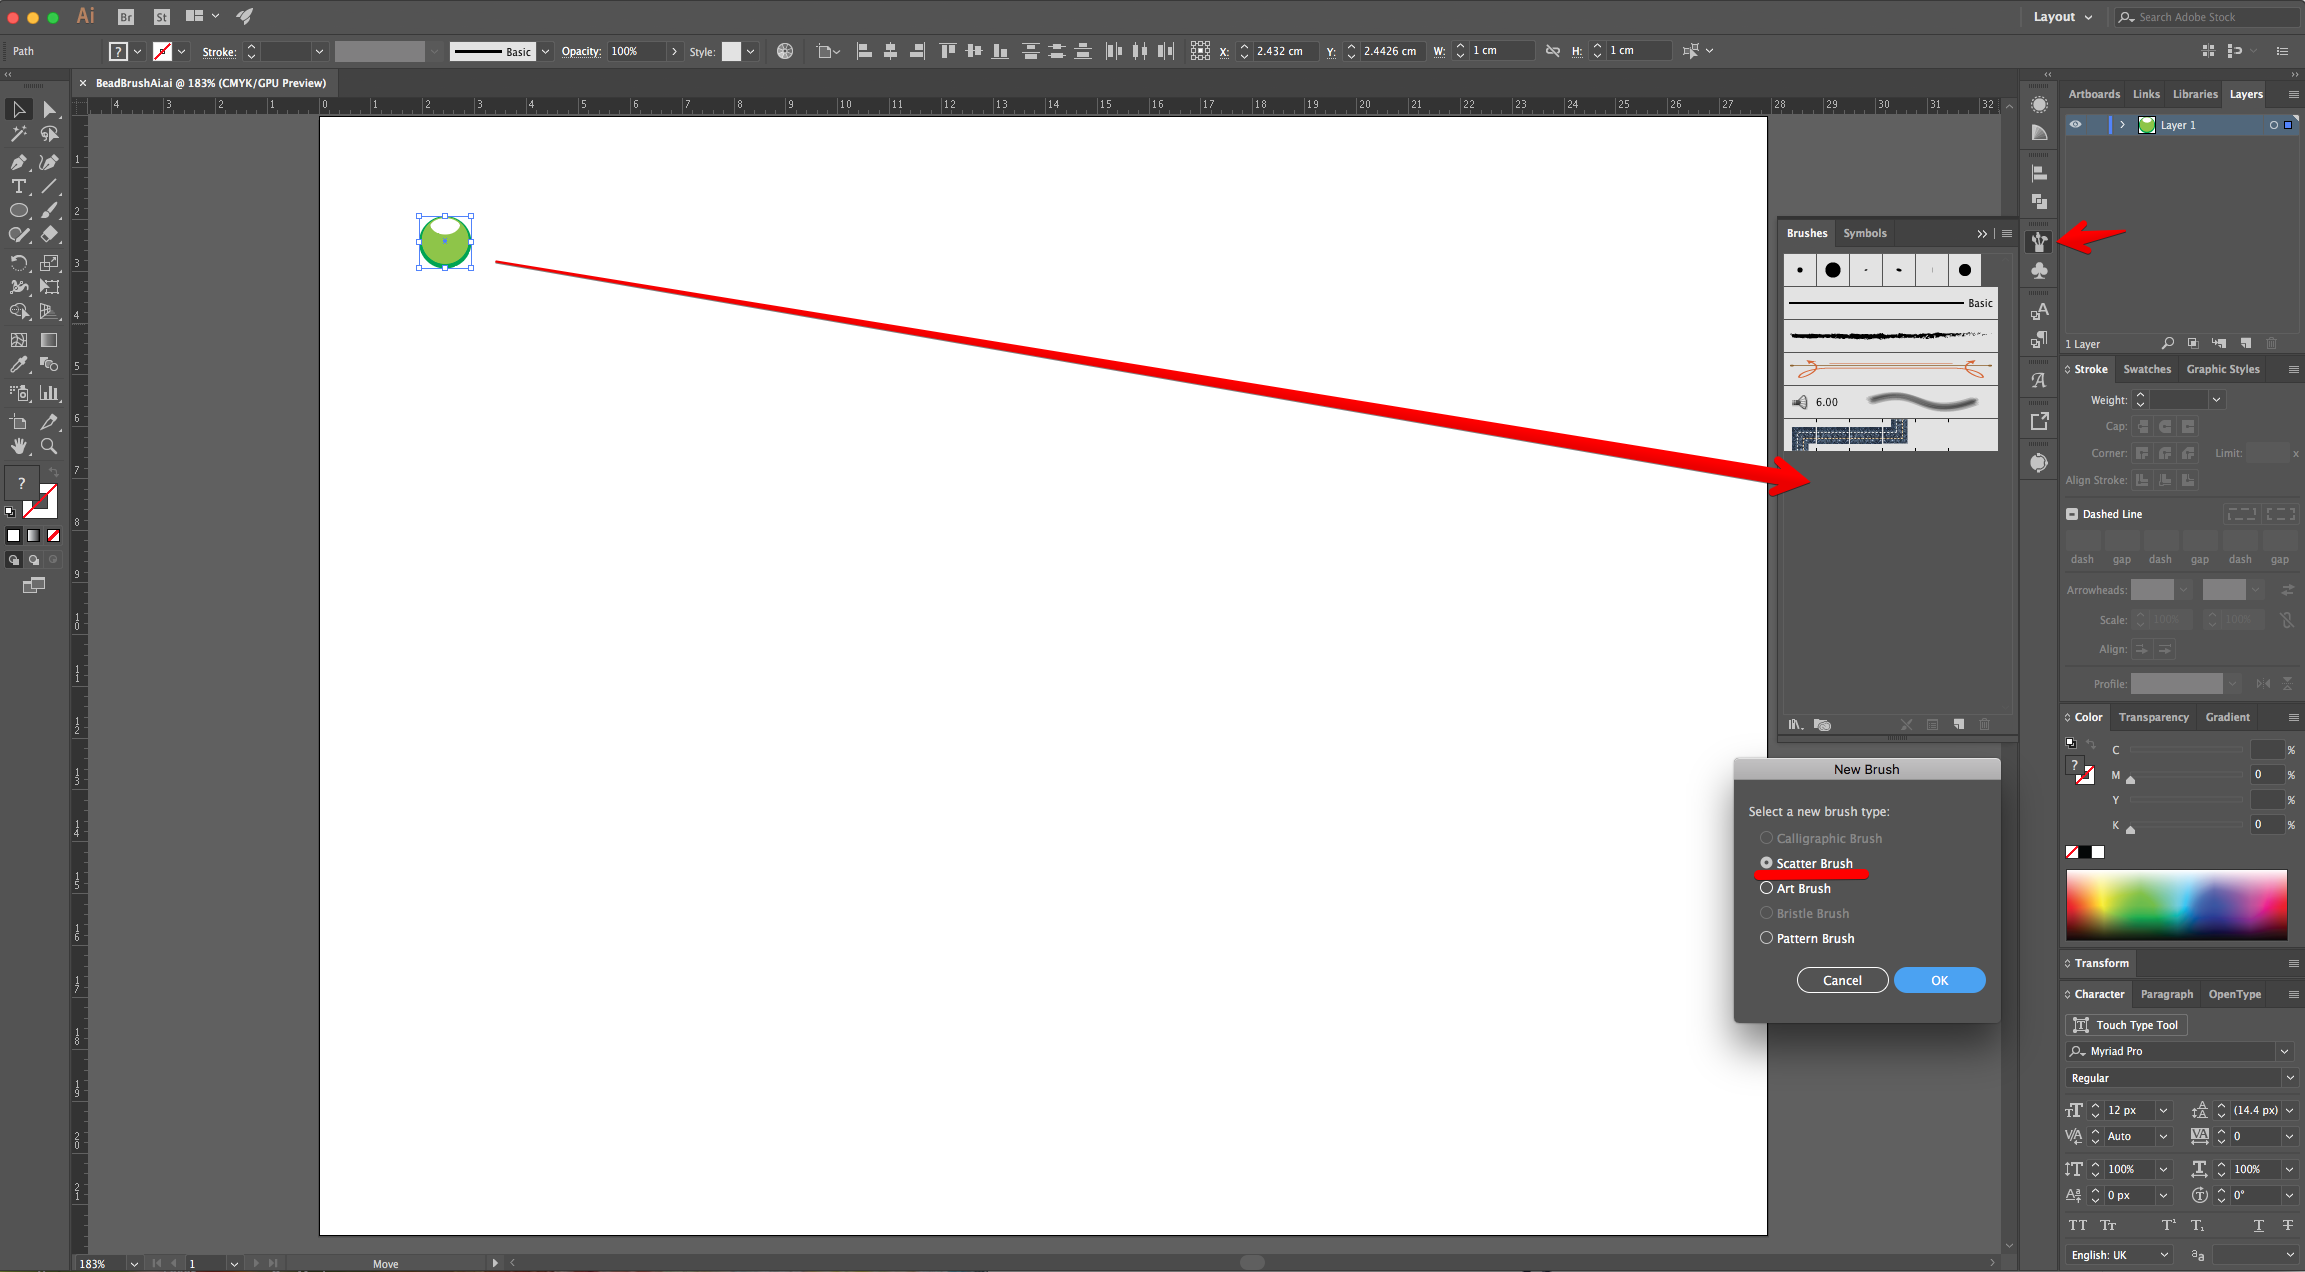
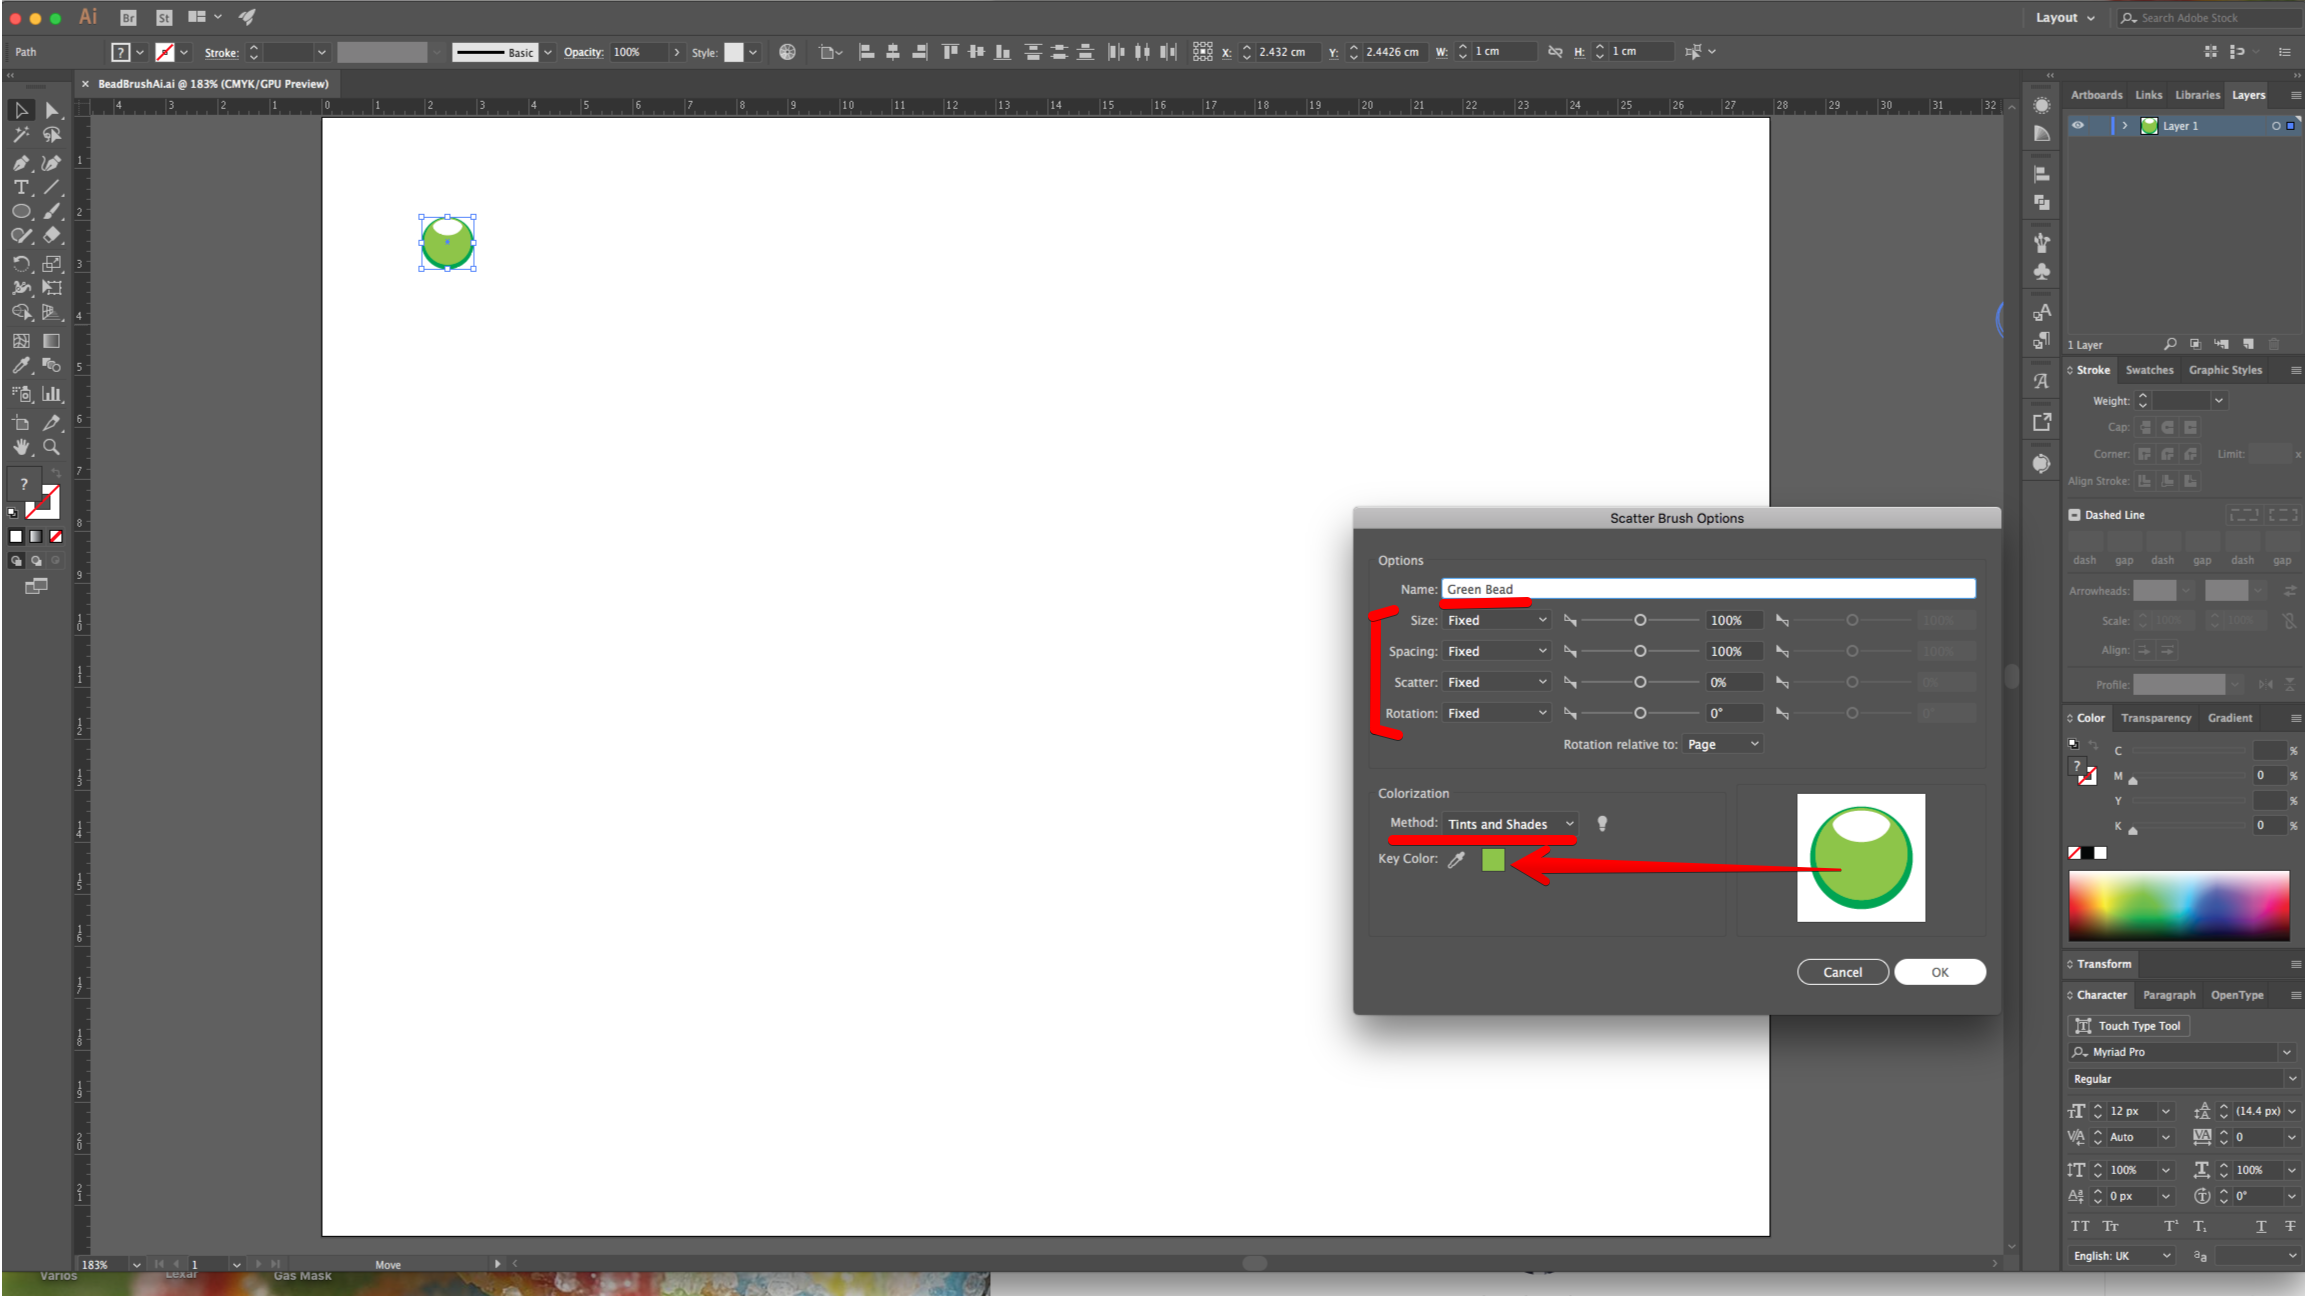
7 - Select all of your circles and drag them into the “Brushes Panel” to create a “New Brush”. Choose “Scatter Brush” and click “OK”. Name your brush, use “Fixed” for all the top options and select “Tints and Shades” as “Method” making sure that the lighter shade of green is the one selected.
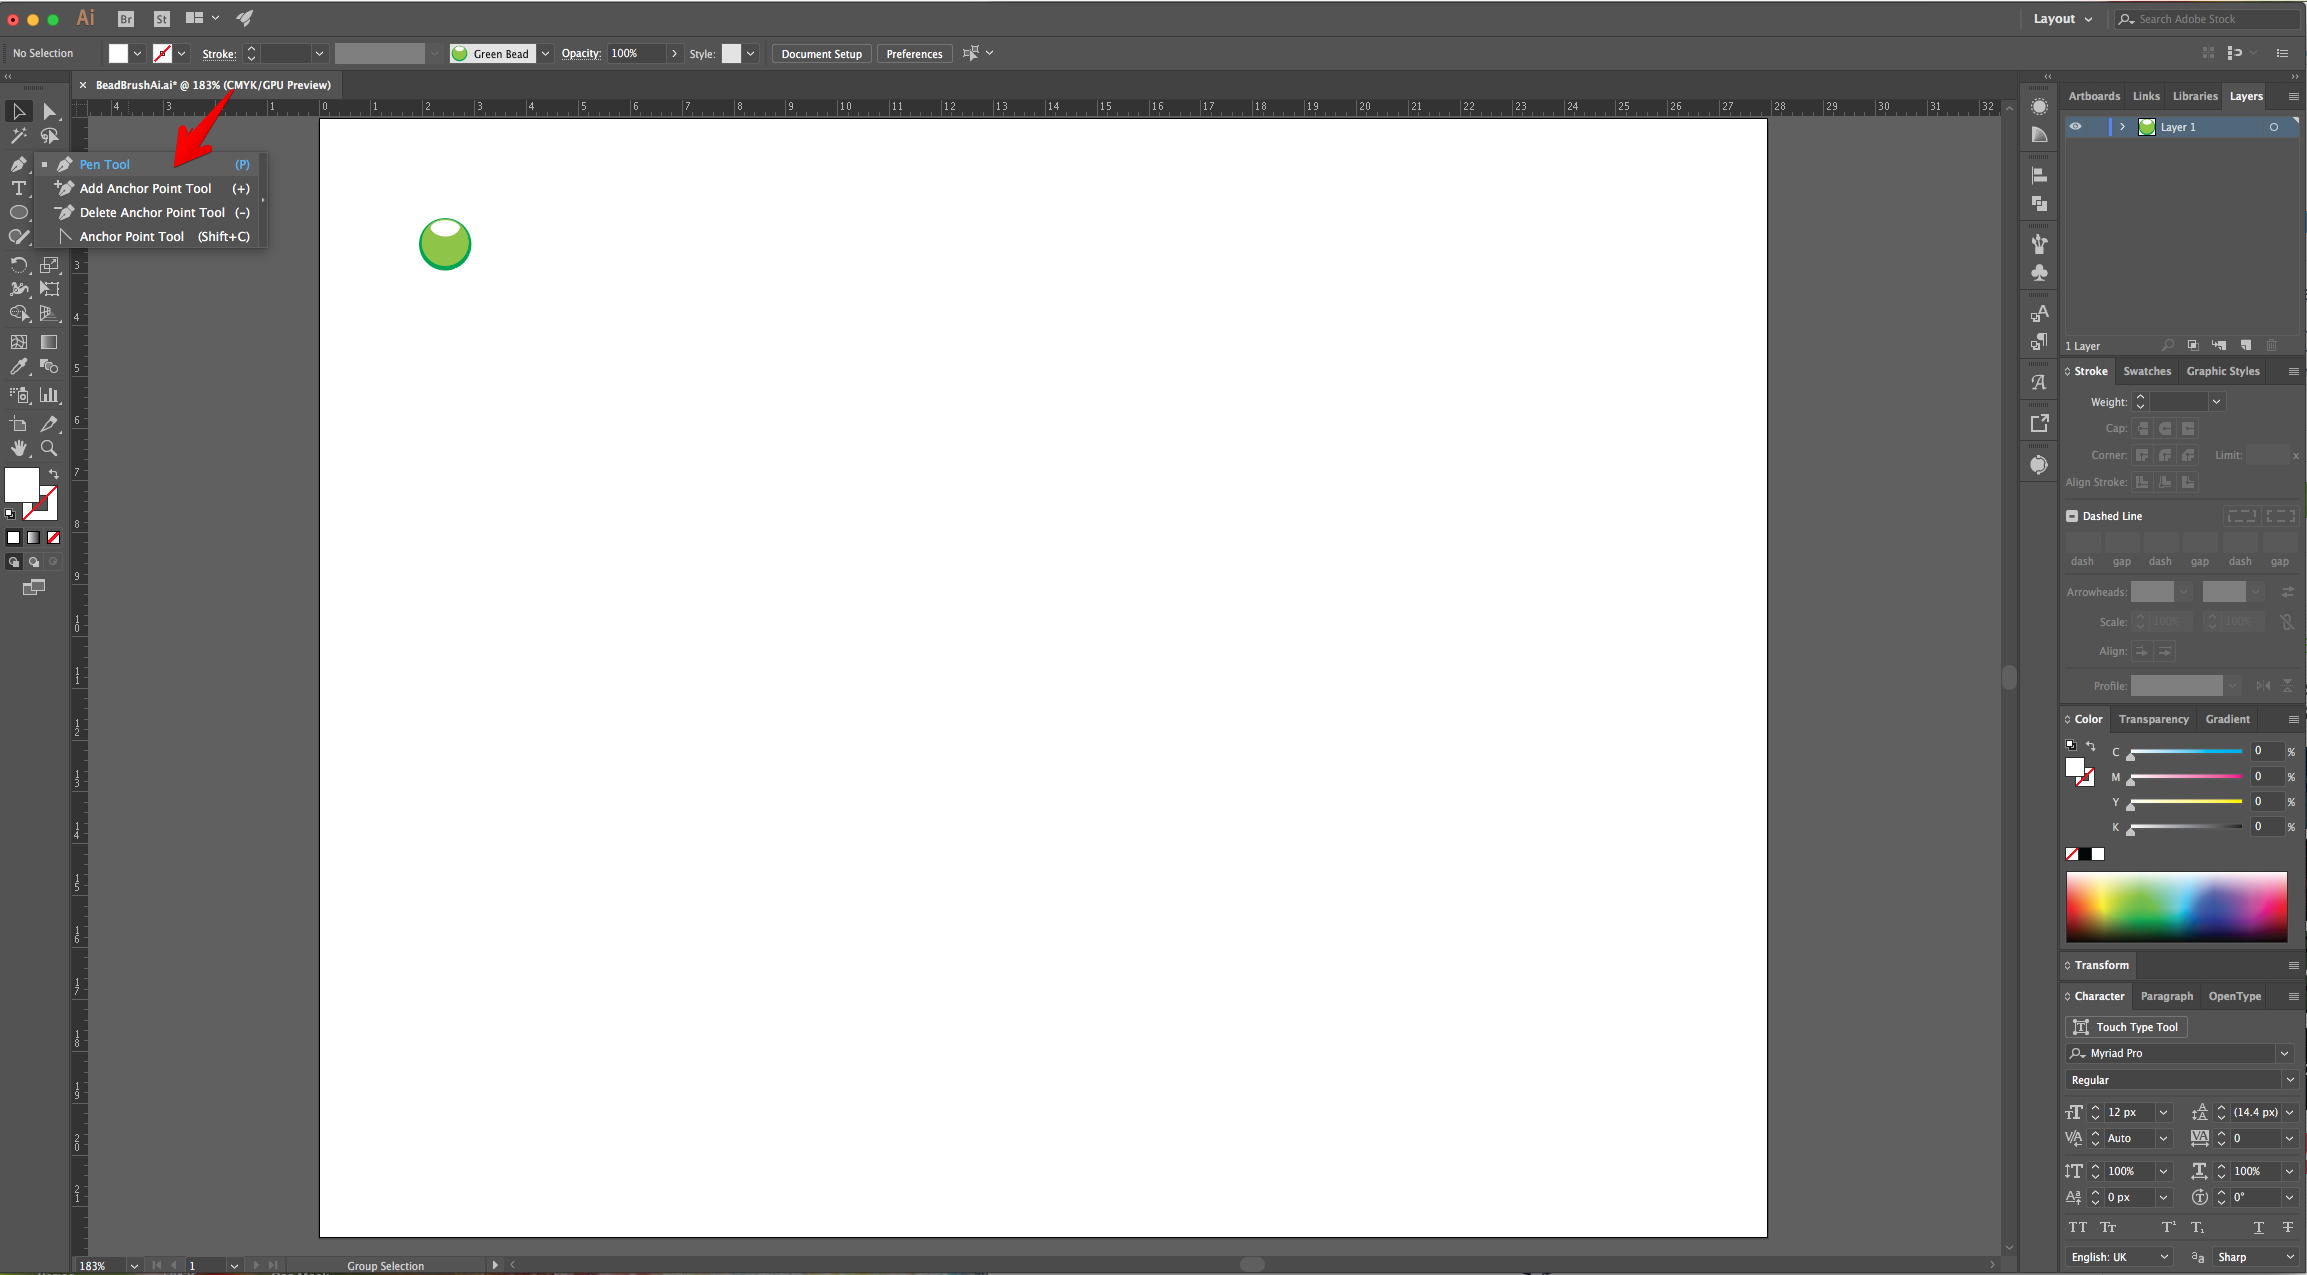
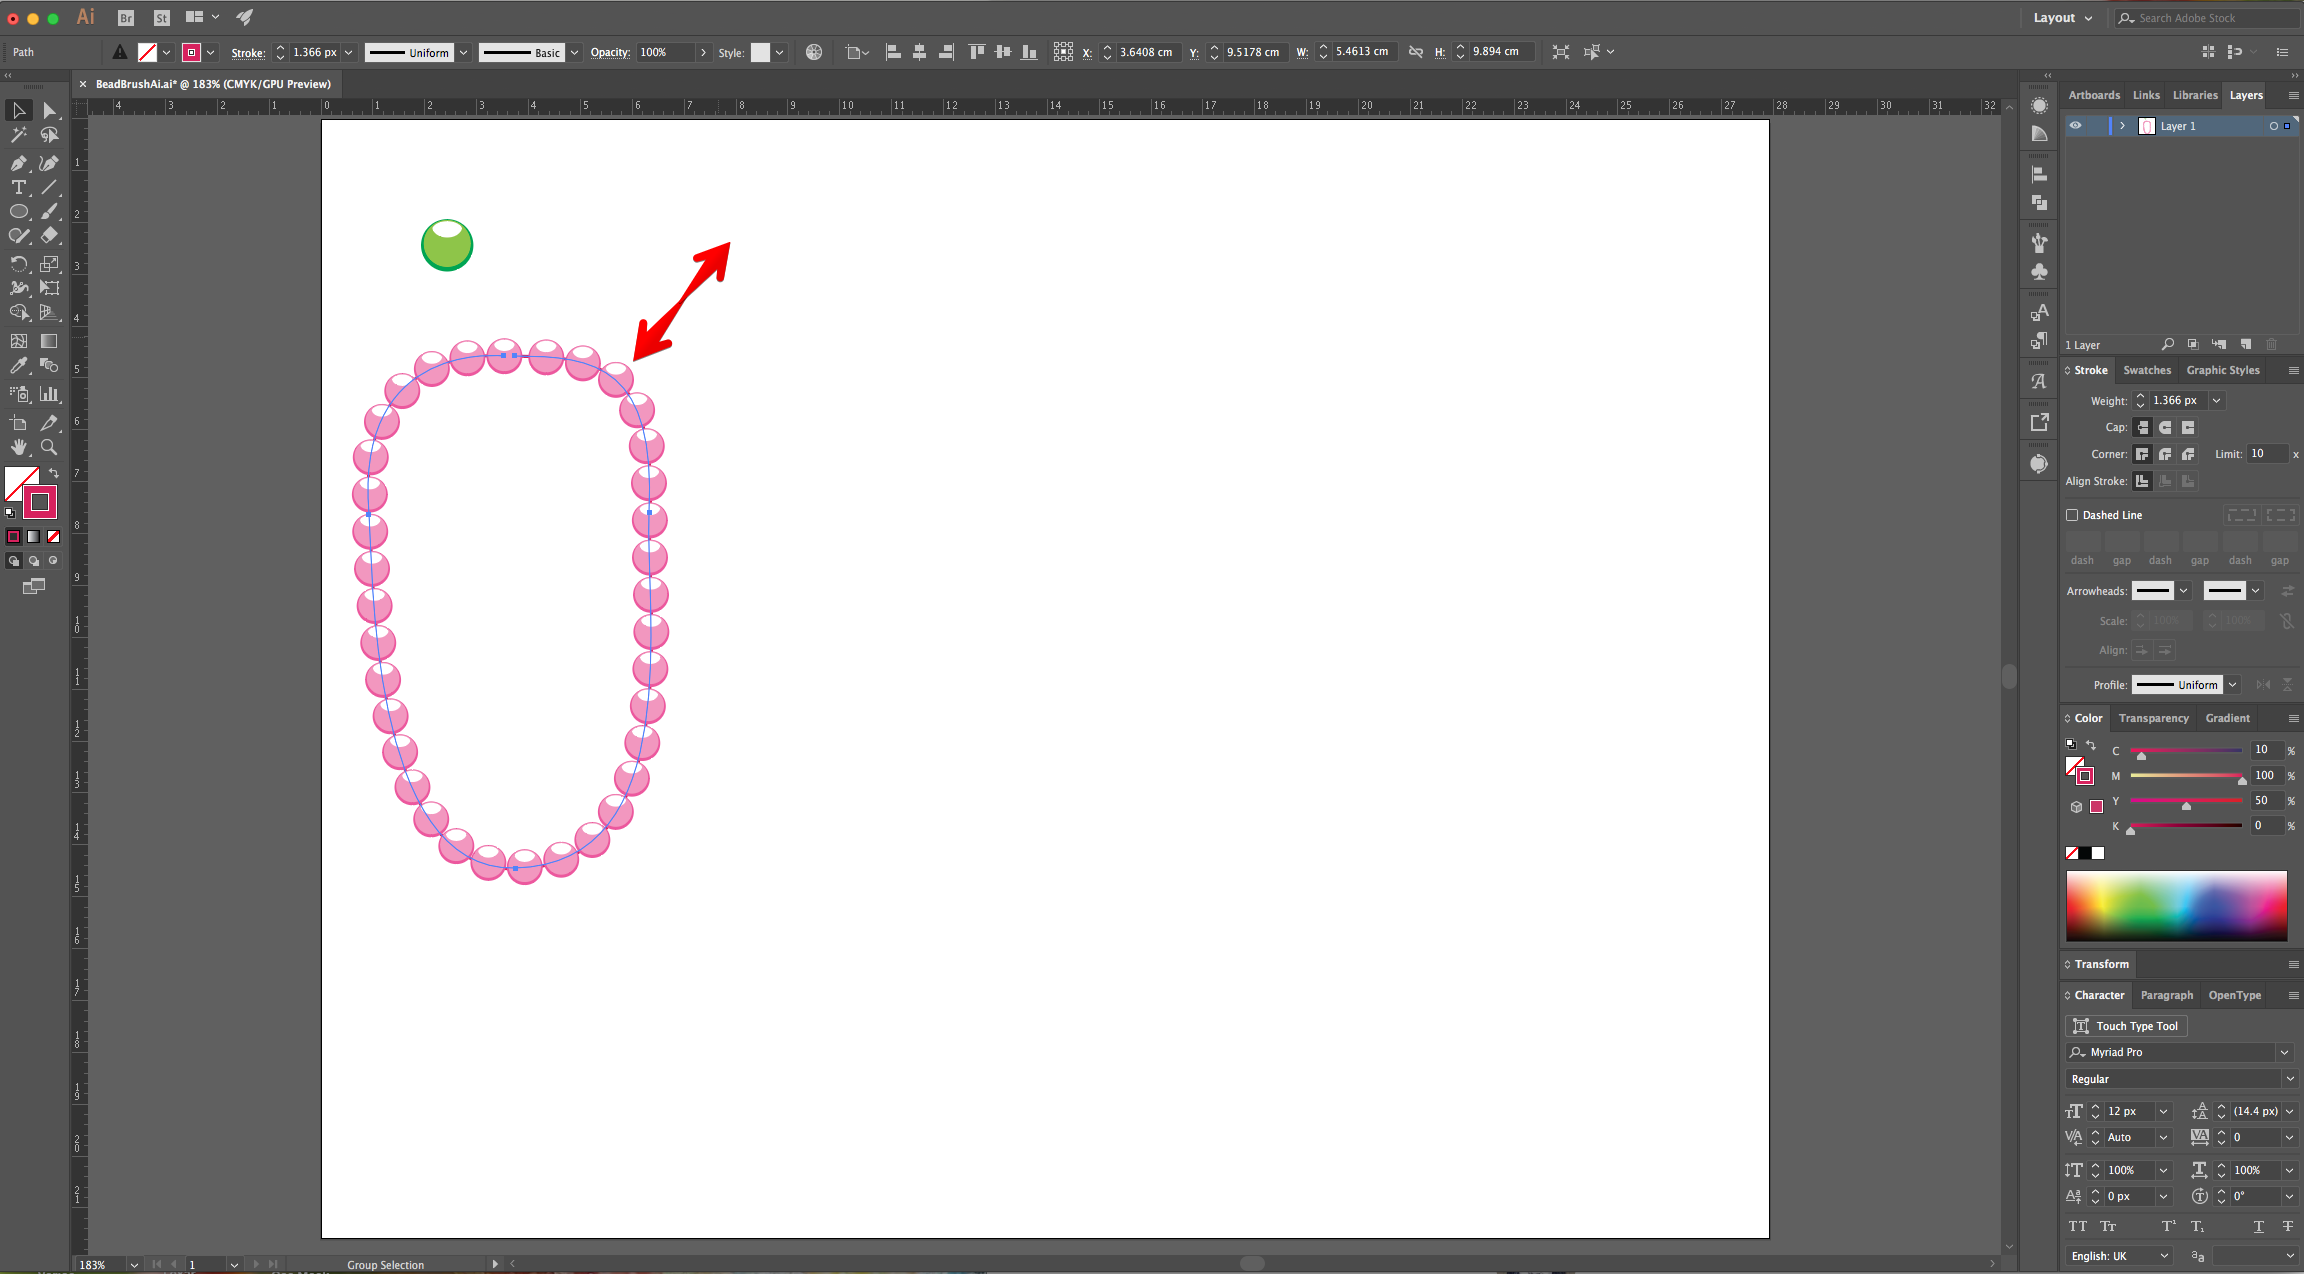
8 - Select the “Pen Tool” (P) and draw a shape inside the “Canvas”. It should look like a “Necklace”.
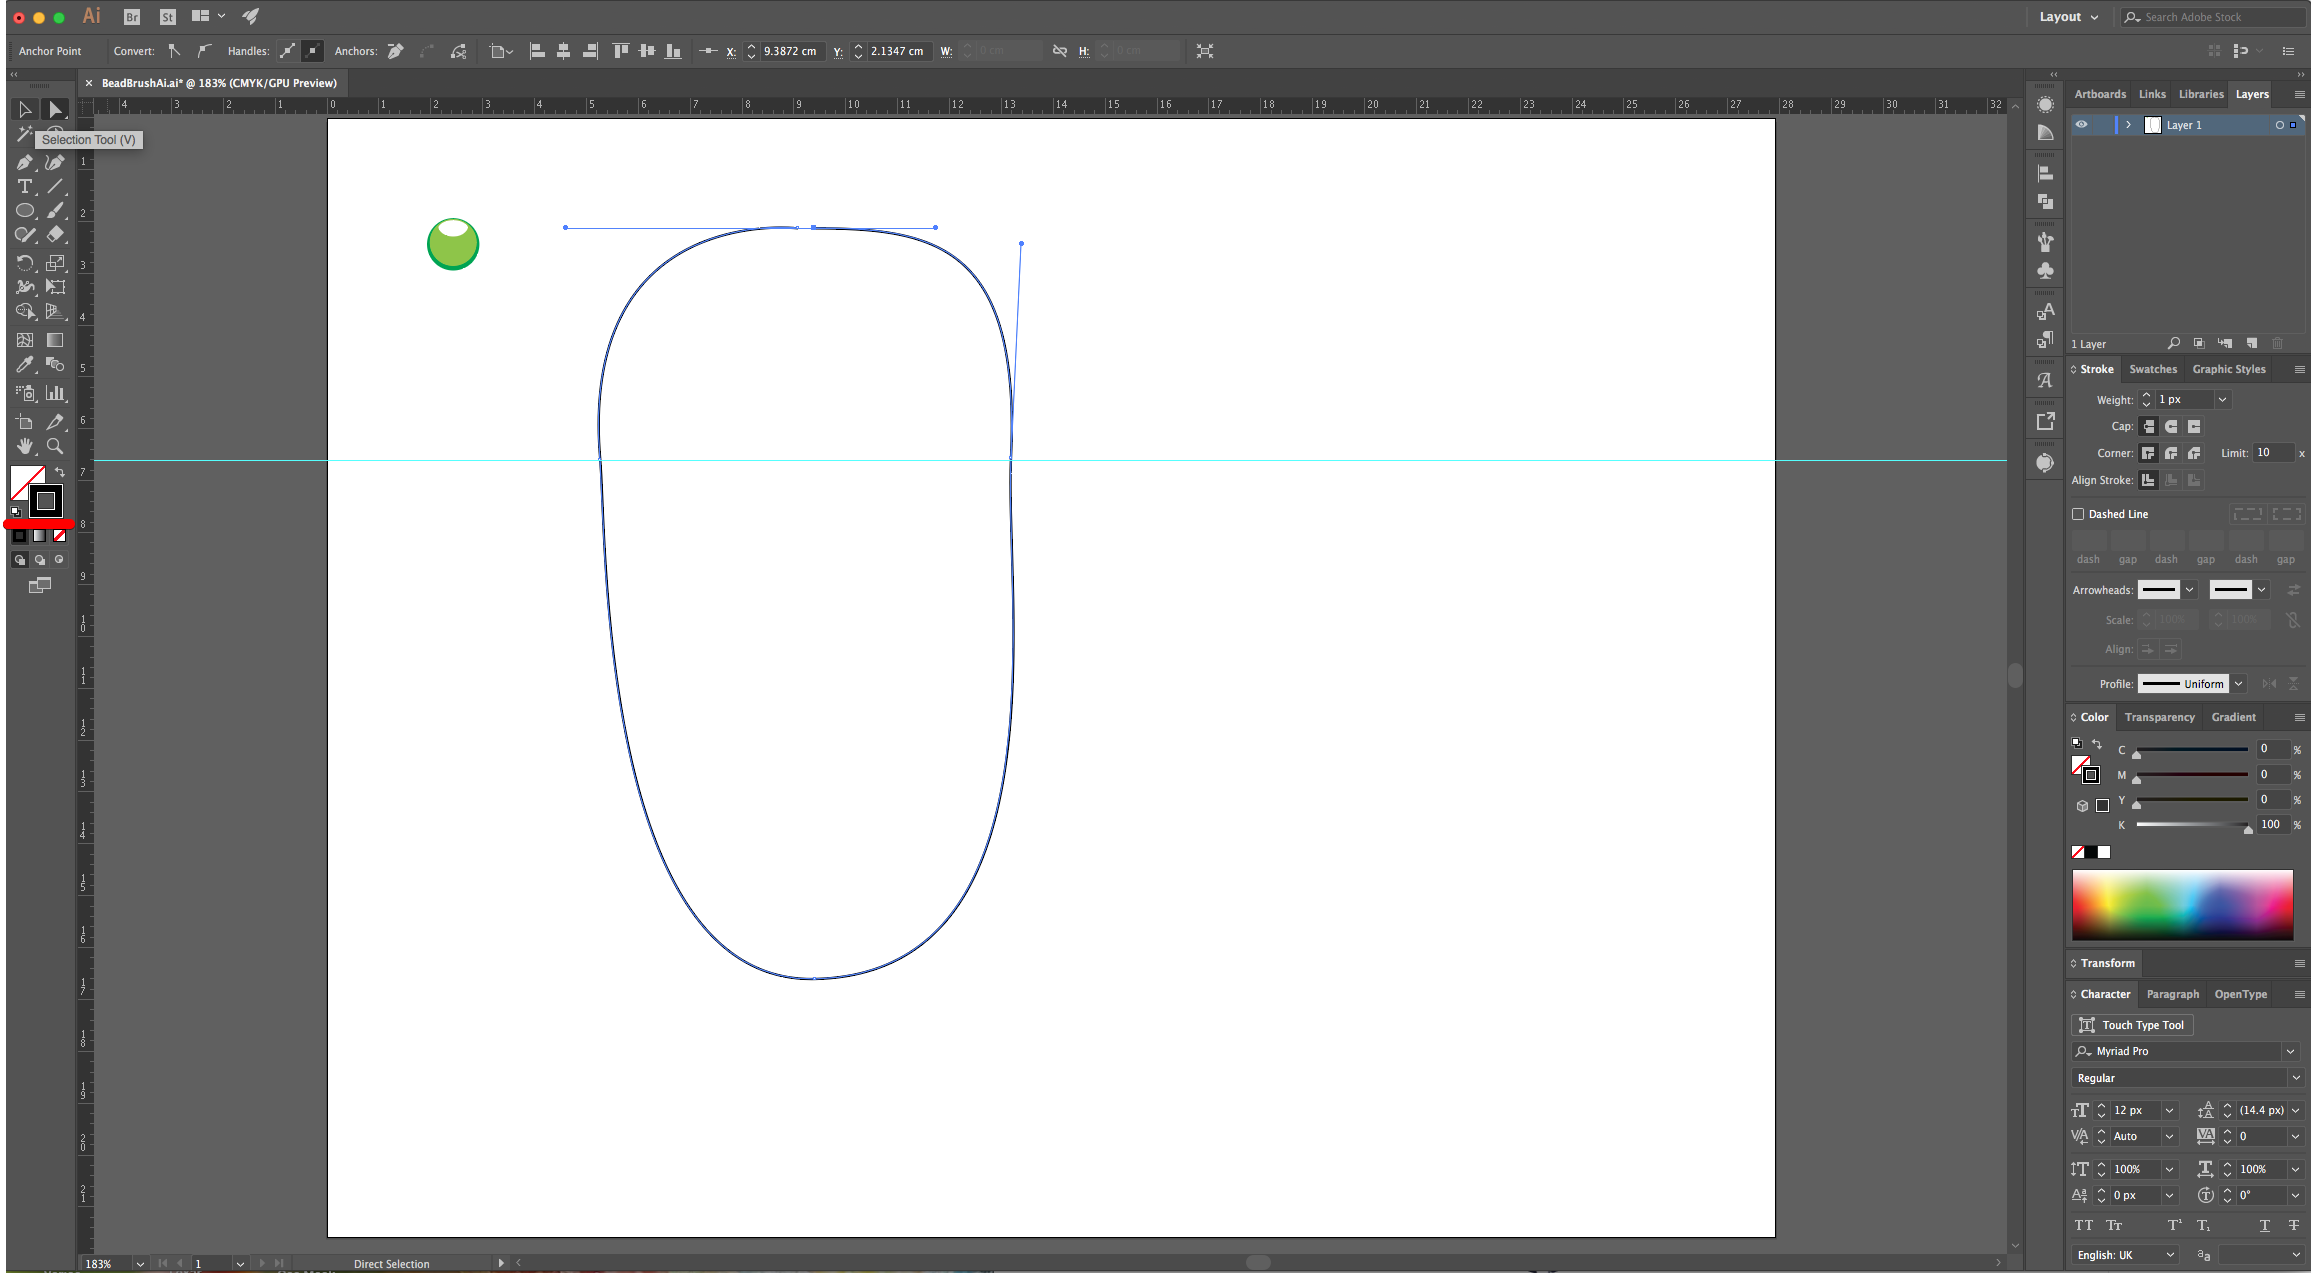
9 - With the “Path” selected choose you new “Bead Brush” as line. You will notice that the beads have the same colors as the one used as “Stroke” color (in our case Black).
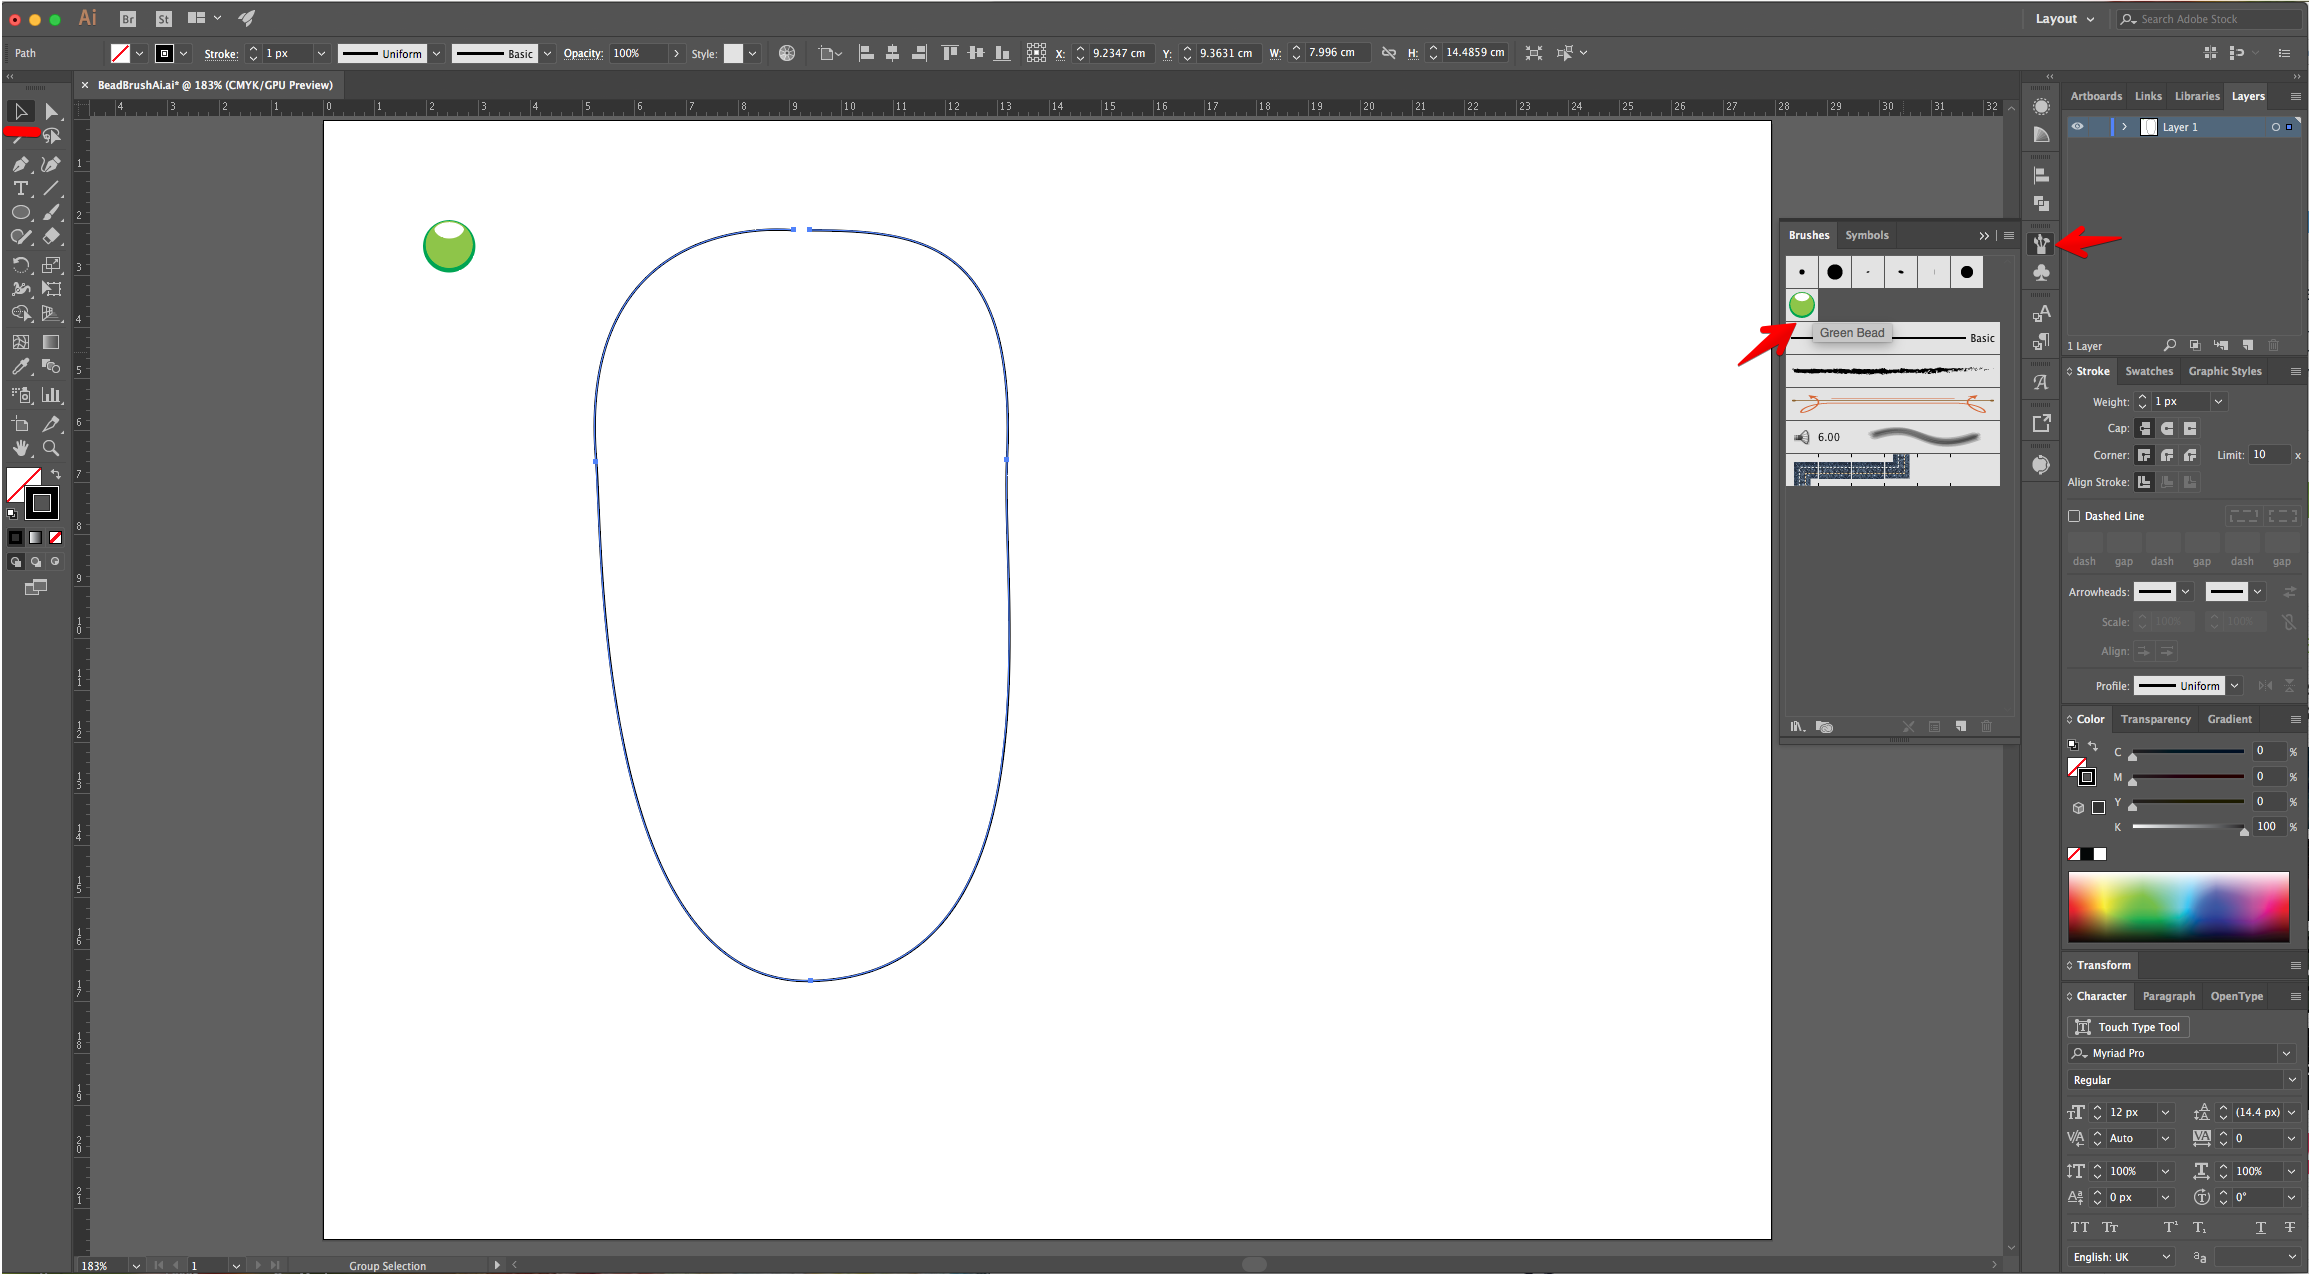
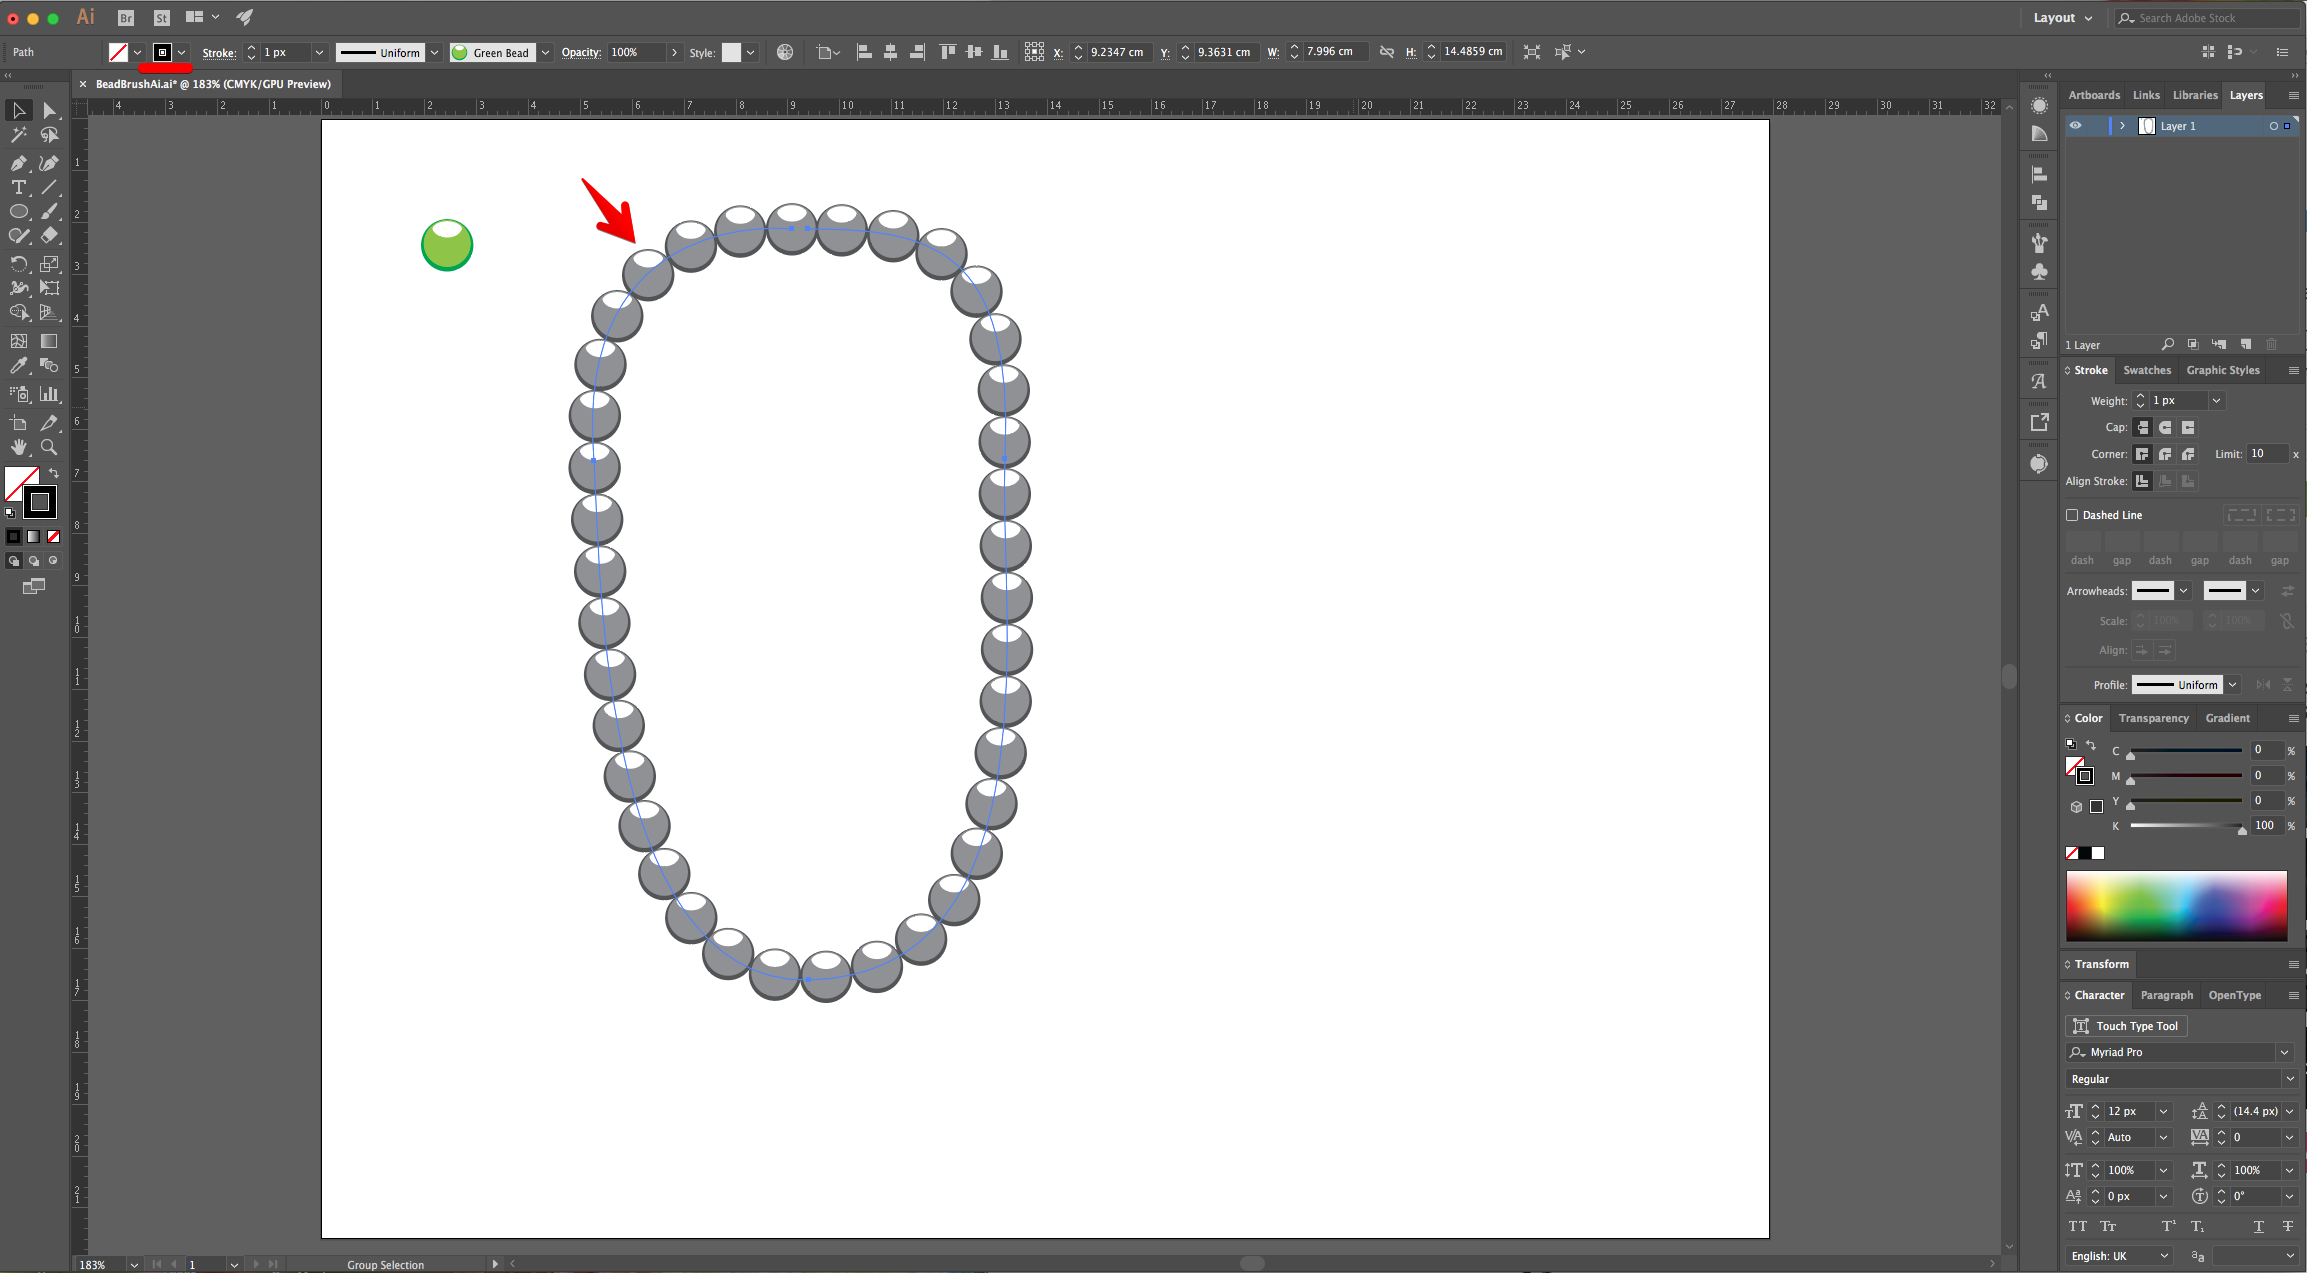
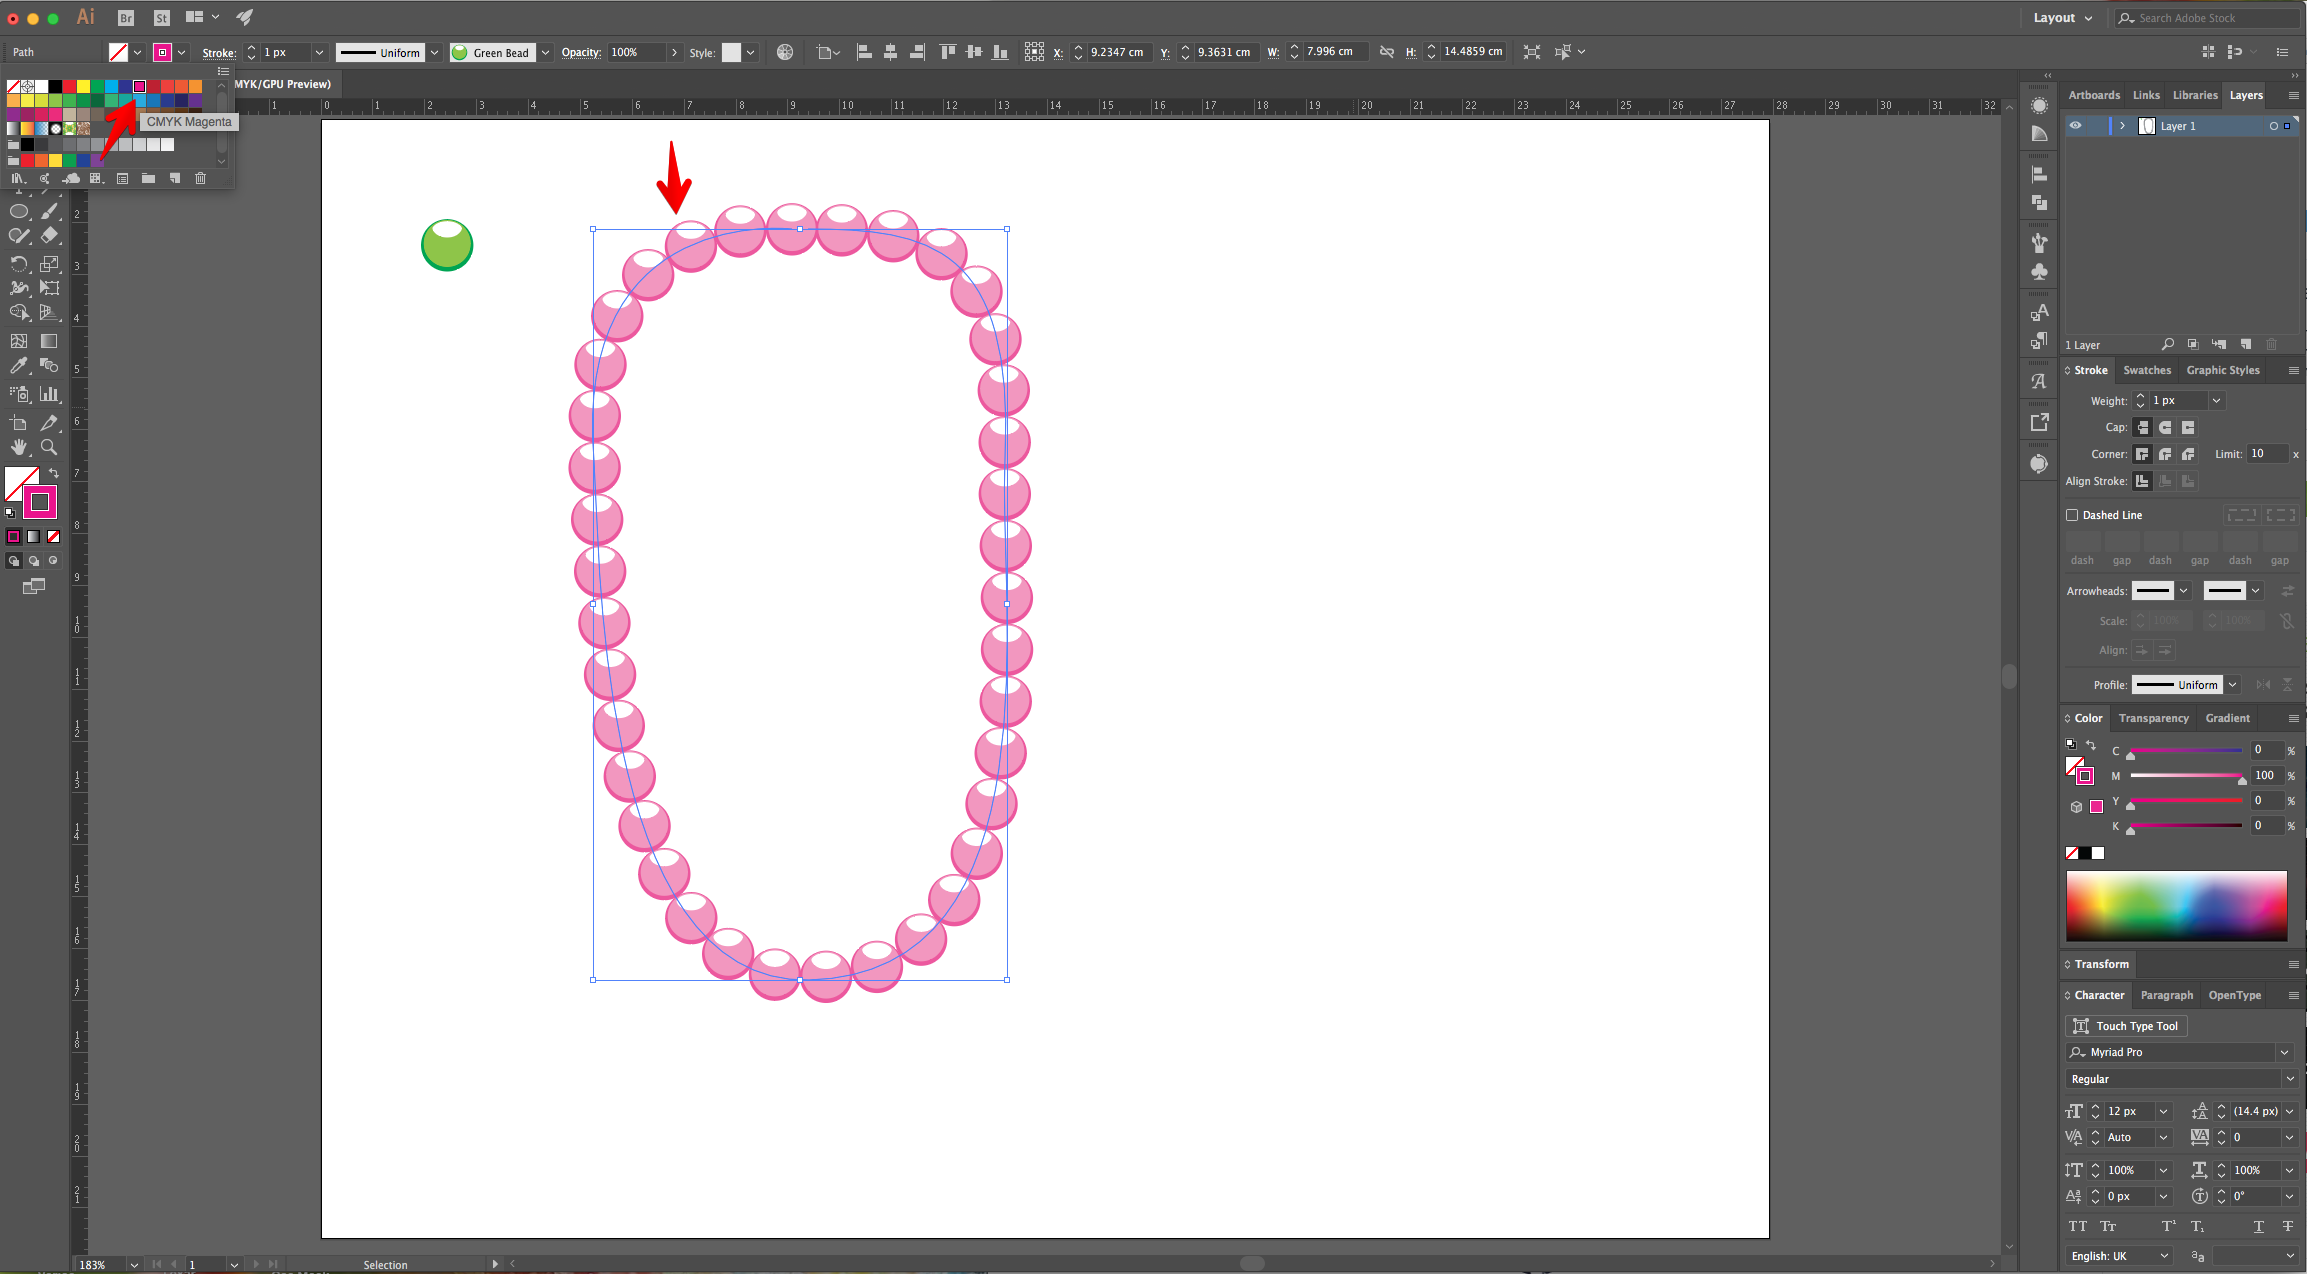
10 - To change the color of the “Beads” select the desired base color from the “Swatches Panel”.
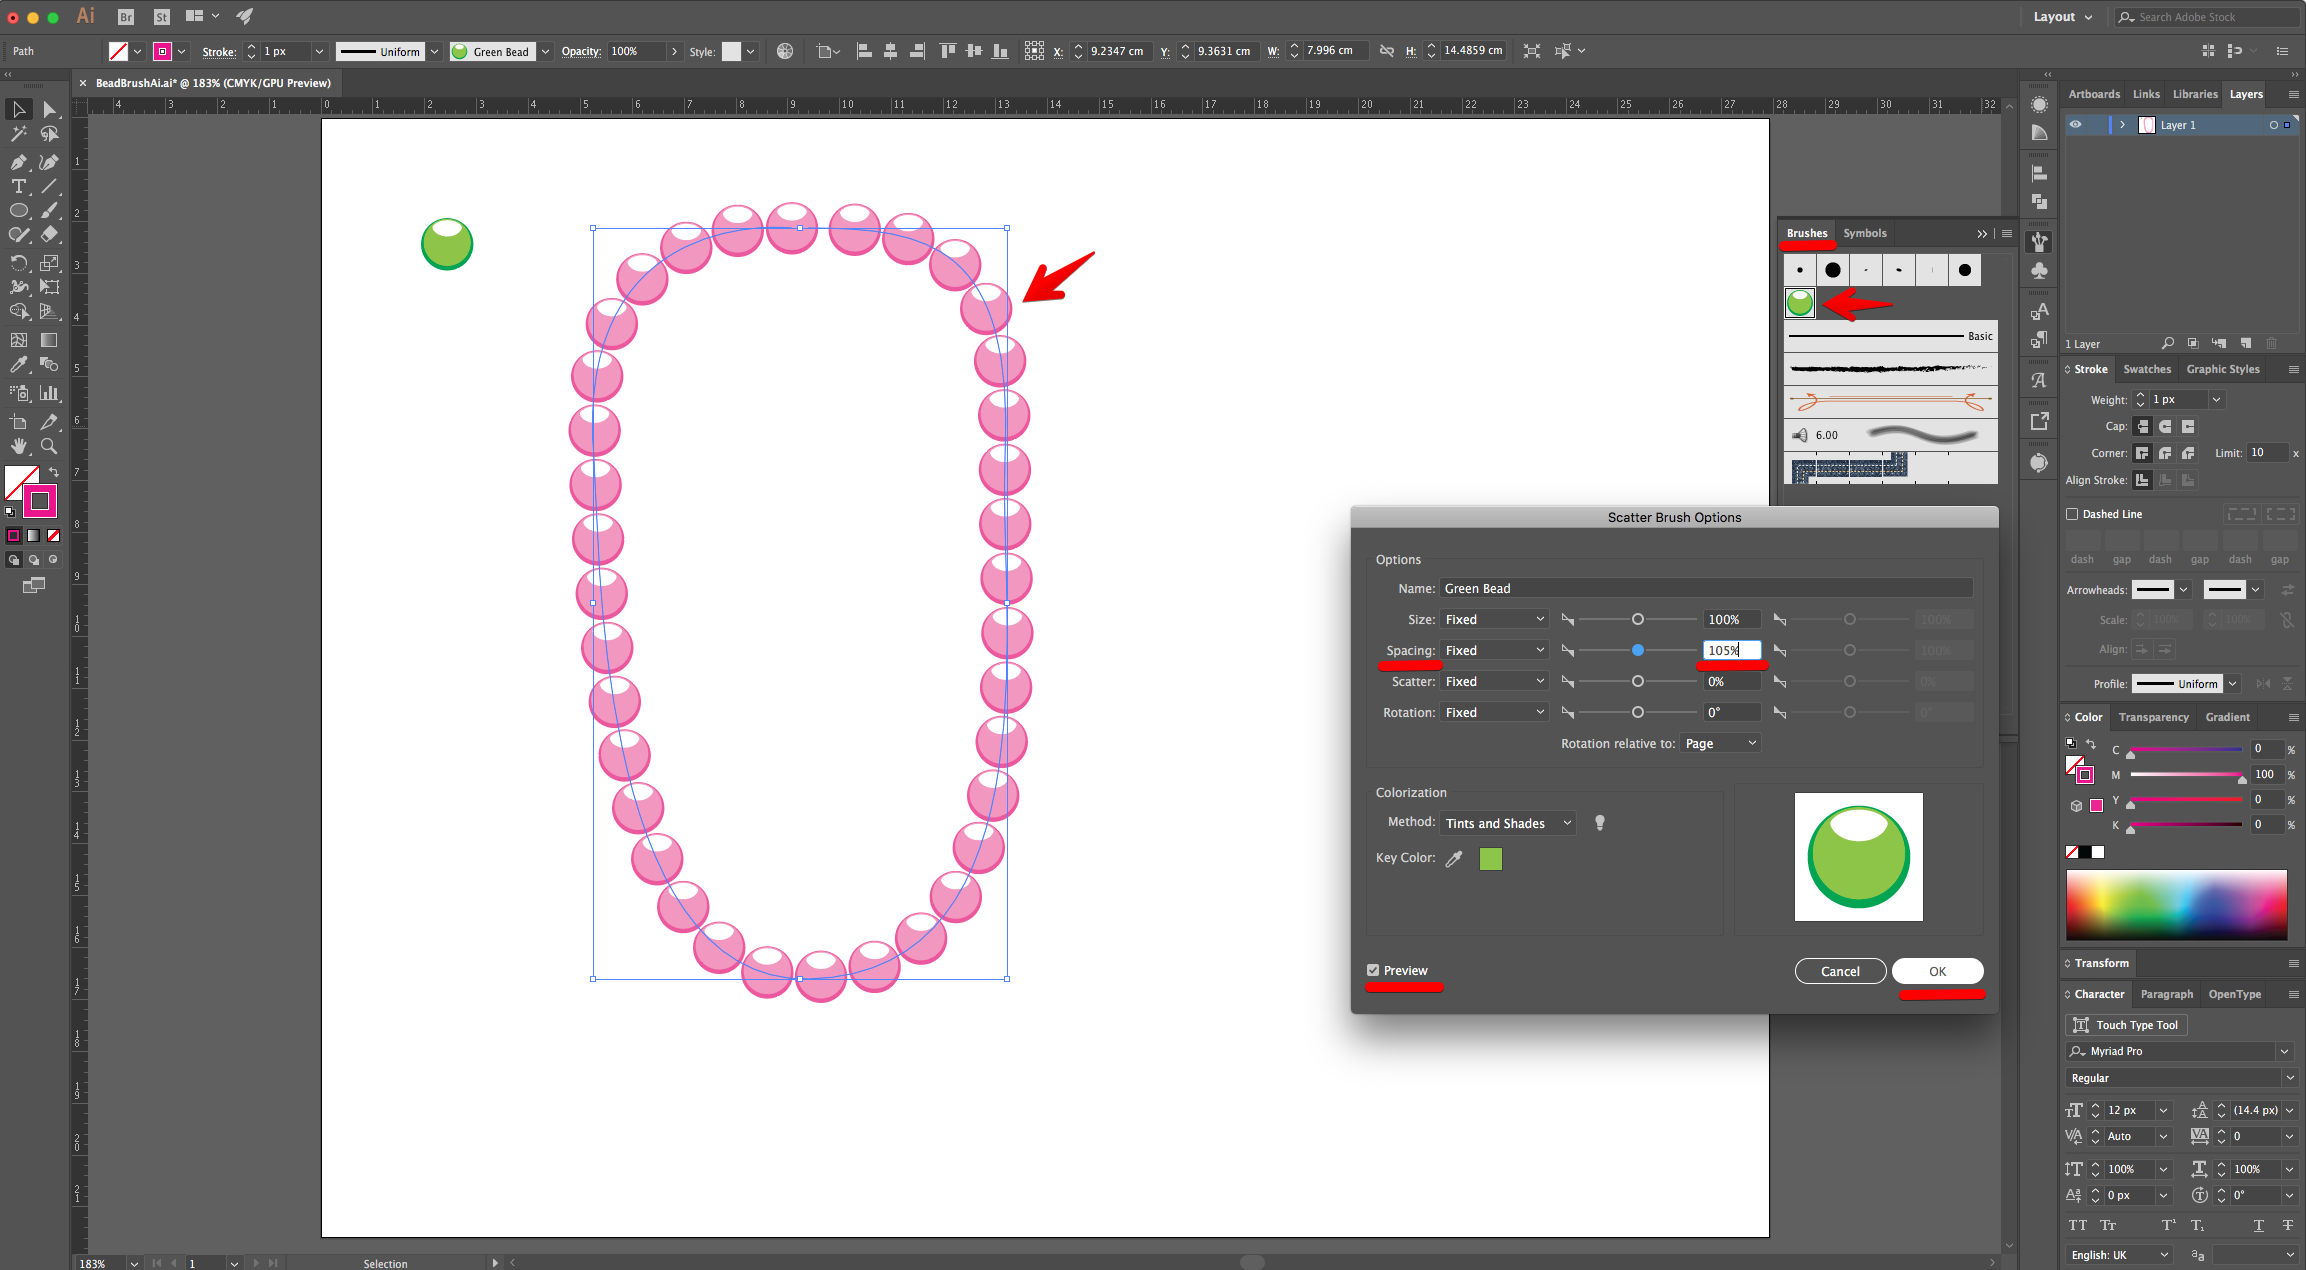
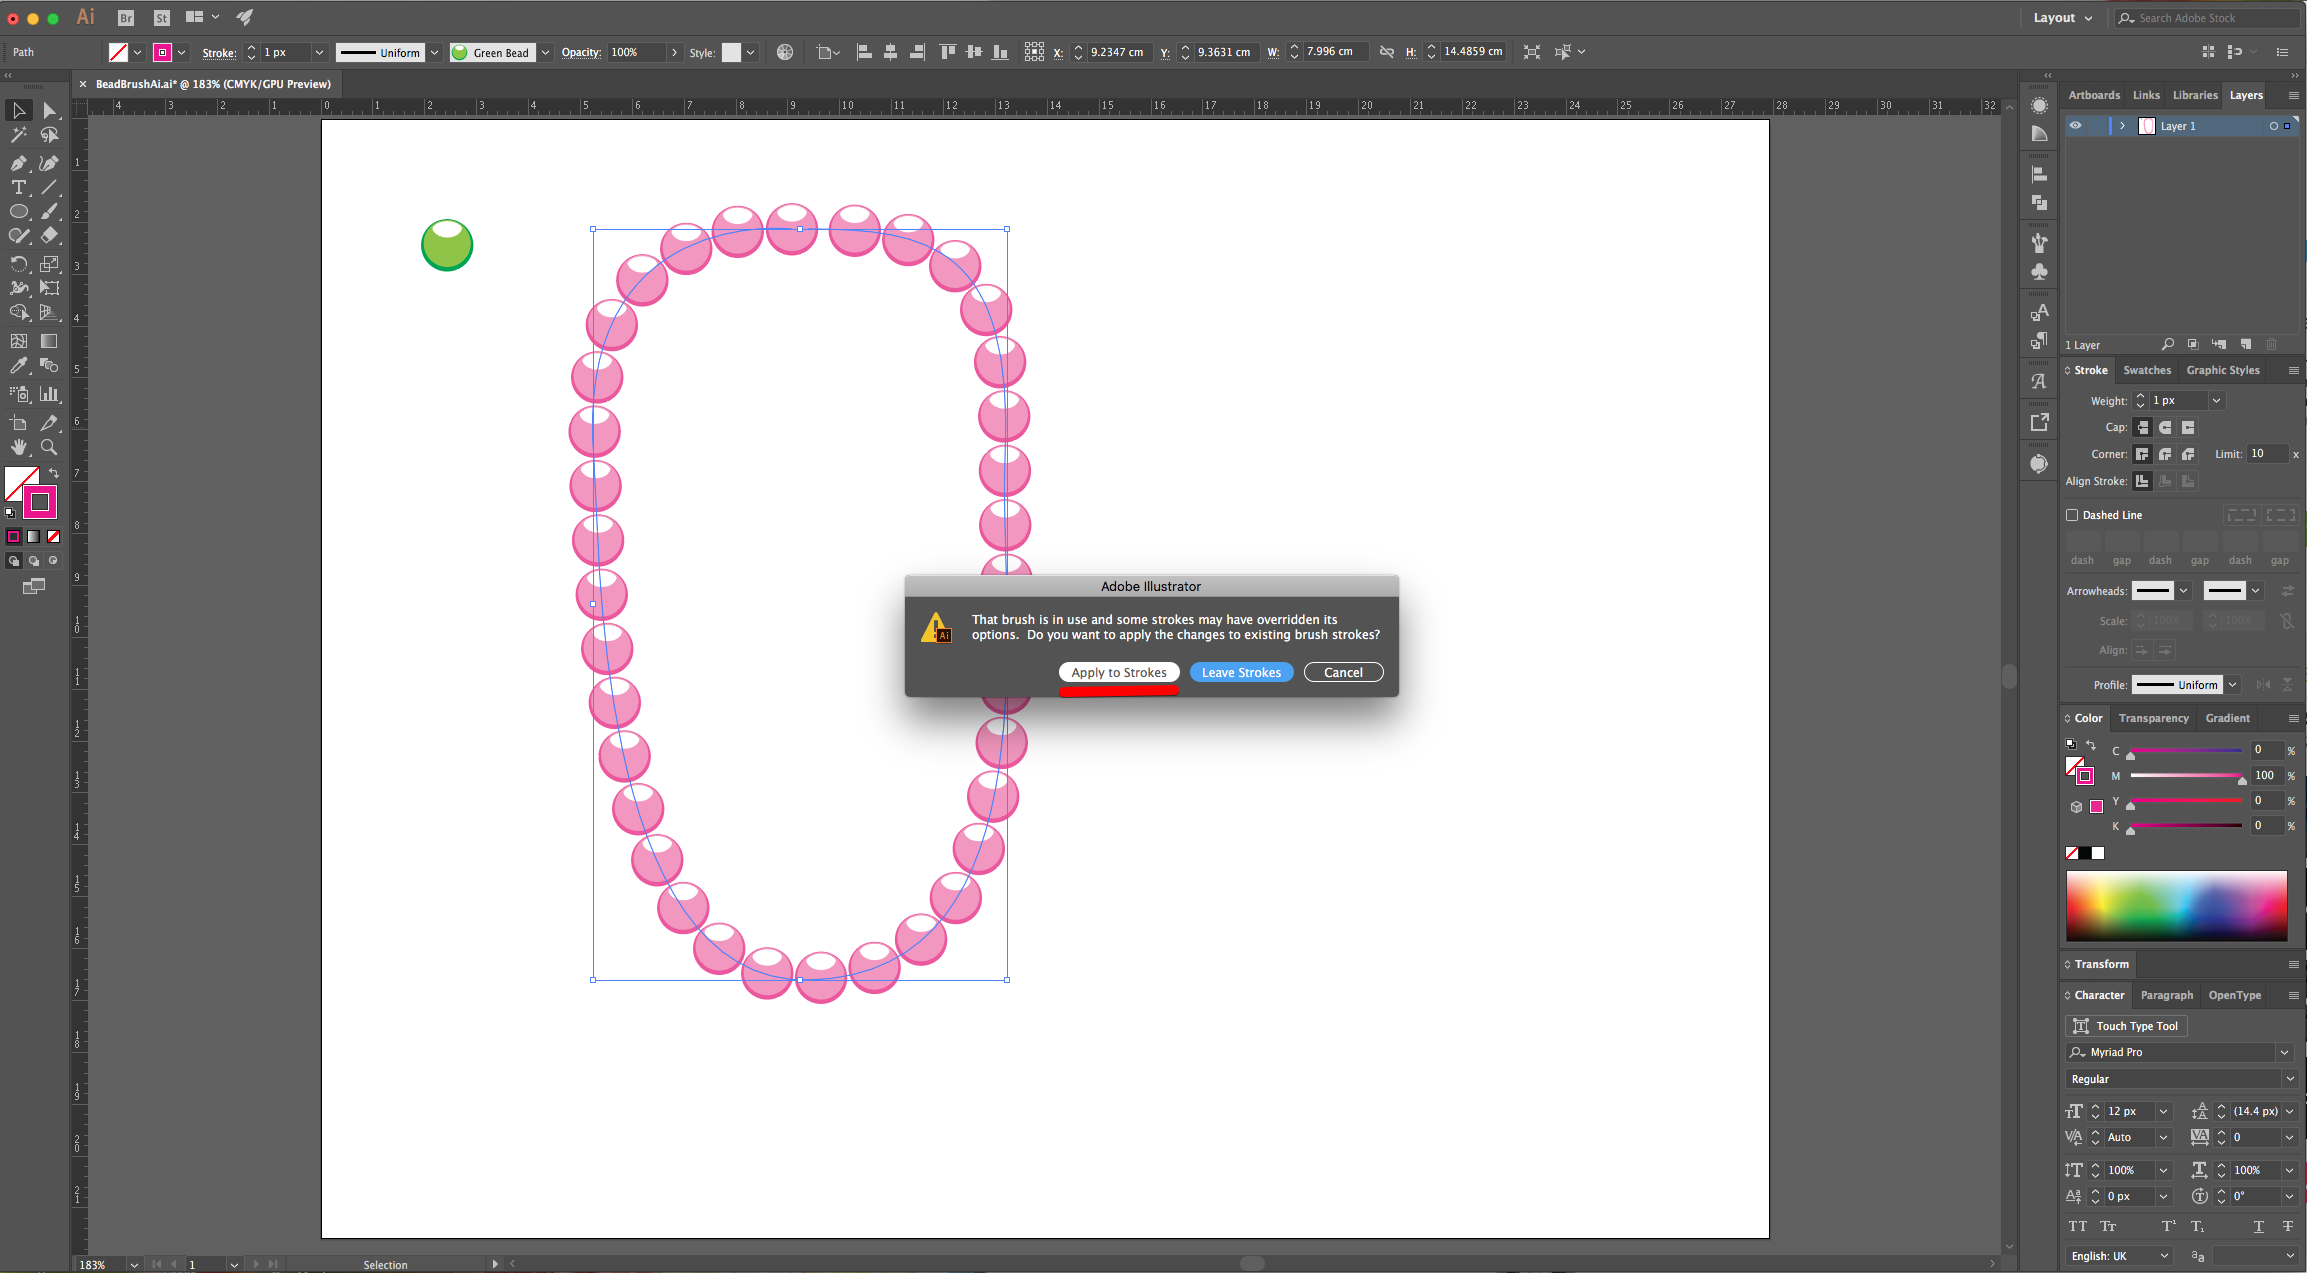
11 - To add some air between the beads, double-click on top of the “Bead Brush” thumbnail in the “Brushes Panel” and change the “Spacing” (we changed it to 105%). Choose “Apply to Strokes” when prompted.
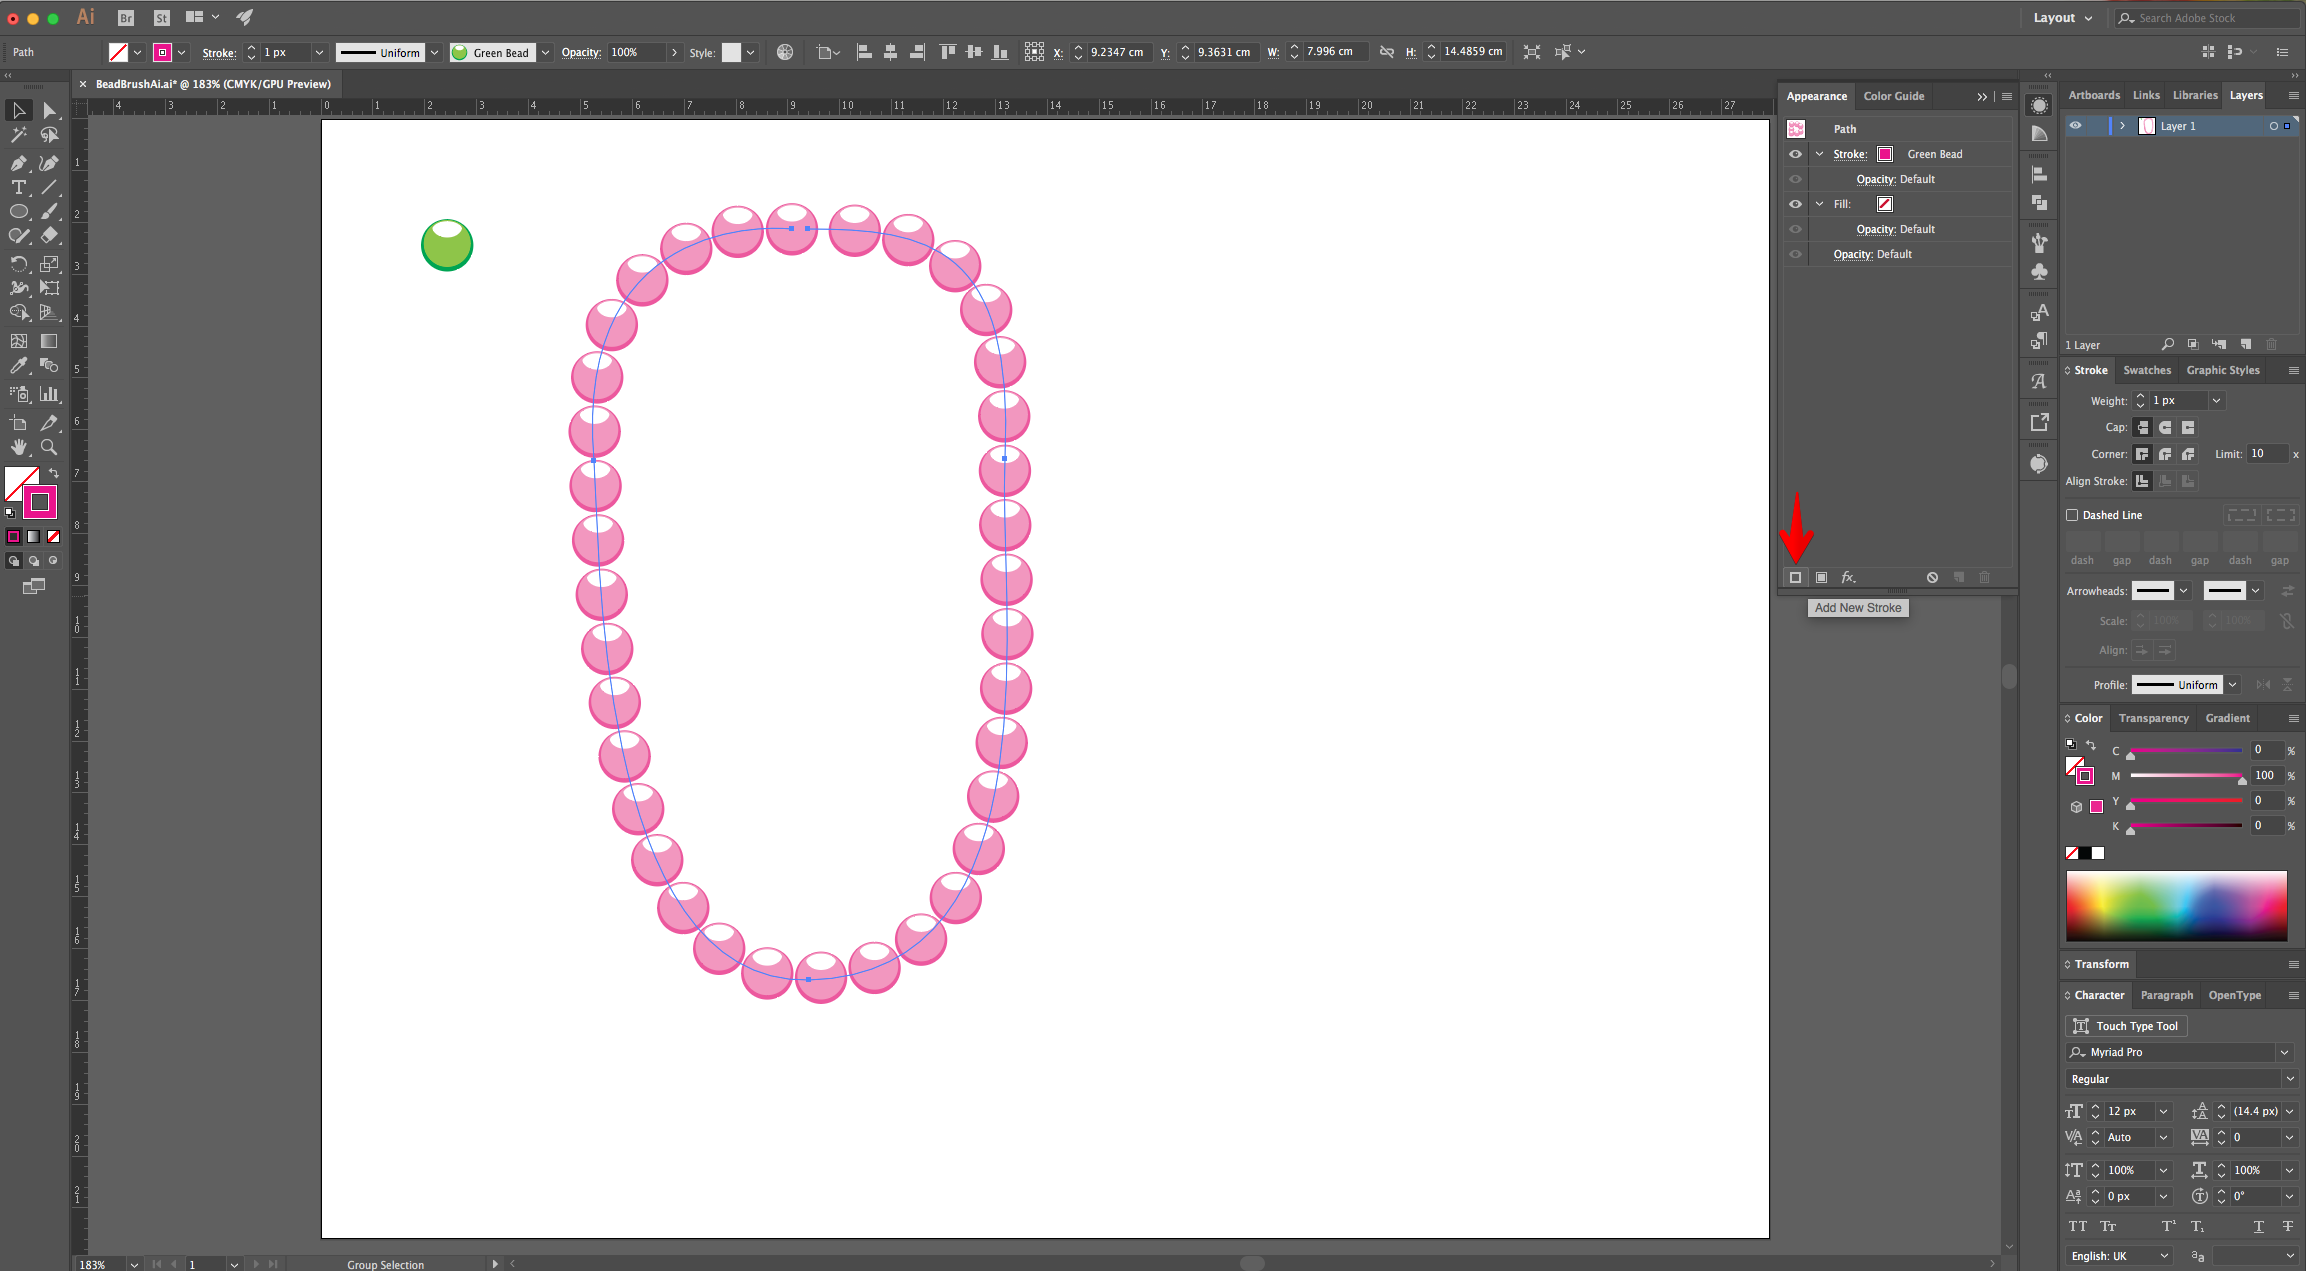
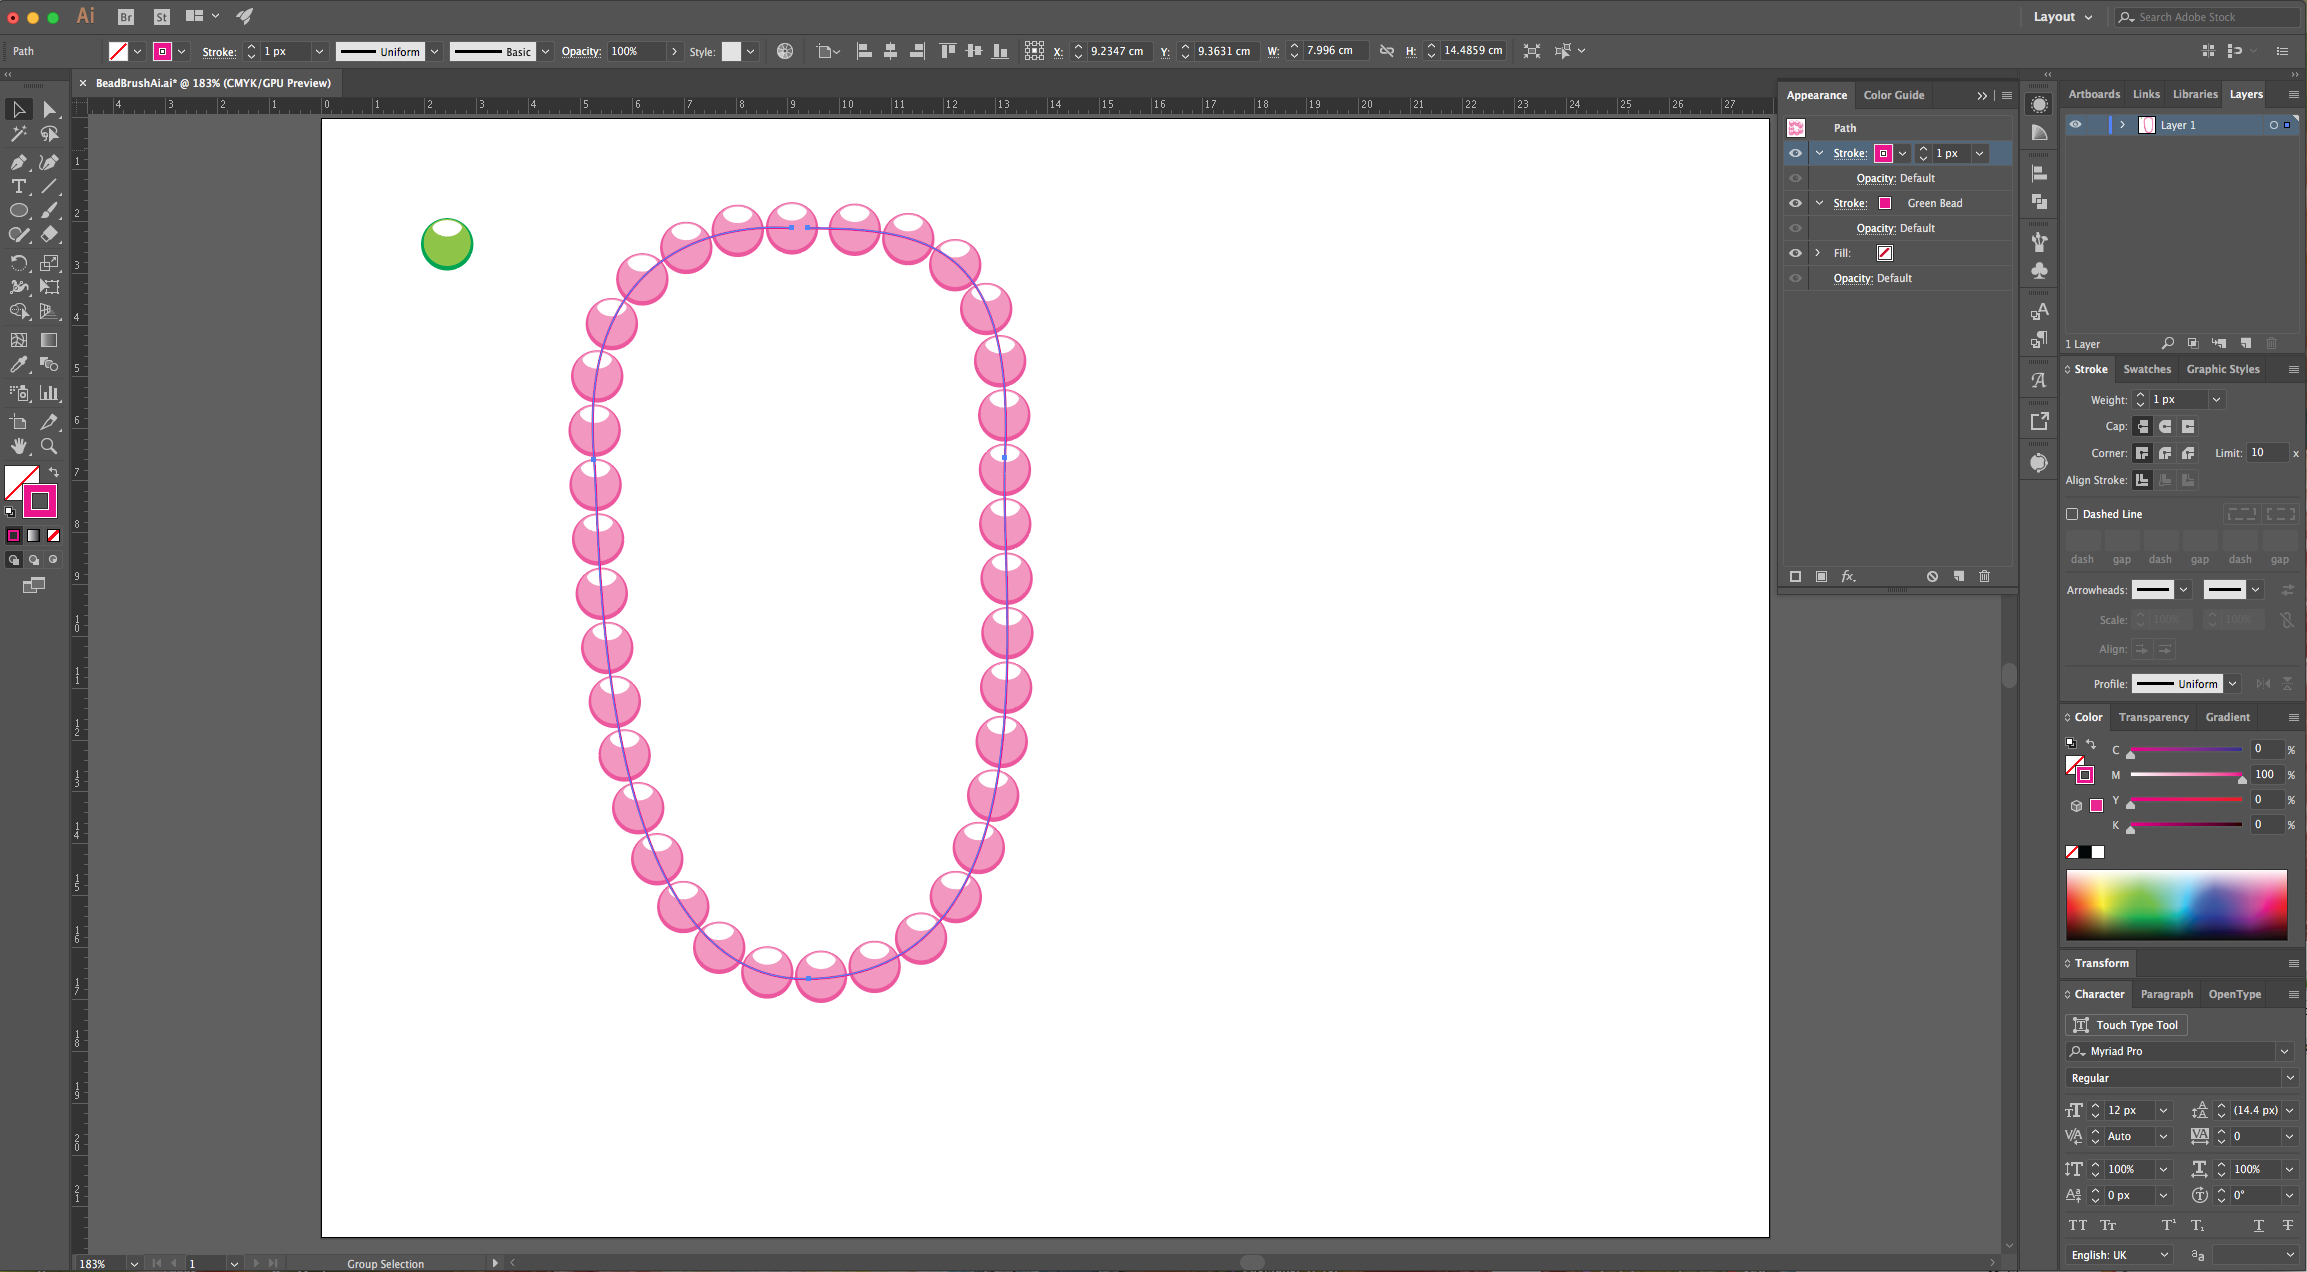
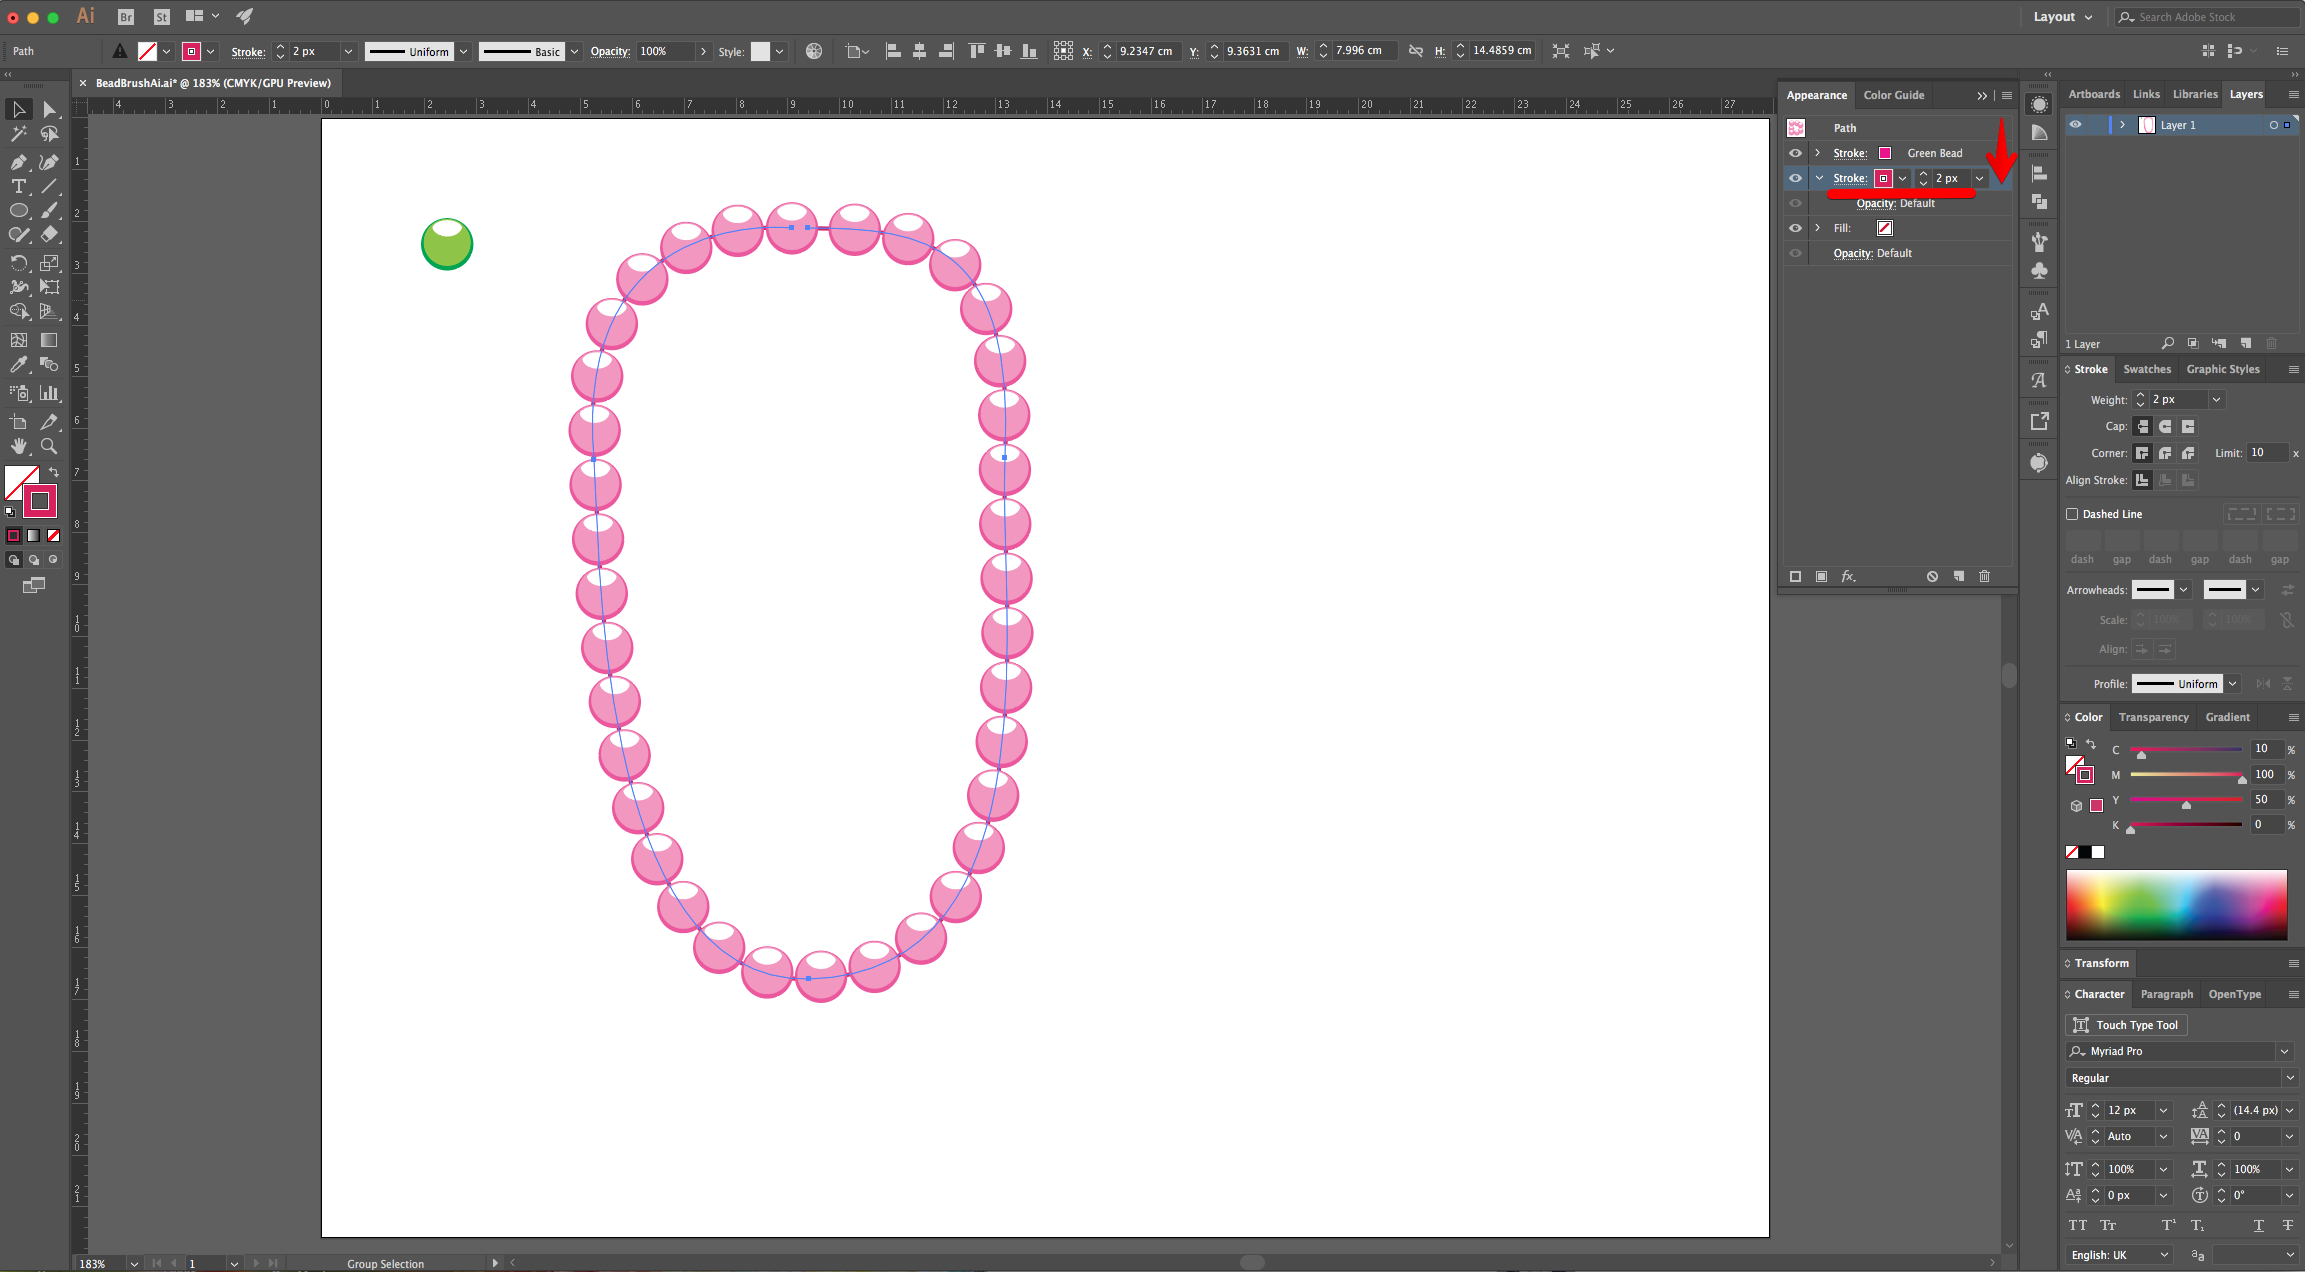
12 - With your Path selected, head to the “Appearance Panel” and click the “Add New Stoke” button at the bottom of the Panel. Change the “Stoke Weight” to 2 px and use a darker color. Then, drag the new “Stroke” thumbnail down to place it under the original one.
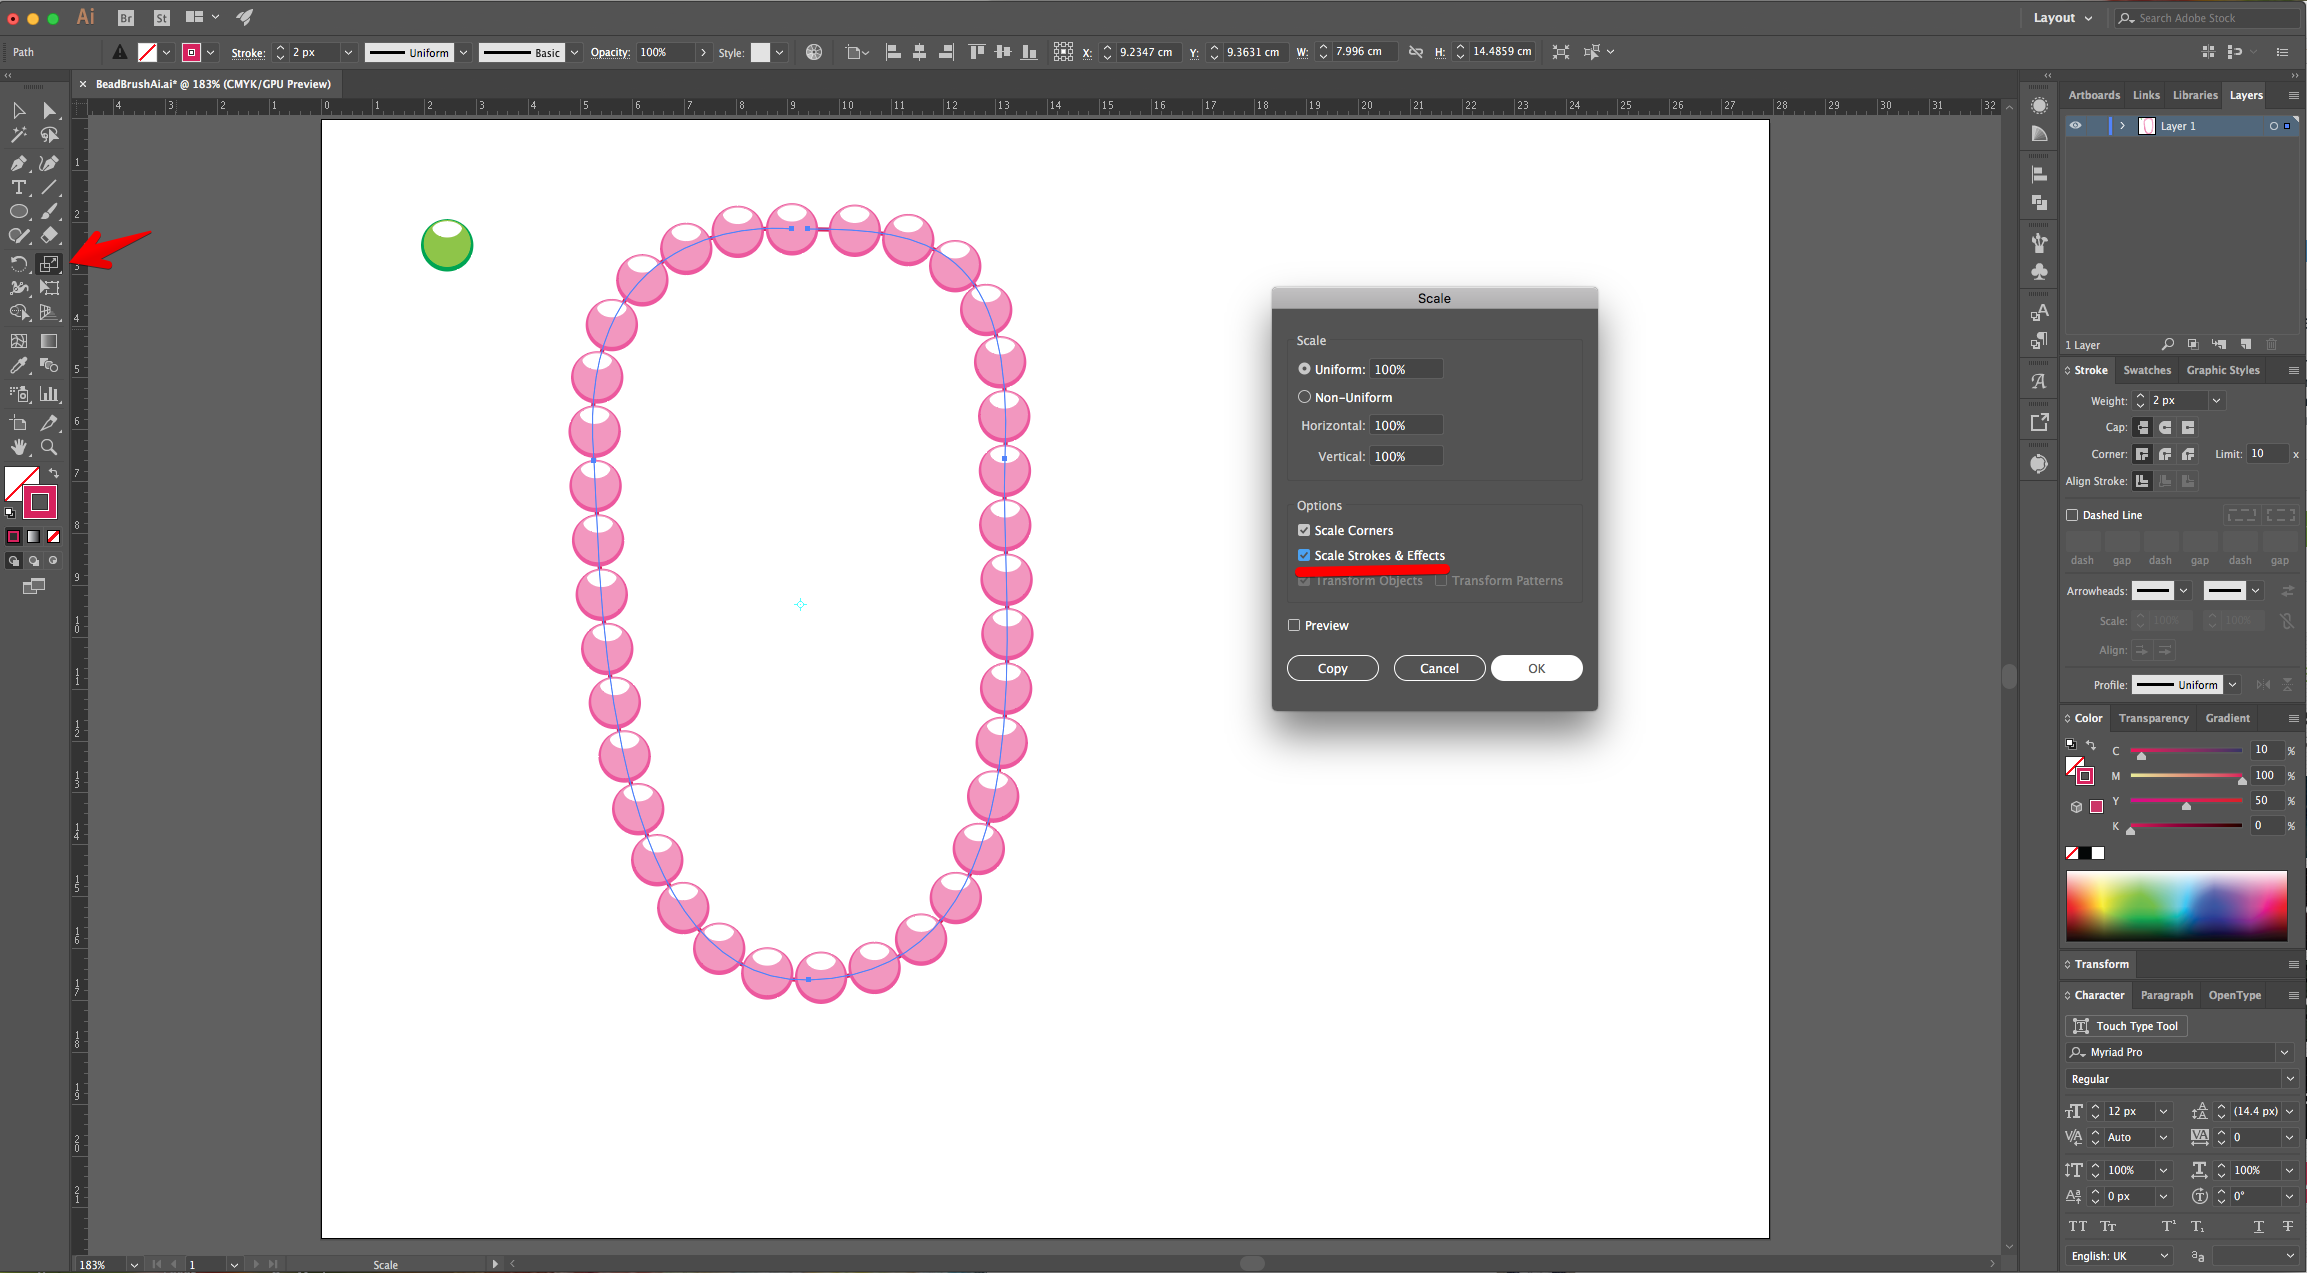
13 - Double-click on the “Scale Tool” to bring out the dialog and make sure that “Scale Strokes and Effects” box is checked. Now you can resize your Path if needed.
14 - Bring in the T-Shirt images and place many strands of Beads around them. You can change their size and color to make end result more realistic.
1 - In Illustrator, create a “New Document”.
2 - Choose a medium Green from the “Swatches Panel” and “No Stroke”.
3 - Select the “Ellipse Tool” (L), click inside the “Canvas” and create a small “Circle” (it should be about 1 cm by 1cm.
4 - Create a second “Circle” but this time make it 0.9 cm x 0.9 cm and fill it with a lighter shade of Green. Position it centered inside the first Circle, but almost touching the upper limit leaving just a small space between the two.
5 - Create a third Circle, make it 0.7 cm by 0.7 cm.
6 - Fill it with White and place it centered on the center-top of the previous two leaving a bit of space like before. Using the “Direct Selection Tool” (A), click on the side “Anchor Points” and modify them until your shape is similar to an Oval. It should seem a “Light” reflection.
7 - Select all of your circles and drag them into the “Brushes Panel” to create a “New Brush”. Choose “Scatter Brush” and click “OK”. Name your brush, use “Fixed” for all the top options and select “Tints and Shades” as “Method” making sure that the lighter shade of green is the one selected.
8 - Select the “Pen Tool” (P) and draw a shape inside the “Canvas”. It should look like a “Necklace”.
9 - With the “Path” selected choose you new “Bead Brush” as line. You will notice that the beads have the same colors as the one used as “Stroke” color (in our case Black).
10 - To change the color of the “Beads” select the desired base color from the “Swatches Panel”.
11 - To add some air between the beads, double-click on top of the “Bead Brush” thumbnail in the “Brushes Panel” and change the “Spacing” (we changed it to 105%). Choose “Apply to Strokes” when prompted.
12 - With your Path selected, head to the “Appearance Panel” and click the “Add New Stoke” button at the bottom of the Panel. Change the “Stoke Weight” to 2 px and use a darker color. Then, drag the new “Stroke” thumbnail down to place it under the original one.
13 - Double-click on the “Scale Tool” to bring out the dialog and make sure that “Scale Strokes and Effects” box is checked. Now you can resize your Path if needed.
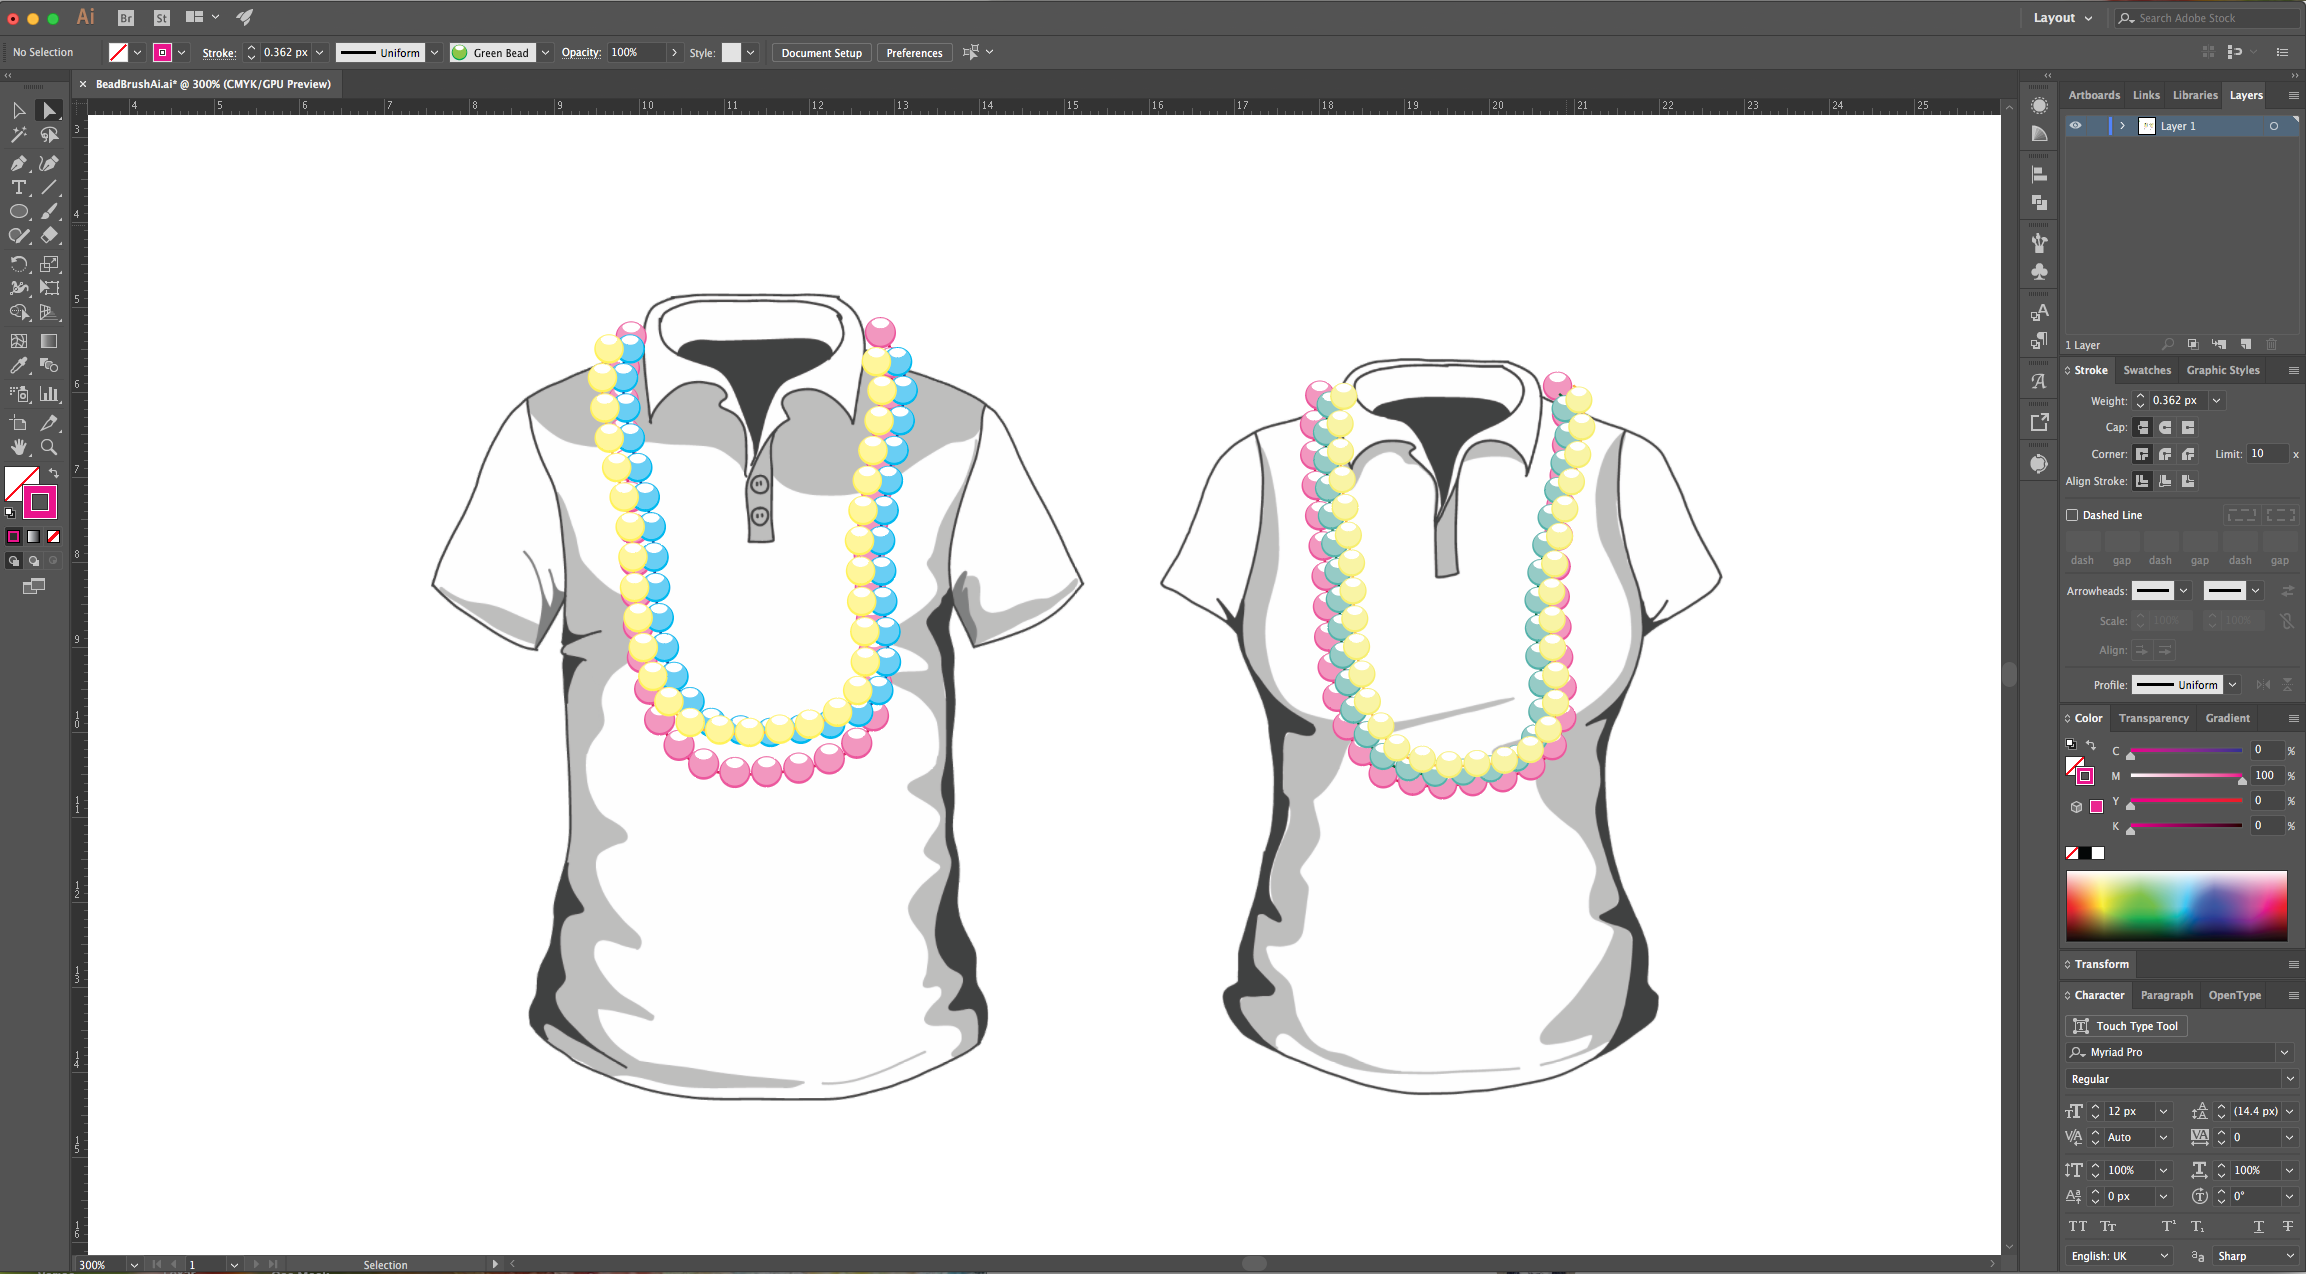
14 - Bring in the T-Shirt images and place many strands of Beads around them. You can change their size and color to make end result more realistic.
by @lornacane
Related Tutorials
Illustrator Tutorials
How to Create a Splatter Brush in Illustrator
Learn how to make a splatter brush in Illustrator in this intermediate tutorial.
Drawing Tutorials
How to Draw a Mardi Gras Mask
Celebrate Mardi Gras with our drawing guide and learn how to draw a Mardi Gras mask in 3 steps
Illustrator Tutorials
How to add a brush in Adobe Illustrator
Illustrator Tutorials
Scatter Brushes in Illustrator
Discover how to make a scatter brush in Adobe Illustrator to create unique brushes.
Illustrator Tutorials
Create Stipple Brushes in Illustrator
In this tutorial learn how to create Stipple Brushes in Illustrator.
Illustrator Tutorials