By Design Bundles
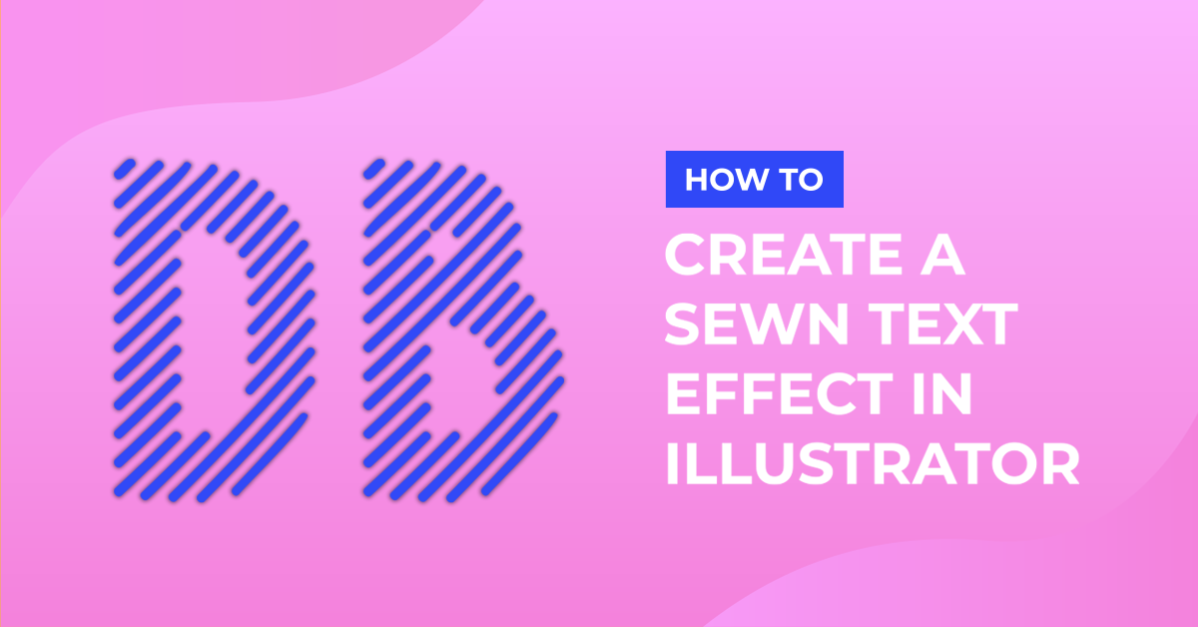
Sewed Text in Illustrator
For this tutorial we are going to use the free font “Danken Stripes” from FontBundles.
1 - In Illustrator, create a “New Document”. If the “Rulers” are not enabled, go to View > Rulers > Show Rulers (Command/Control + R) to turn them ON.


2 - Select the “Type Tool” (T), choose your font and type your text. The size will depend on the word/s you chose. We used “Danken Regular Stripes”.


3 - Center the text using the “Horizontal and Vertical Align Center” options on your Top Menu and make sure that “Align to Artboard” is selected. Or use the same options in the “Align Panel”. Then, go to Type > Create Outlines (Shift + Command/Control + O).


4 - Go to Object > Expand and then, right-click on top of the text and choose “Ungroup”. Go to Object > Compound Path > Release and then, right-click on top of the text and choose “Group”.


5 Go to Effect > Distort & Transform > Roughen and use the following values: (1 px, Absolute, 5/in and Smooth). After that, go to Object > Expand Appearance, right-click on top of the text and choose “Ungroup” twice.


6 - Go to Effect > Warp > Arch and use the following values: (Bend: -5%).


7 - Copy some of the pieces of text ad place them at the ends of certain letters to make it look like some loose thread. Select everything and go to Object > Expand Appearance.


8 - Change the “Fill” color to a medium shade of the color of your choice (we used a Blue shade from the “Swatches Panel). Then, in the “Pathfinder Panel” use “Unite” to merge the text paths together.


9 - “Copy” (Command/Control + C) and “Paste in Front” (Command/Control + F) the text. Change the “Fill” color to a lighter shade. Select the duplicate and go to Object > Transform > Move (Shift + Command/Control + M) and use the following values: (Vertical: -1 px, Distance: 1 and Angle, 90°) click “Copy” instead of “OK”.


10 - Without deselecting, go to Select > Same > Fill Color. Then, in the “Pathfinder Panel” use “Minus Front” while holding the “Alt/Option” key. Head to the “Transparency Panel” and change the “Blending Mode” to “Multiply”. After that, go to Object > Expand Appearance.


11 - “Copy” (Command/Control + C) and “Paste in Front” (Command/Control + F) the original text. Change the “Fill” color to a darker shade this time. Select the duplicate and go to Object > Transform > Move (Shift + Command/Control + M) and use the following values: (Vertical: -2 px, Distance: 2 and Angle, 90°) click “Copy” instead of “OK”.


12 - Without deselecting, go to Select > Same > Fill Color. Then, in the “Pathfinder Panel” use “Minus Front” while holding the “Alt/Option” key. Click the “Expand” button in the “Pathfinder Panel”. Head to the “Transparency Panel” and change the “Blending Mode” to “Soft Light” and lower the “Opacity” to 30%.


13 - Now, “Copy” (Command/Control + C) and “Paste in Front” (Command/Control + F) the original text again. Change the “Fill” color to a White. Select the duplicate and go to Object > Transform > Move (Shift + Command/Control + M) and use the following values: (Horizontal: 0.5 px, Vertical: 0.5 px, Distance: 0.7071 px and Angle, -45°) click “Copy” instead of “OK”.


14 - Without deselecting, go to Select > Same > Fill Color. Then, in the “Pathfinder Panel” use “Intersect” while holding the “Alt/Option” key. Click the “Expand” button in the “Pathfinder Panel”. Head to the “Transparency Panel” and change the “Blending Mode” to “Overlay” and lower the “Opacity” to 25%.


15 - Select the original text and in the “Appearance Panel”, click on the “Effects Menu” on the bottom left side and navigate to Stylize > Outer Glow. Use the following values: (Mode: Screen, Color #000000, Opacity: 50% and Blur: 0.3 px).


16 - Select the original text and go to Object > Transform > Move (Shift + Command/Control + M) and use the following values: (Horizontal: 0.5, Vertical: -0.5 px, Distance: 0.7071 px and Angle, 45°) click “Copy” instead of “OK”.


17 - Select the original text again and go to Object > Transform > Move (Shift + Command/Control + M) and use the following values: (Horizontal: -0.5, Vertical: 0.5 px, Distance: 0.7071 px and Angle, 45°) click “Copy” instead of “OK”.

18 - Select both new duplicates and change their “Fill” color to black.

19 - Then, in the “Pathfinder Panel” use “Unite” to merge the text paths together and drag it down in the “Layers Panel” so it positioned under the everything else.


20 - With it still selected, head to the “Appearance Panel”, click on the “Effects Menu” on the bottom left side and navigate to Blur > Gaussian Blur. Use a “radius of 2 px.


21 - Head to the “Transparency Panel” and lower the “Opacity” to 40%.

22 - Check out your work!


by @lornacane