By Design Bundles
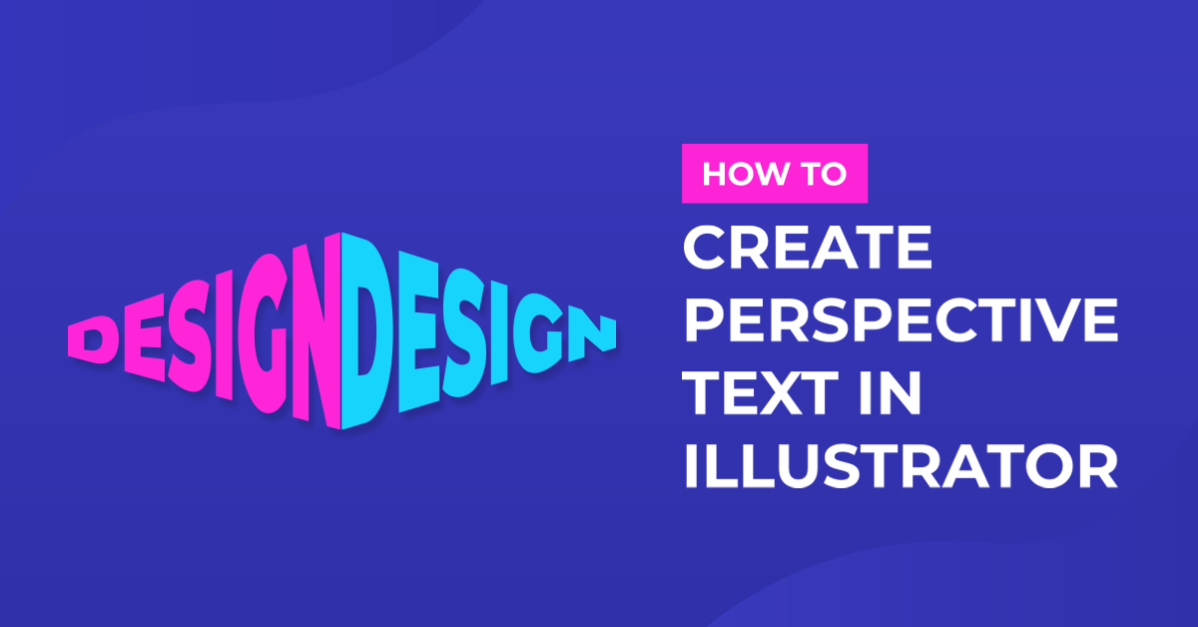
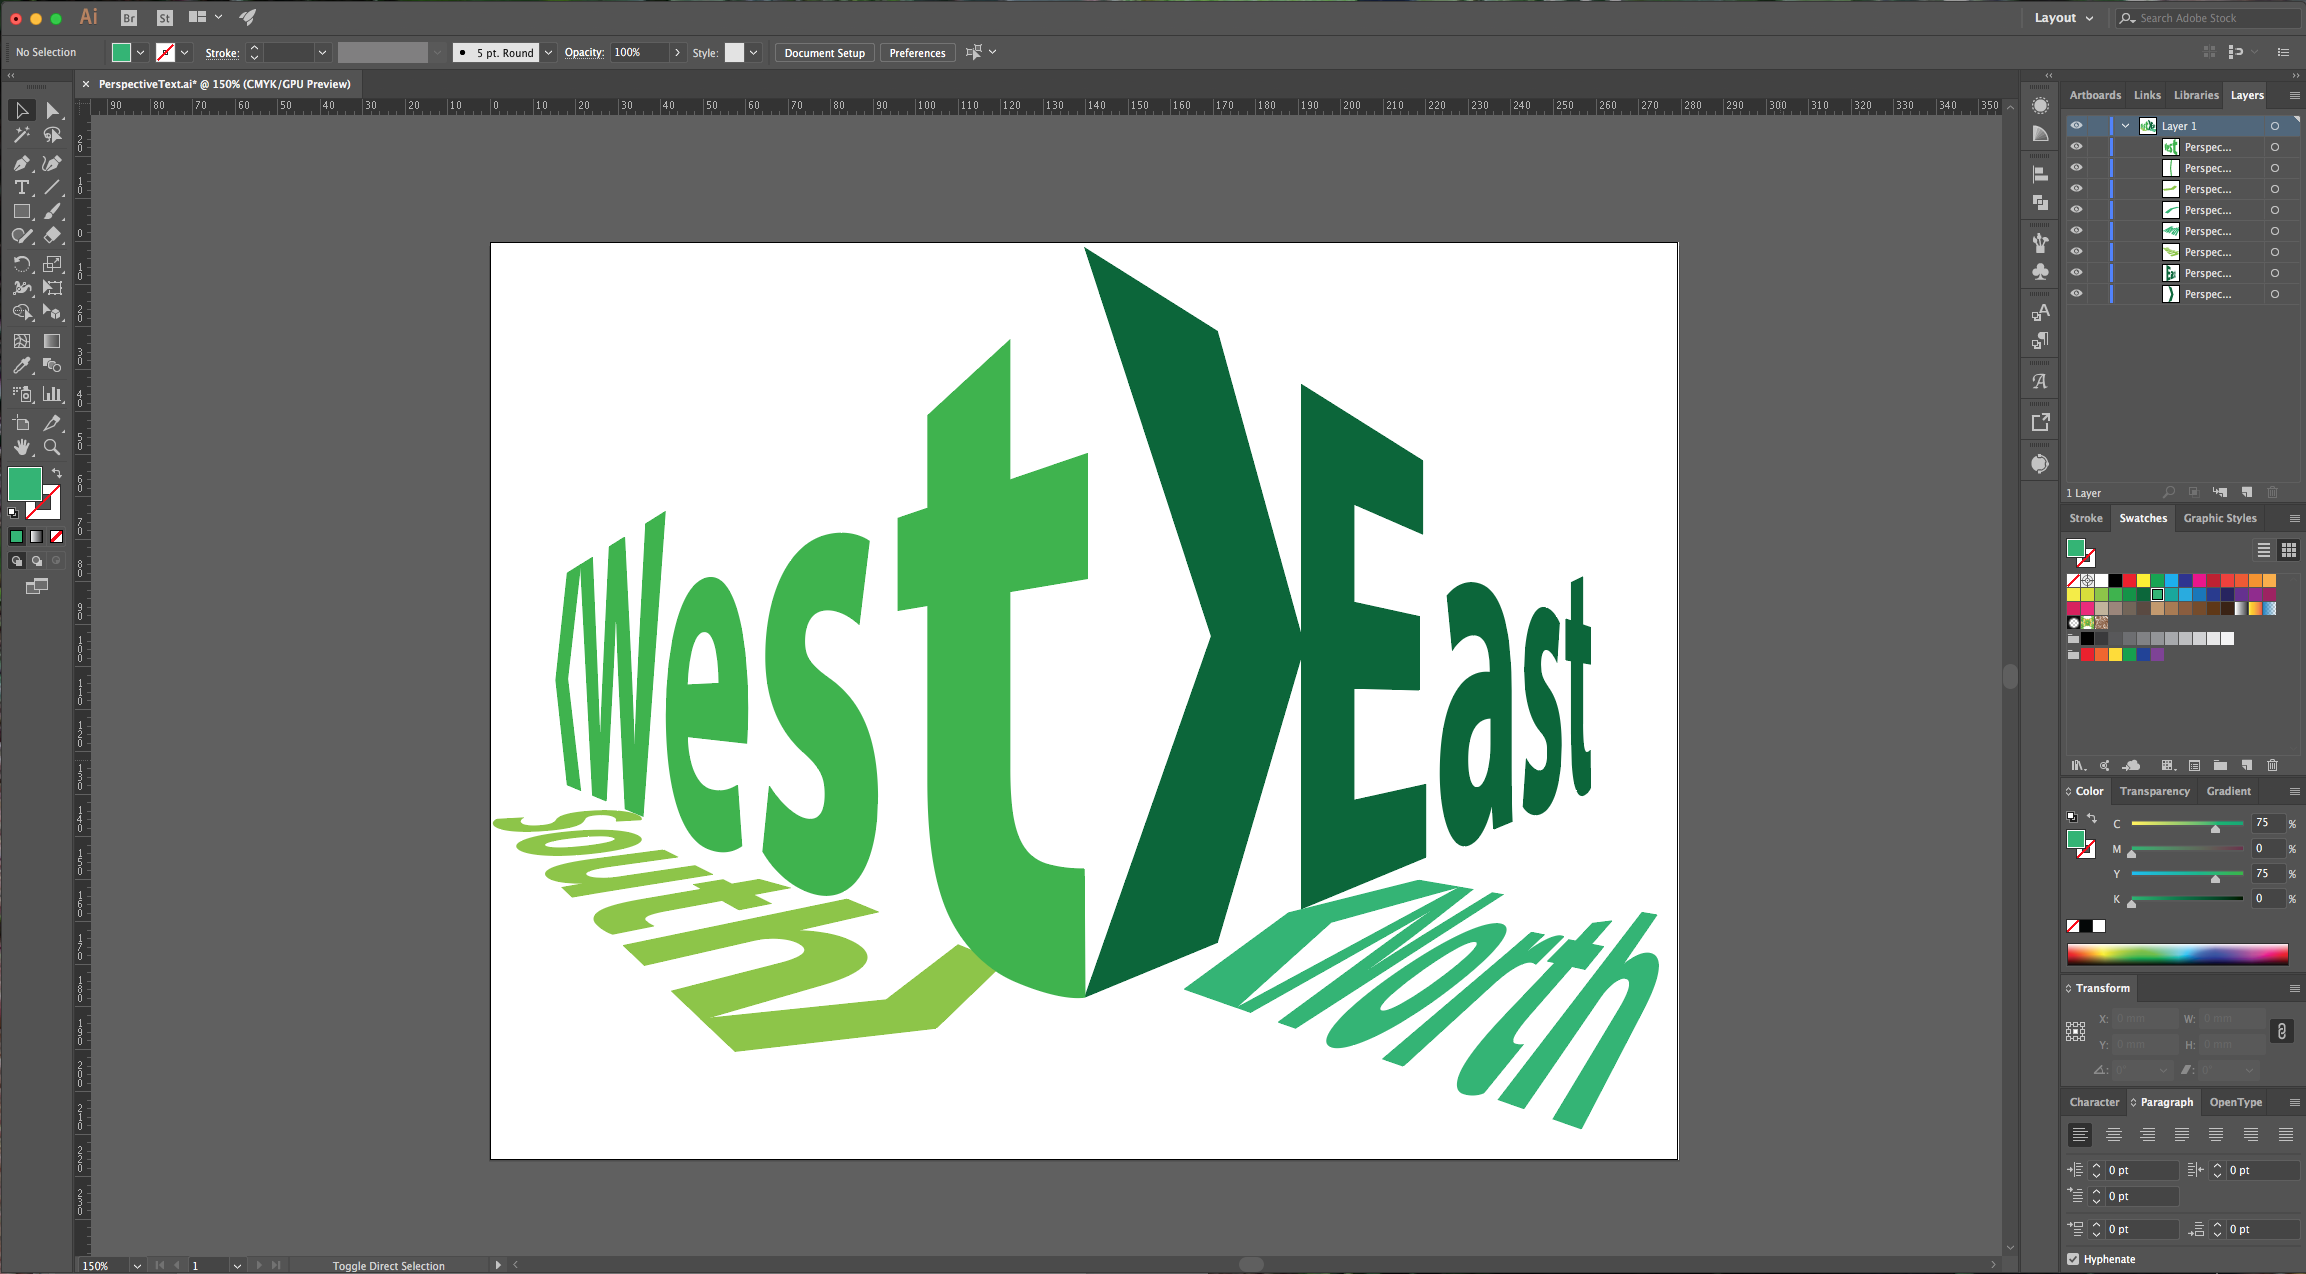
Text in Perspective in illustrator
1 - In Illustrator, create a “New Document”.
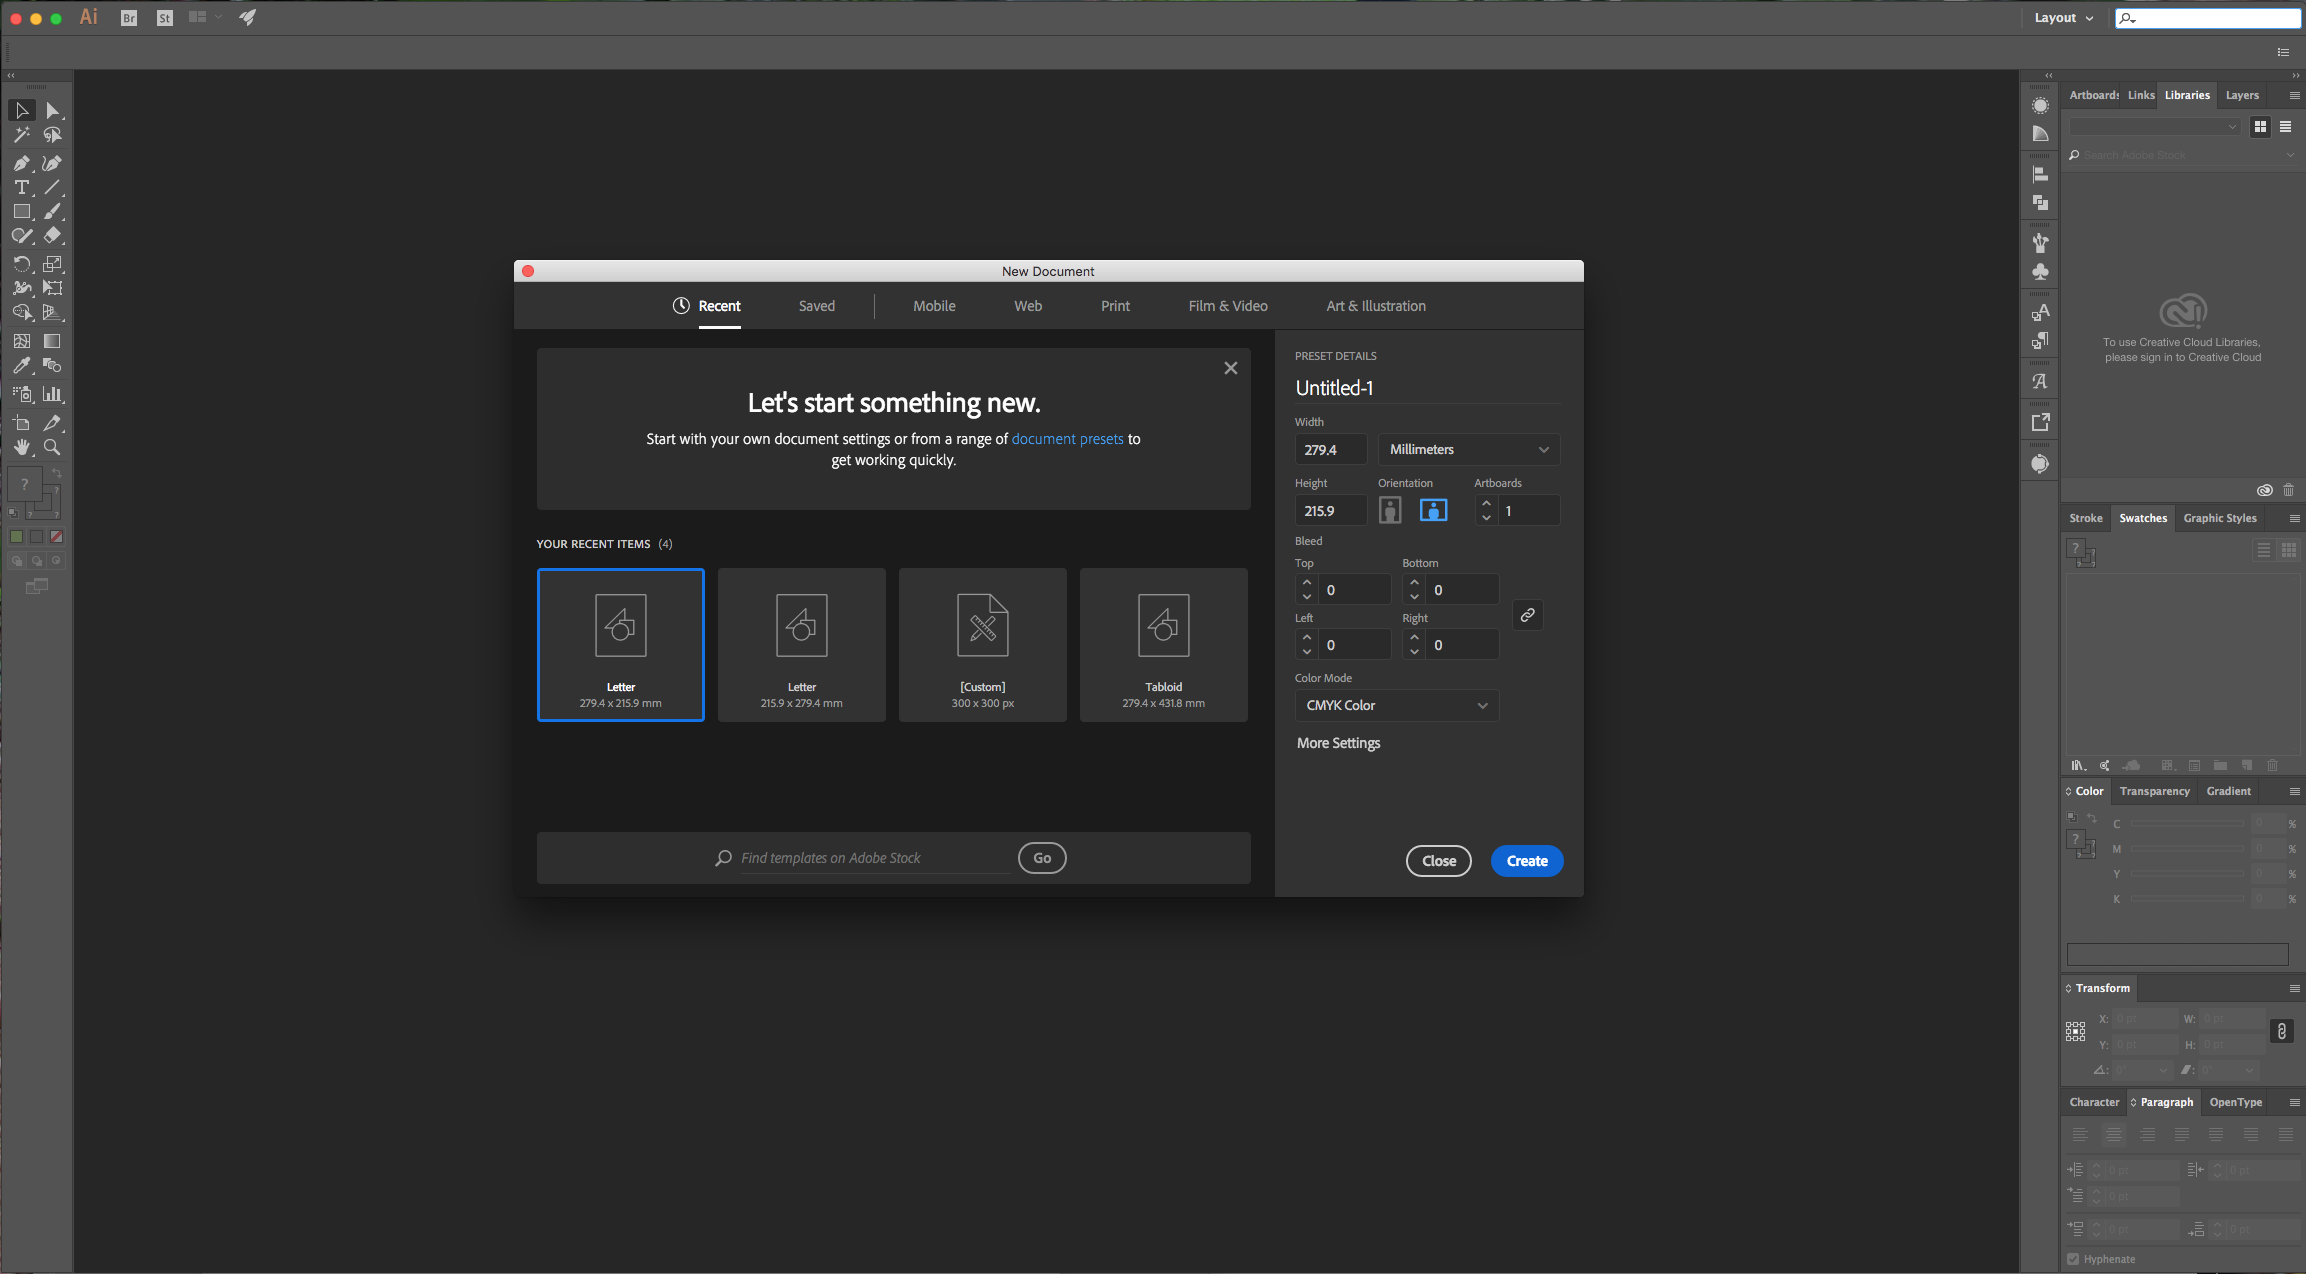
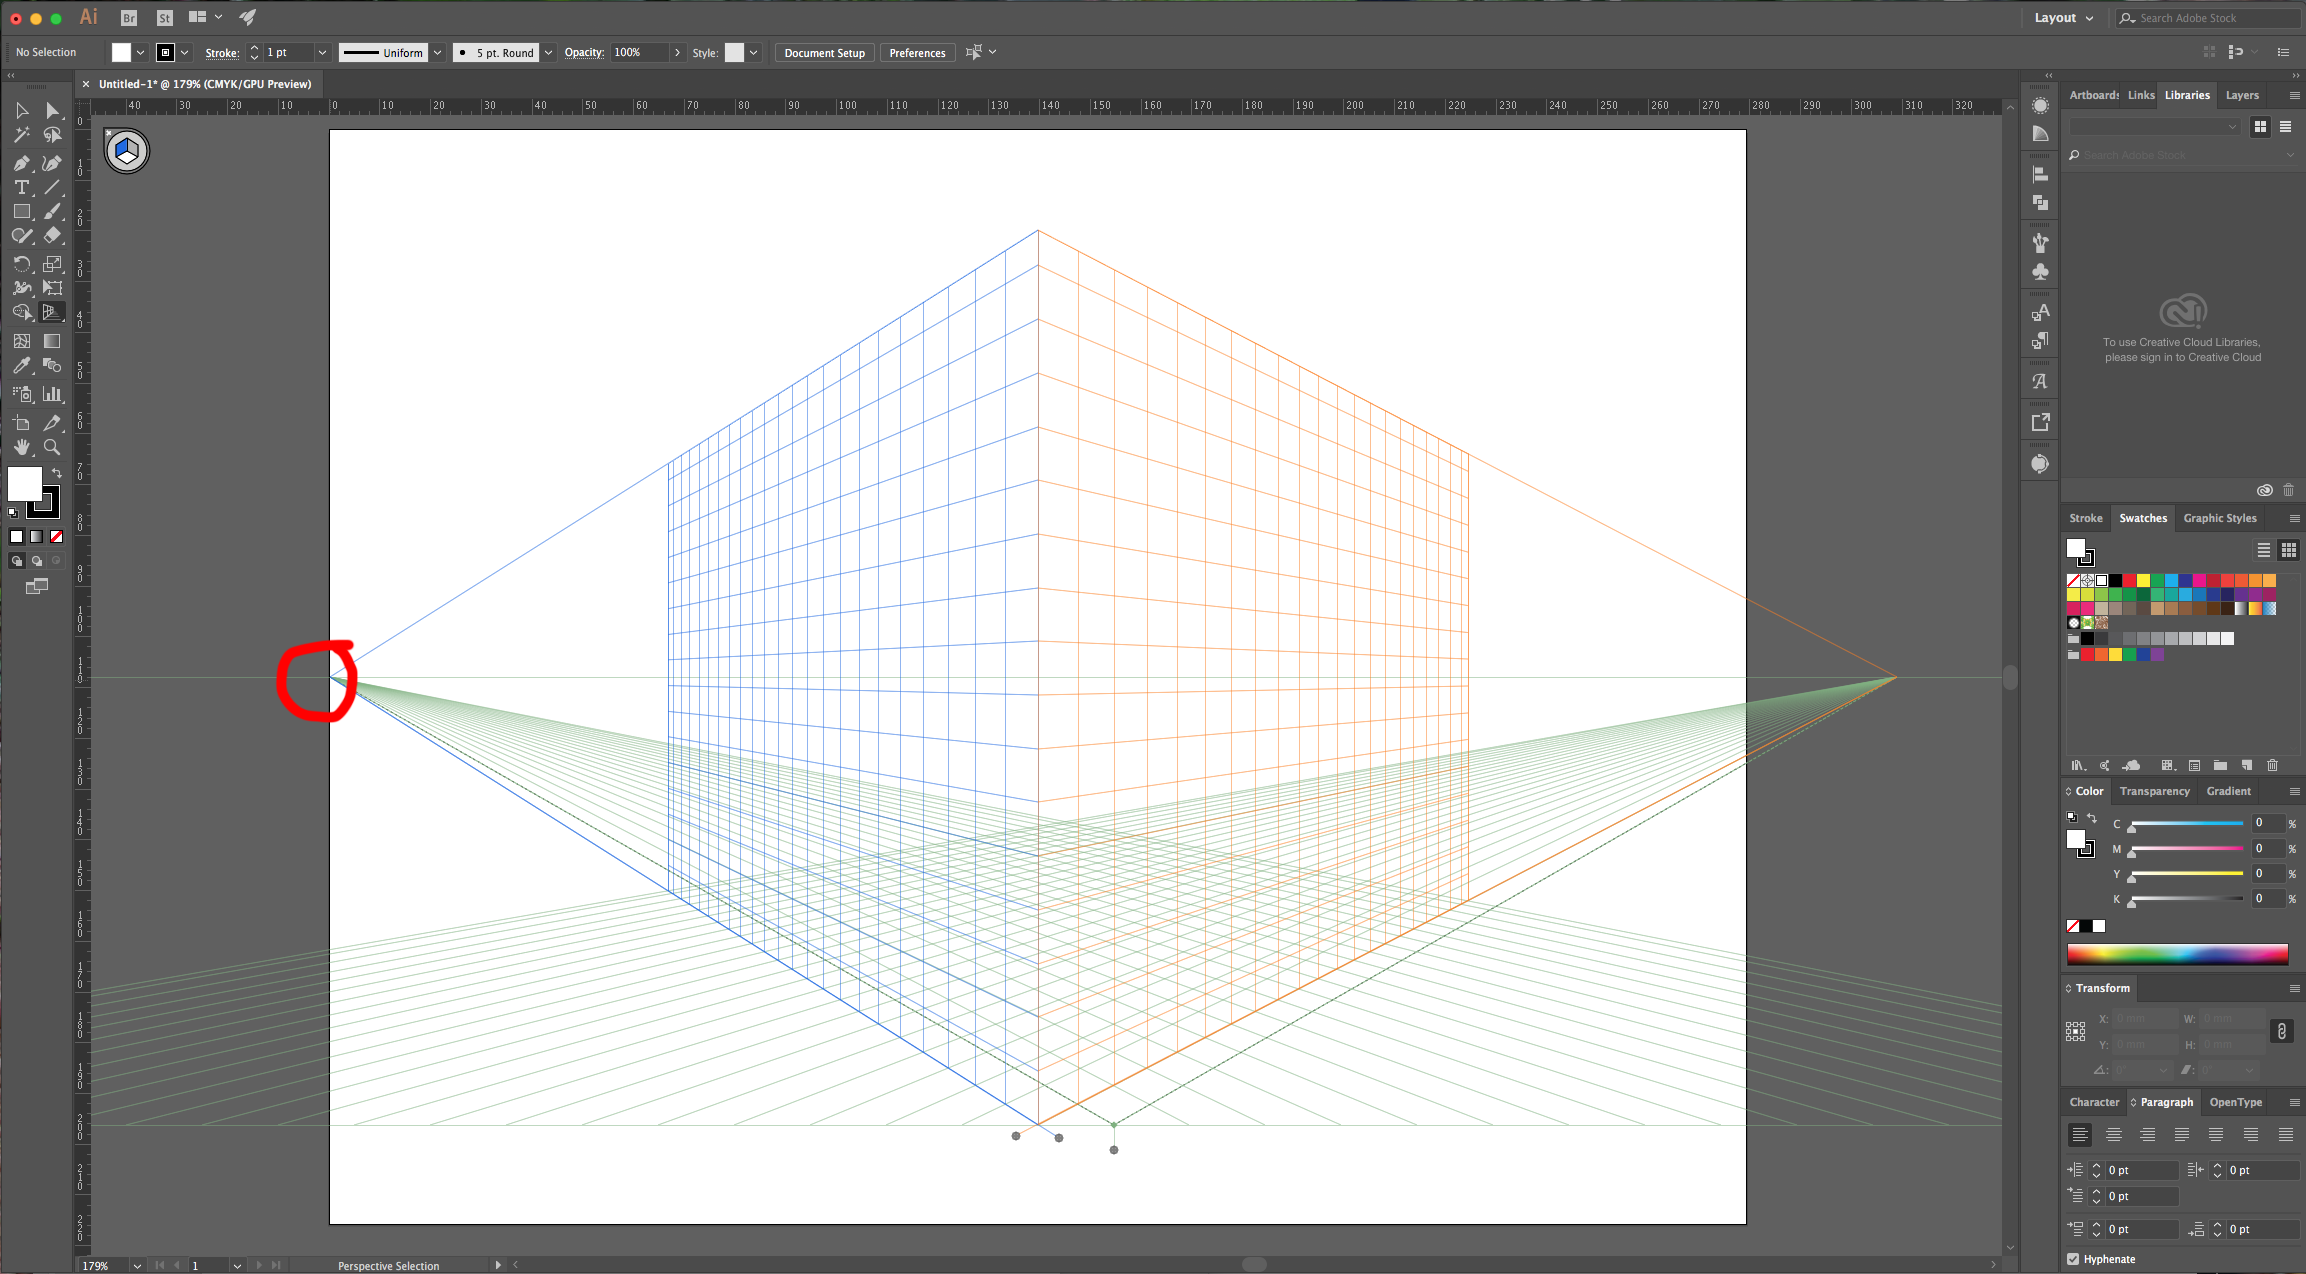
2 - Select the “Perspective Grid Tool” (Shift + P). If you want to modify it, select one of the white circles that mark the intersection points (a double-sided arrow should appear as your cursor) and move the point to your desired position. To toggle in and out of the “Perspective Grid” use Shift + Command/Control + I.
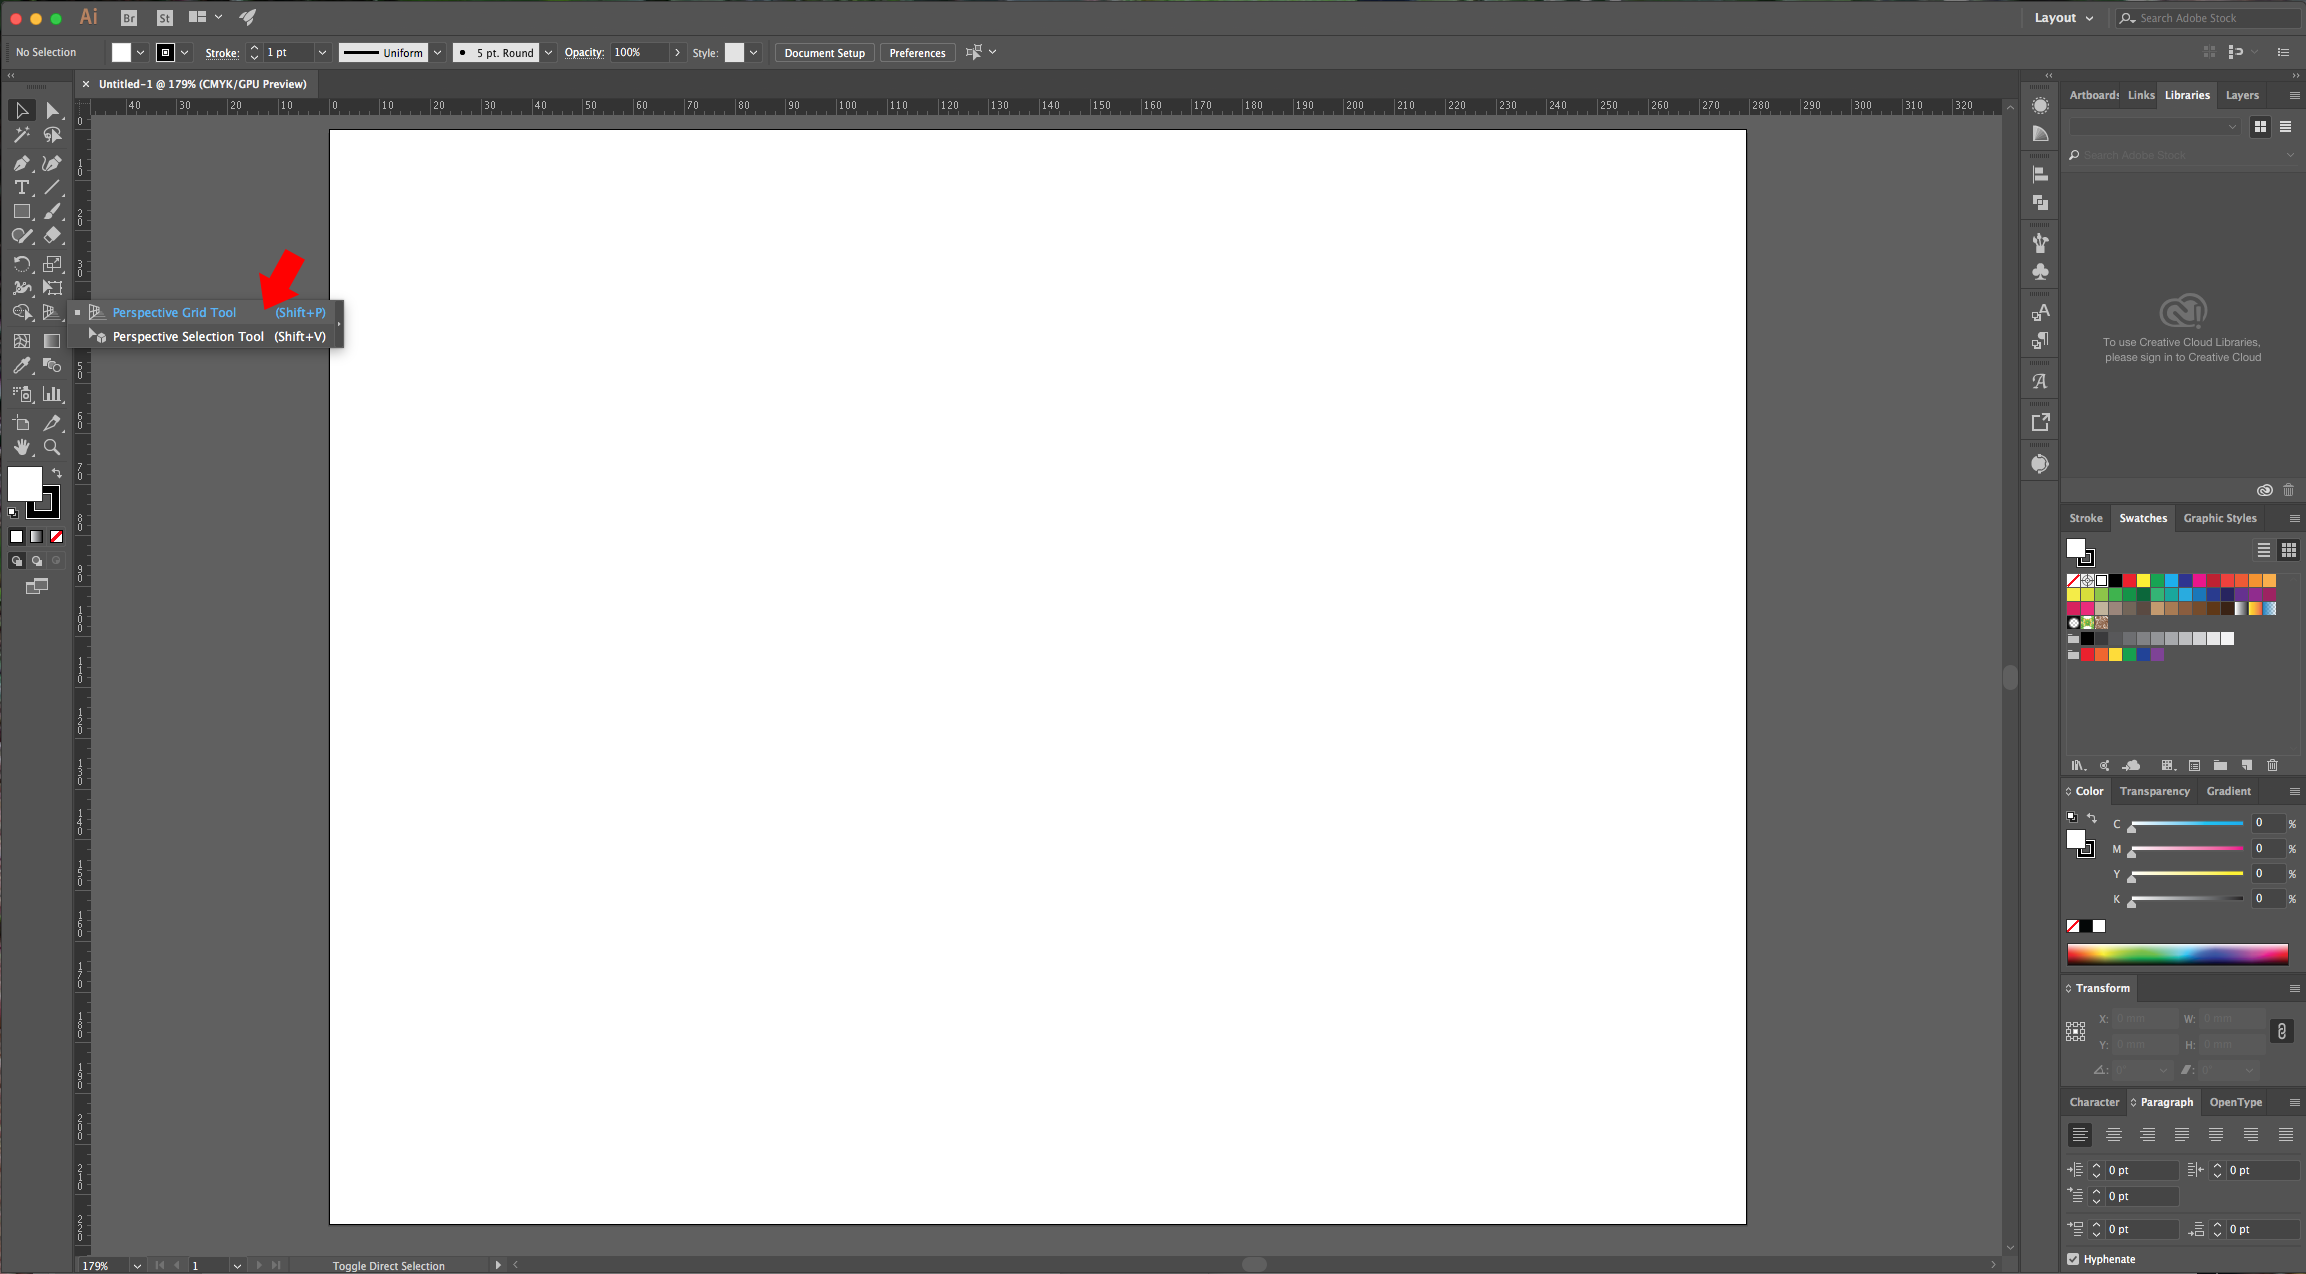
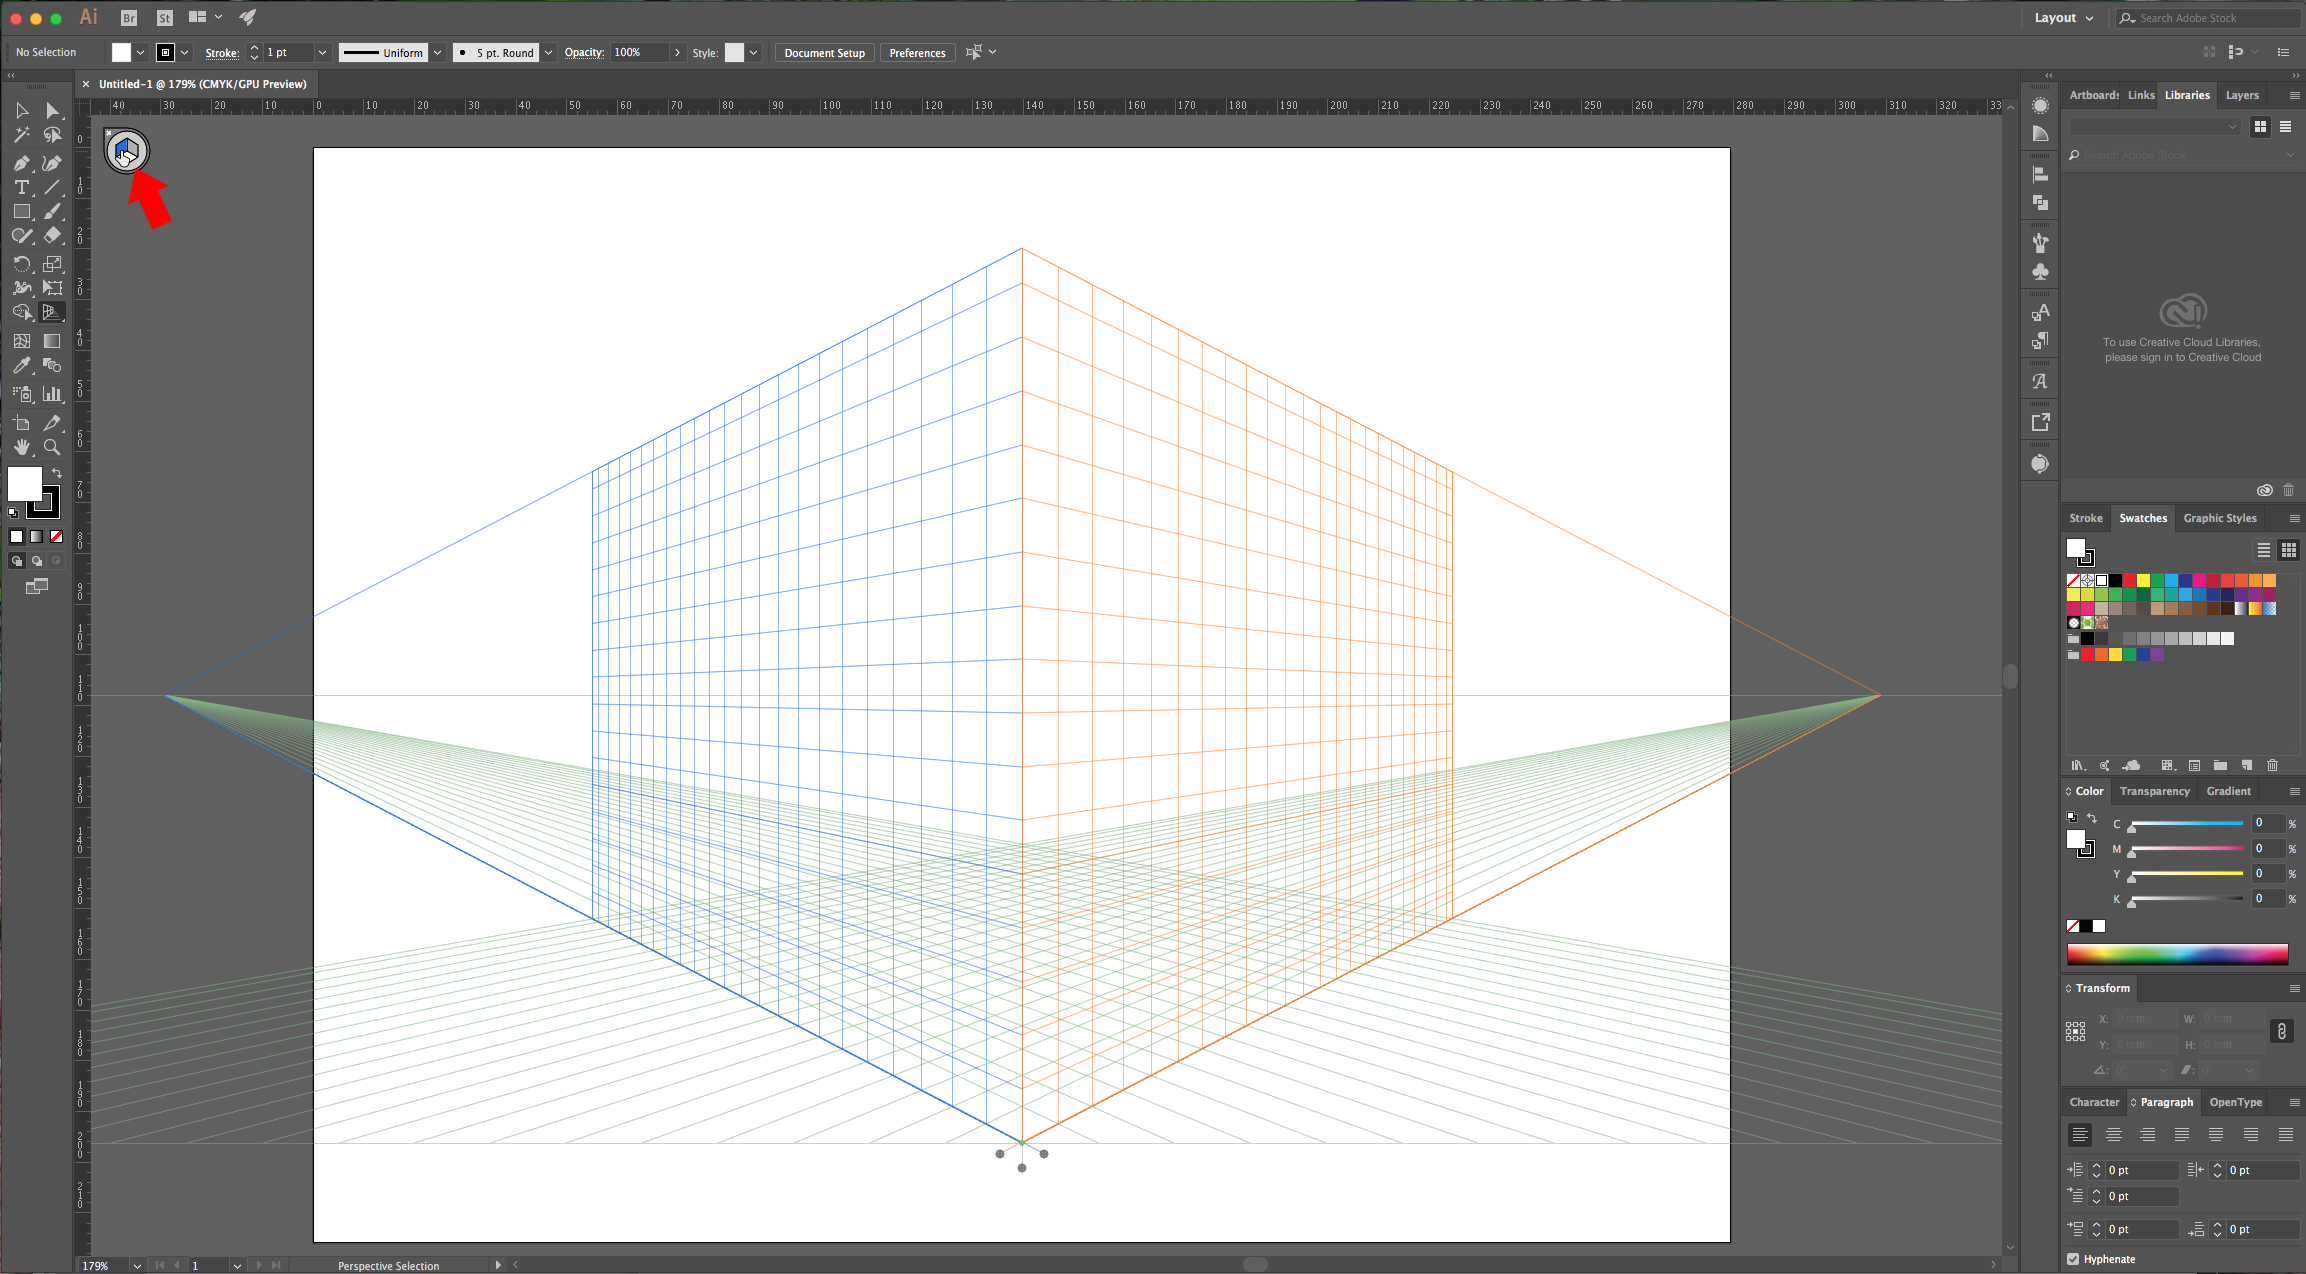
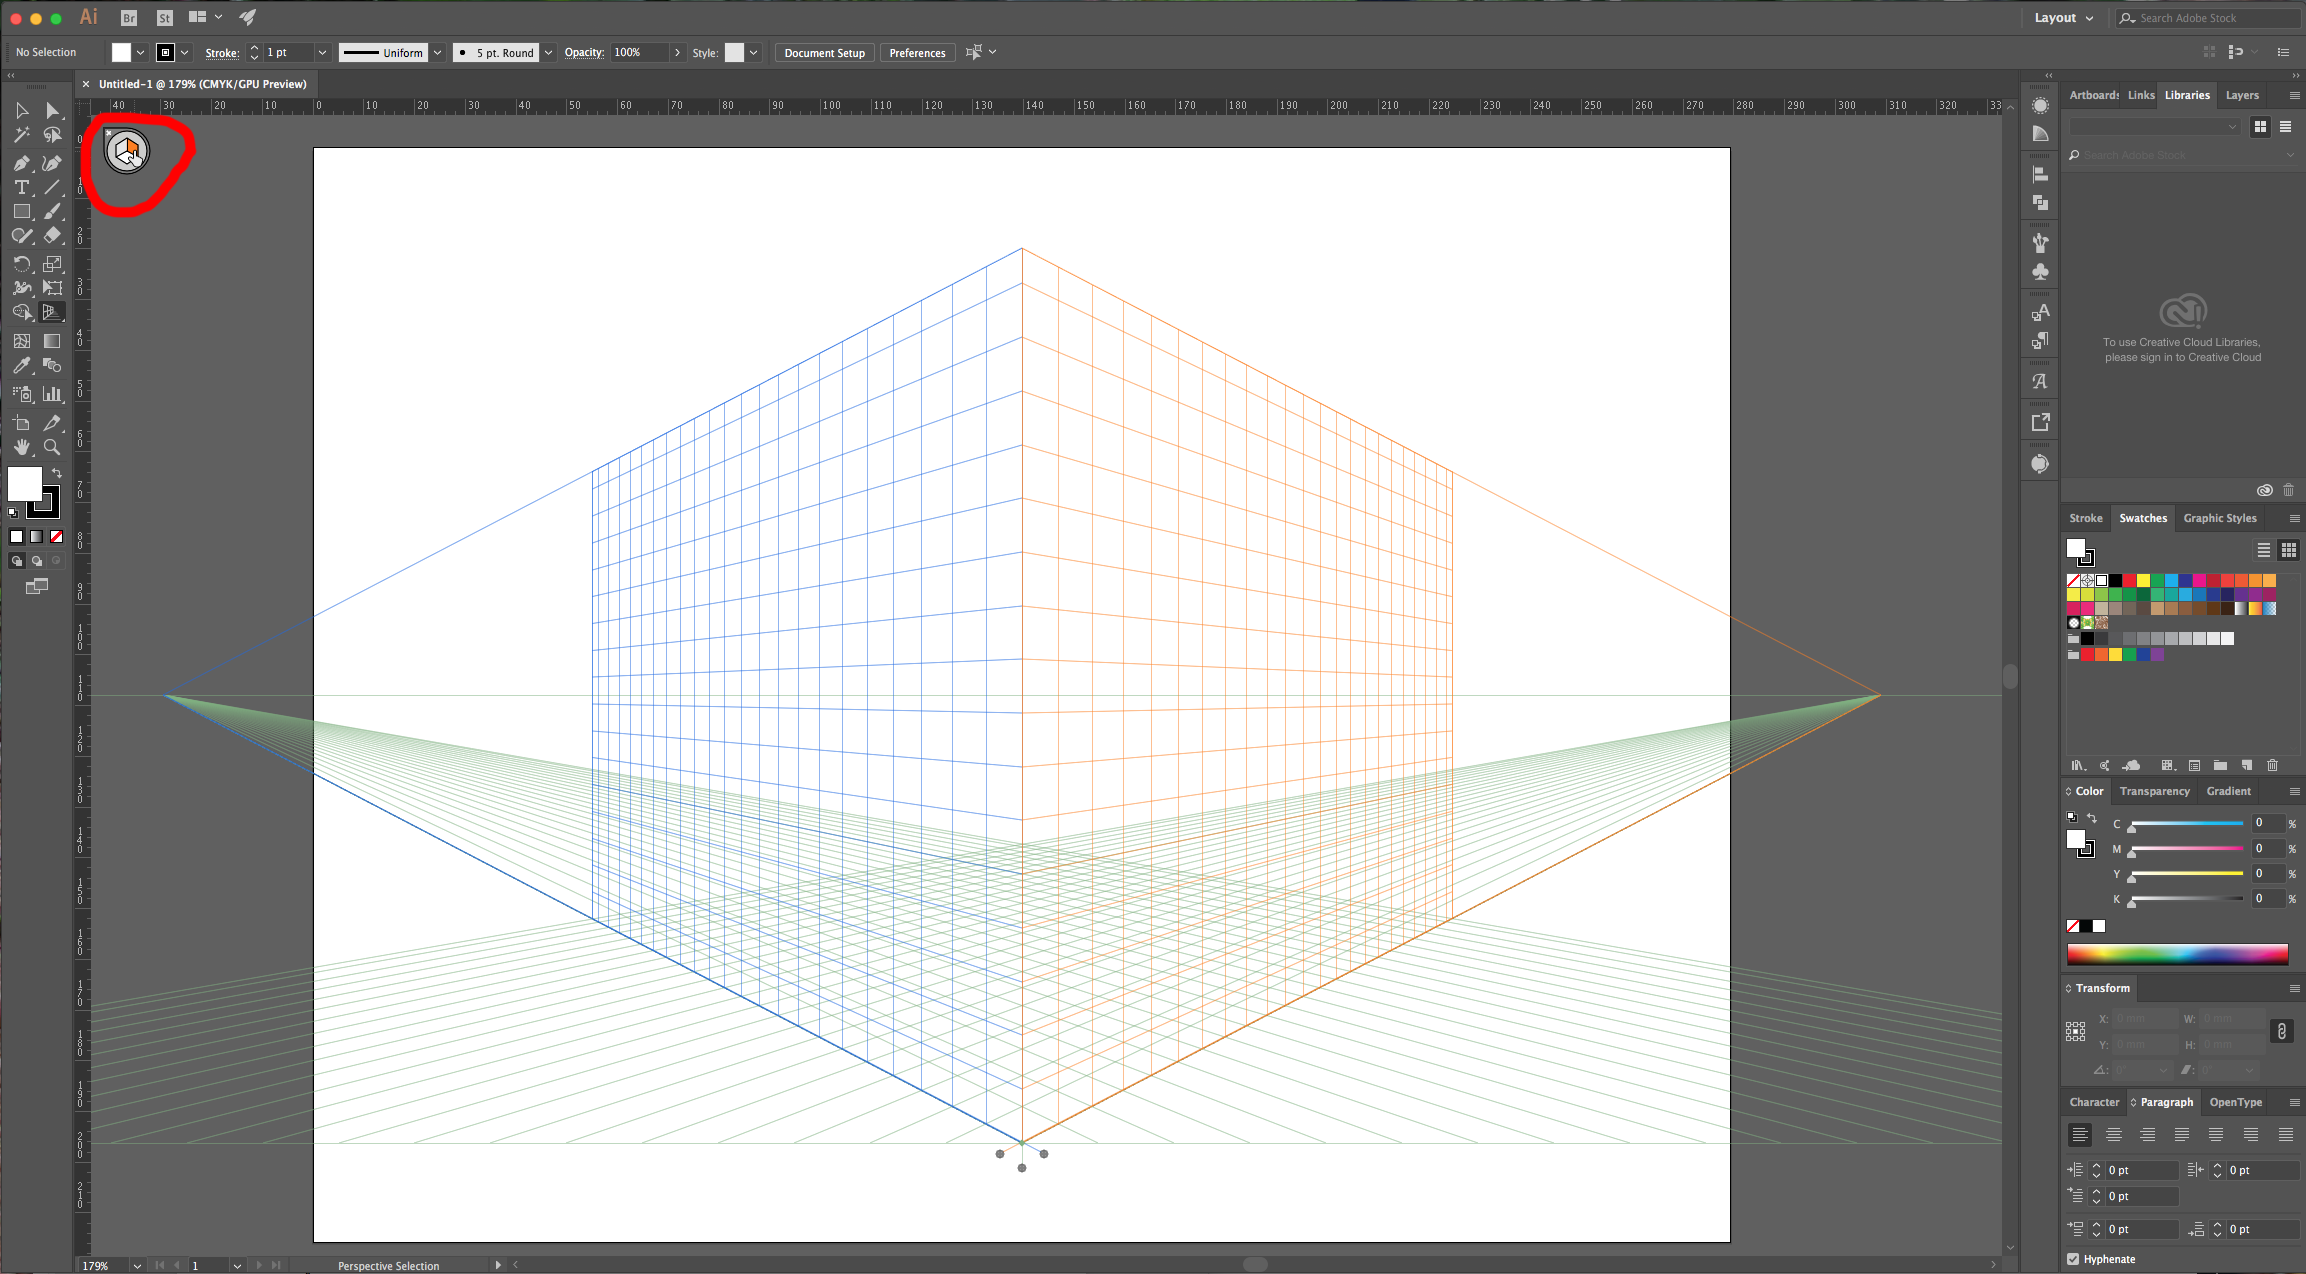
3 - The little cube in the top-left corner lets you choose which side of the grid you are working with.
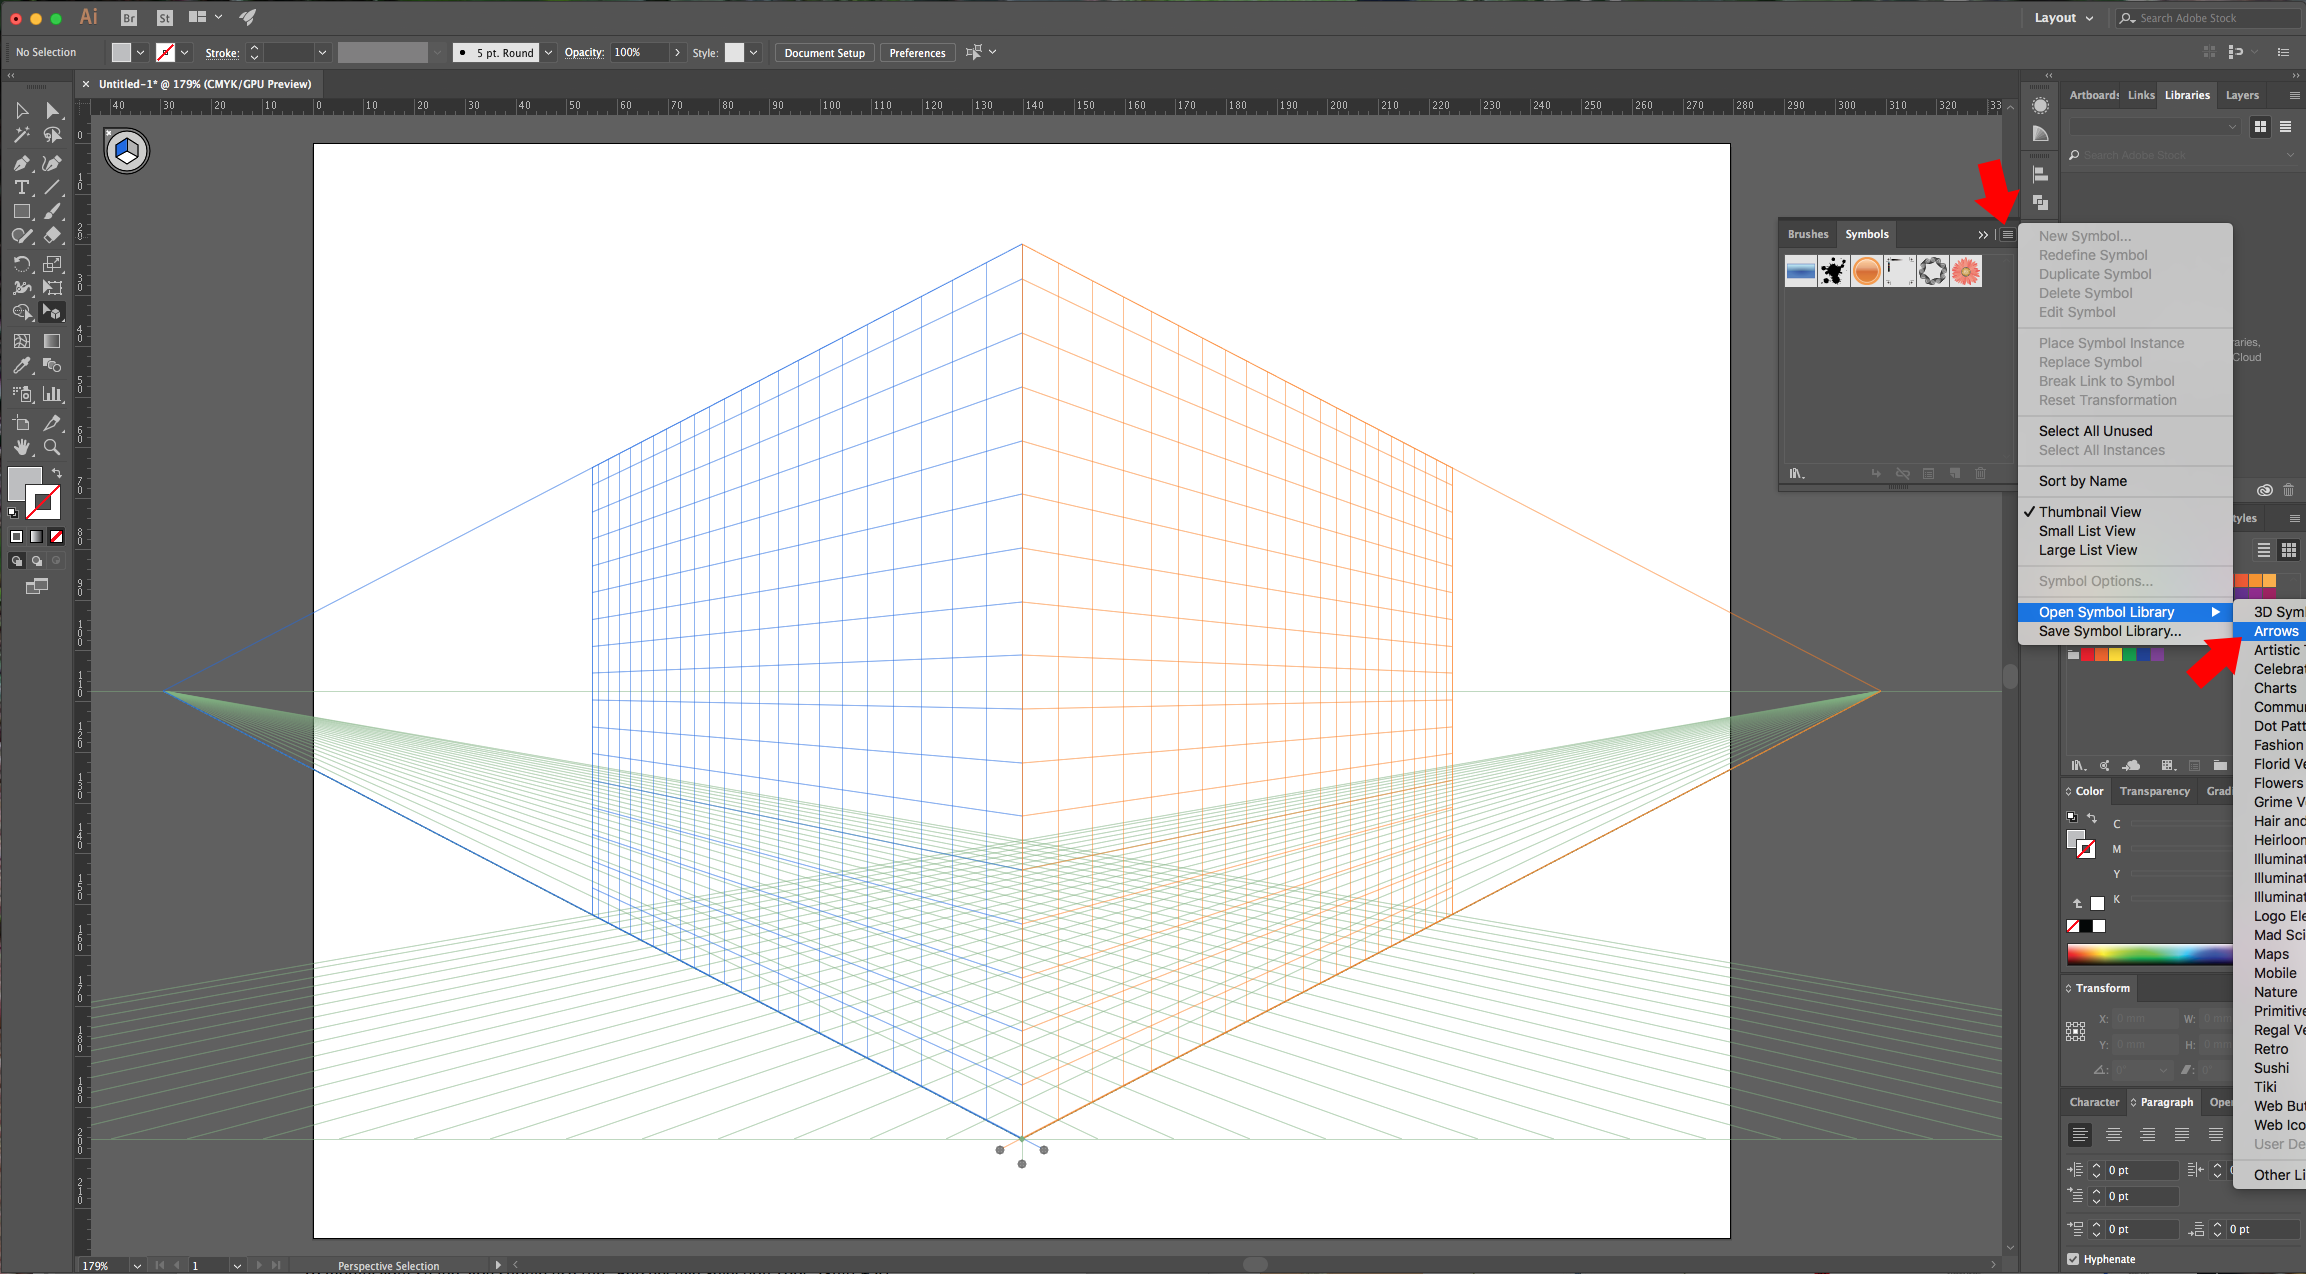
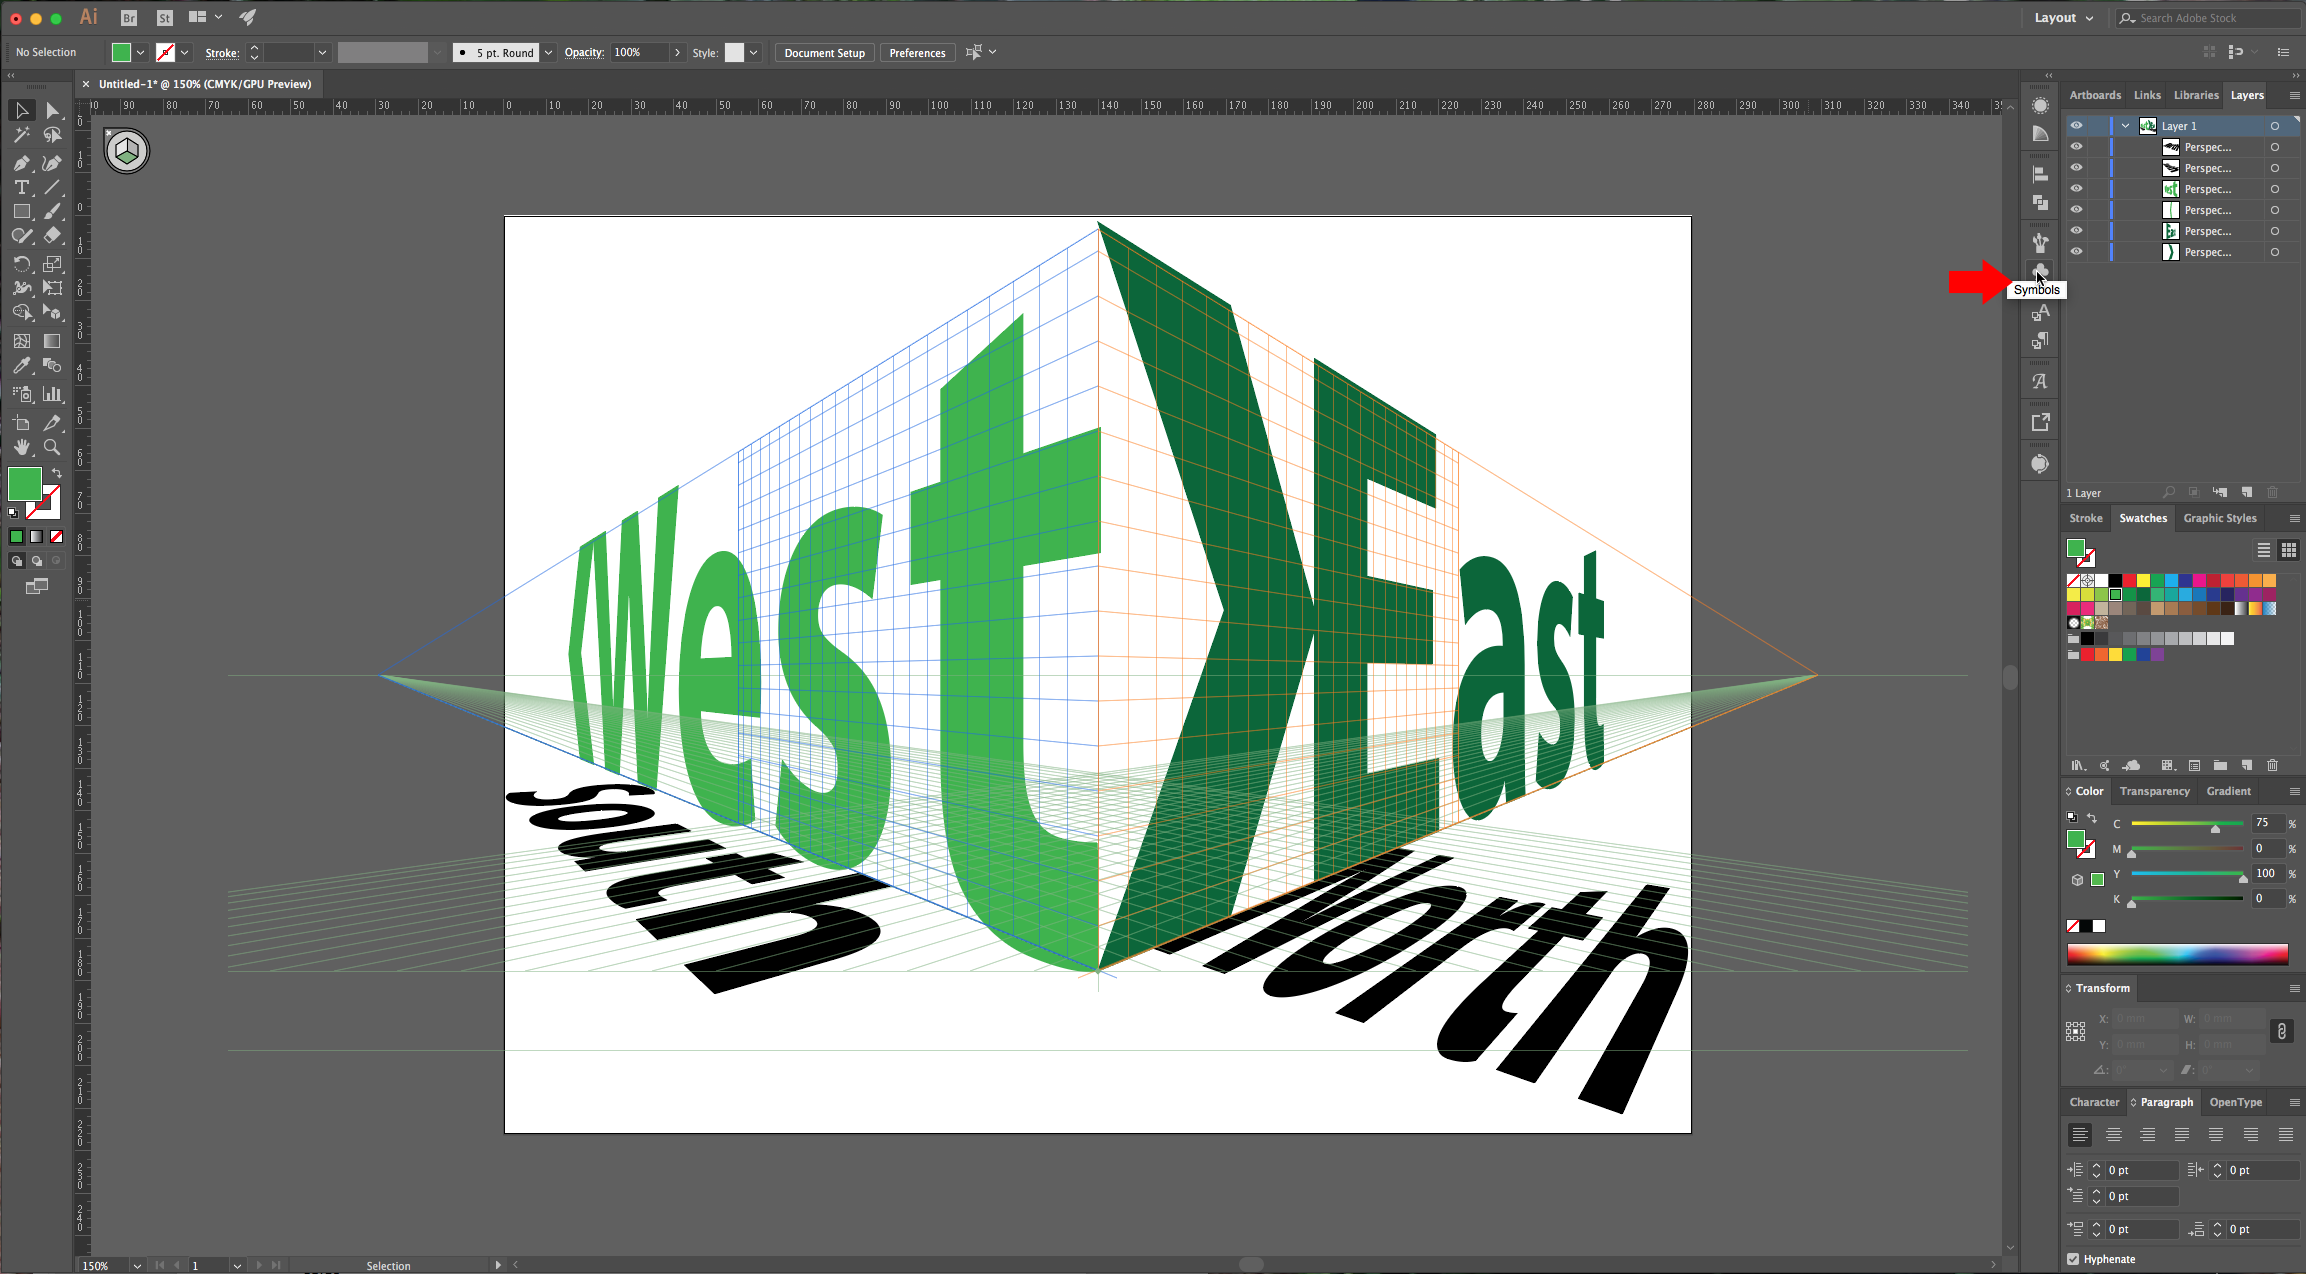
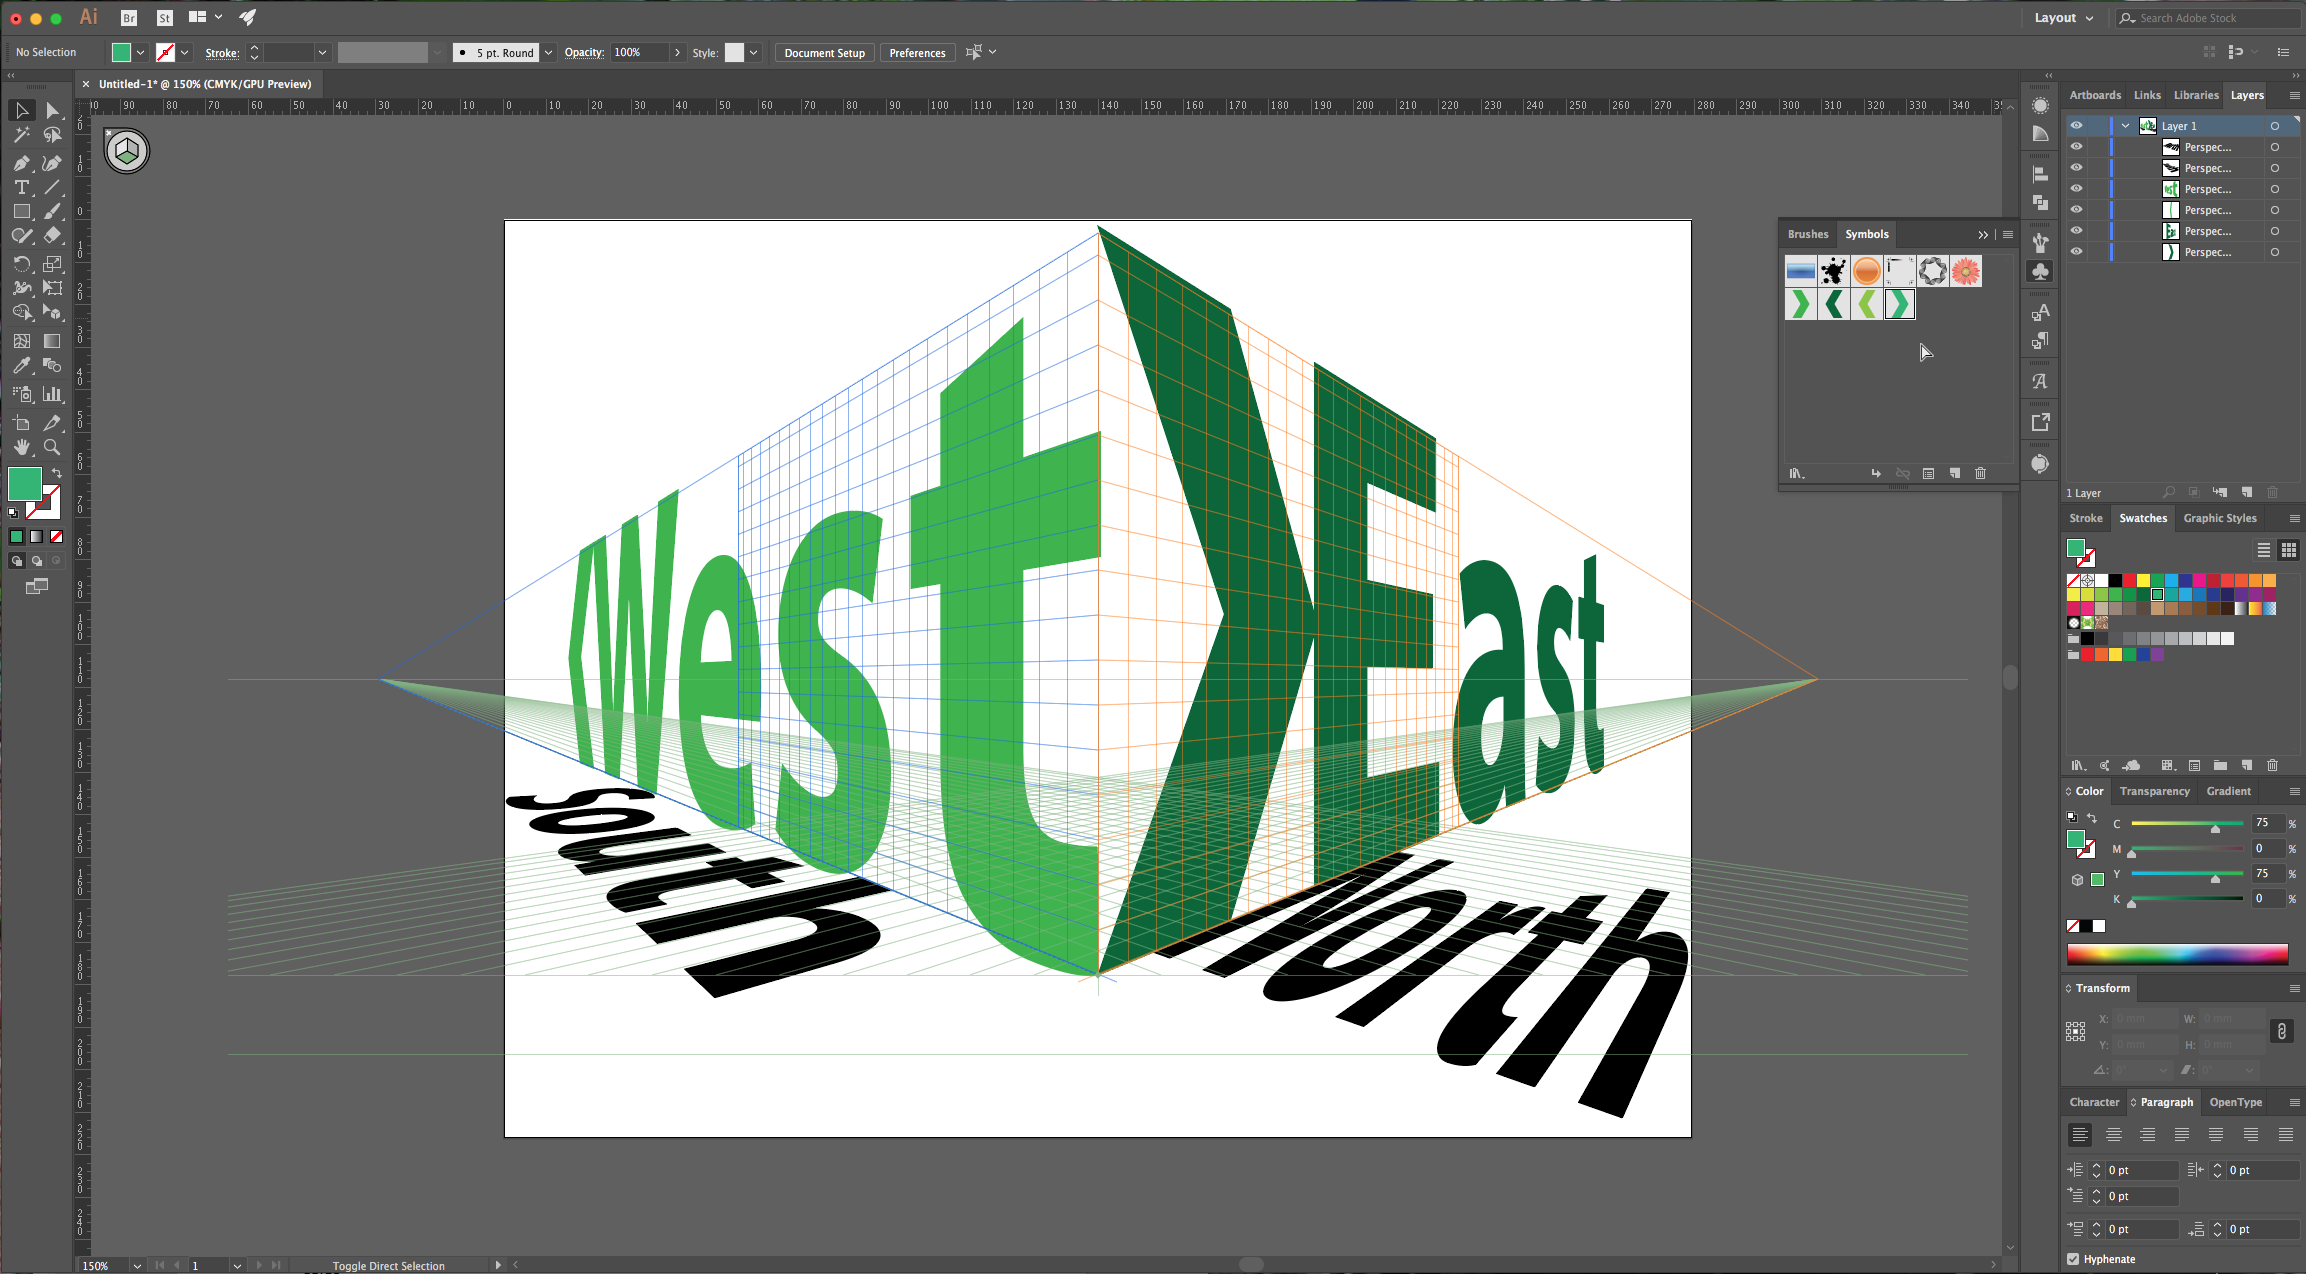
4 - Go to the “Symbols” Panel and in the top-right menu navigate to Open Symbol Library > Arrows. A new panel with the arrow symbols should open. Choose one of them and drag it to your “Artboard”. Before placing it in the “Perspective Grid” let’s rotate it so the arrow faces the other way.
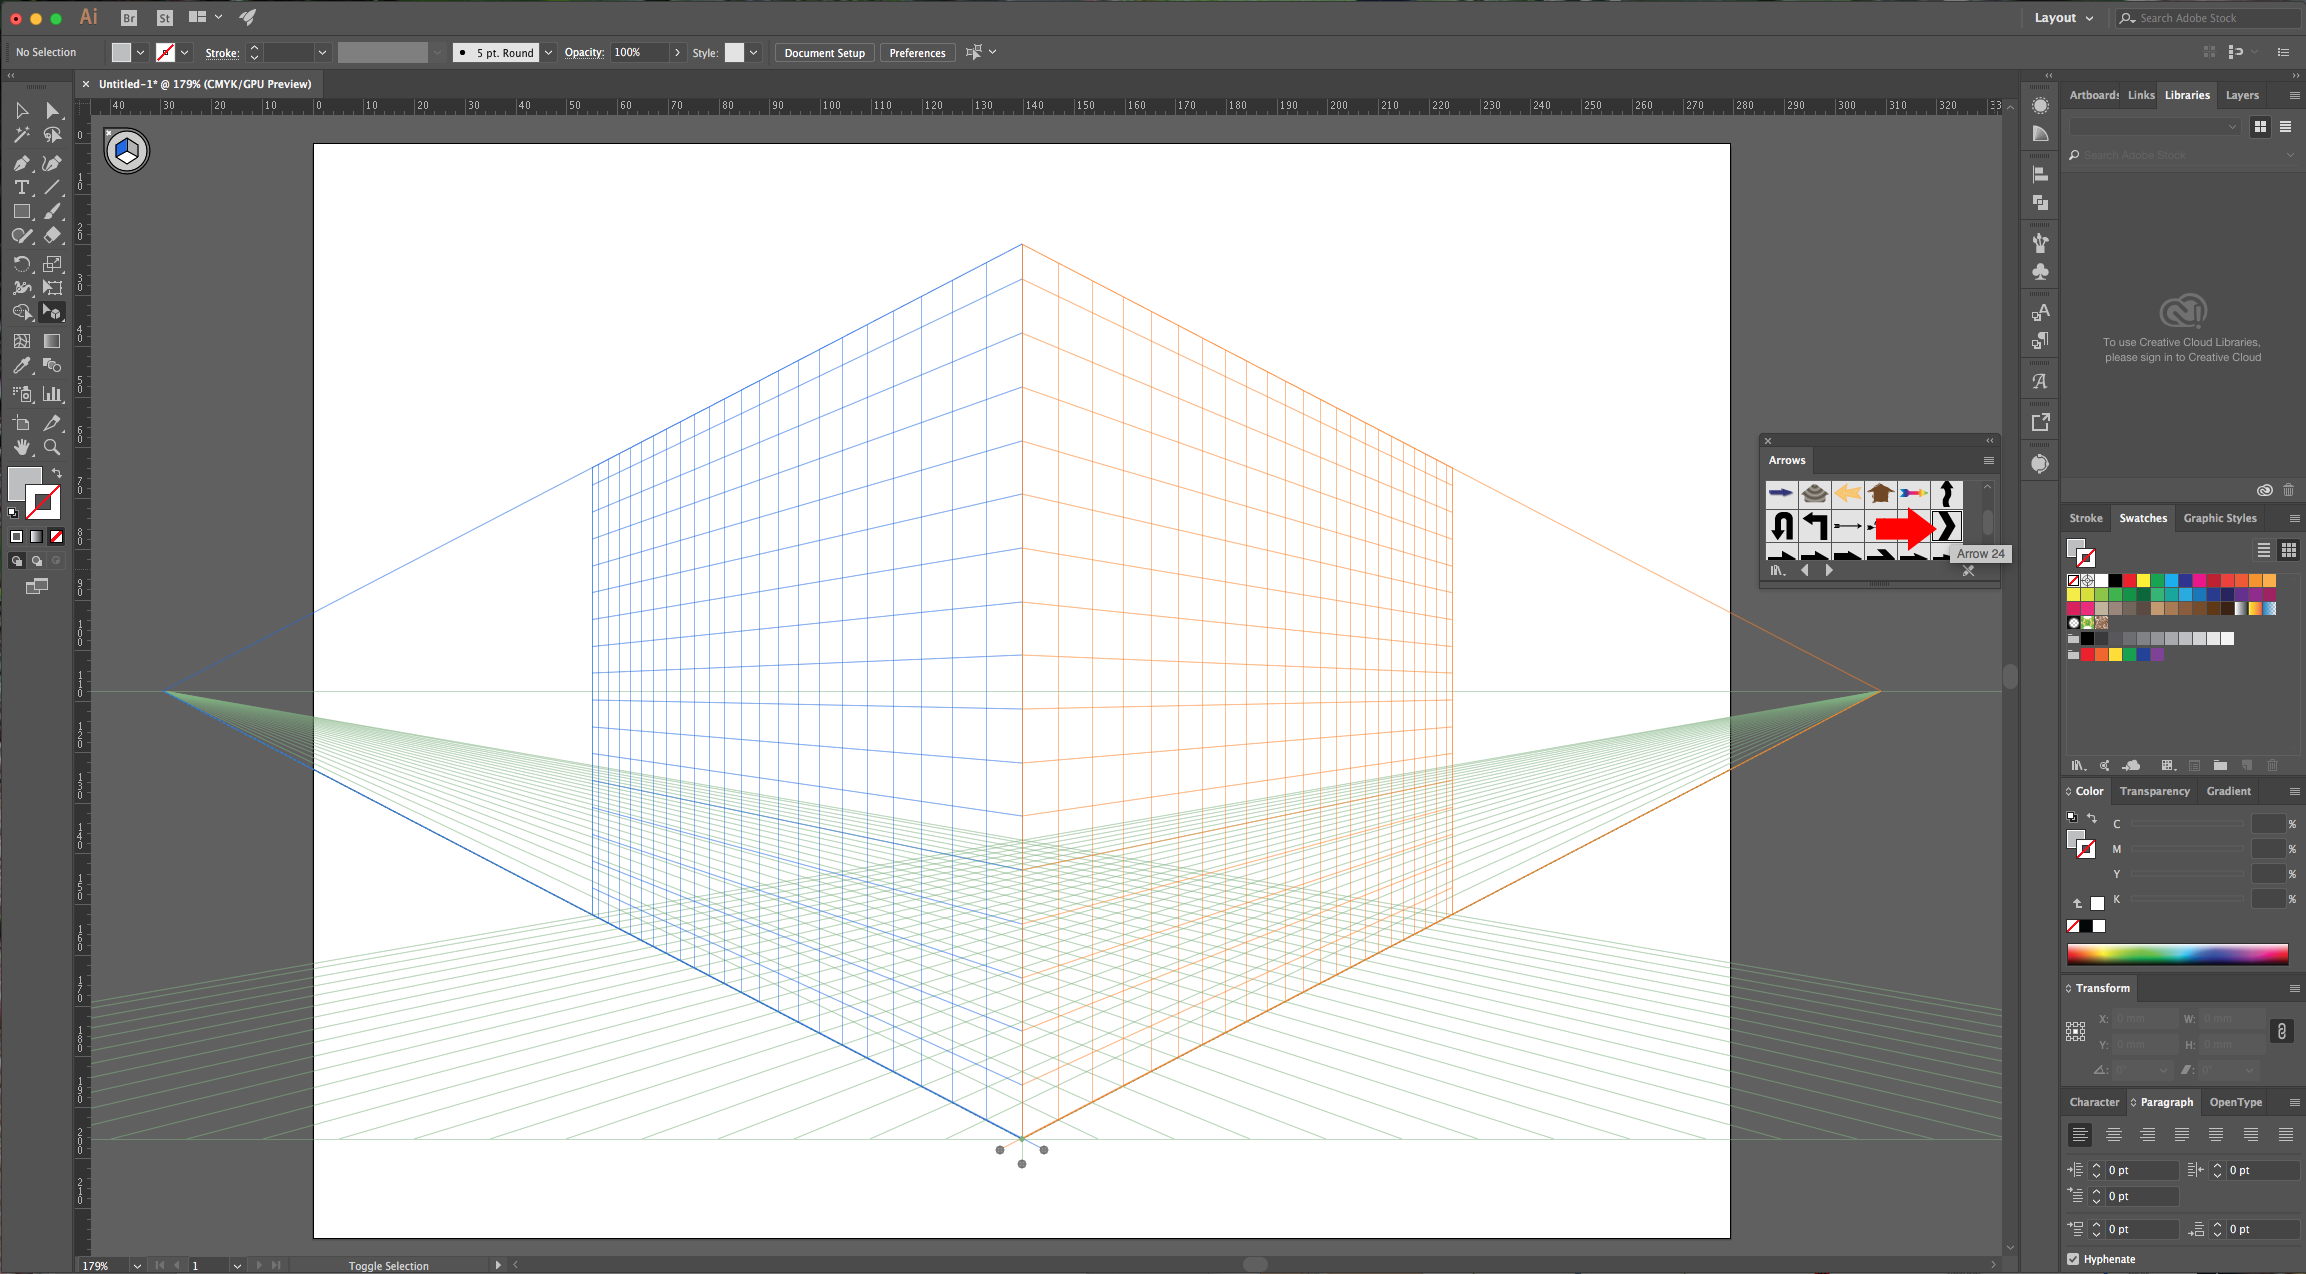
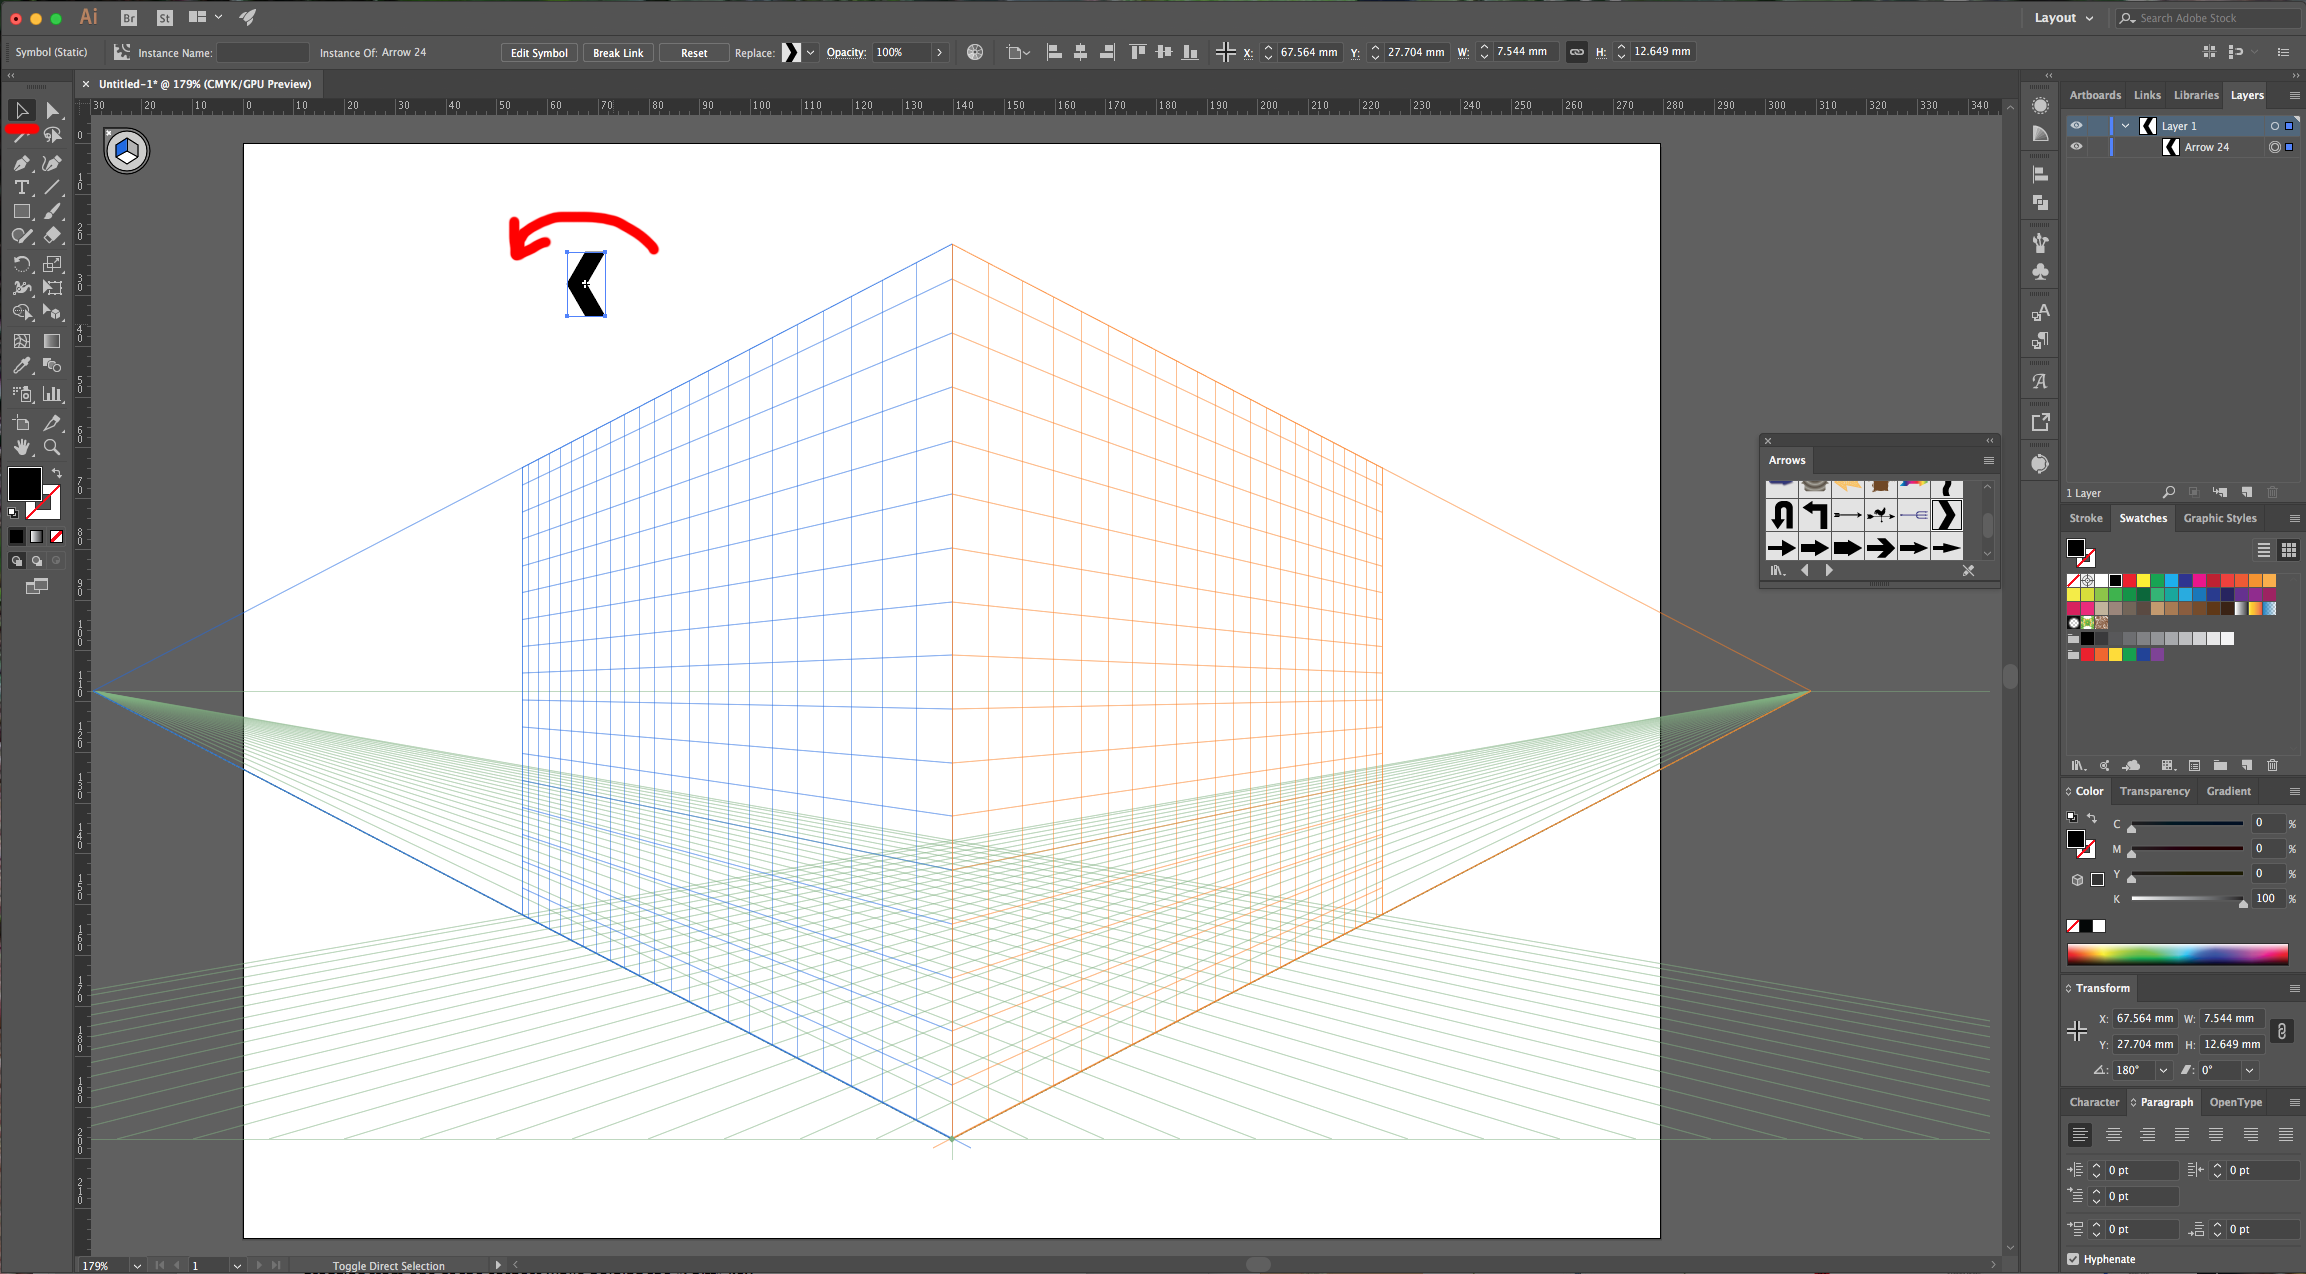
5 - Then, use the “Perspective Selection Tool” (Shift + V) to place it the left side of the grid (blue). You can resize and move it if you want.
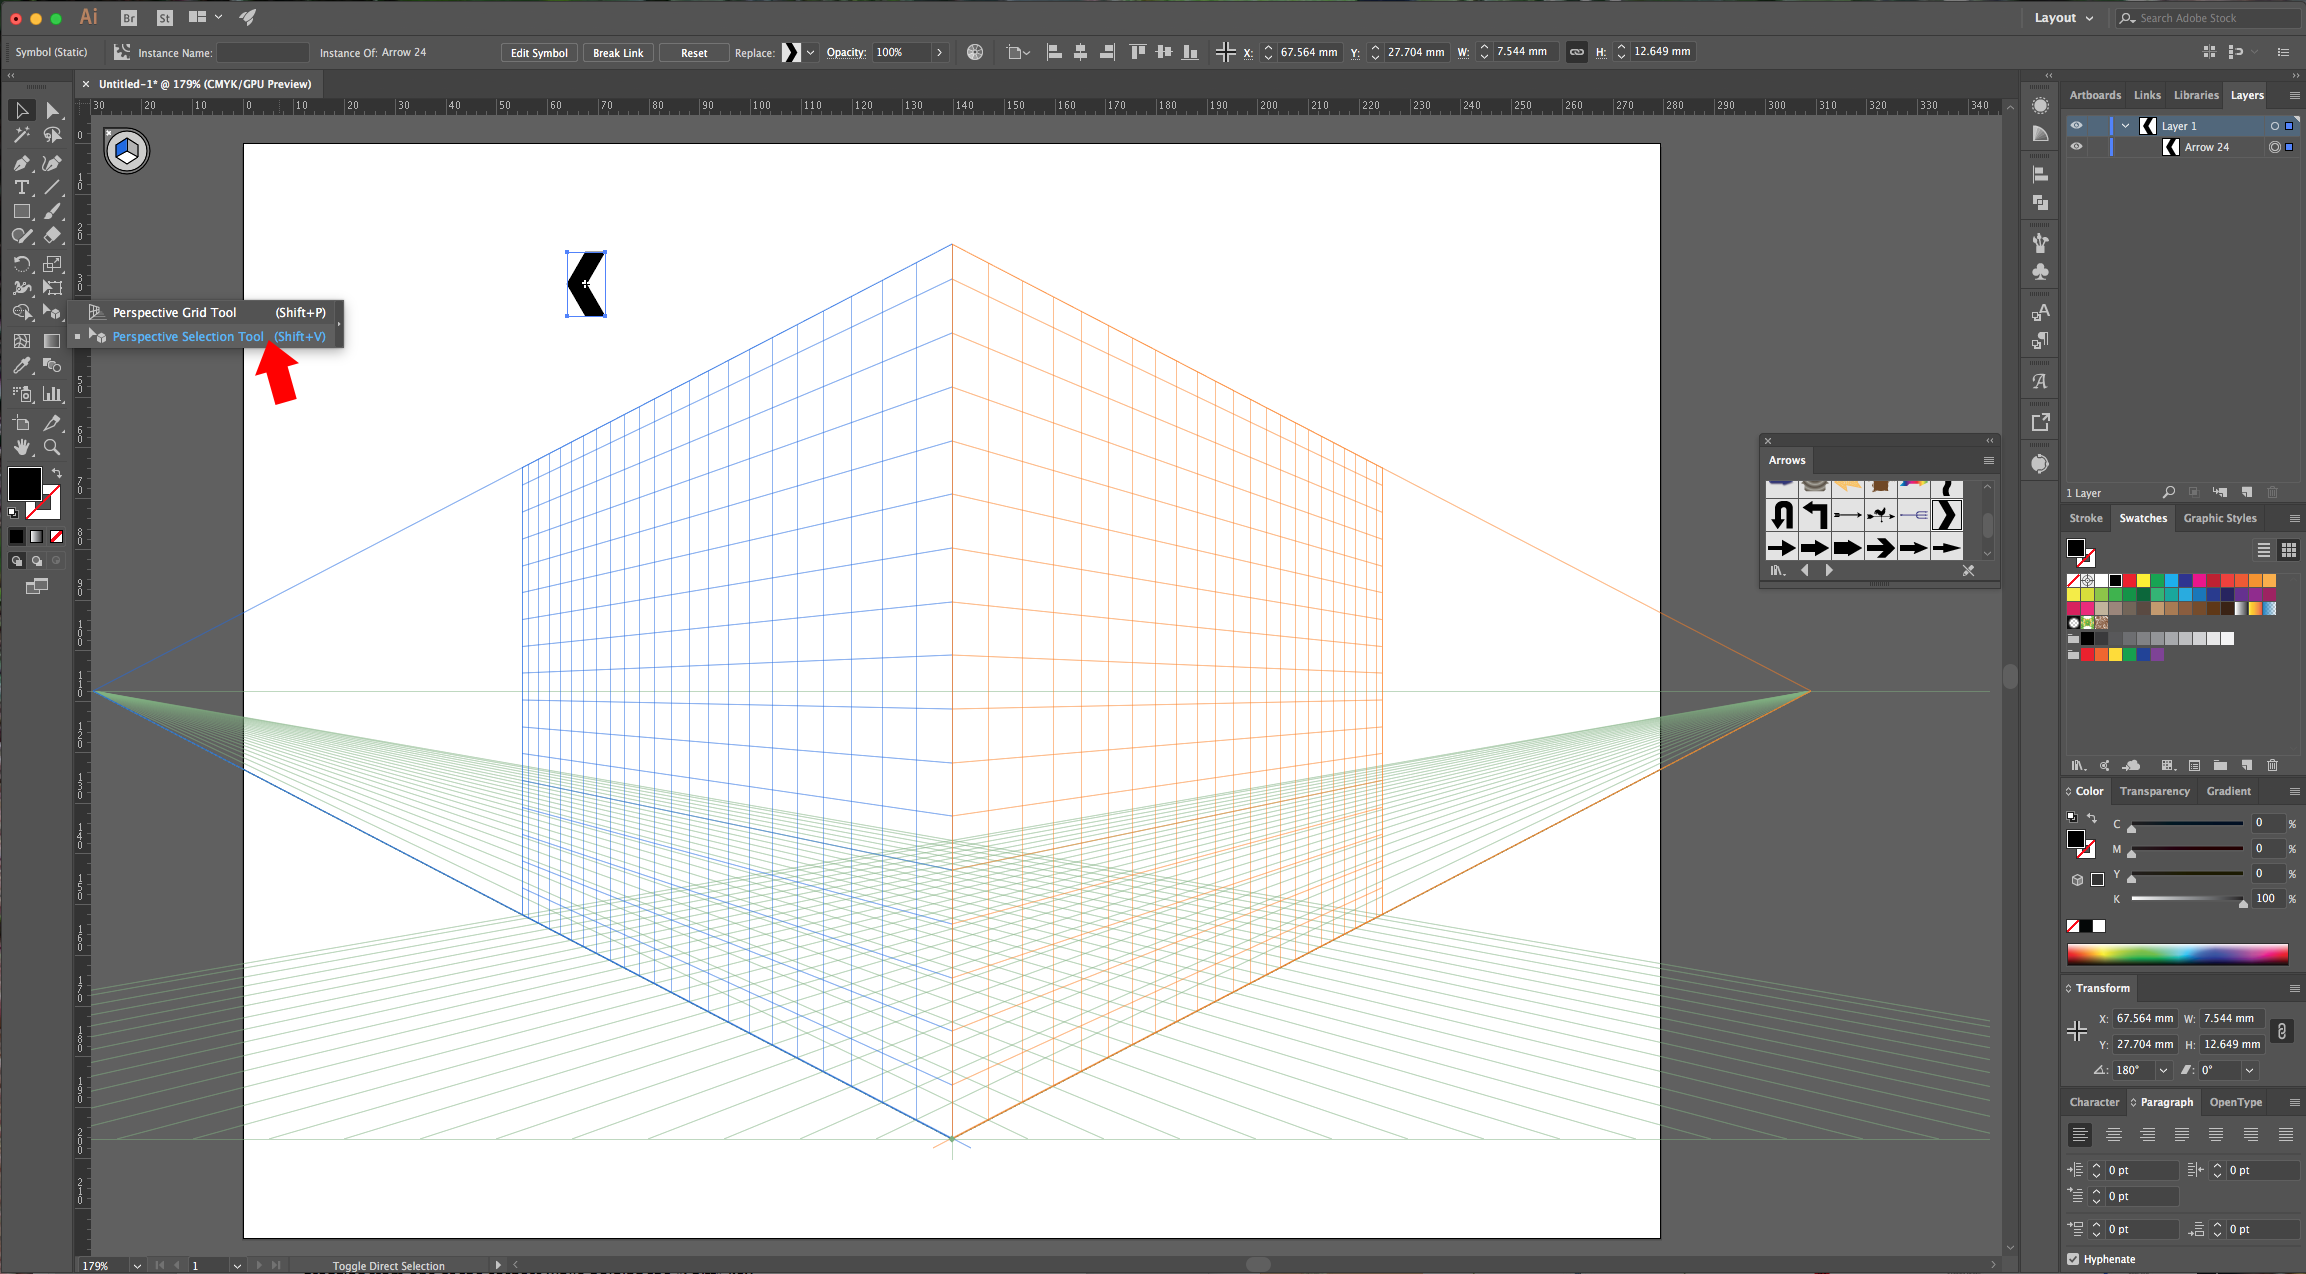
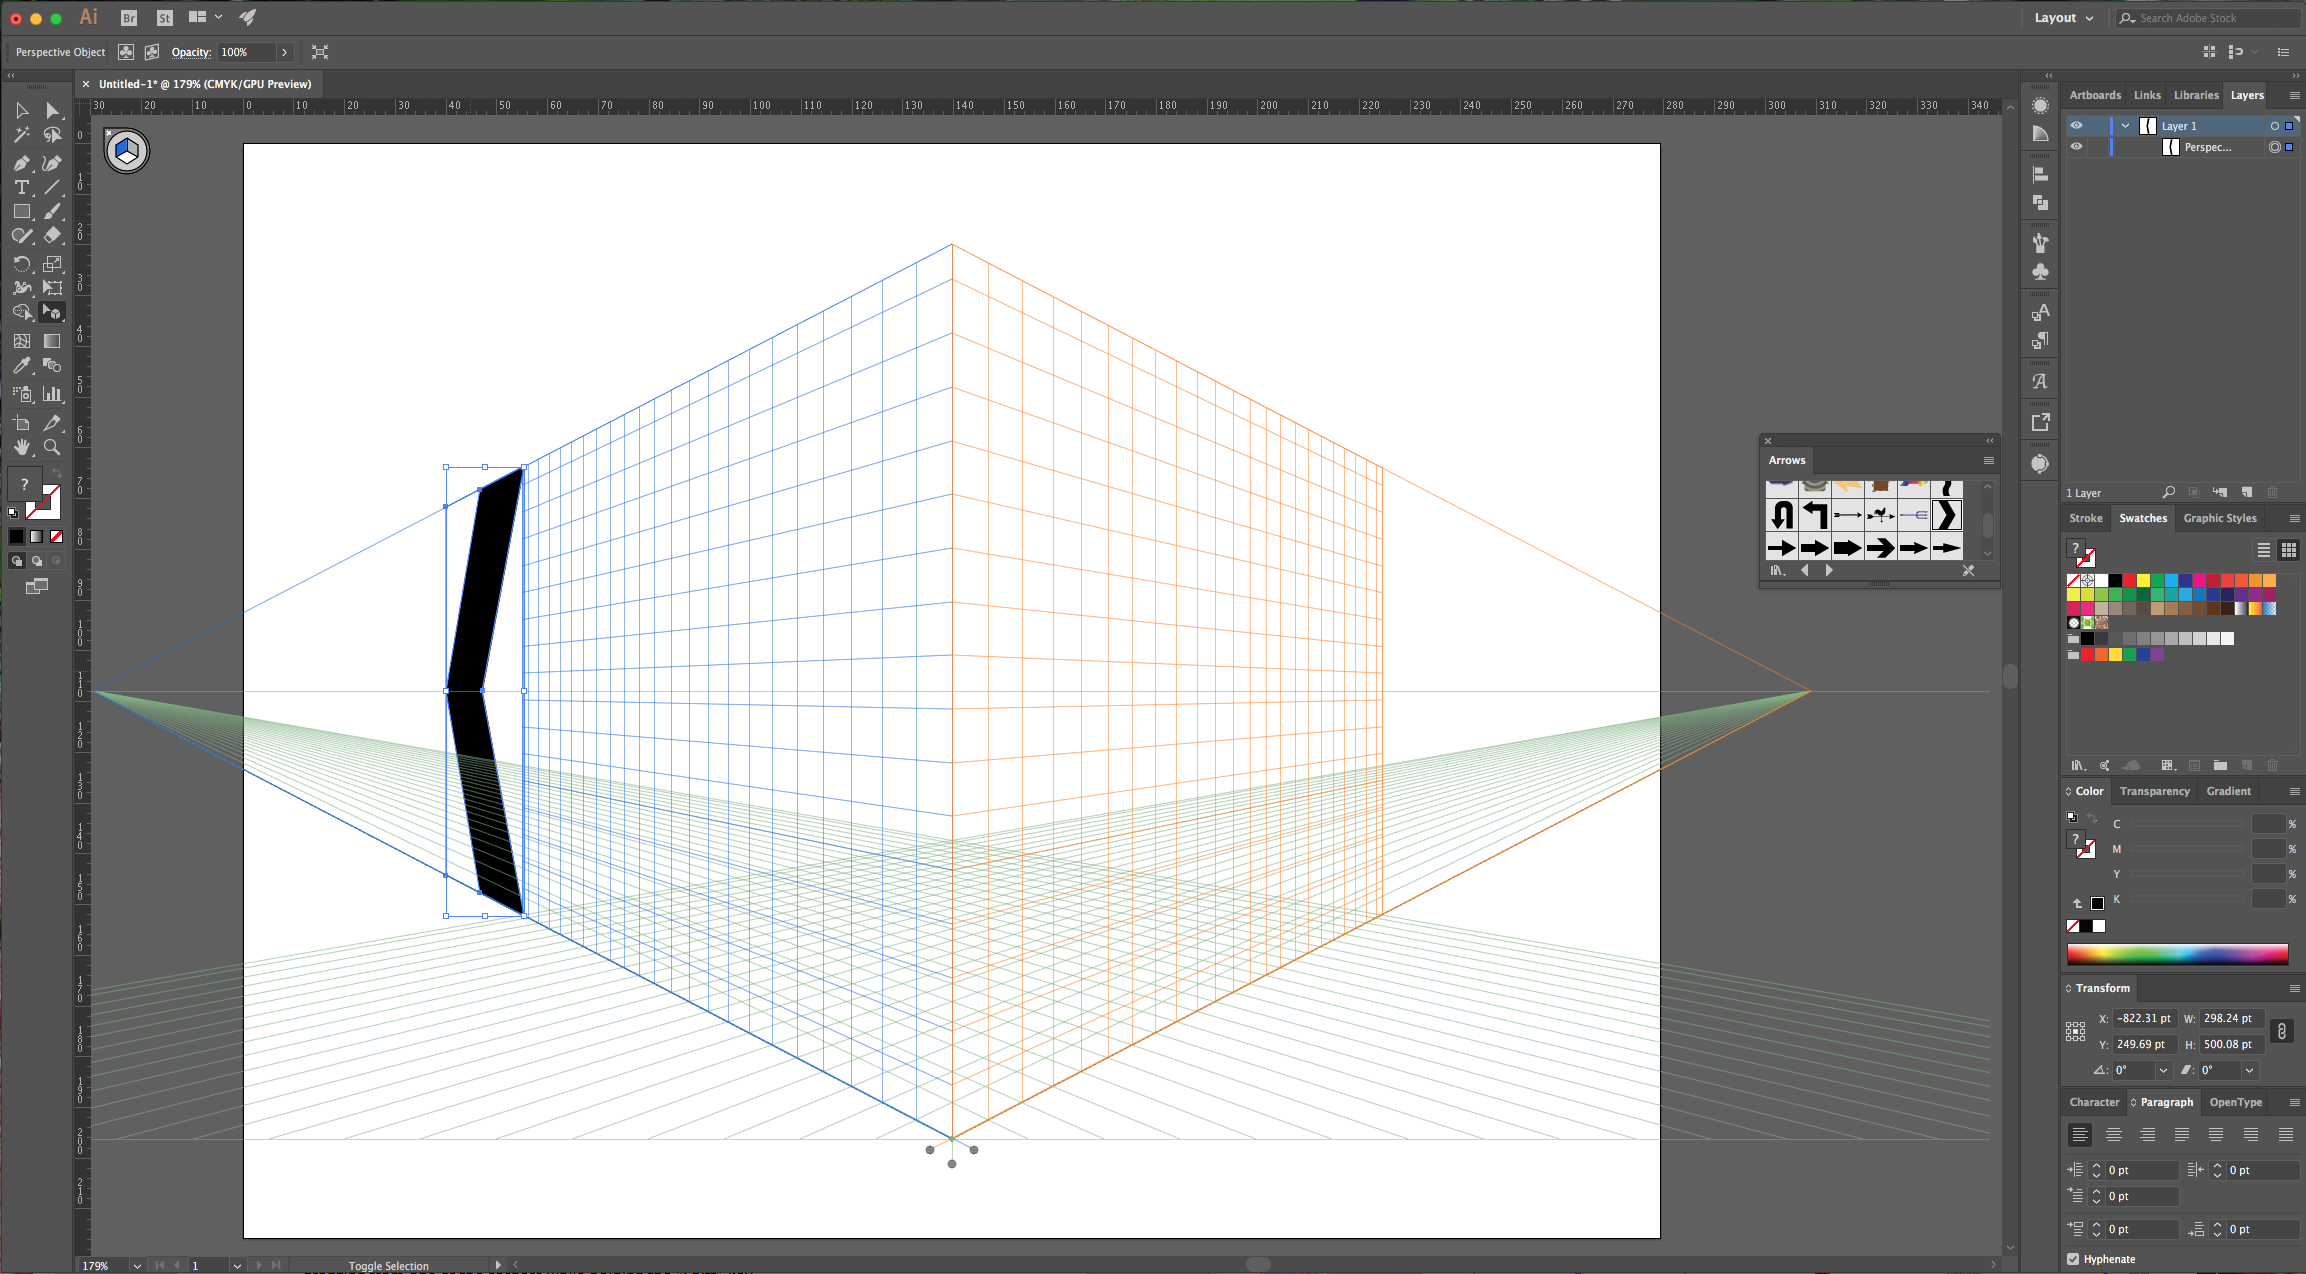
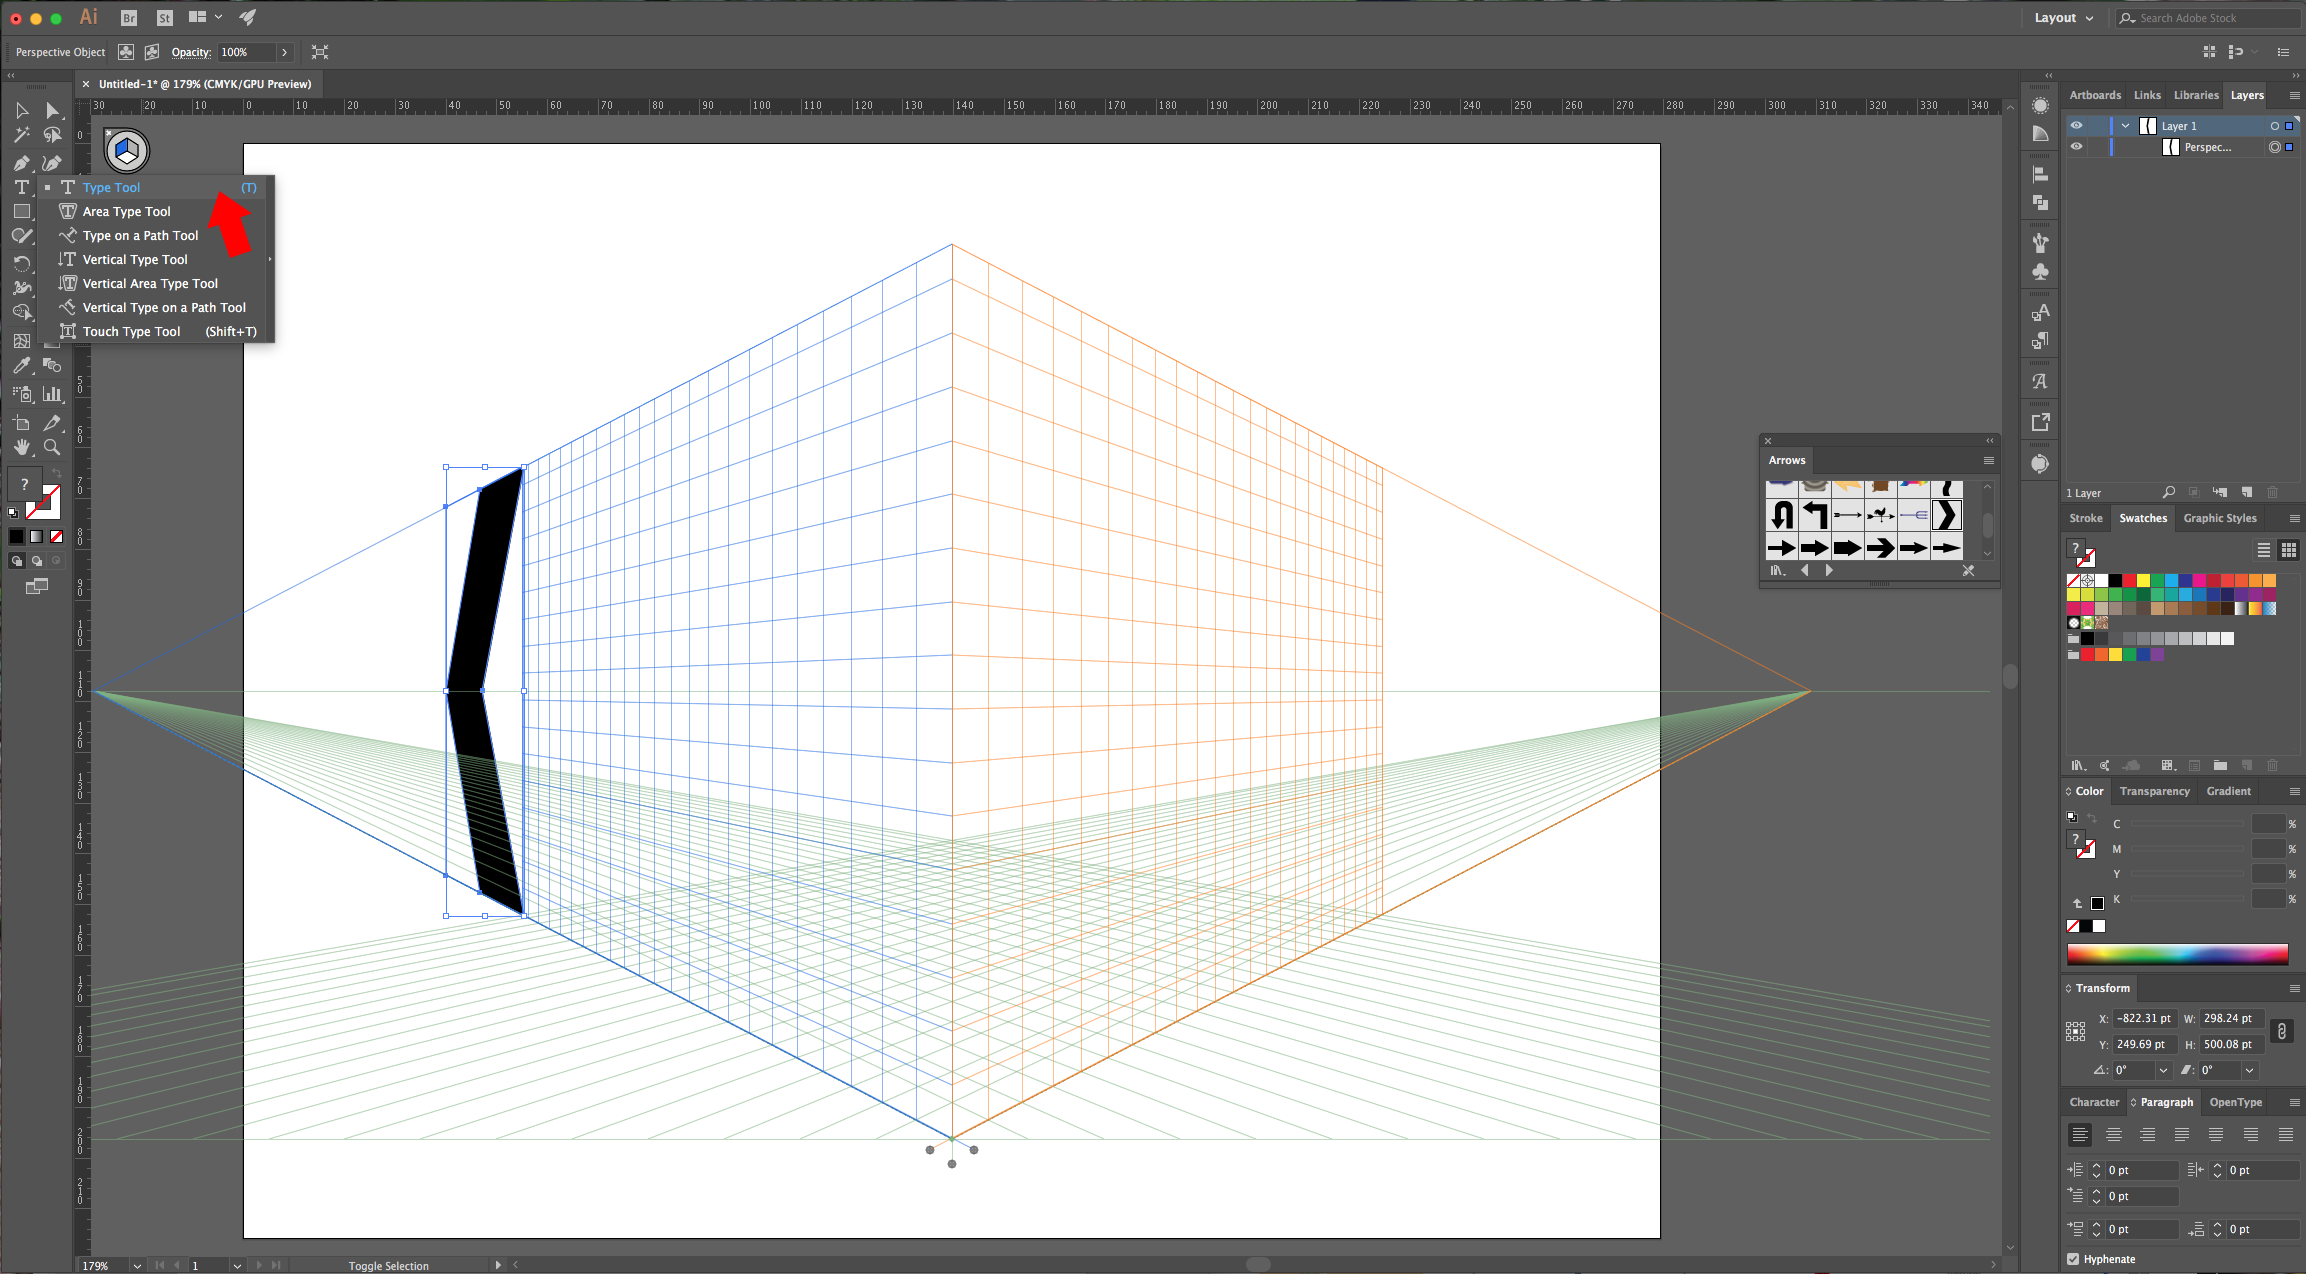
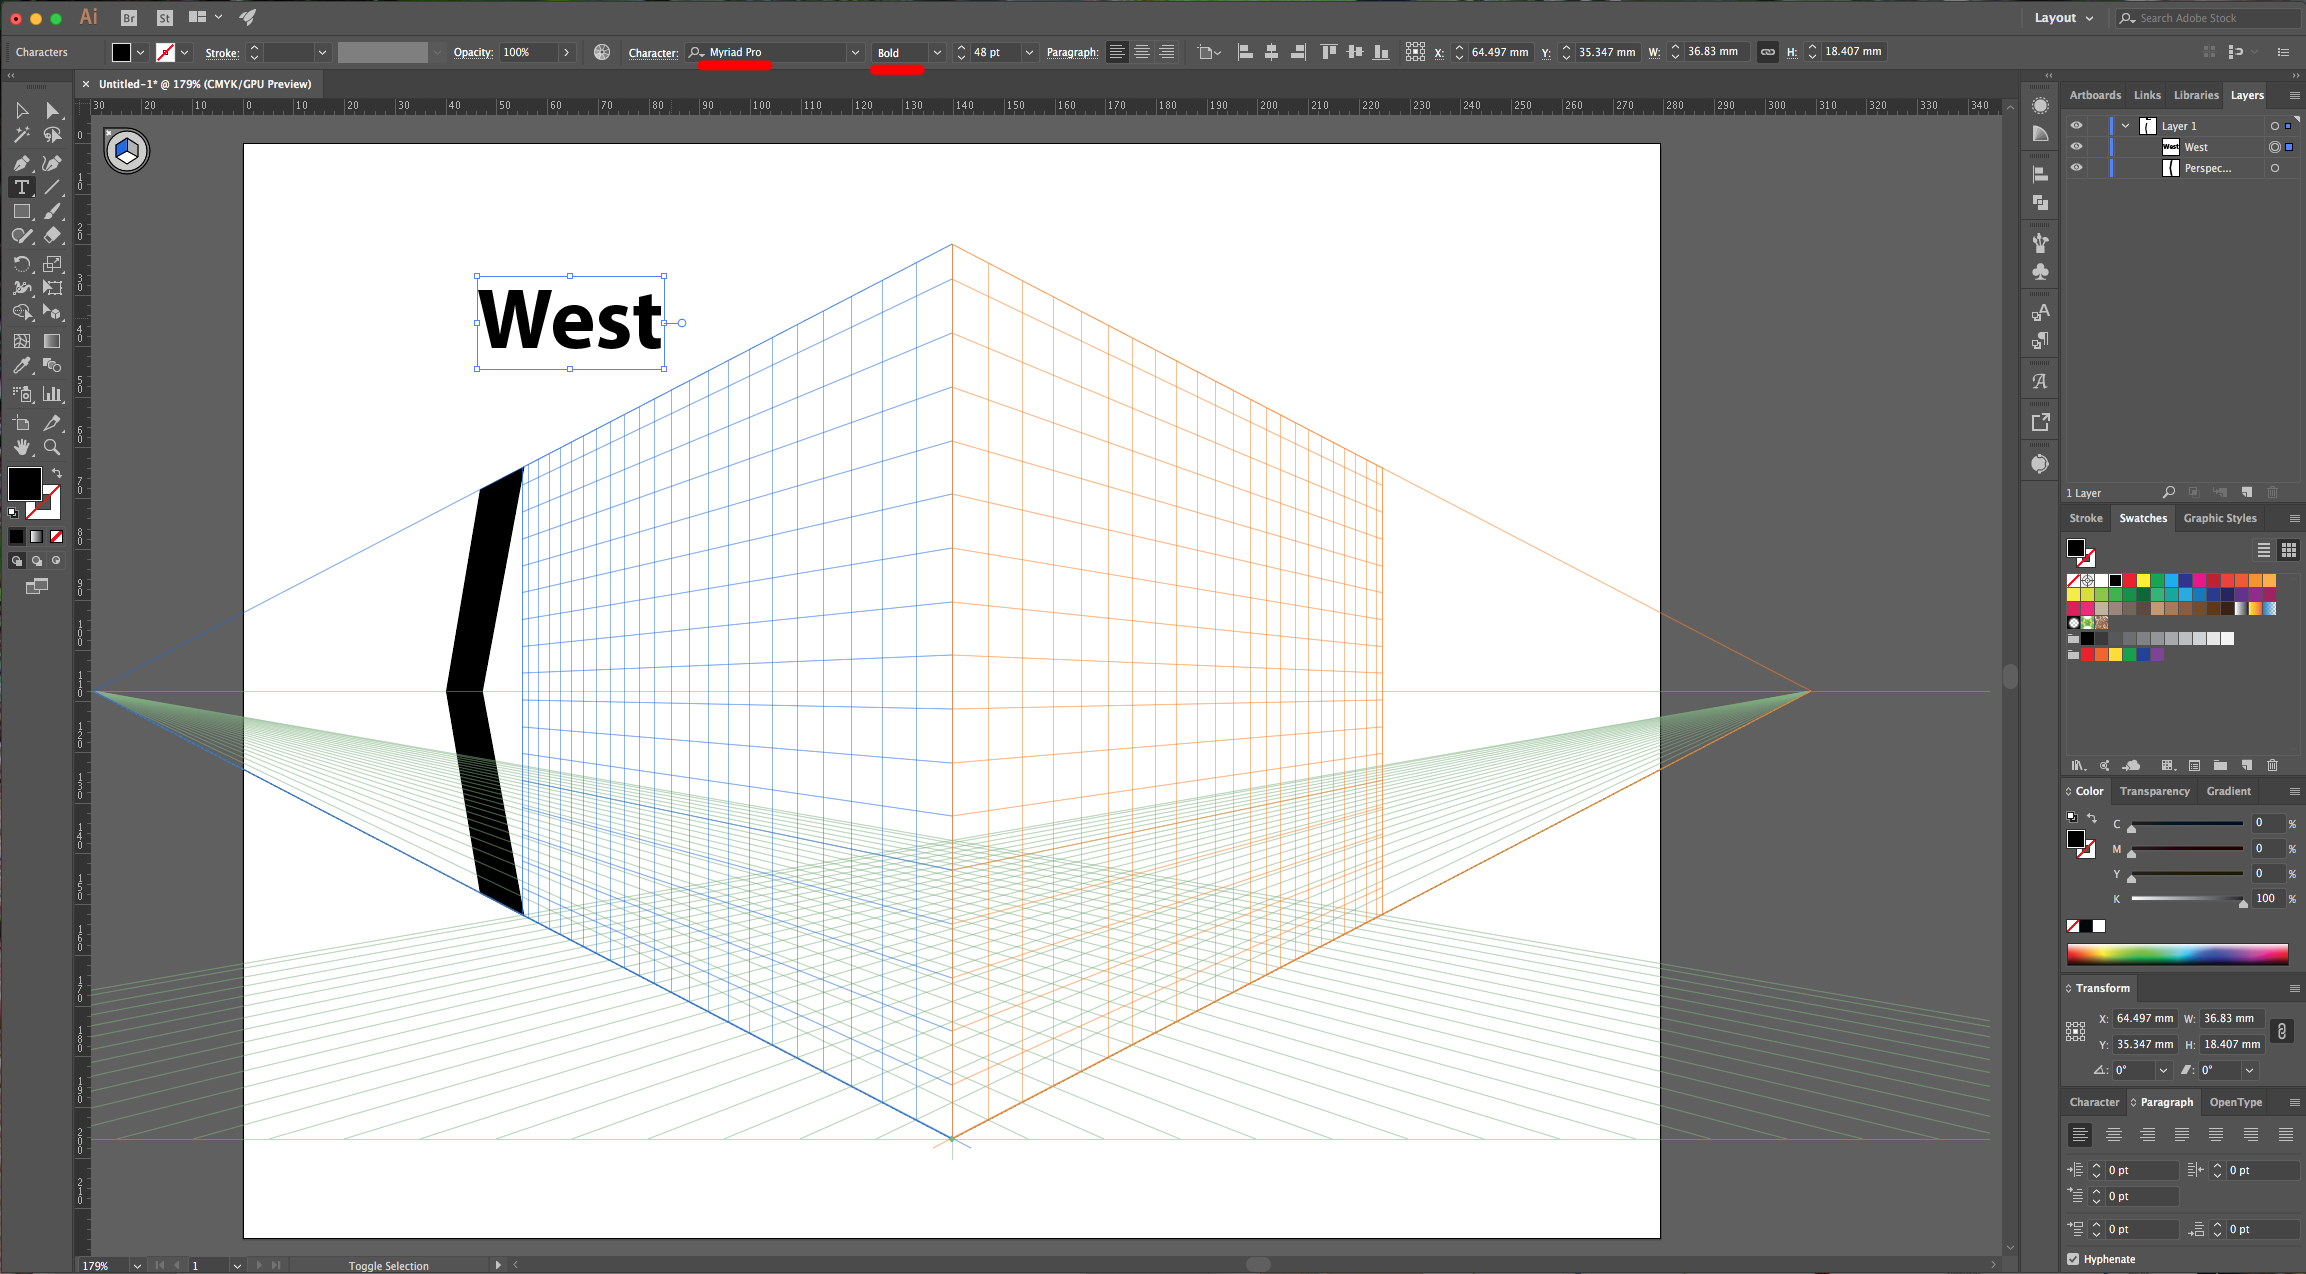
6 - Select the “Type Tool” (T) choose your font (we used Myriad Pro Bold) and type some text. With the “Perspective Selection Tool” (Shift + V), drag it to your grid and scale it by dragging from one of the corners while holding the “Shift” key.
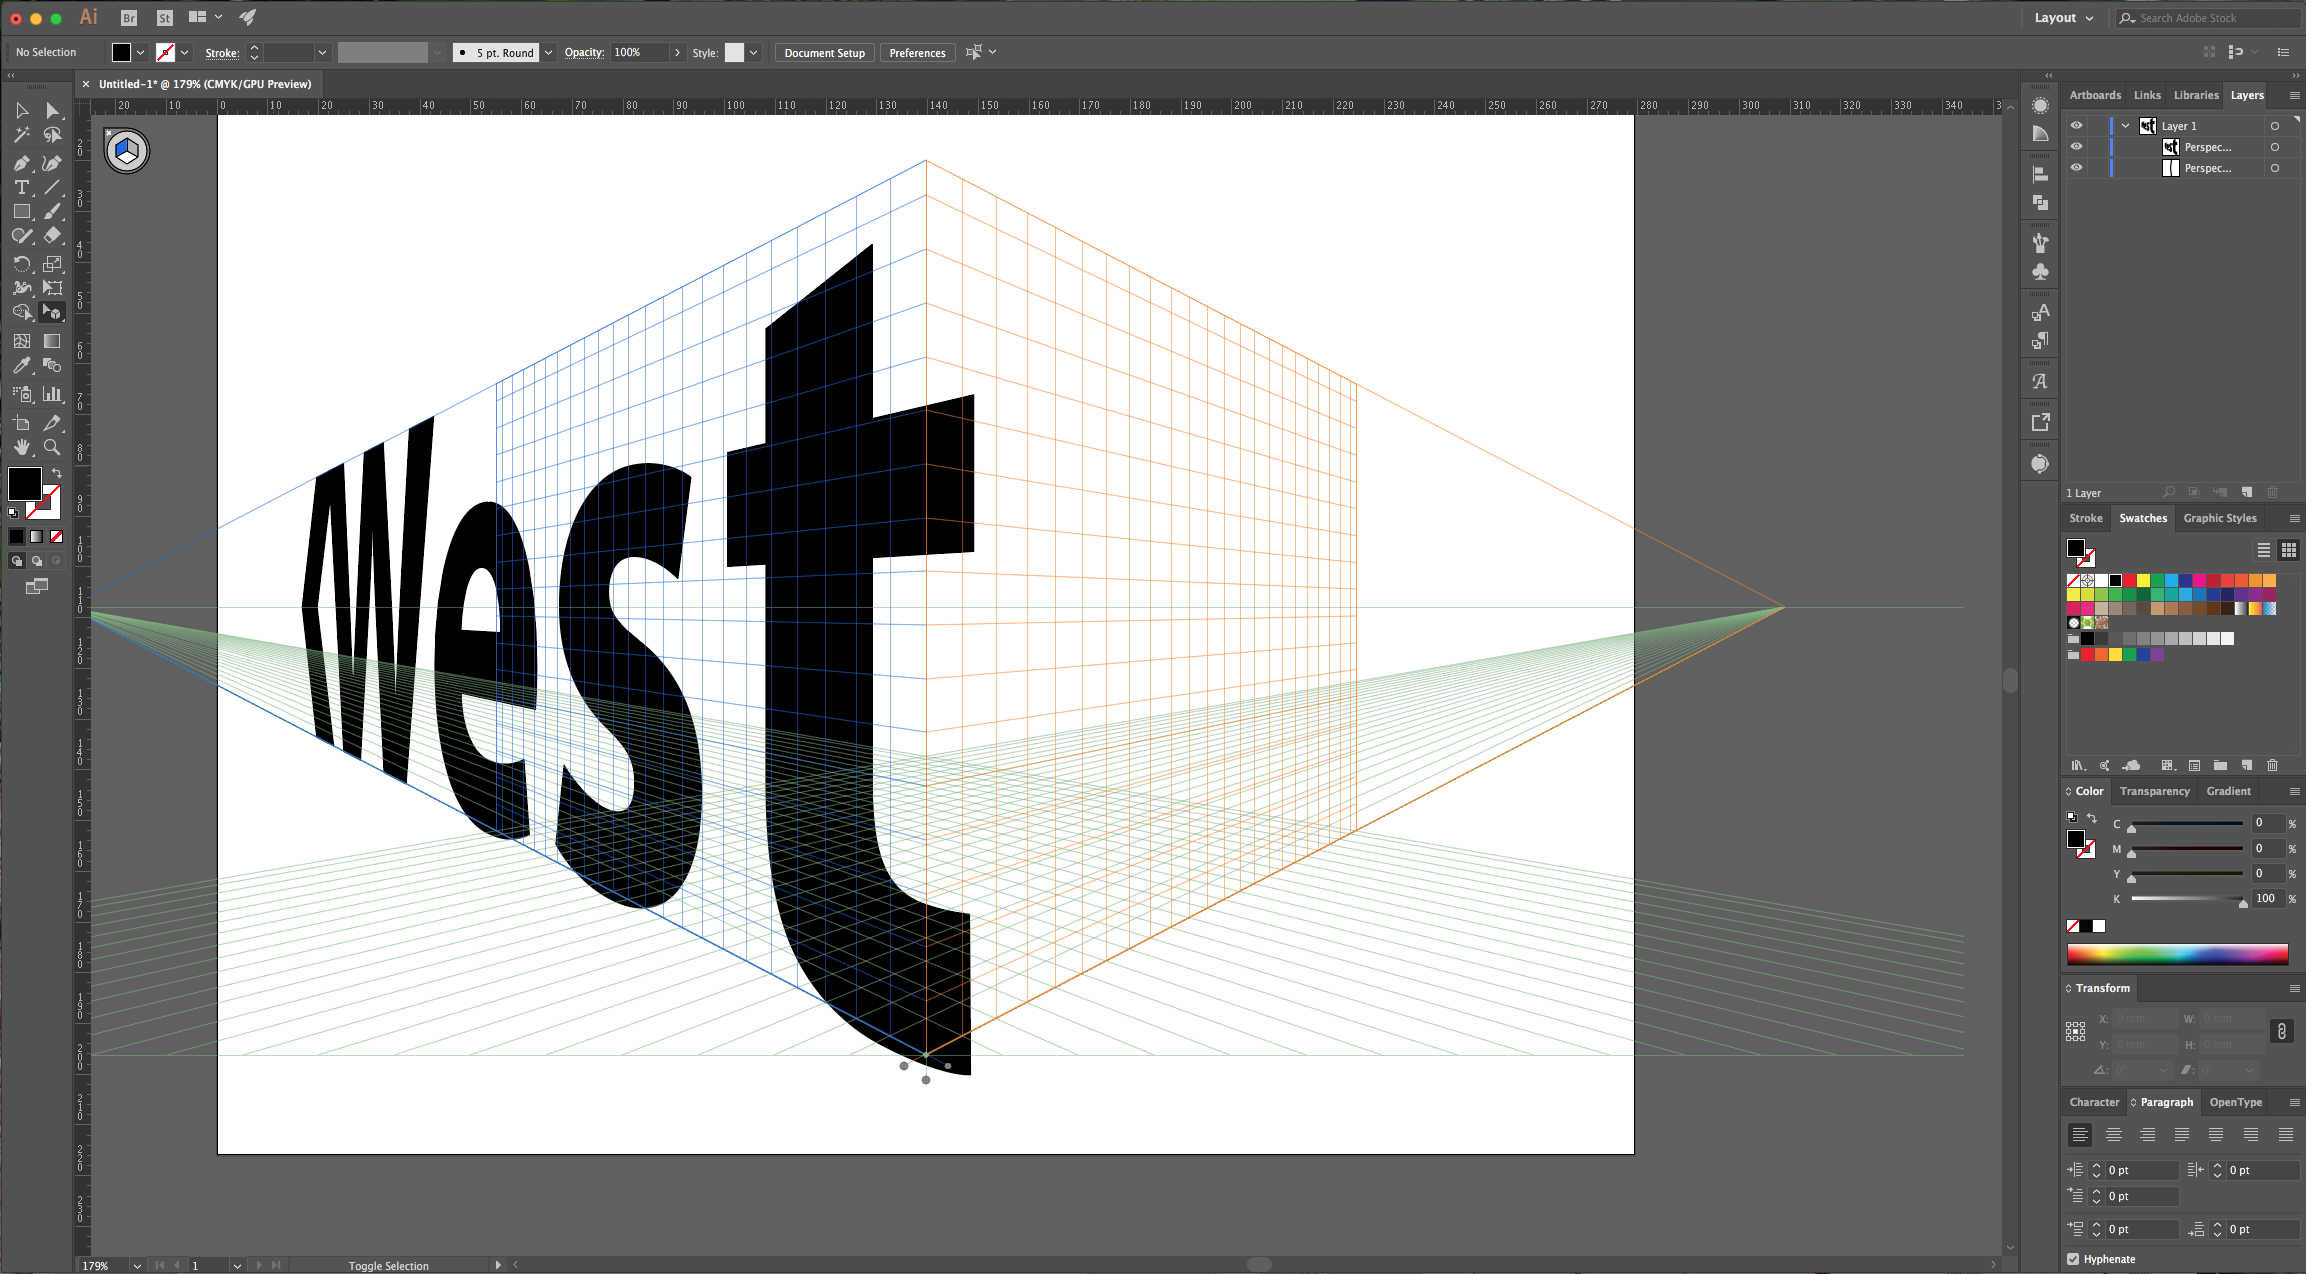
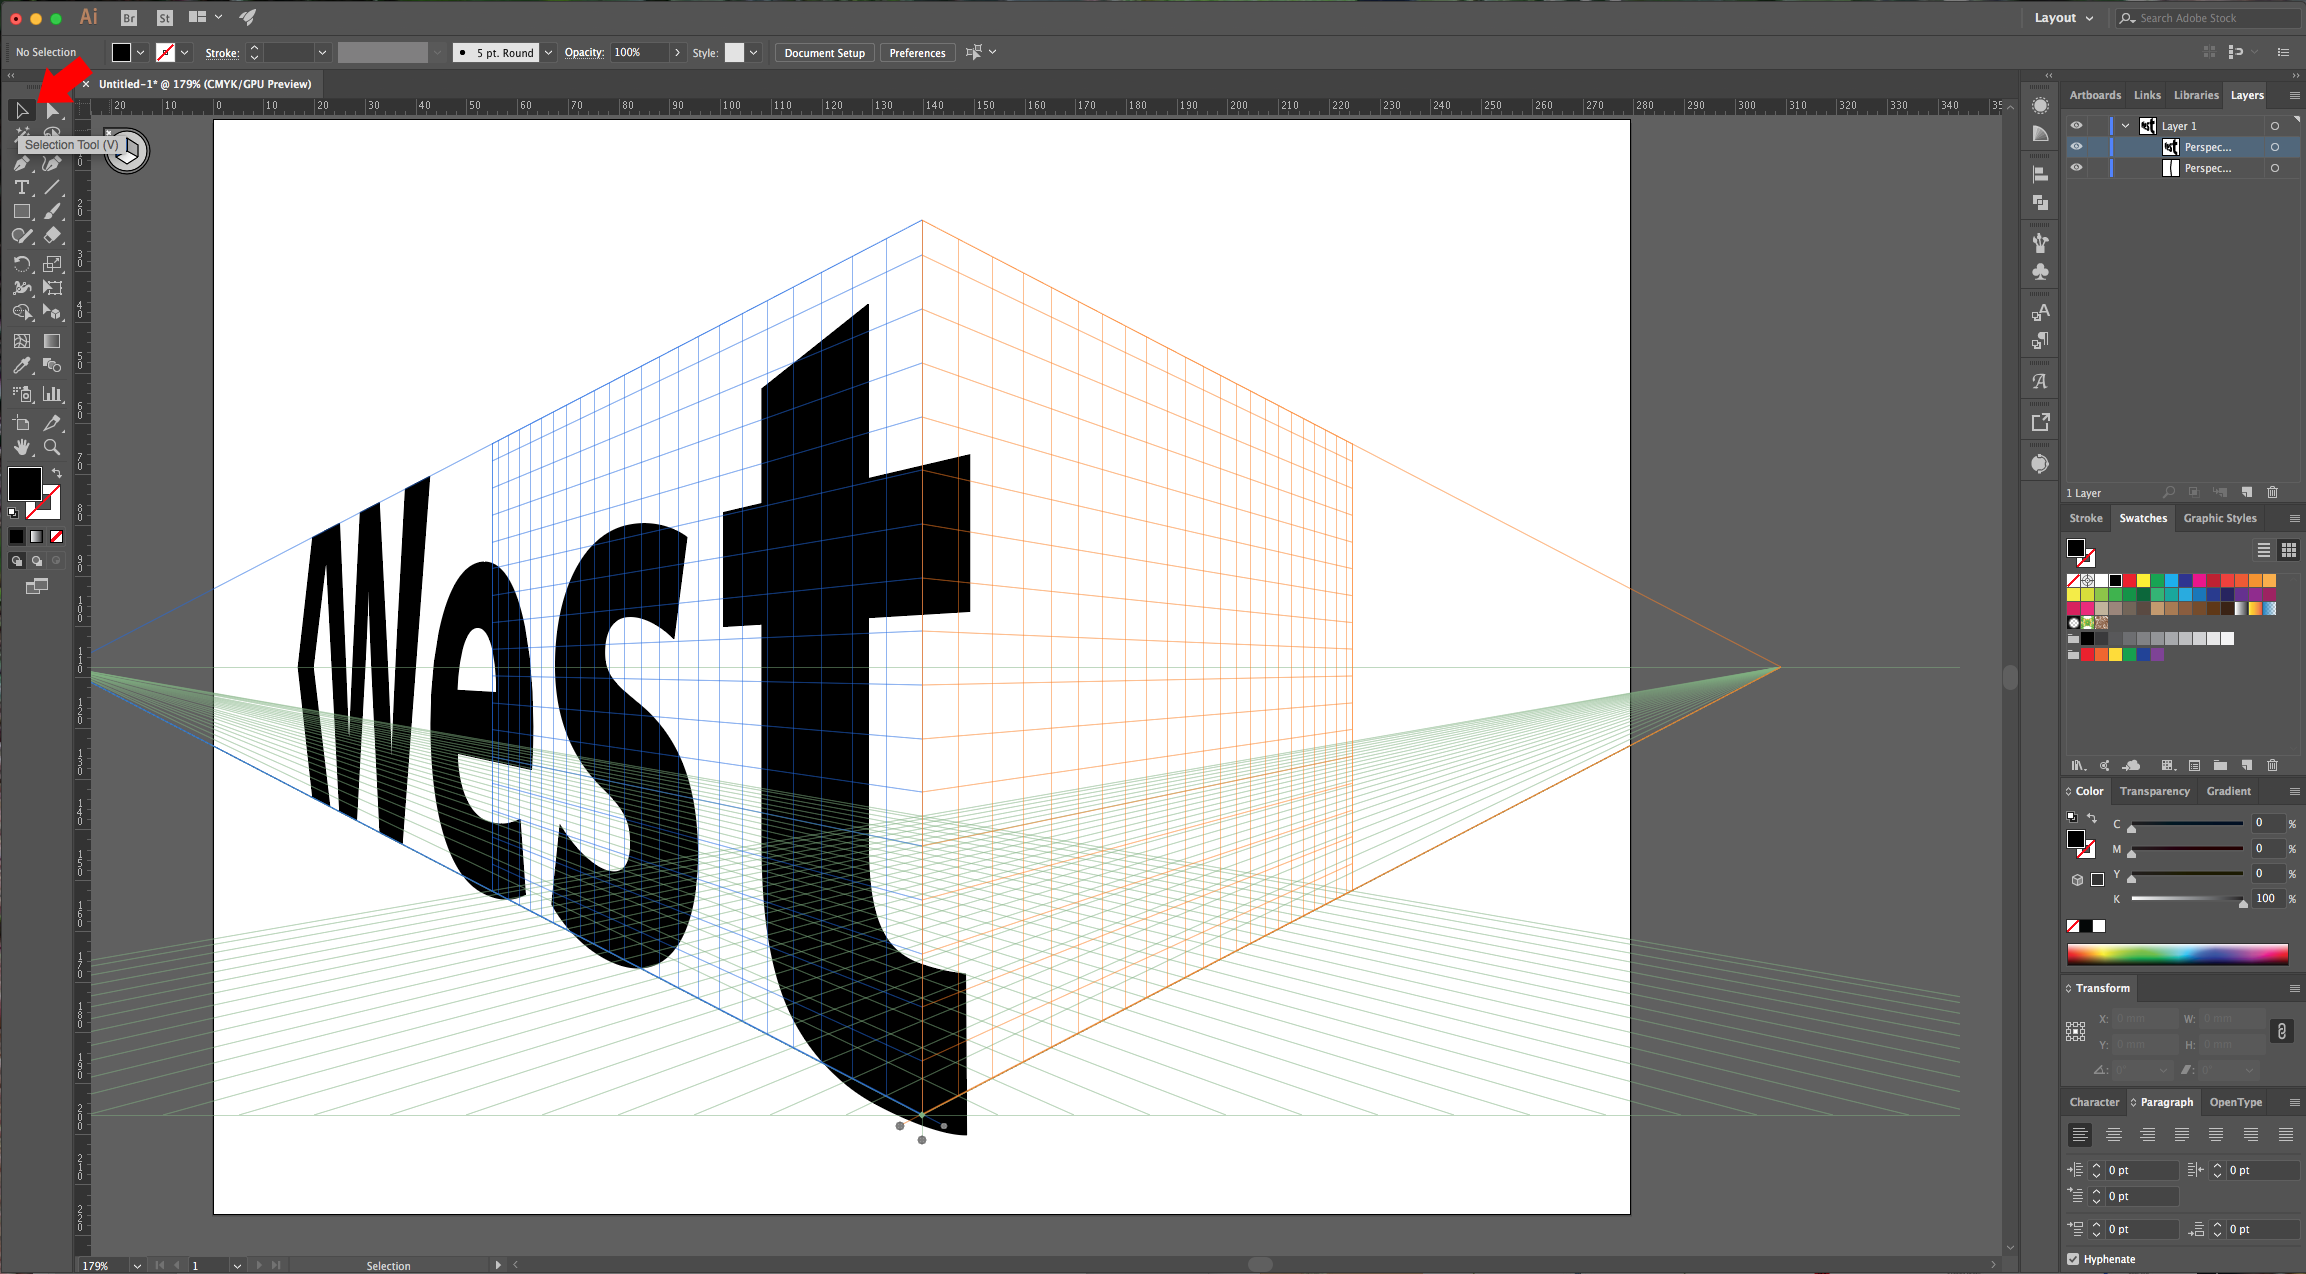
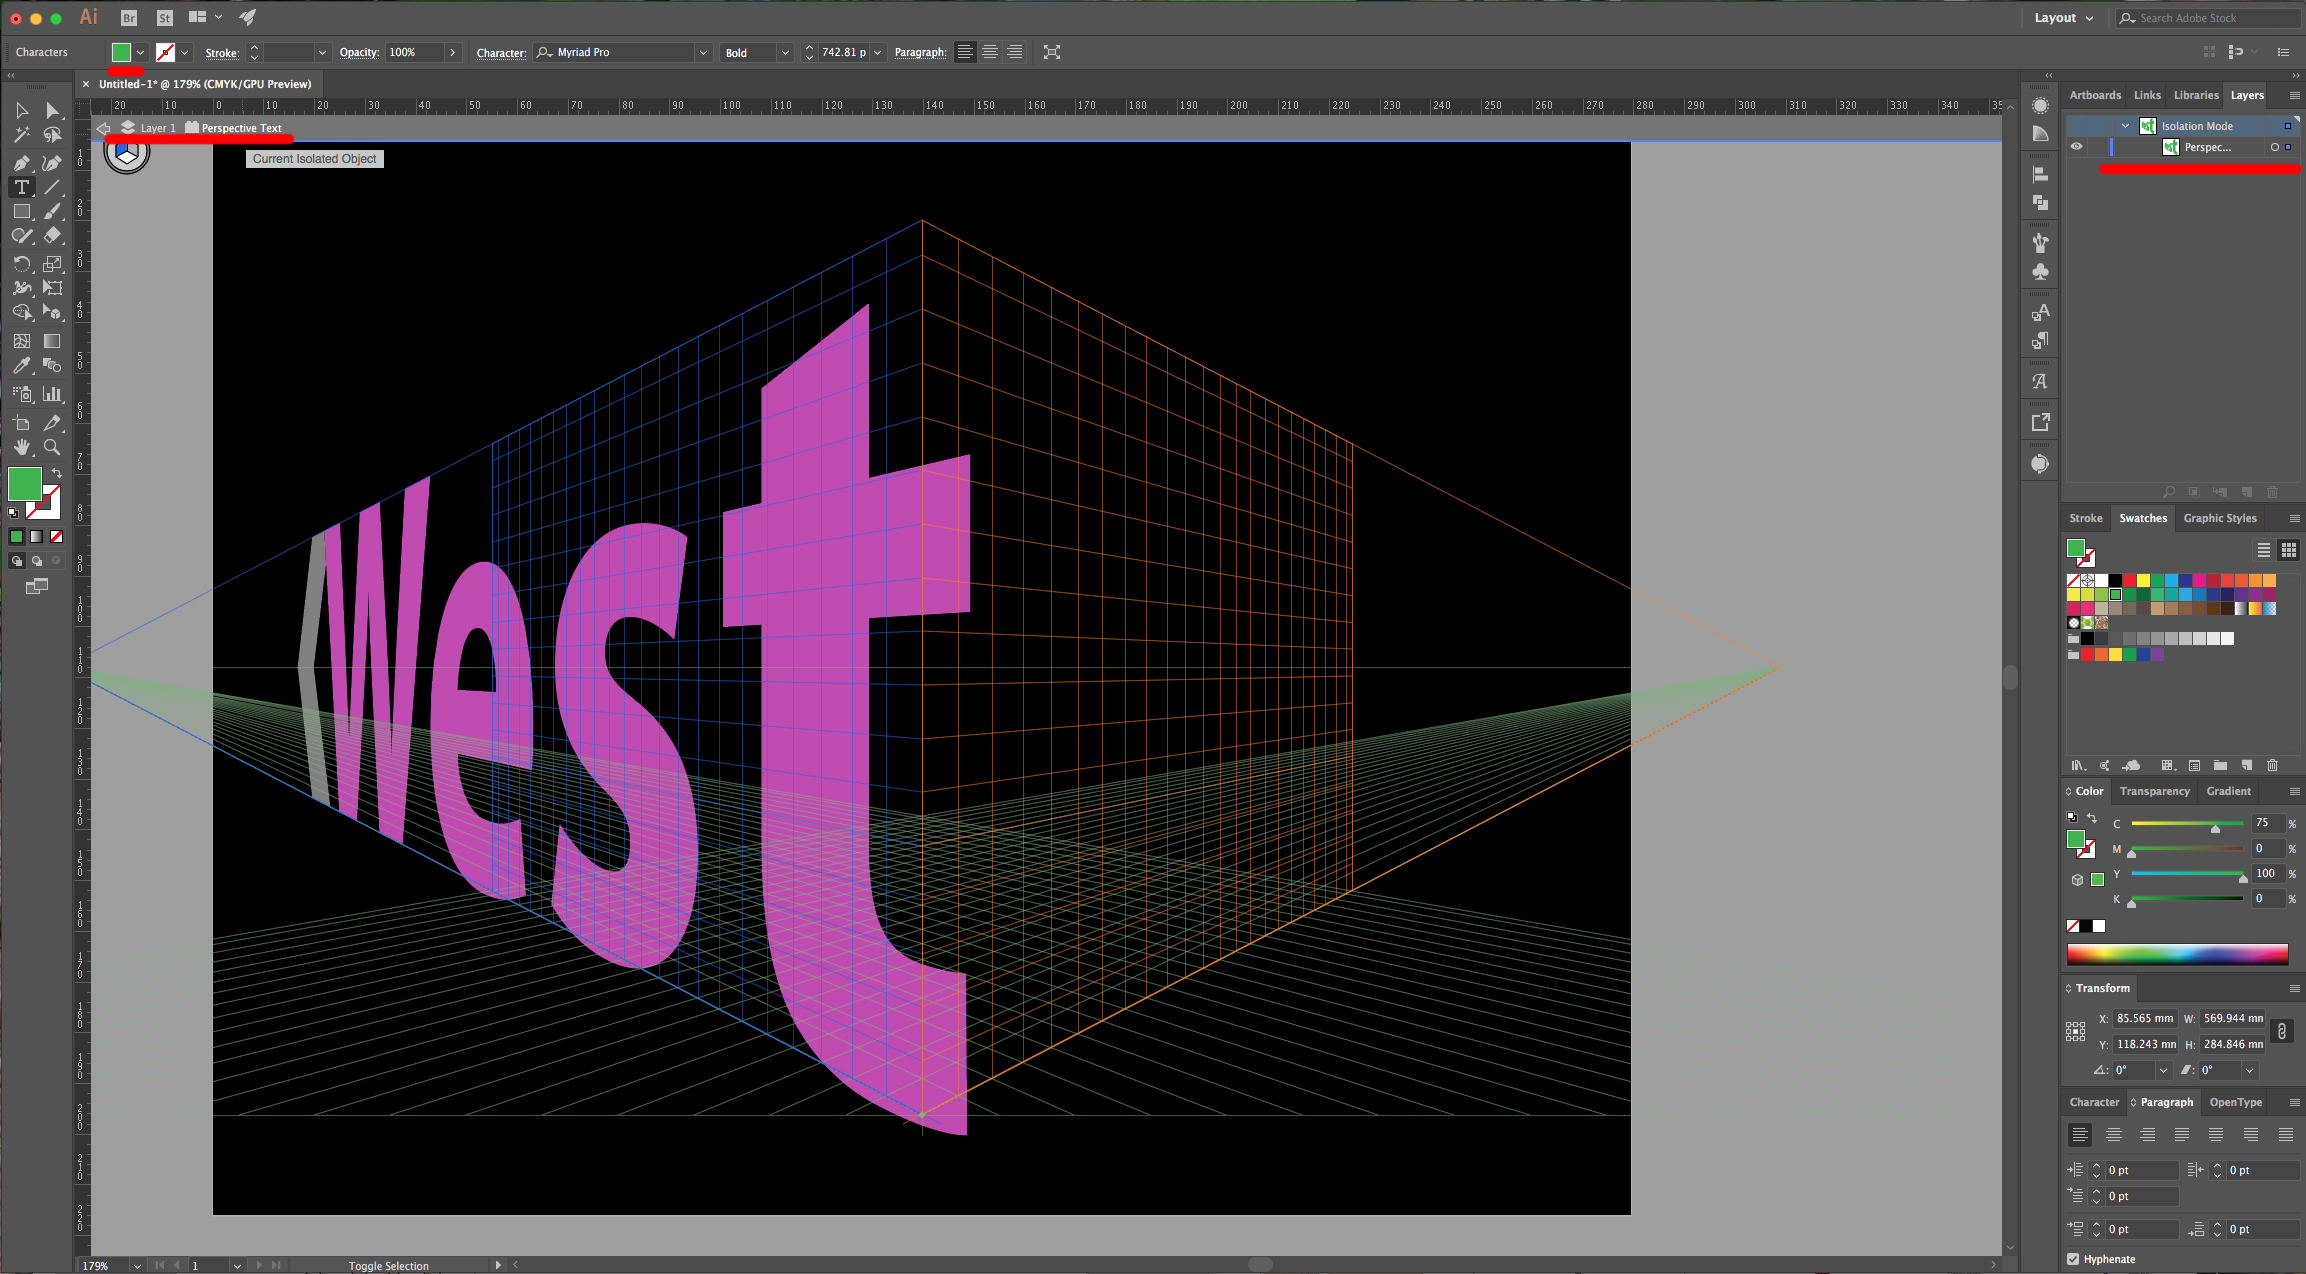
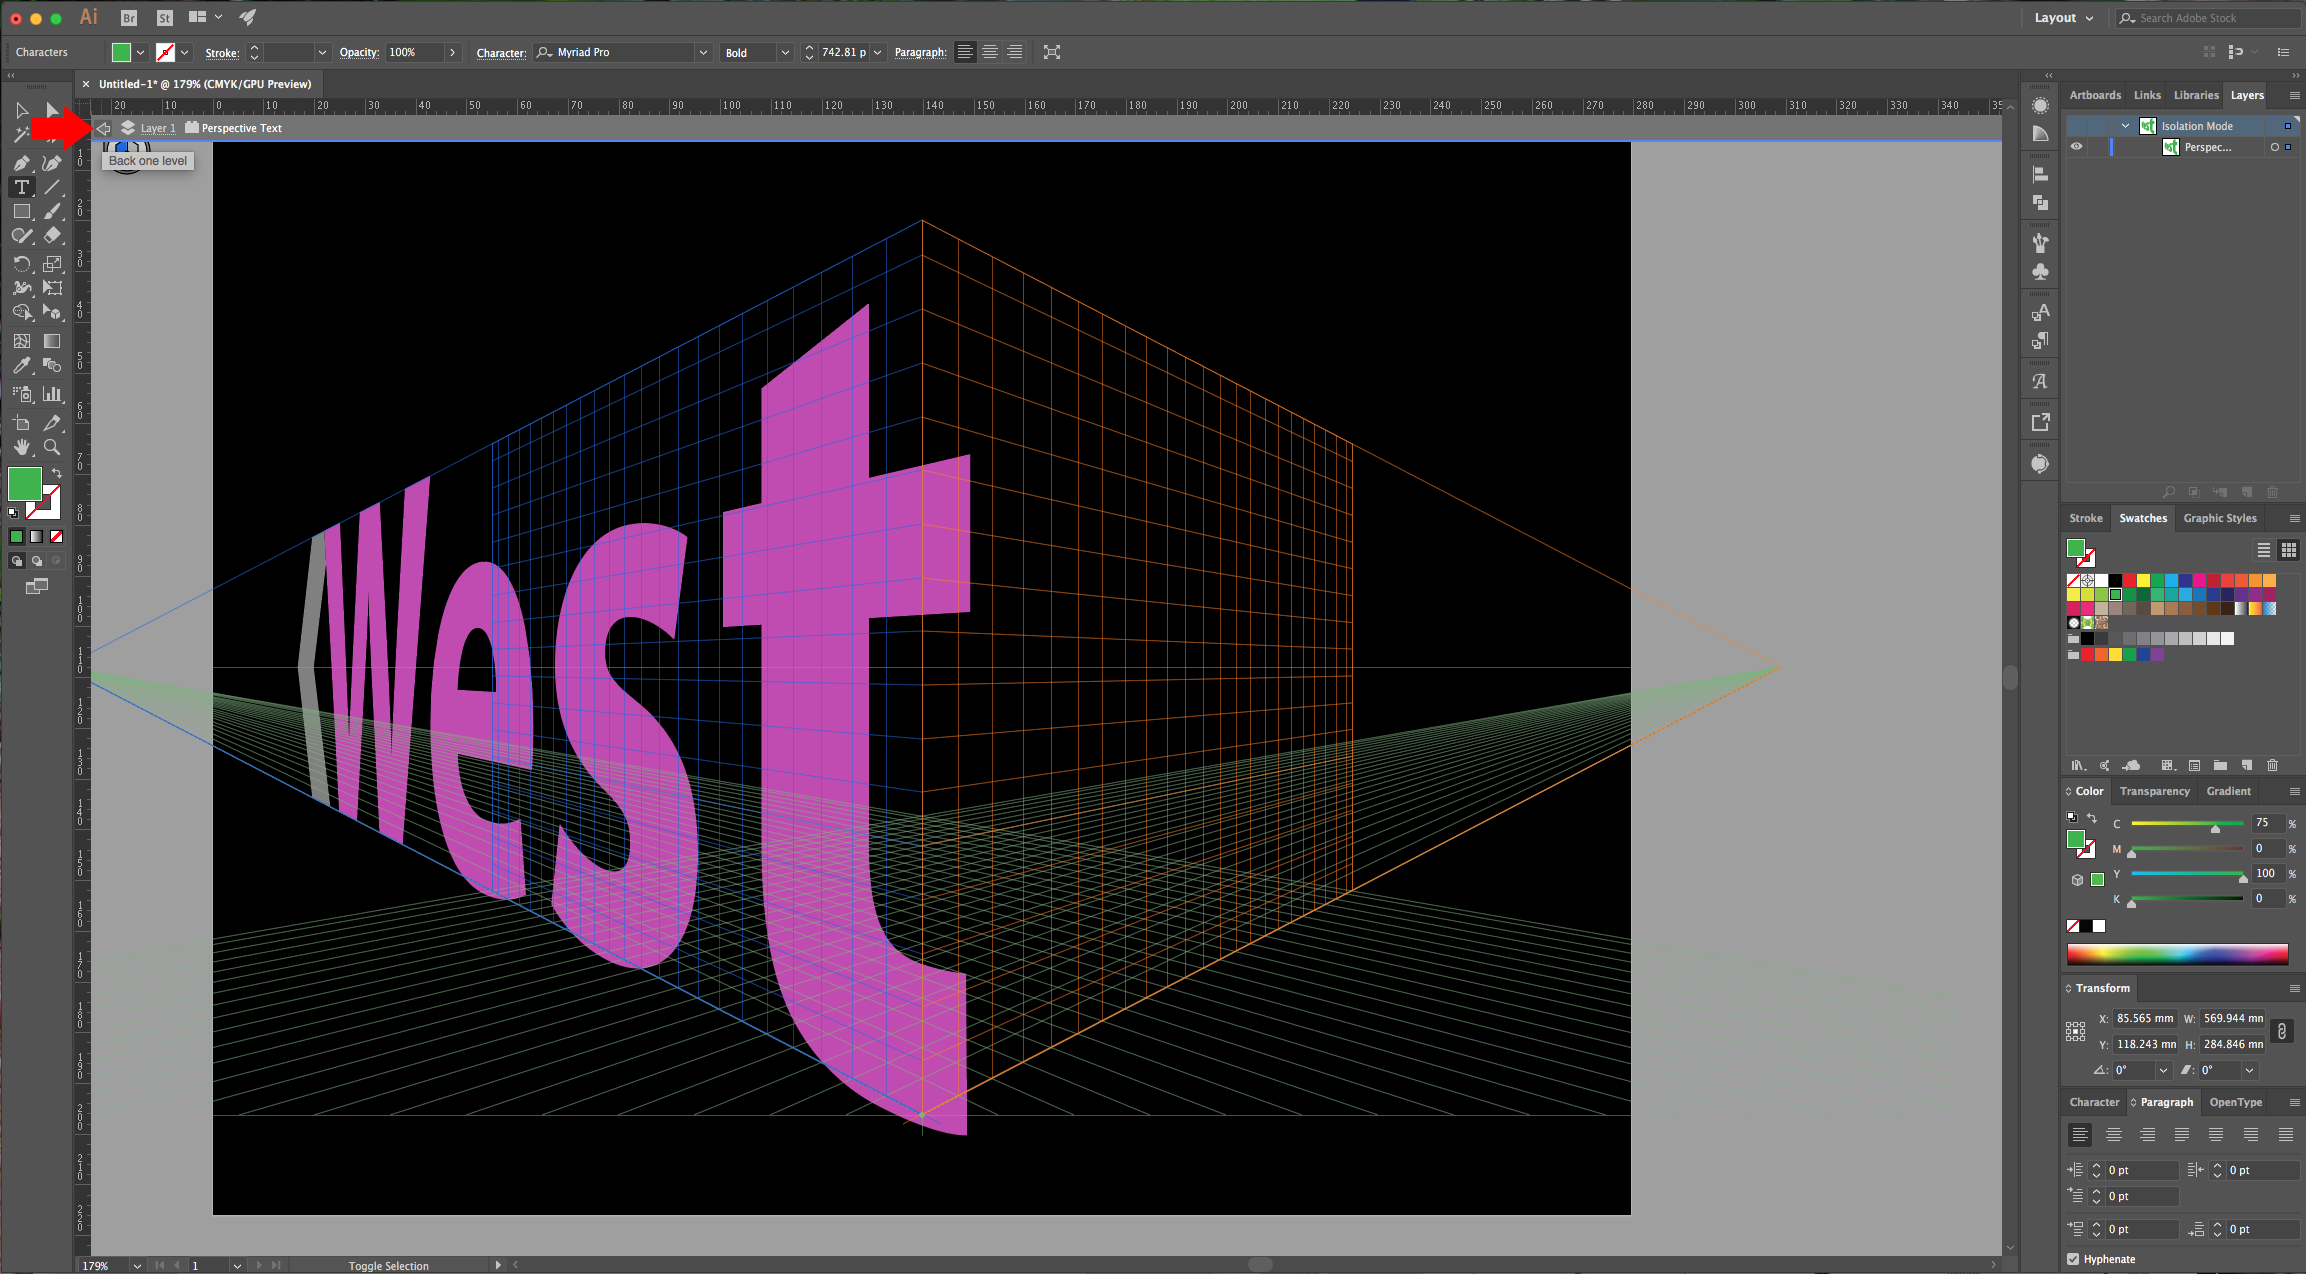
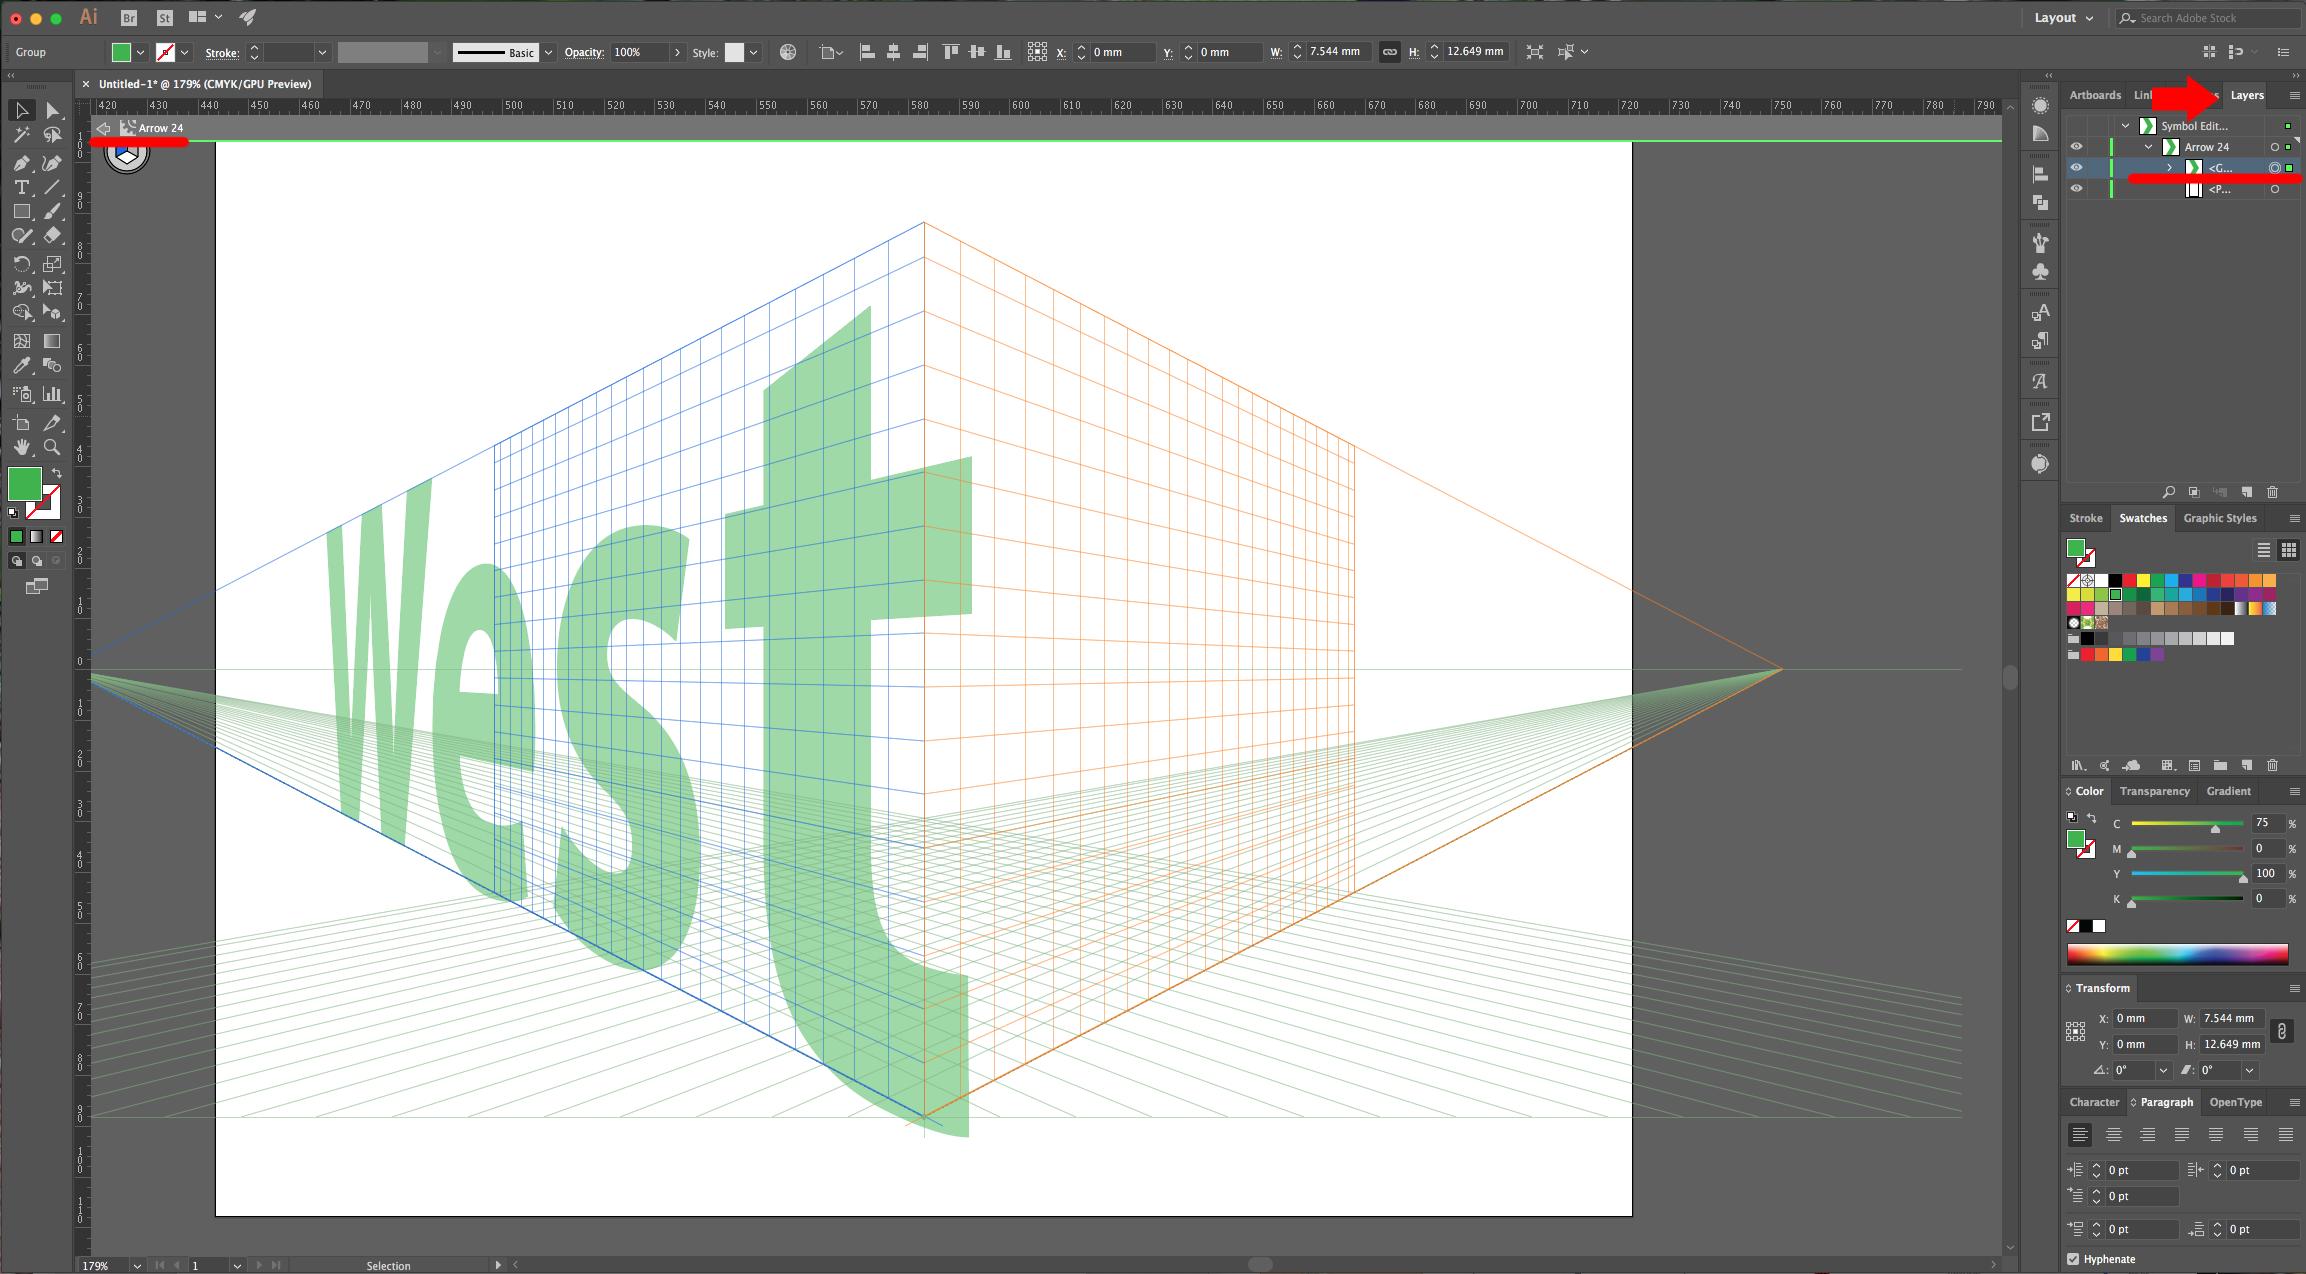
7 - If you want to change the fill of the “Symbol” or the “Text”, use the “Selection Tool” (V) and double-click on it “Isolate” it and then change the color. Then exit “Isolation Mode” by clicking on the left arrow on the top menu. For the “Symbol” you may need to make sure it is selected in the “Layers” Panel because it may not be visible.
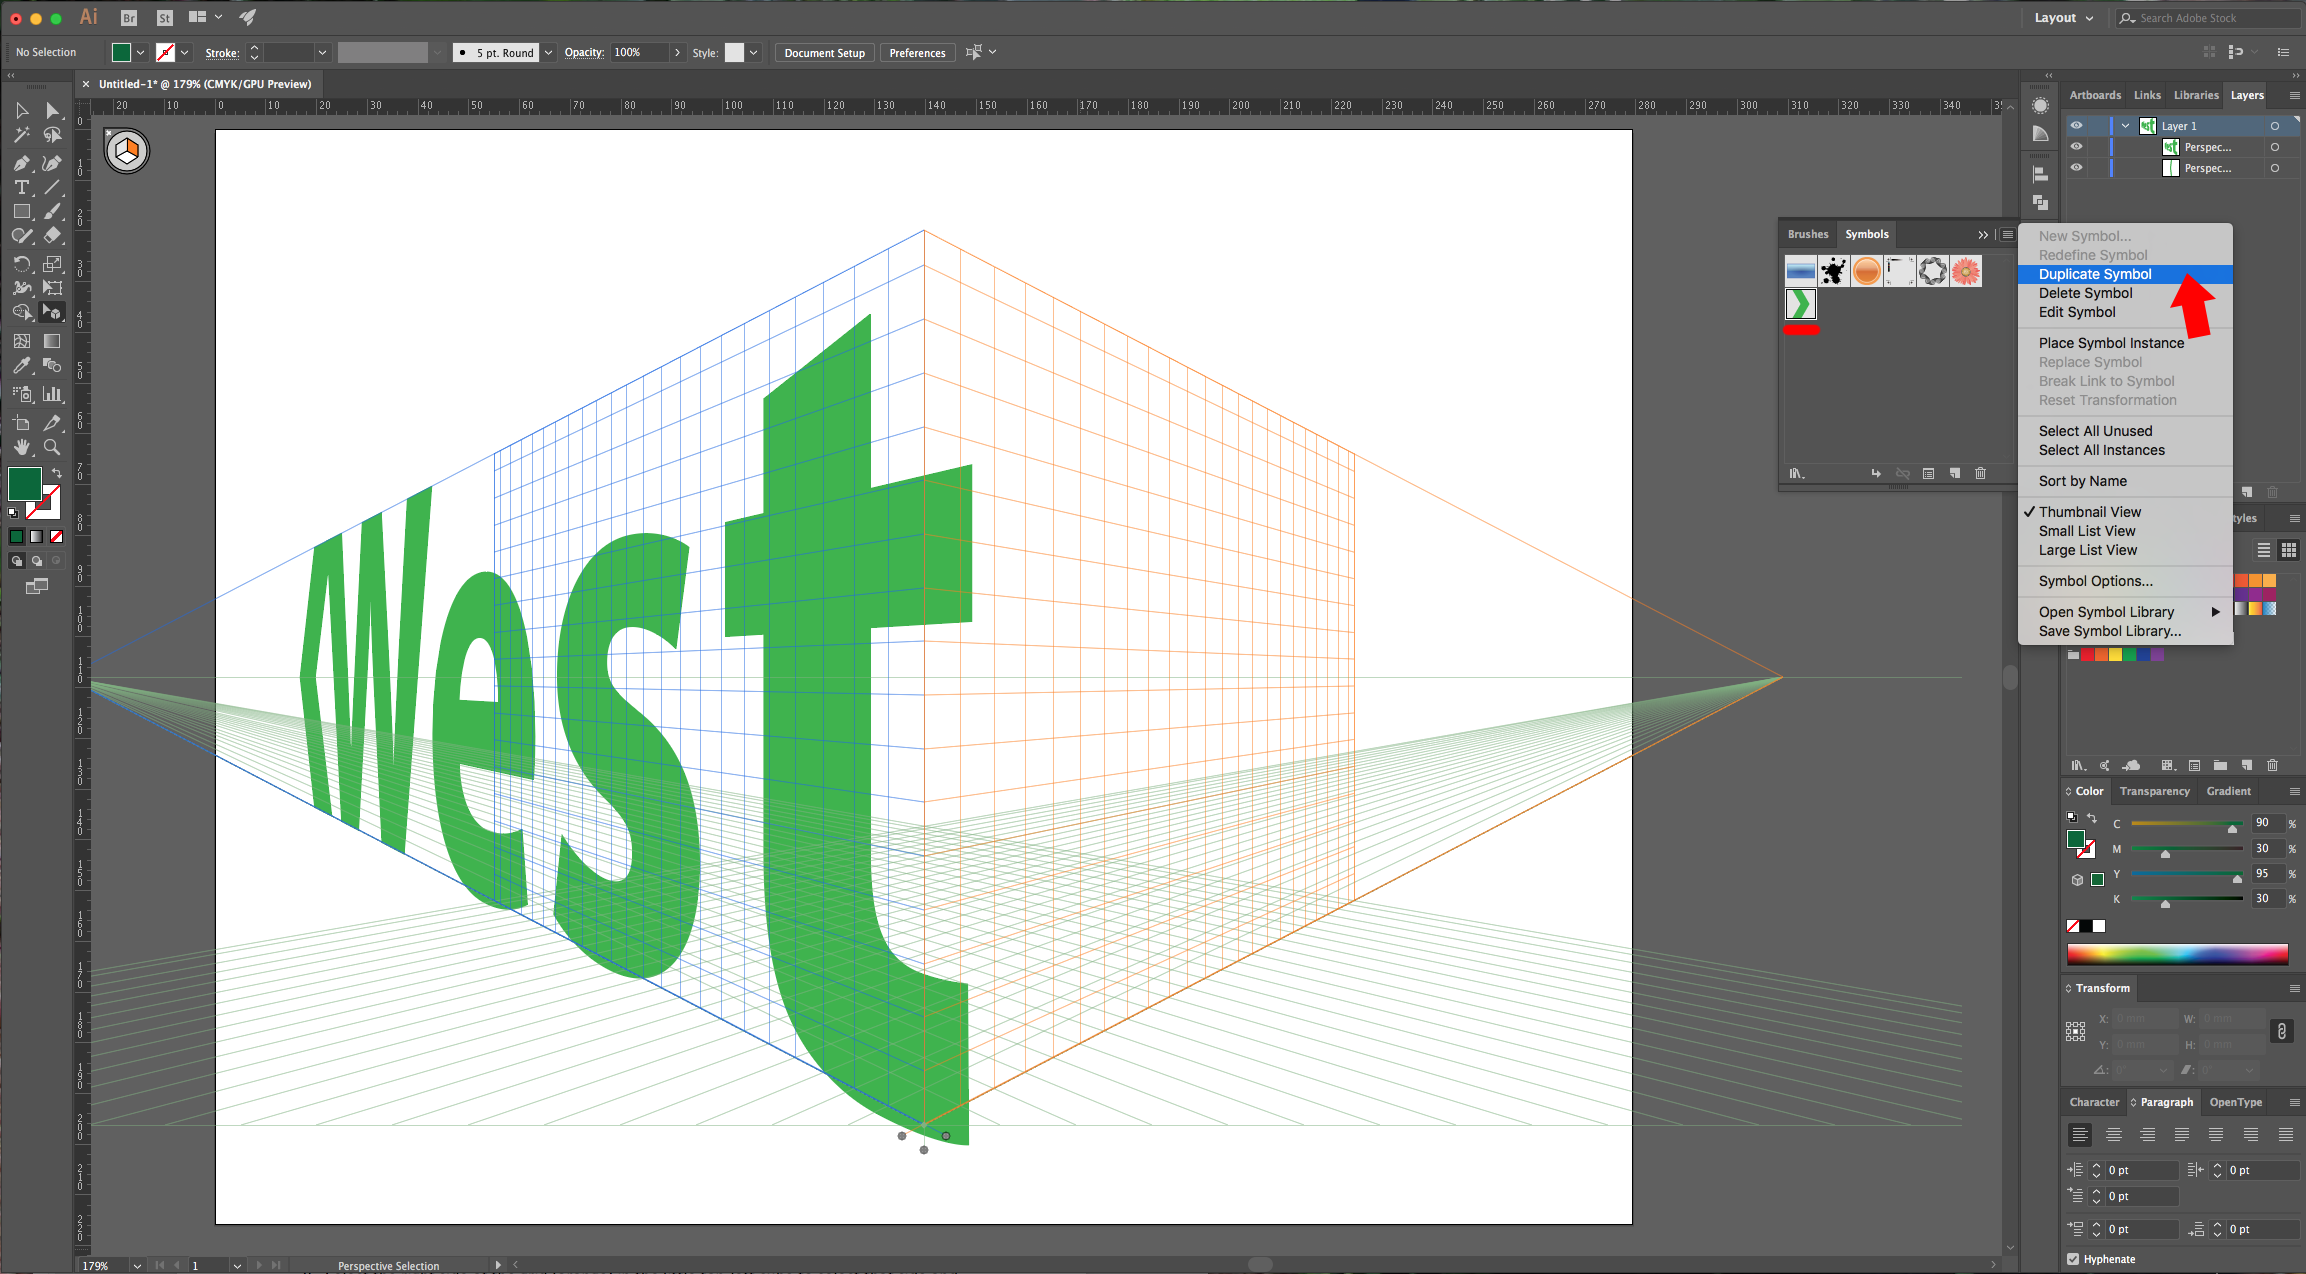
8 - Go to the “Symbols” Panel, select your arrow, go to the small menu on the top-right and choose “Duplicate Symbol”. Now you can change the color and do other modifications without altering the one used on the left side.
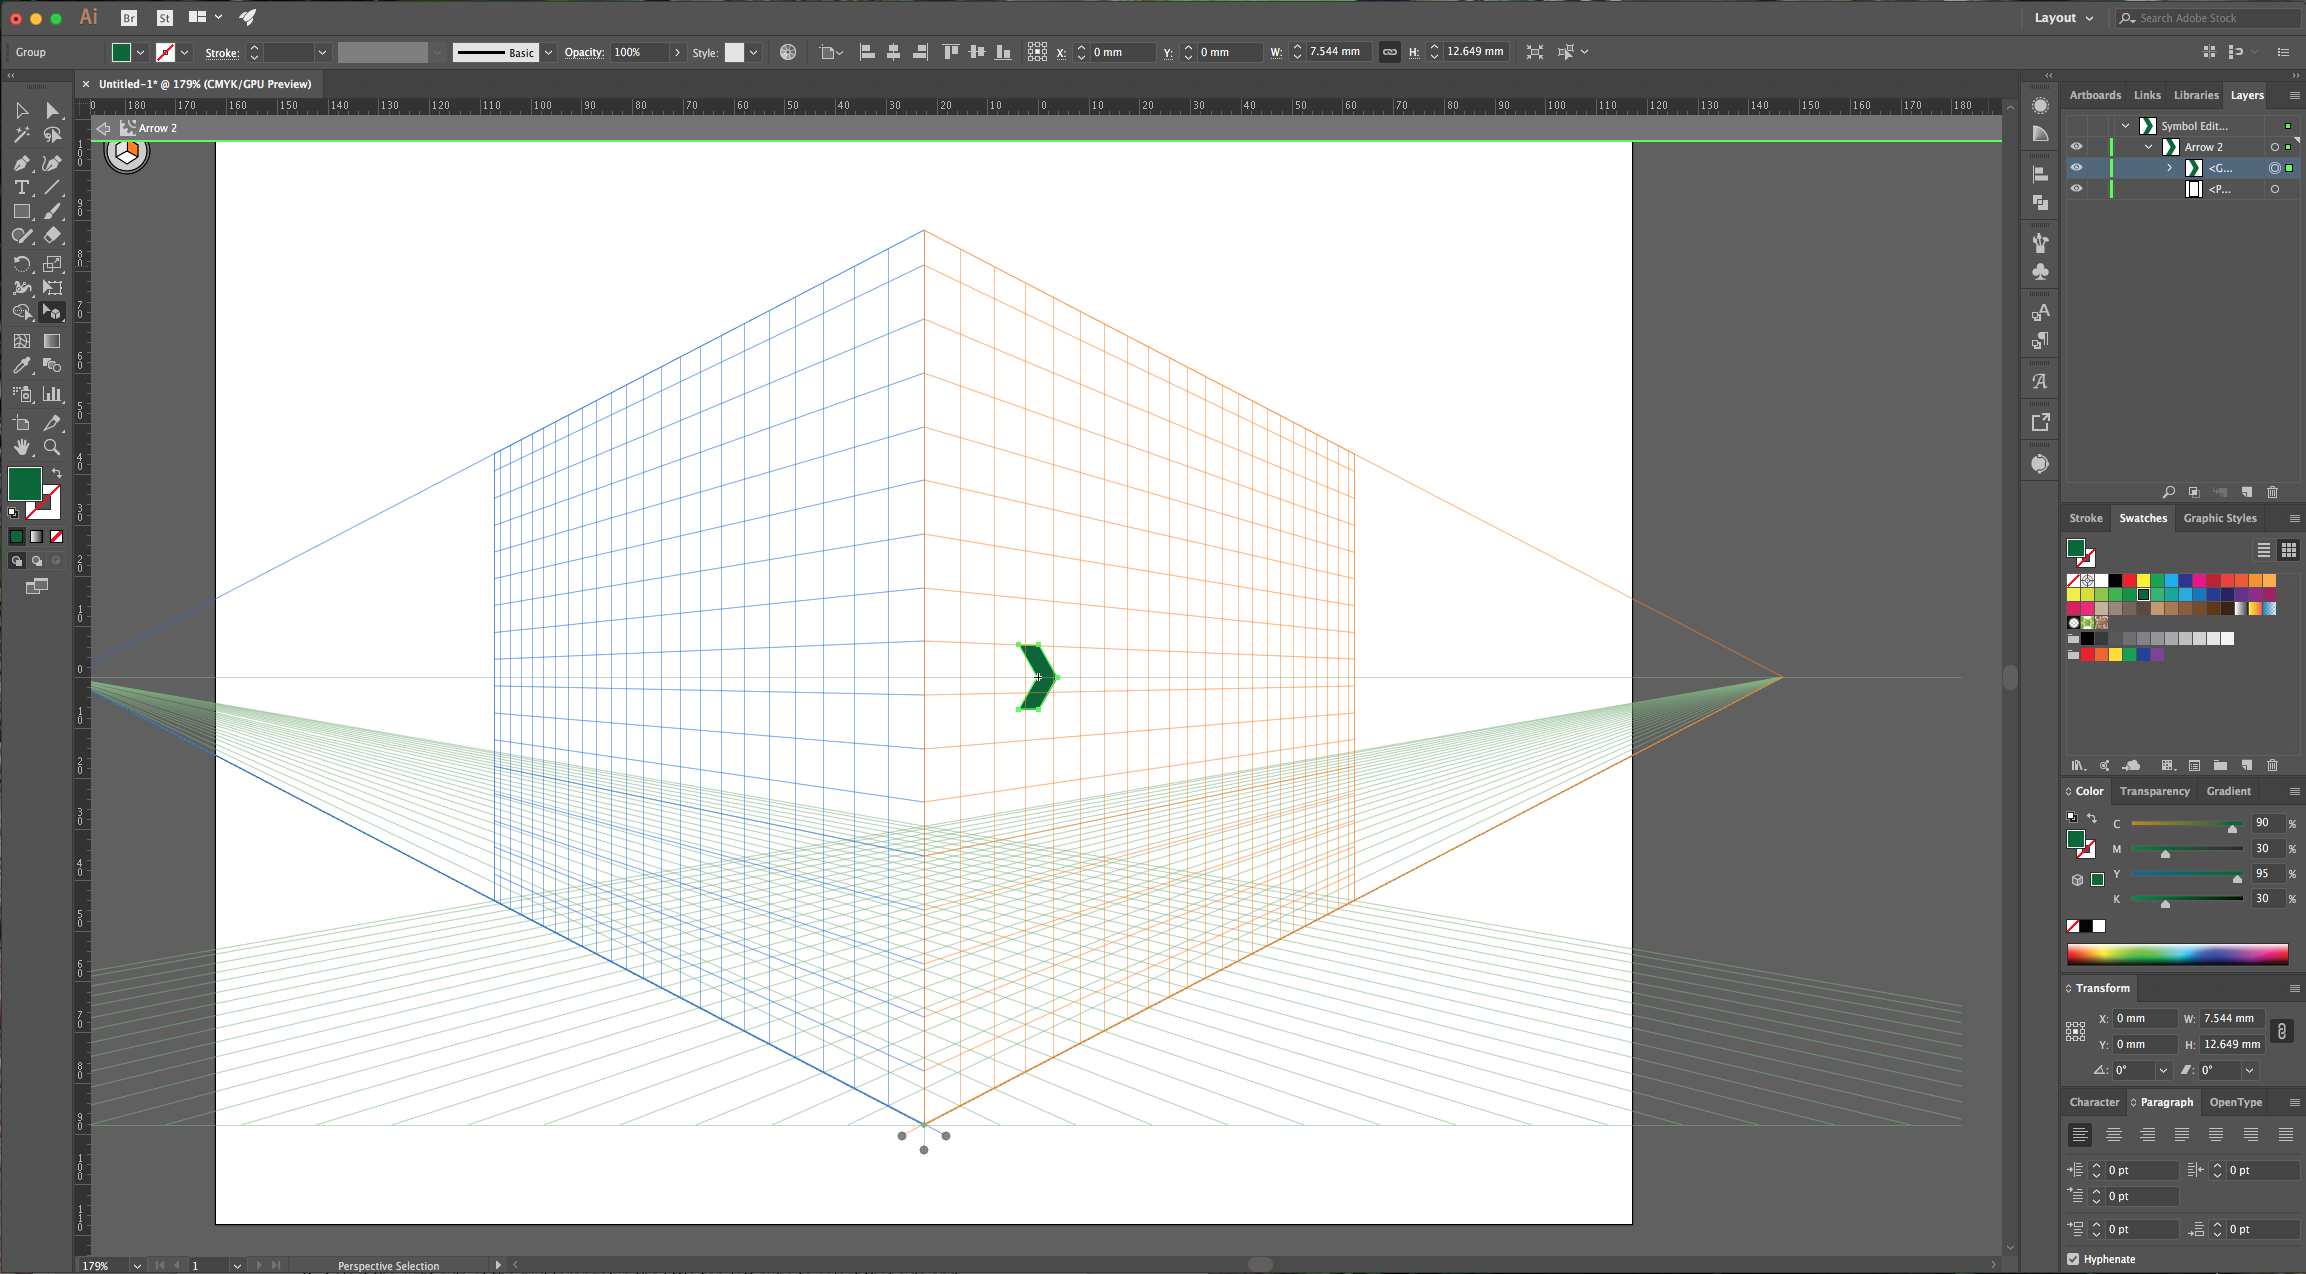
9 - Select the right side of the grid (orange) in the little top-left cube to select that side and do the same for this side. Remember to use your modified symbol.
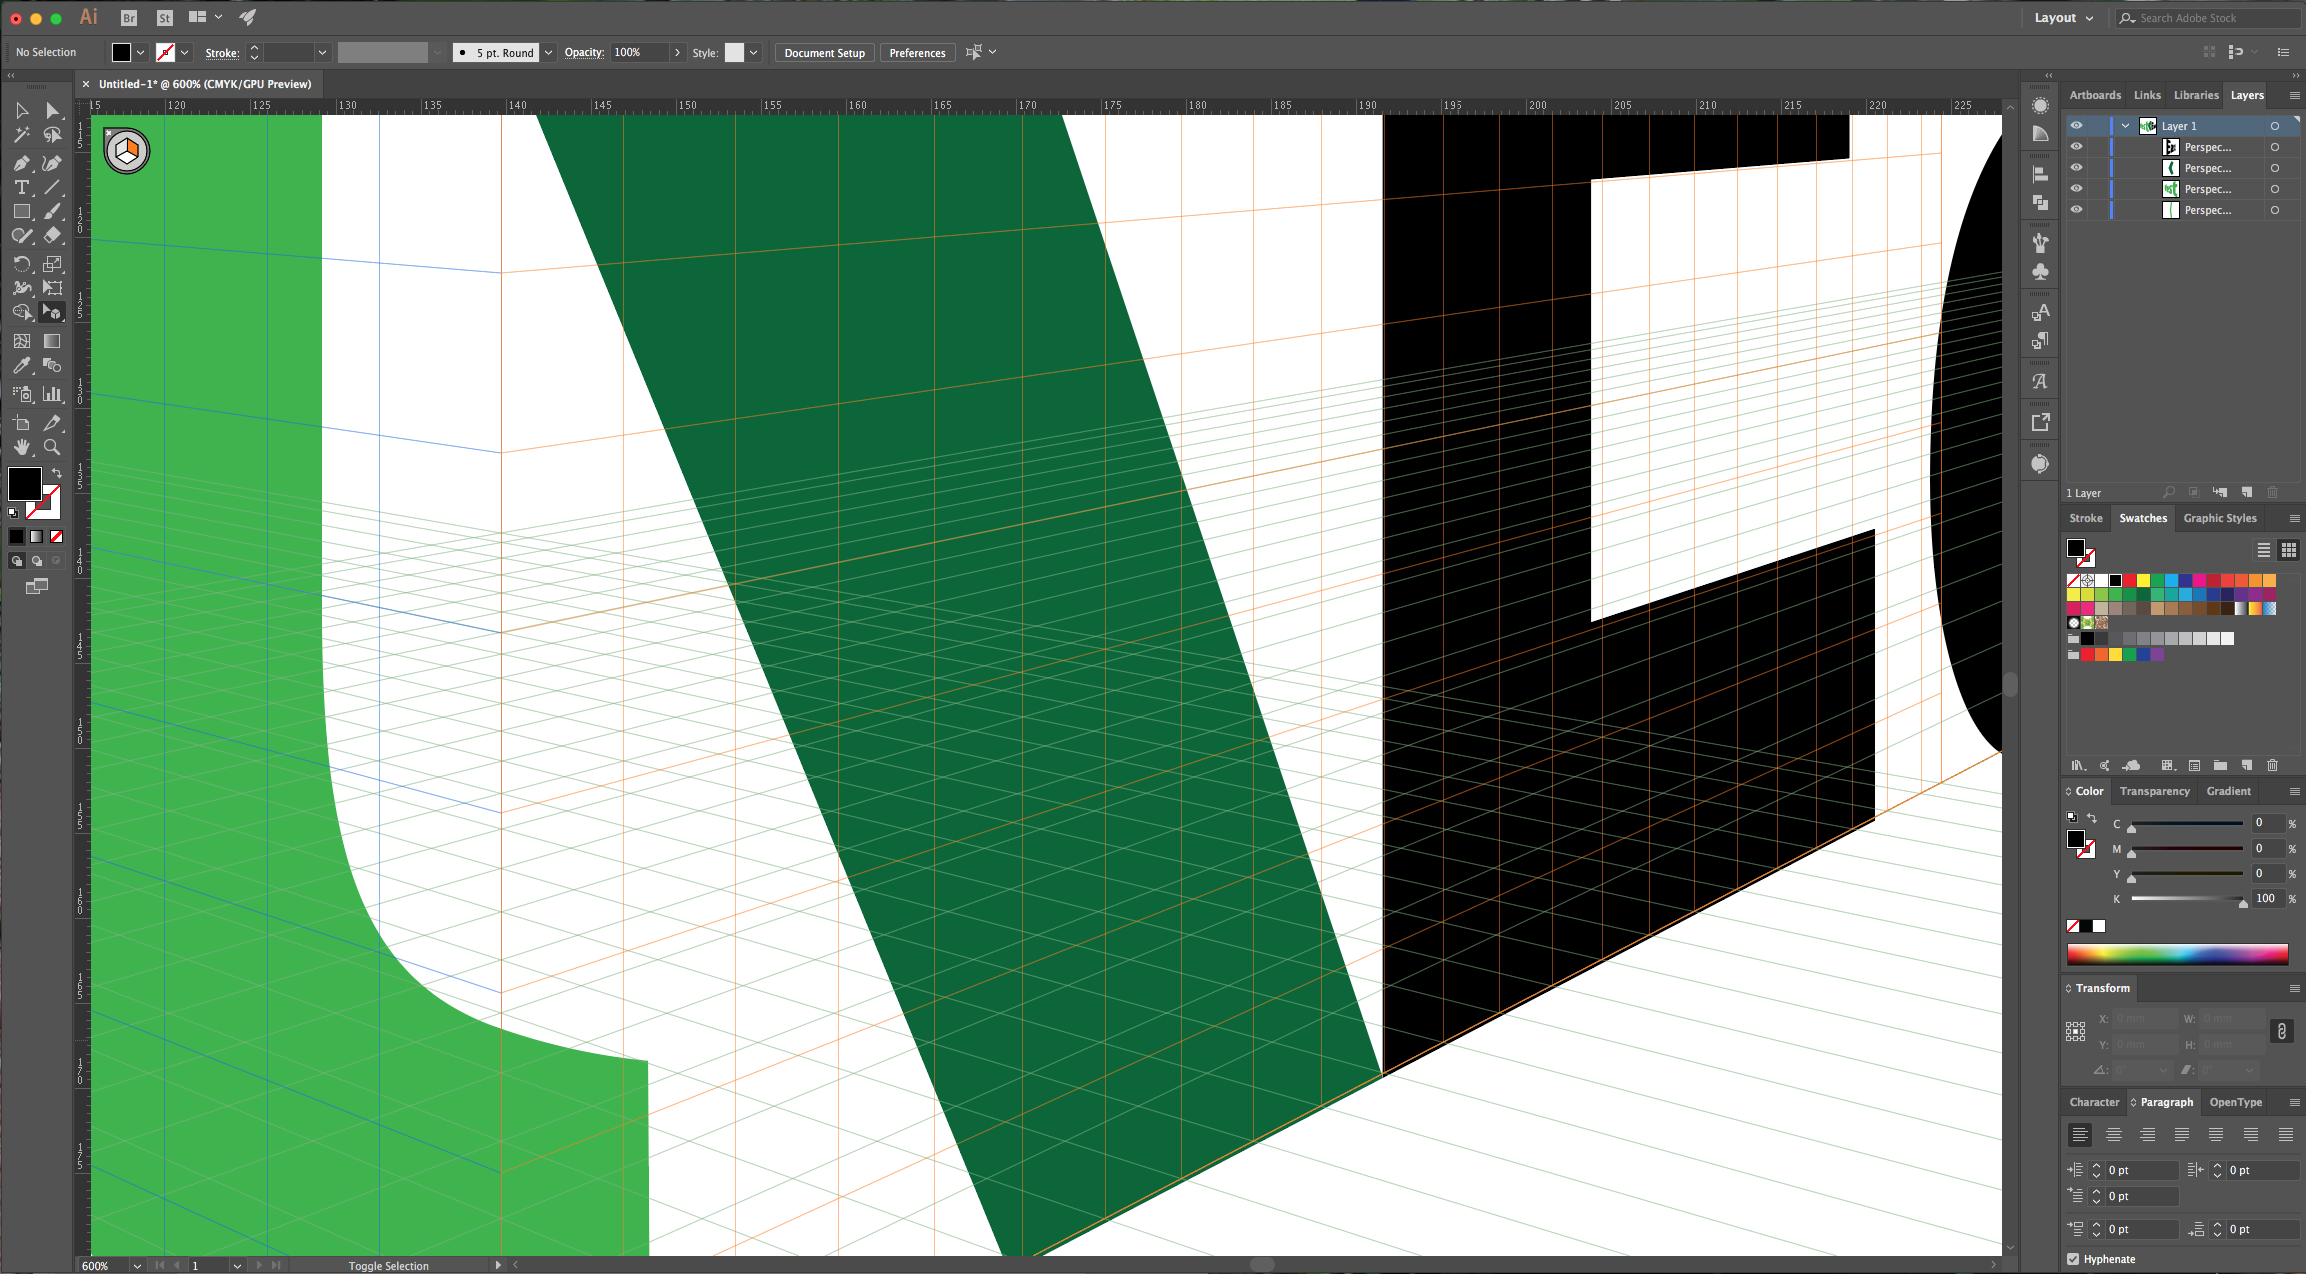
10 - Select the left “Arrow” and “Text”, right-click on top of them and choose Arrange > Bring to Front to bring it to the top.
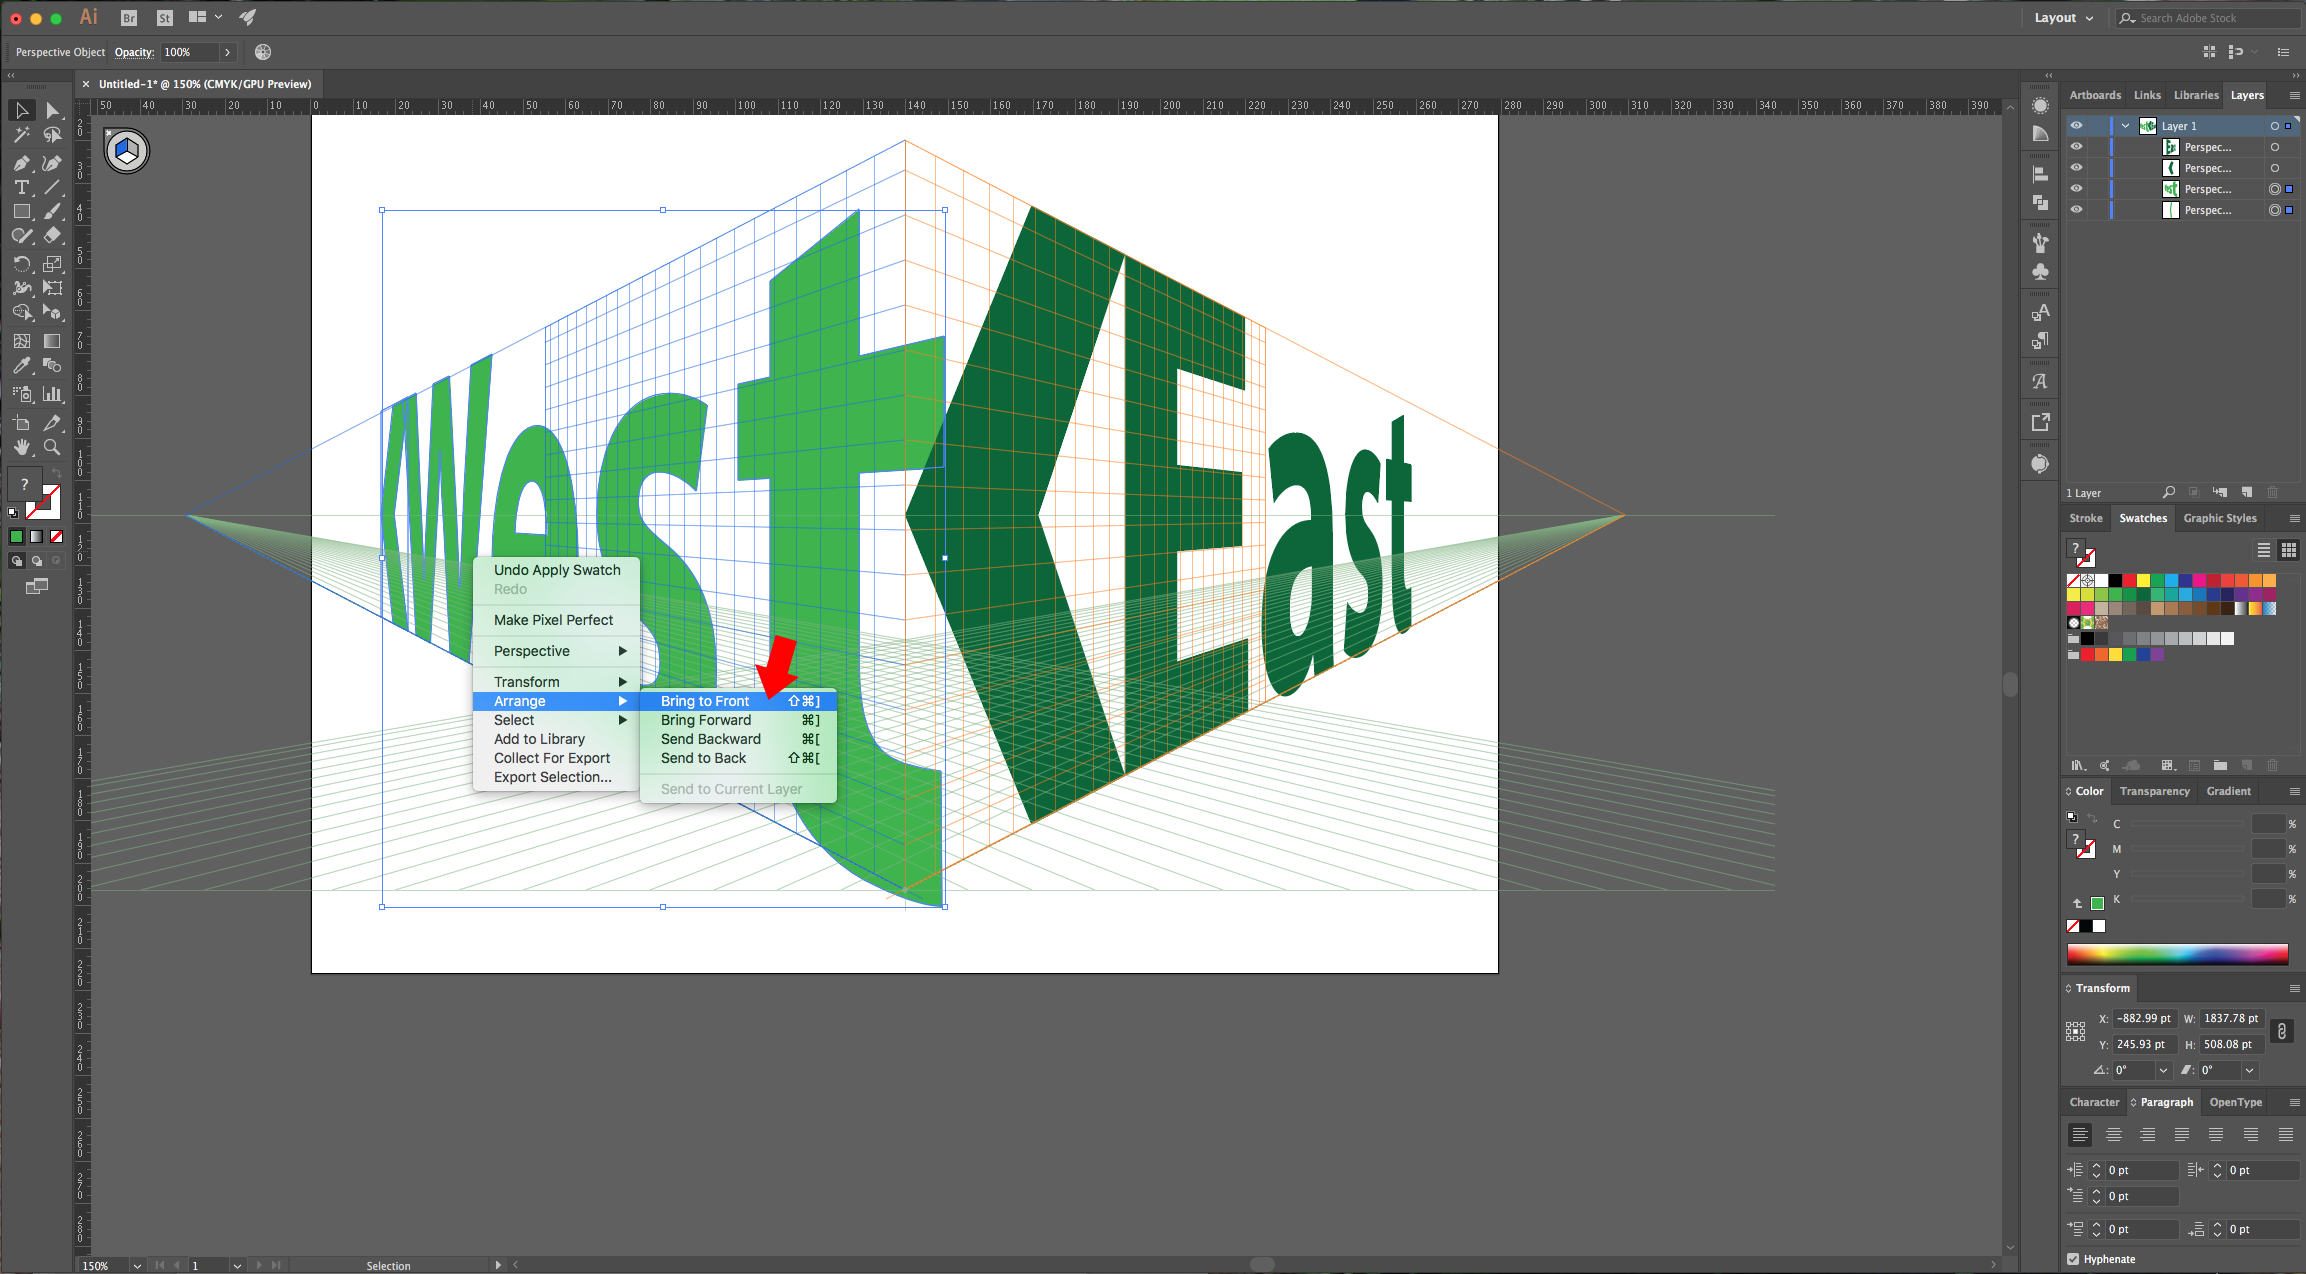
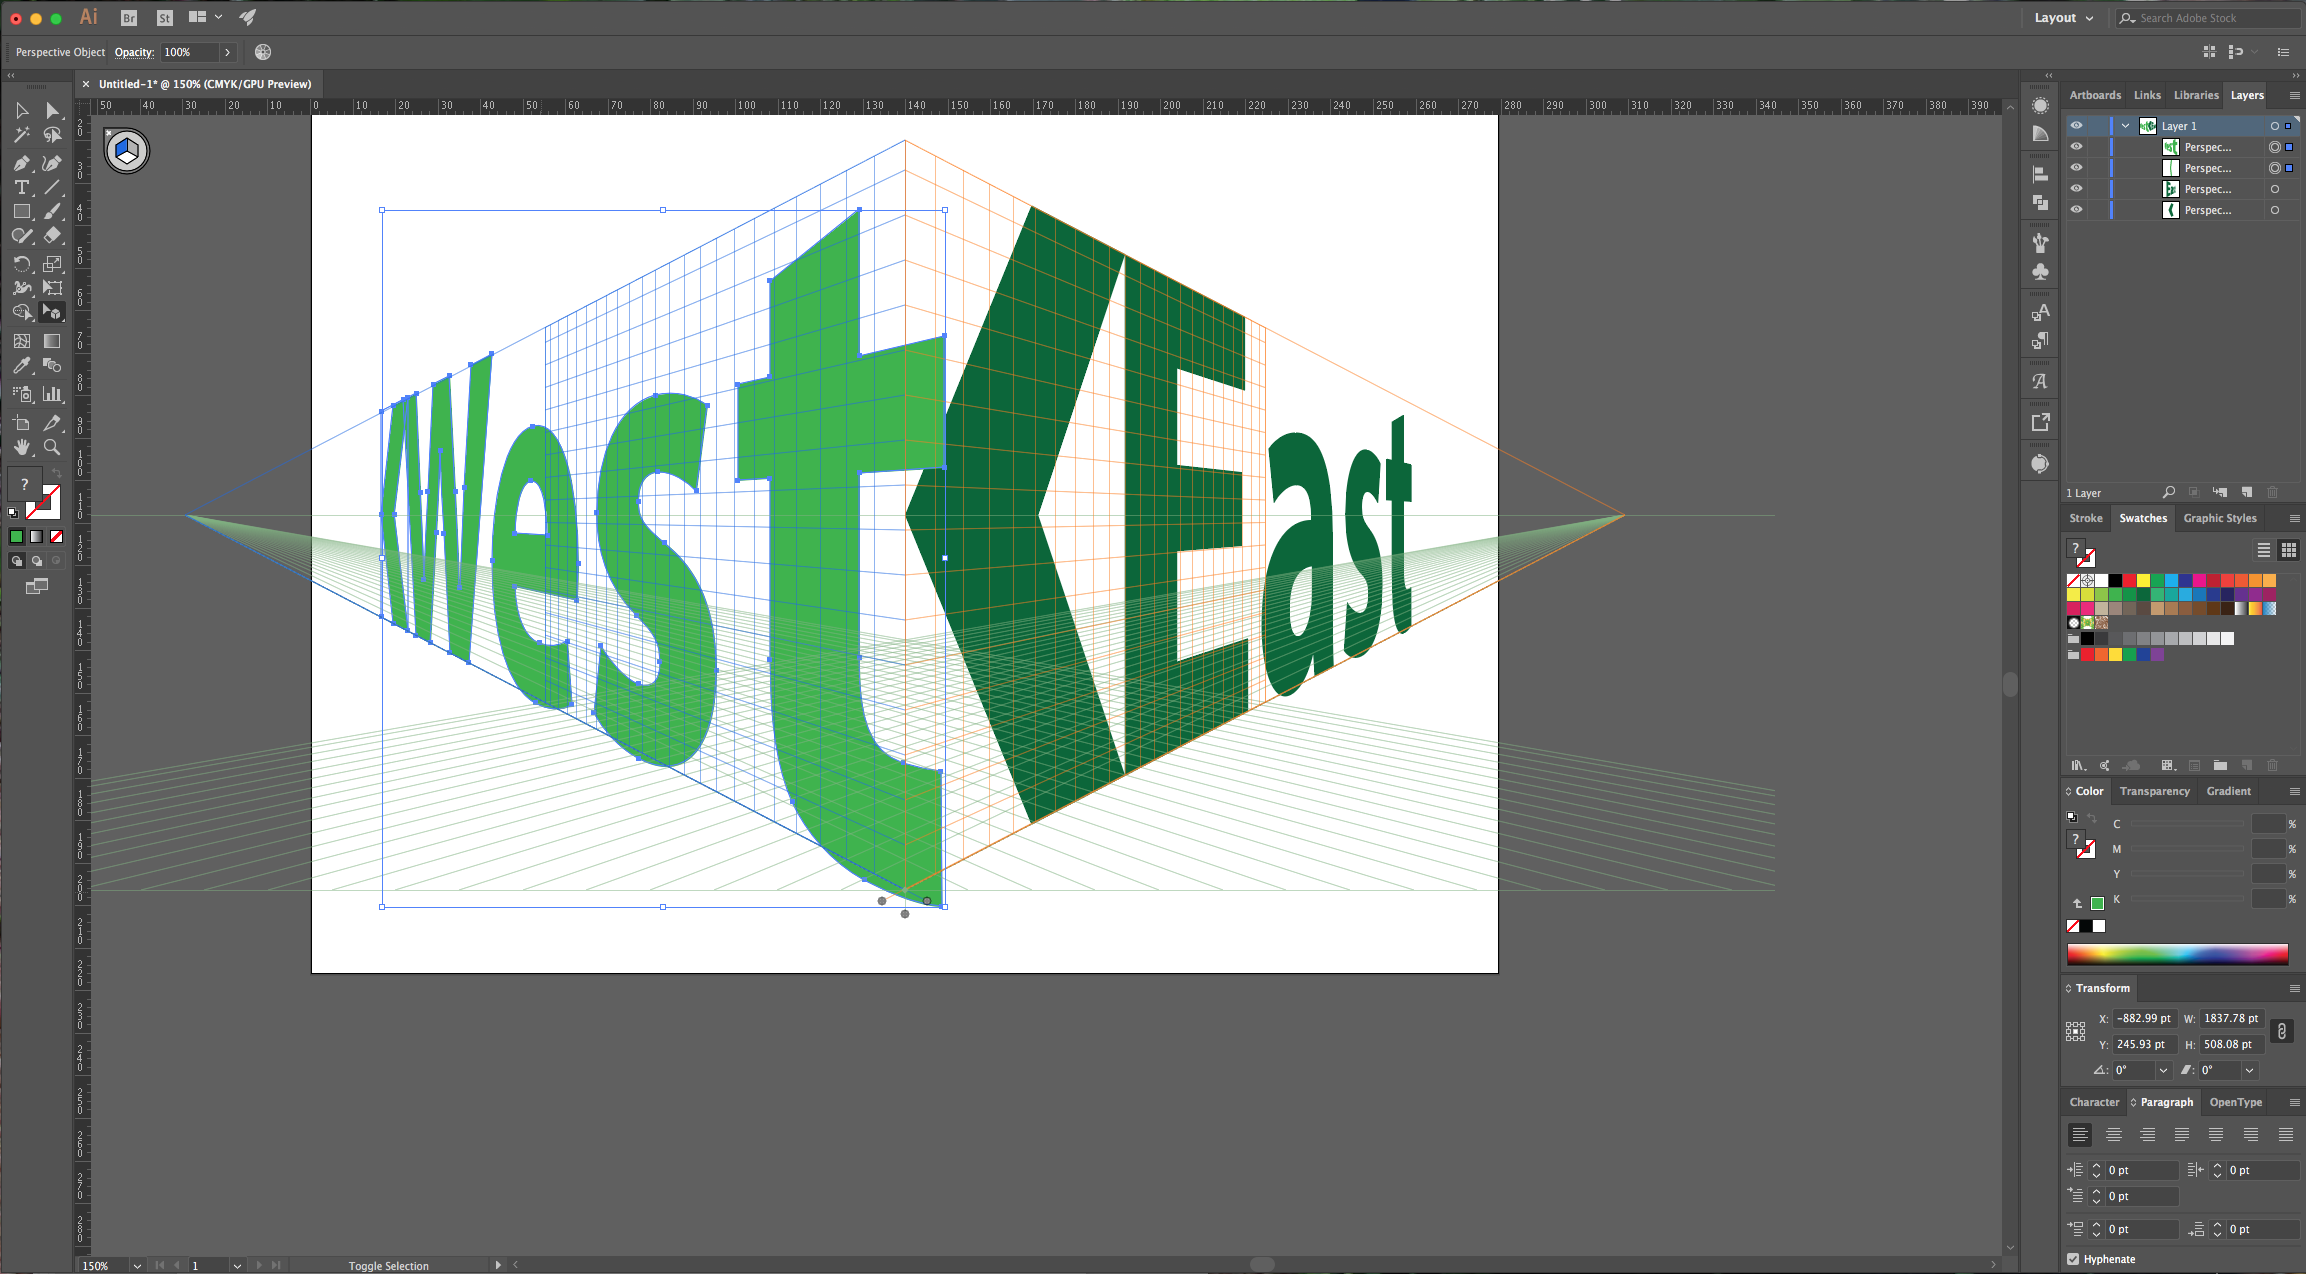
11 - Click on the bottom (green) side of the little cube to switch to the “Horizontal Plane” and add some more text. Remember to create a “New Symbol” if you want to change the color.
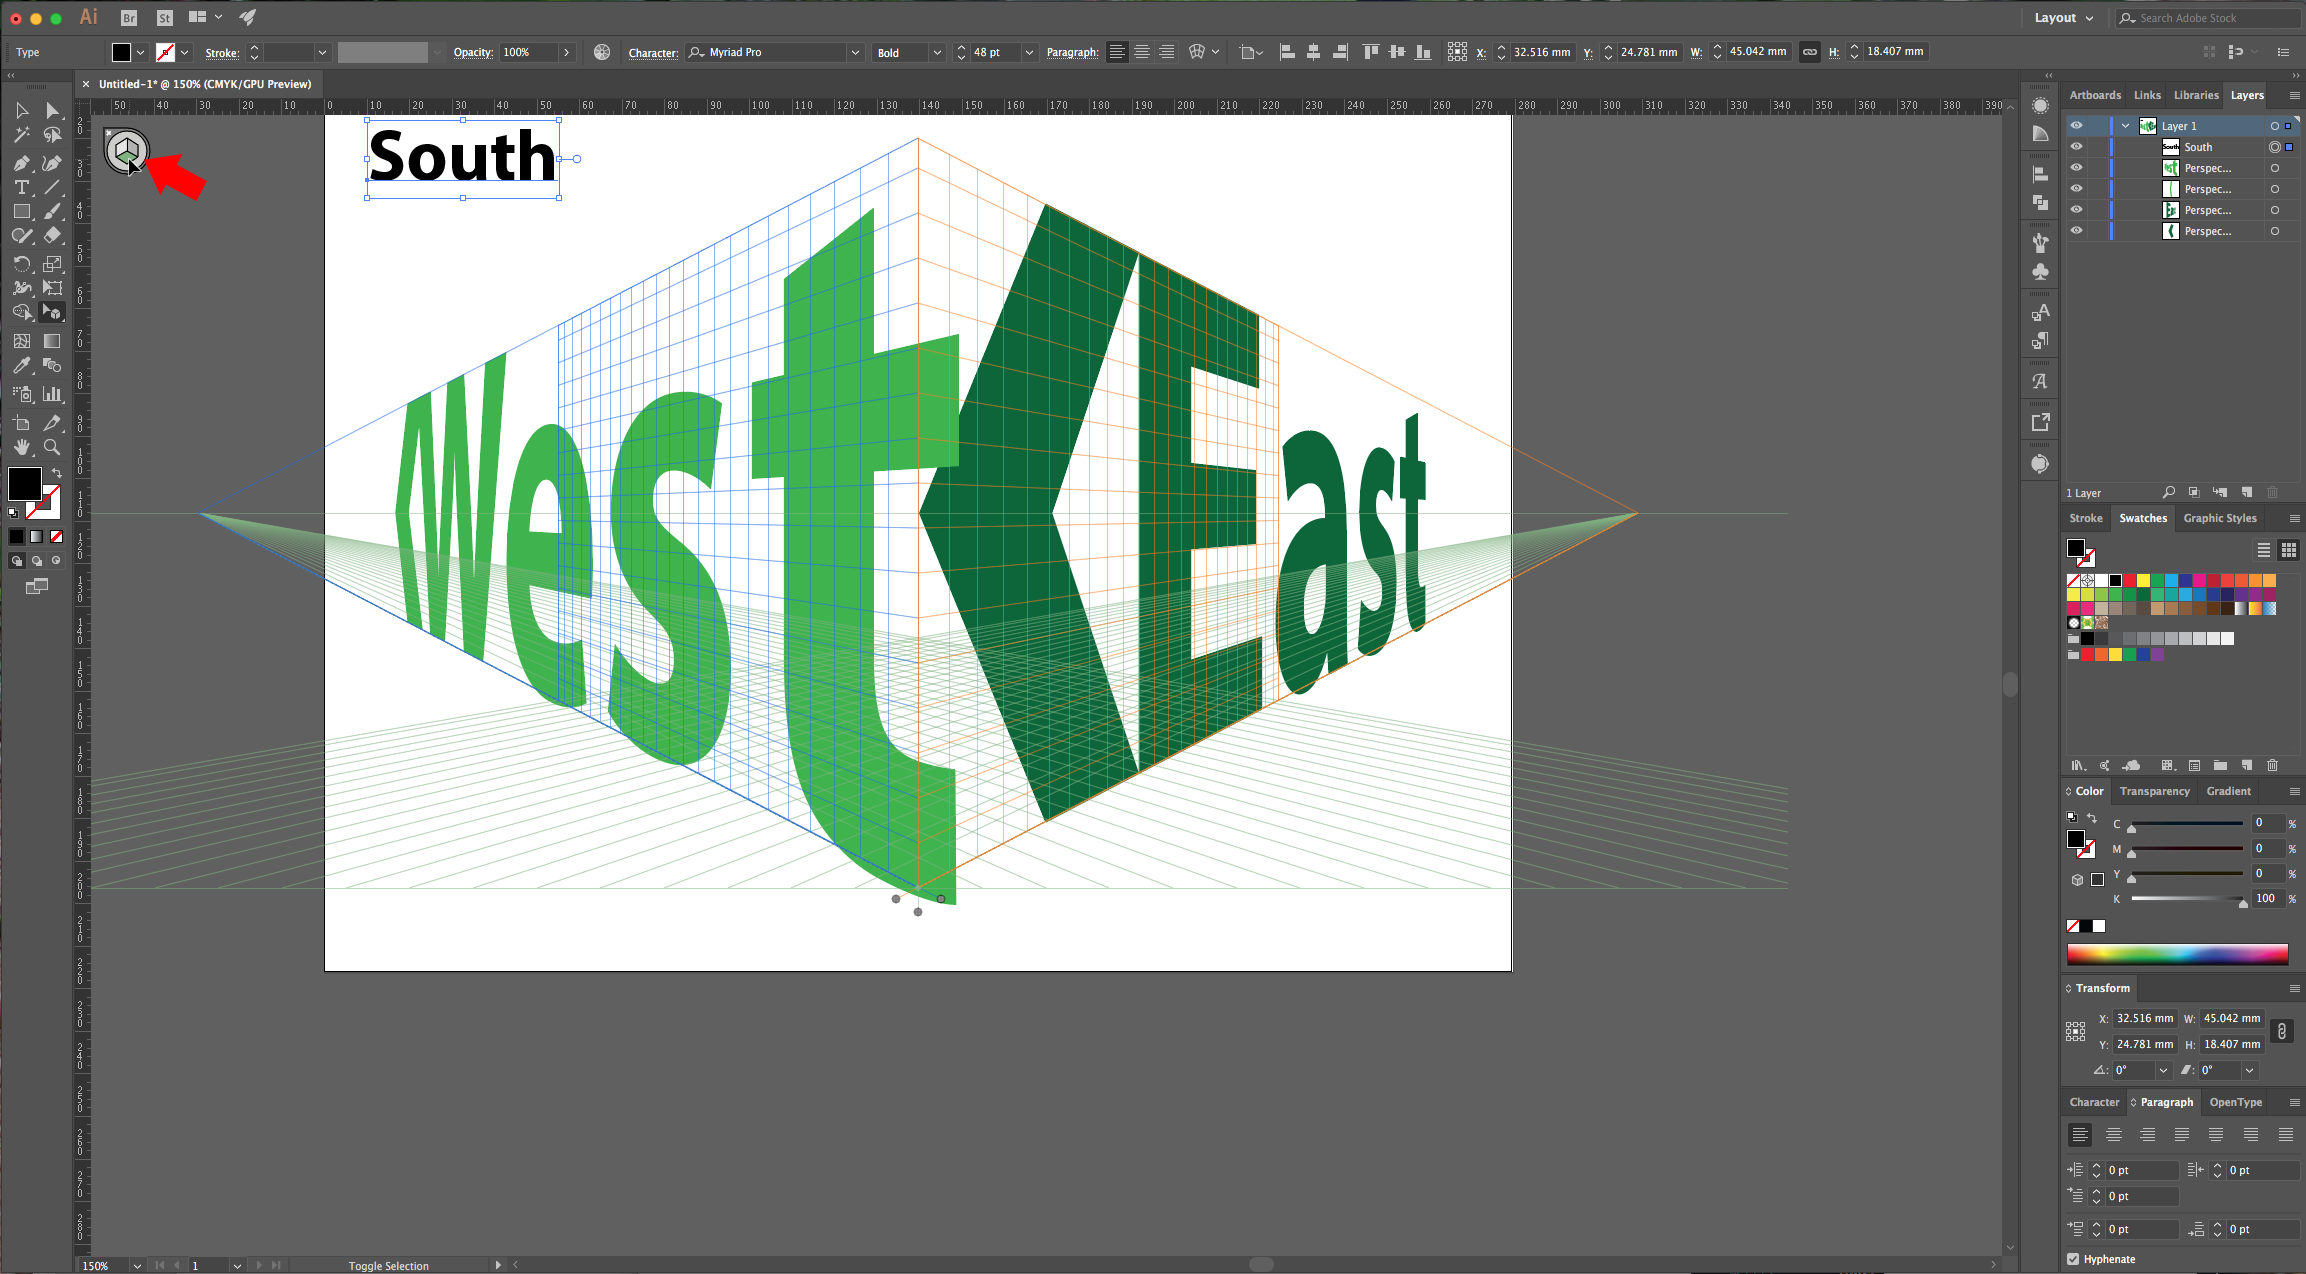
12 - Play around with the “Grid” and with the position of your text and shapes until you are satisfied. Then click Shift + Command/Control + I to turn off the grid. You can even change the font if you want.
2 - Select the “Perspective Grid Tool” (Shift + P). If you want to modify it, select one of the white circles that mark the intersection points (a double-sided arrow should appear as your cursor) and move the point to your desired position. To toggle in and out of the “Perspective Grid” use Shift + Command/Control + I.
3 - The little cube in the top-left corner lets you choose which side of the grid you are working with.
4 - Go to the “Symbols” Panel and in the top-right menu navigate to Open Symbol Library > Arrows. A new panel with the arrow symbols should open. Choose one of them and drag it to your “Artboard”. Before placing it in the “Perspective Grid” let’s rotate it so the arrow faces the other way.
5 - Then, use the “Perspective Selection Tool” (Shift + V) to place it the left side of the grid (blue). You can resize and move it if you want.
6 - Select the “Type Tool” (T) choose your font (we used Myriad Pro Bold) and type some text. With the “Perspective Selection Tool” (Shift + V), drag it to your grid and scale it by dragging from one of the corners while holding the “Shift” key.
7 - If you want to change the fill of the “Symbol” or the “Text”, use the “Selection Tool” (V) and double-click on it “Isolate” it and then change the color. Then exit “Isolation Mode” by clicking on the left arrow on the top menu. For the “Symbol” you may need to make sure it is selected in the “Layers” Panel because it may not be visible.
8 - Go to the “Symbols” Panel, select your arrow, go to the small menu on the top-right and choose “Duplicate Symbol”. Now you can change the color and do other modifications without altering the one used on the left side.
9 - Select the right side of the grid (orange) in the little top-left cube to select that side and do the same for this side. Remember to use your modified symbol.
10 - Select the left “Arrow” and “Text”, right-click on top of them and choose Arrange > Bring to Front to bring it to the top.
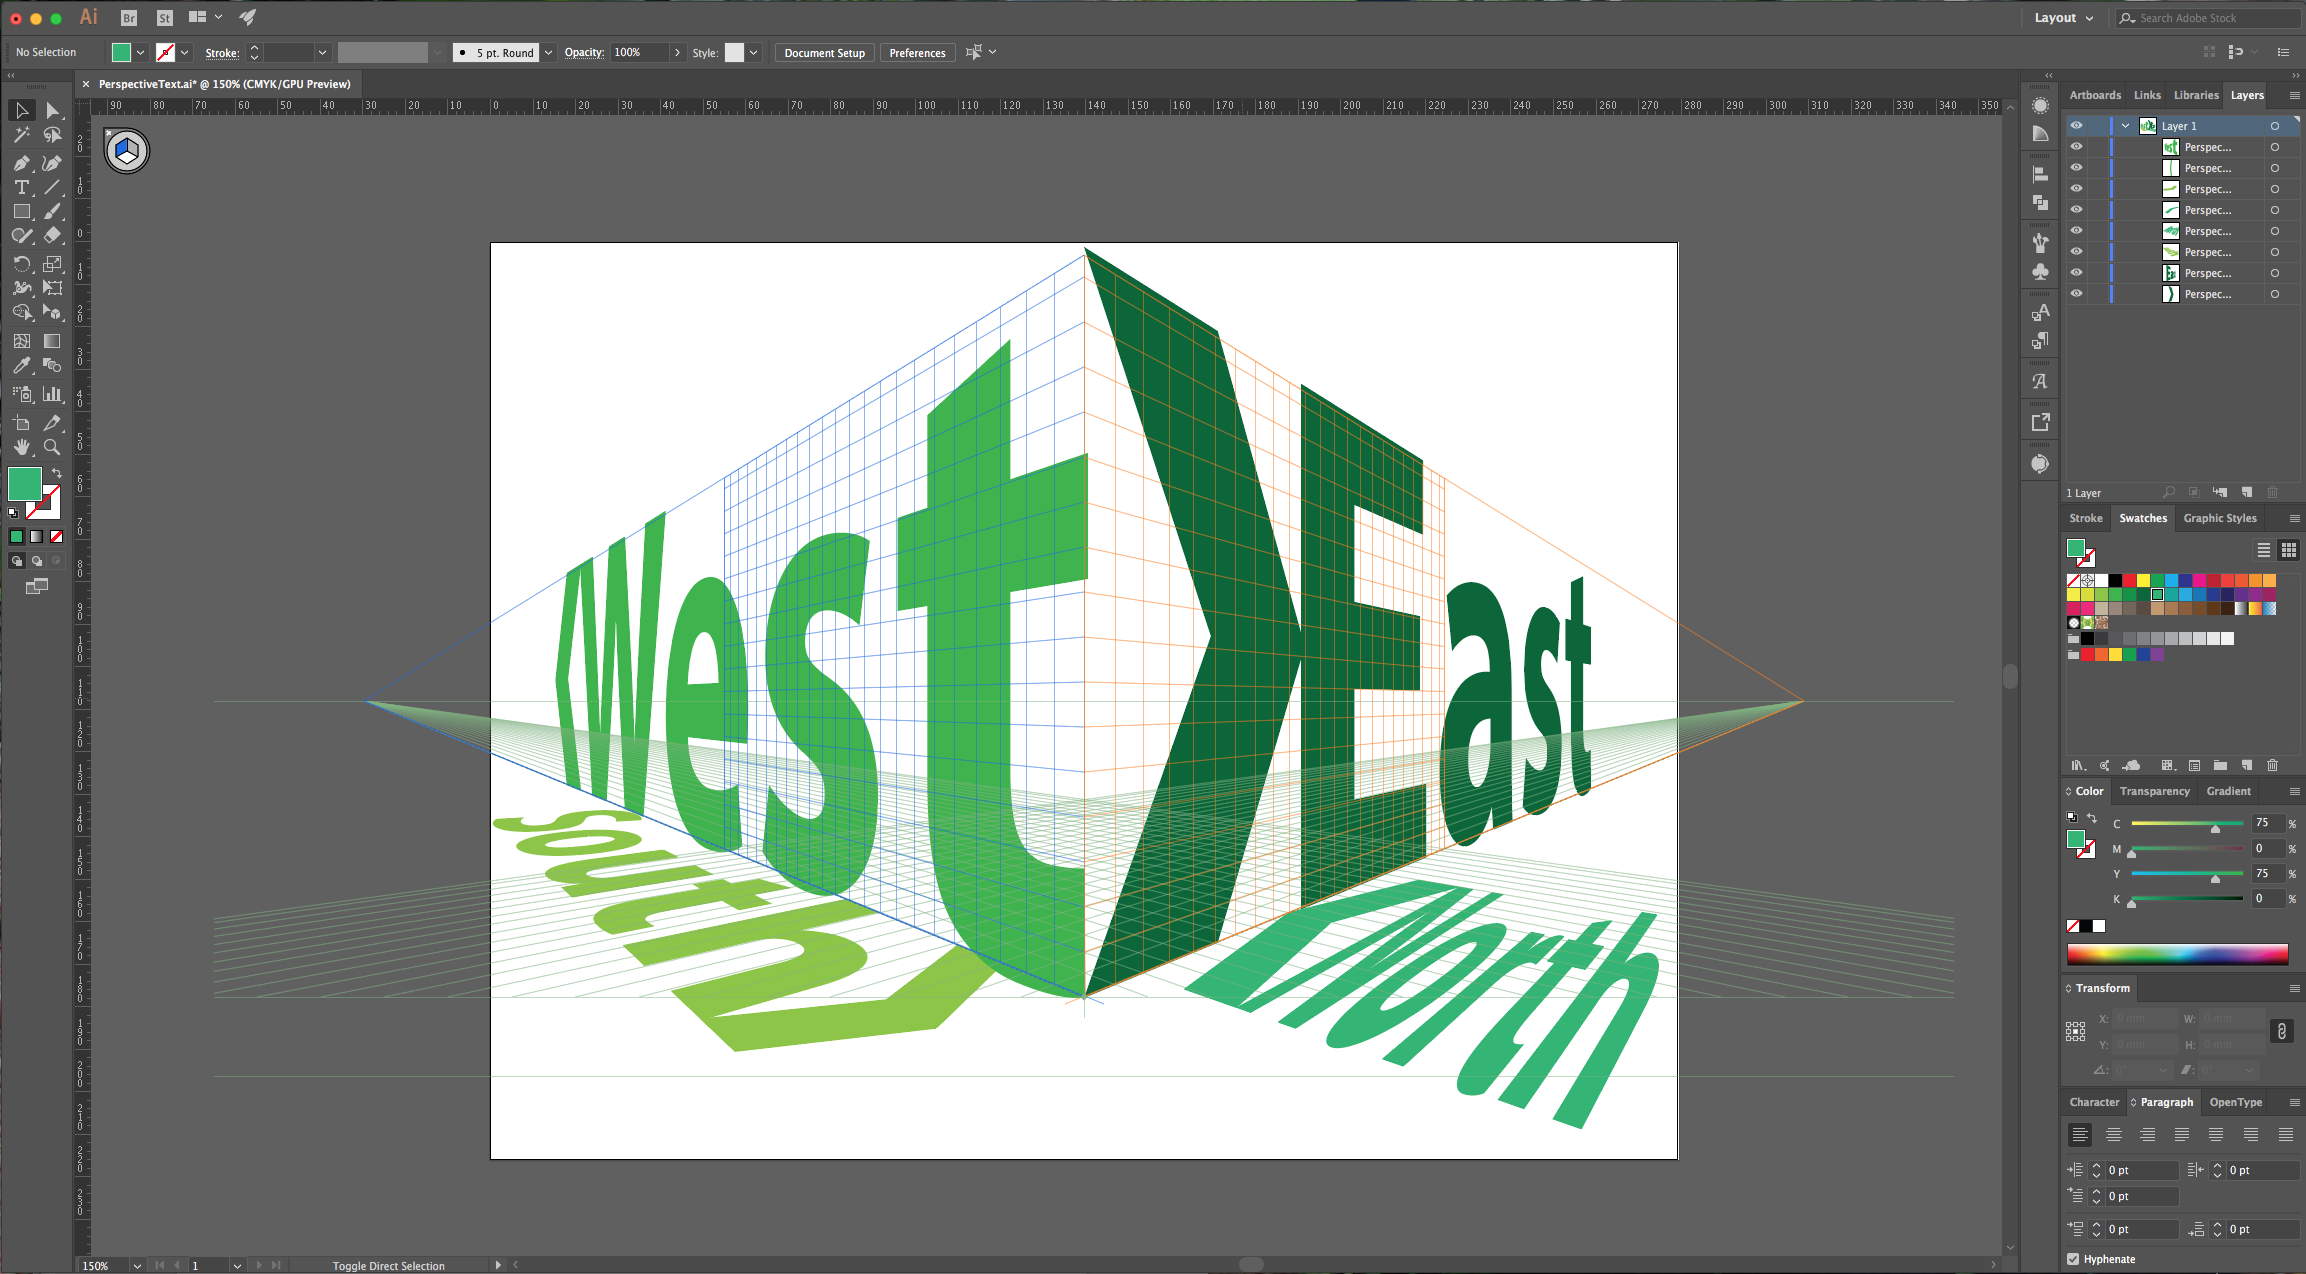
11 - Click on the bottom (green) side of the little cube to switch to the “Horizontal Plane” and add some more text. Remember to create a “New Symbol” if you want to change the color.
12 - Play around with the “Grid” and with the position of your text and shapes until you are satisfied. Then click Shift + Command/Control + I to turn off the grid. You can even change the font if you want.
by @lornacane
Related Tutorials
Illustrator Tutorials
Wavy Text in Illustrator
Learn how to create Wavy Text in Illustrator using two Methods in this tutorial.
Illustrator Tutorials
Place Images Inside Text in Adobe Illustrator
In this Adobe Illustrator tutorial, learn how to quickly place images inside text.
Illustrator Tutorials
How to Perspective Distort in Illustrator
In 3 steps learn how to perspective distort text in Adobe Illustrator.
Illustrator Tutorials
How to Use Text Effects in Illustrator
Learn how to use Illustrator Text Effects in 1 click!
Illustrator Tutorials
Editing Text in Adobe Illustrator
With this step by step tutorial we'll show you everything you need to know about editing text.
Illustrator Tutorials
Overlapping Text in Illustrator
Learn how to easily overlap text in this Adobe Illustrator tutorial.