By Design Bundles
Text in Shapes in illustrator
1 - In Illustrator, create a “New Document” and make sure your “Rulers” (Command/Control + R) are visible.
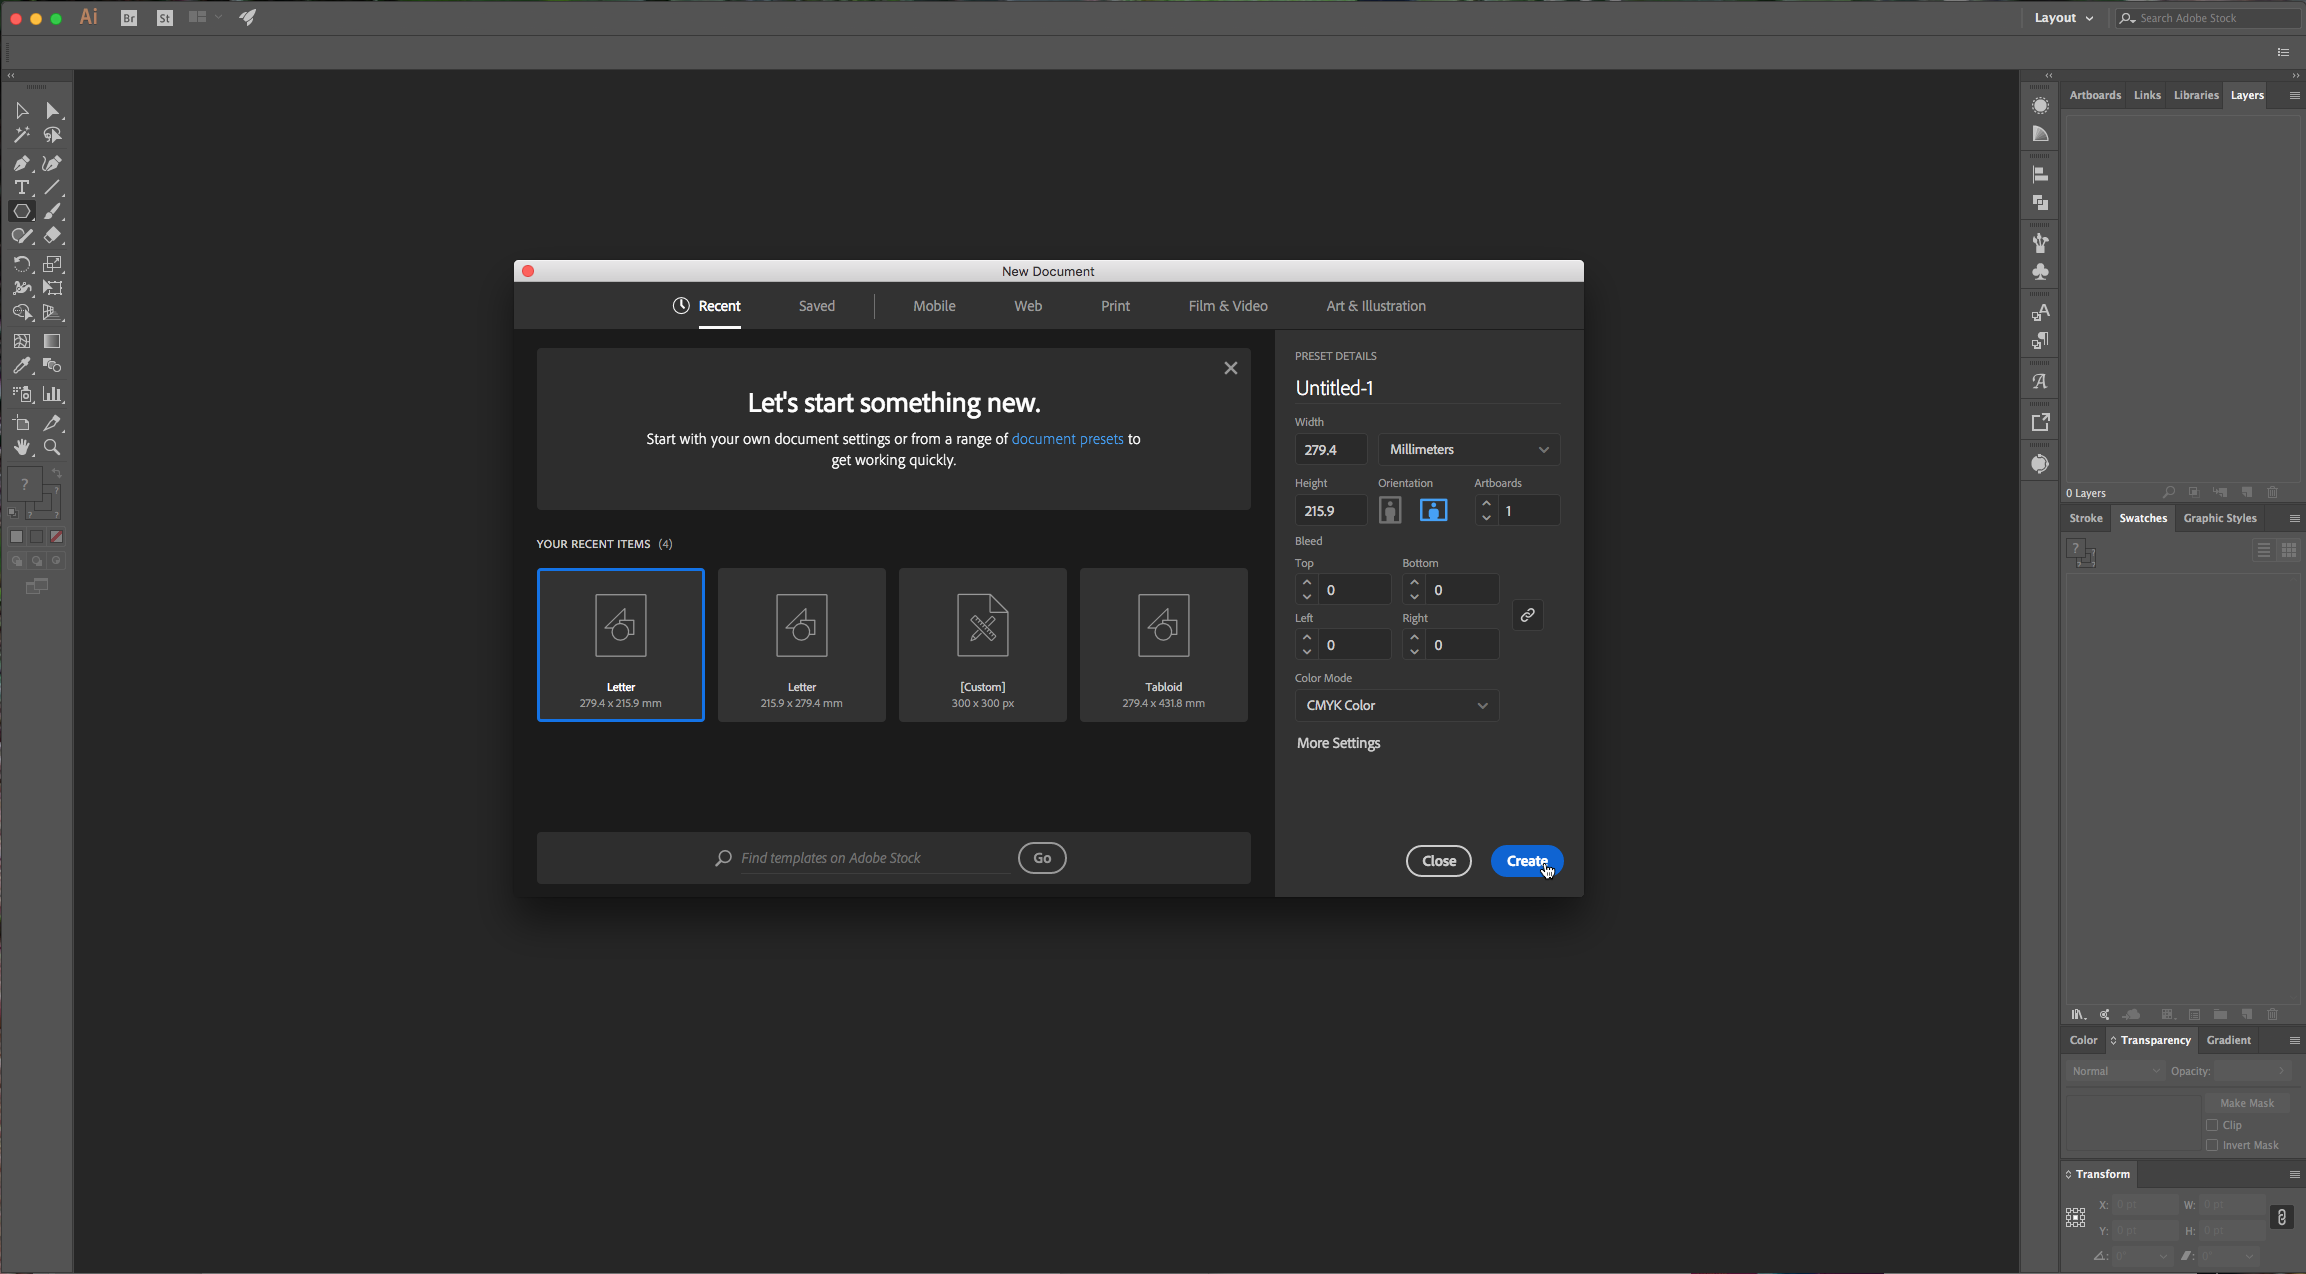
2 - Select the “Rectangle Tool” (M), draw a square, then input a 300 Pixels “With” and “Height”. Fill it with a color of your choice and make sure it has no “Stroke”.
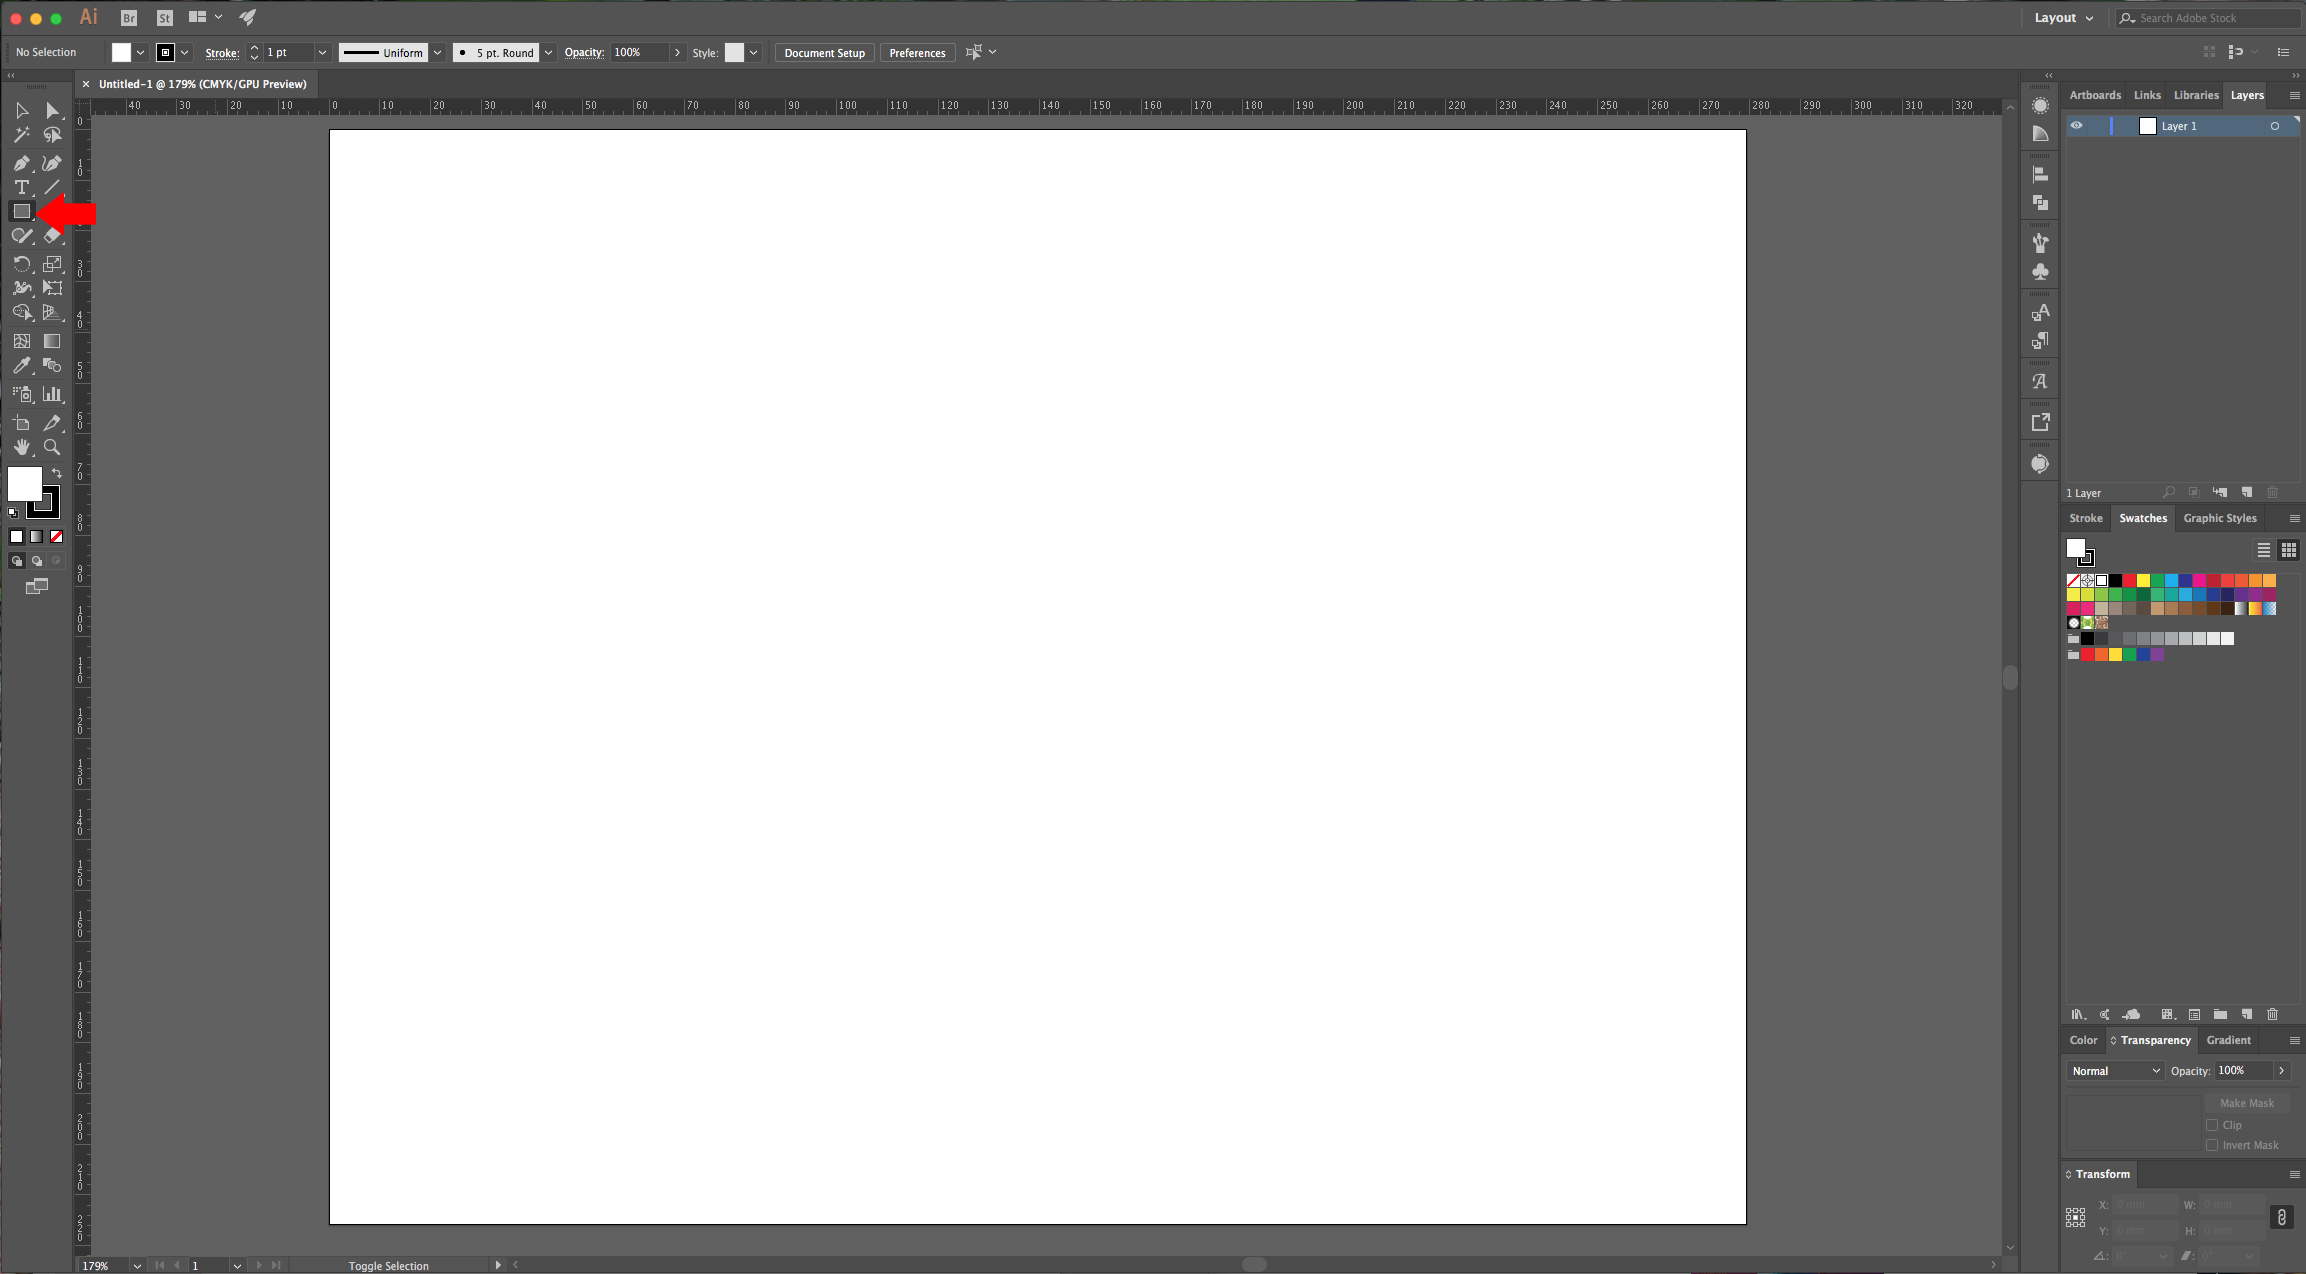
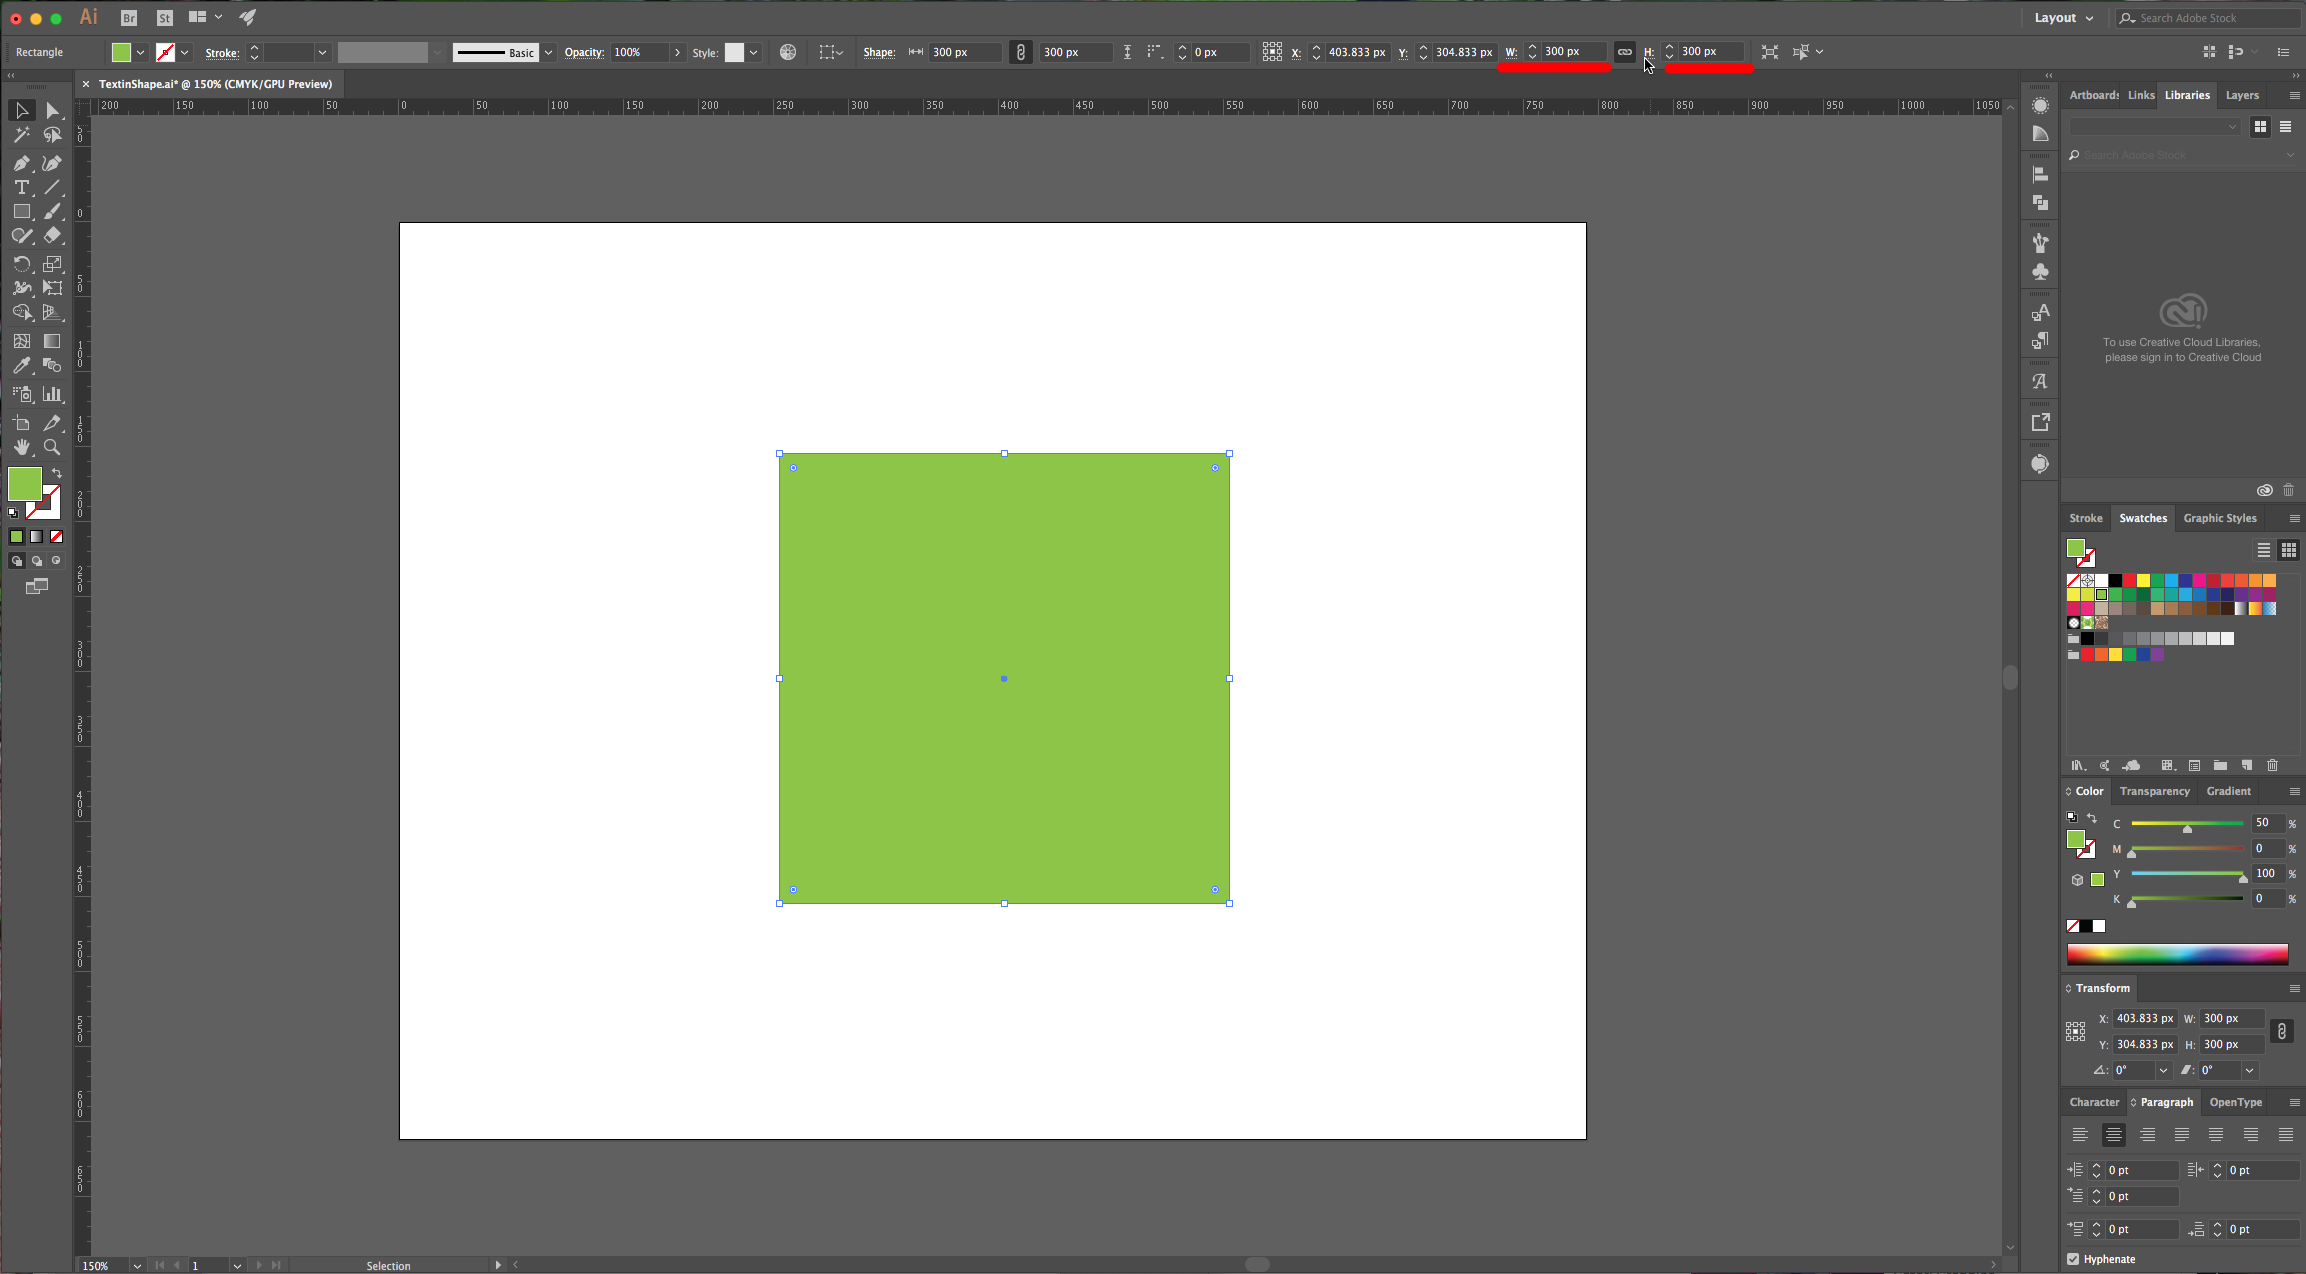
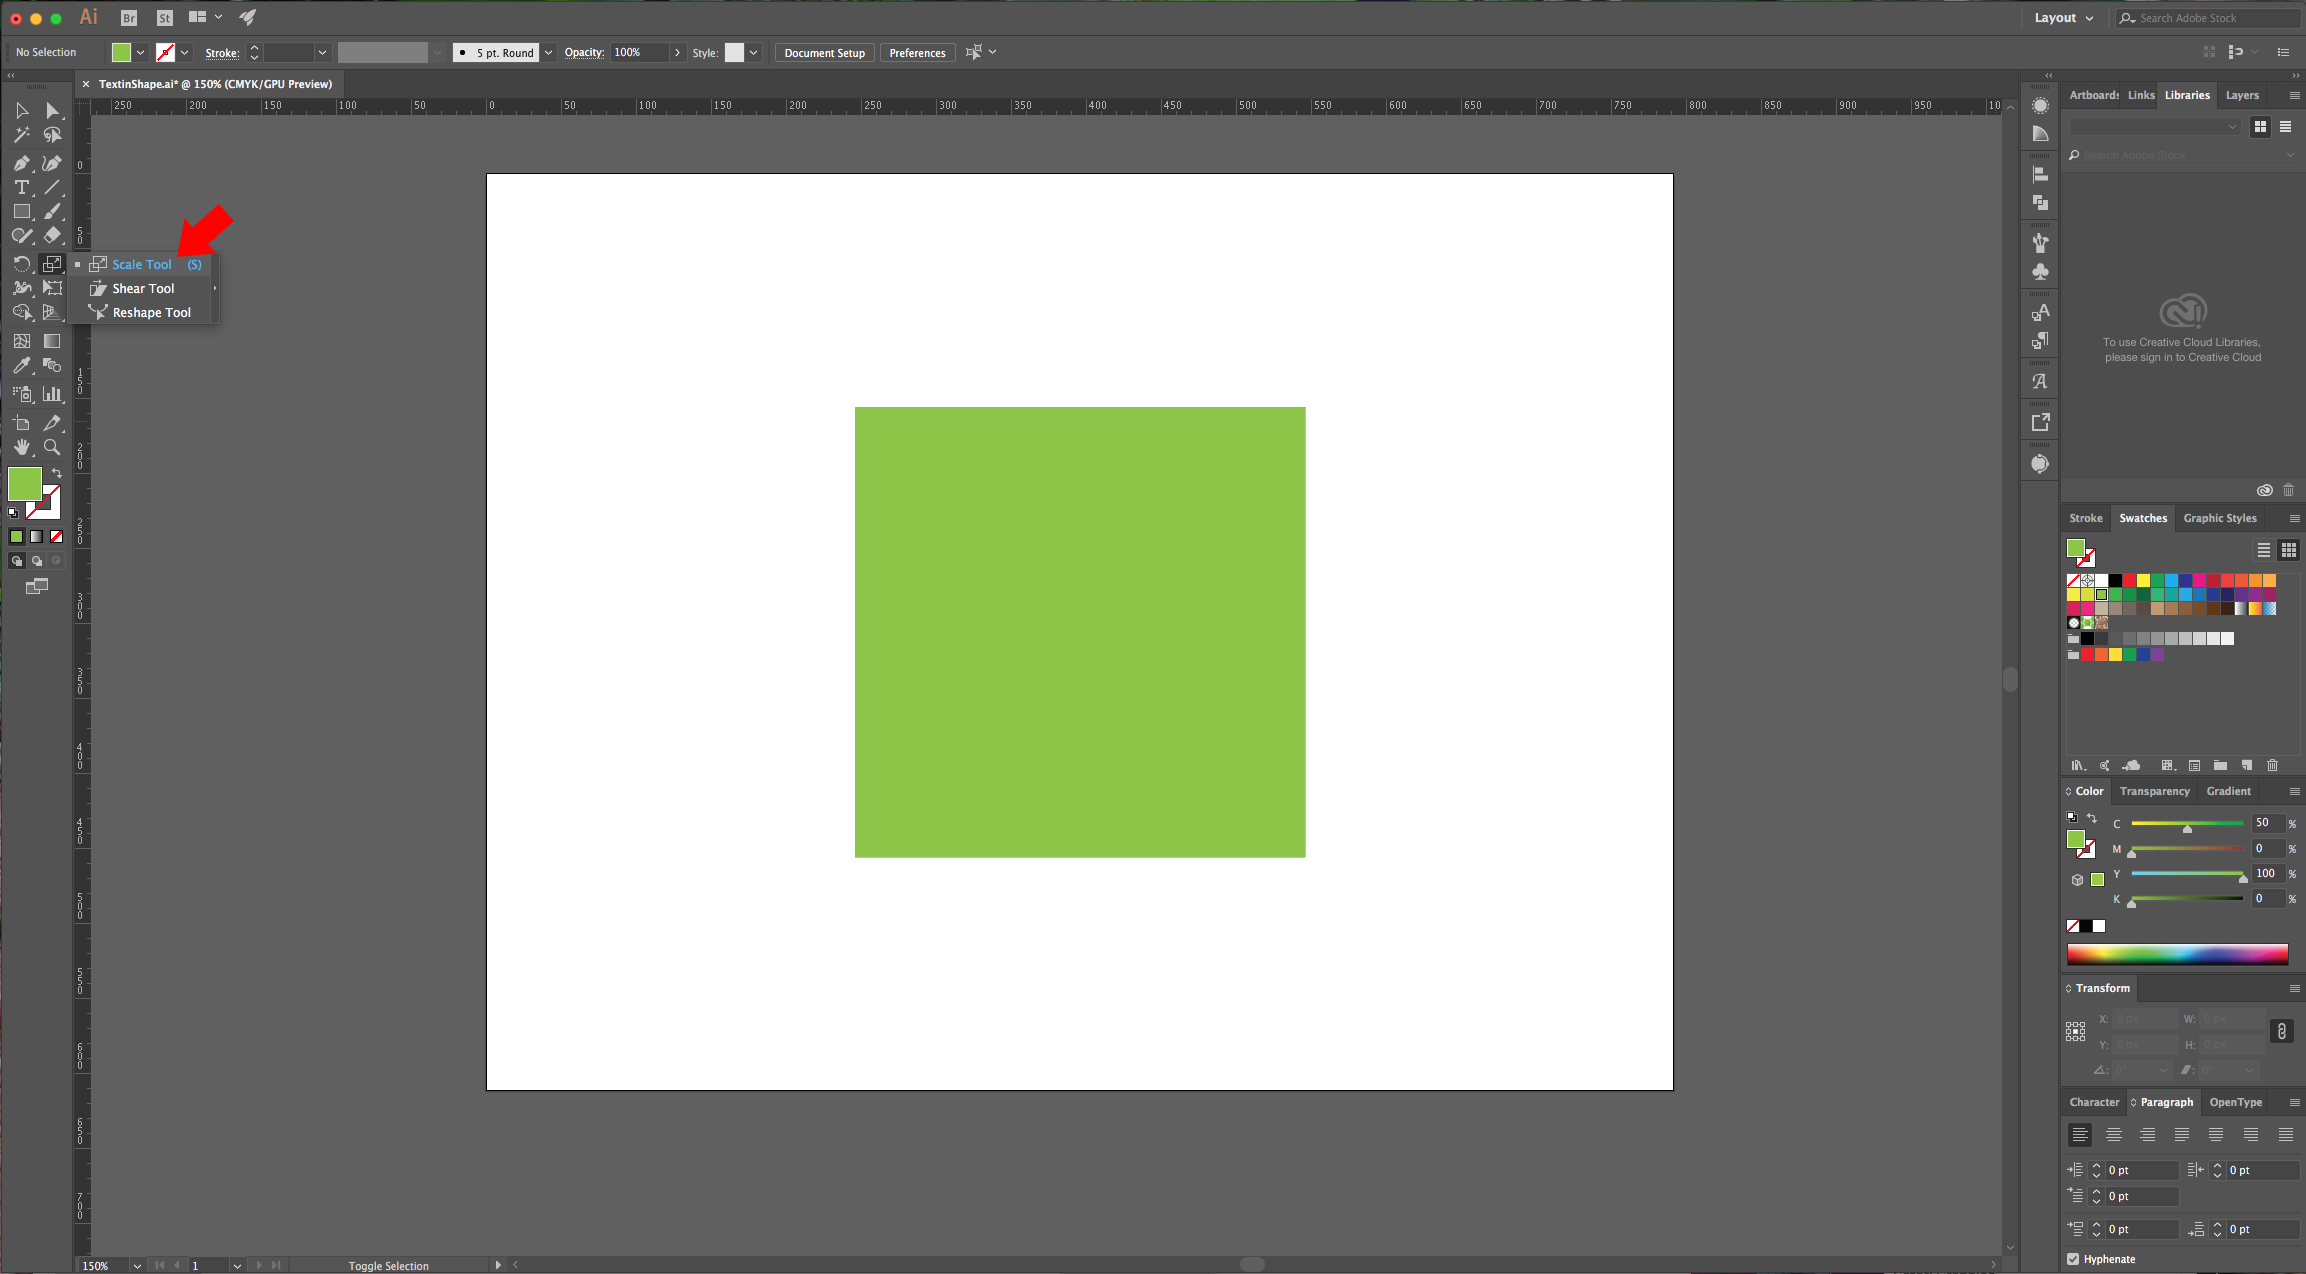
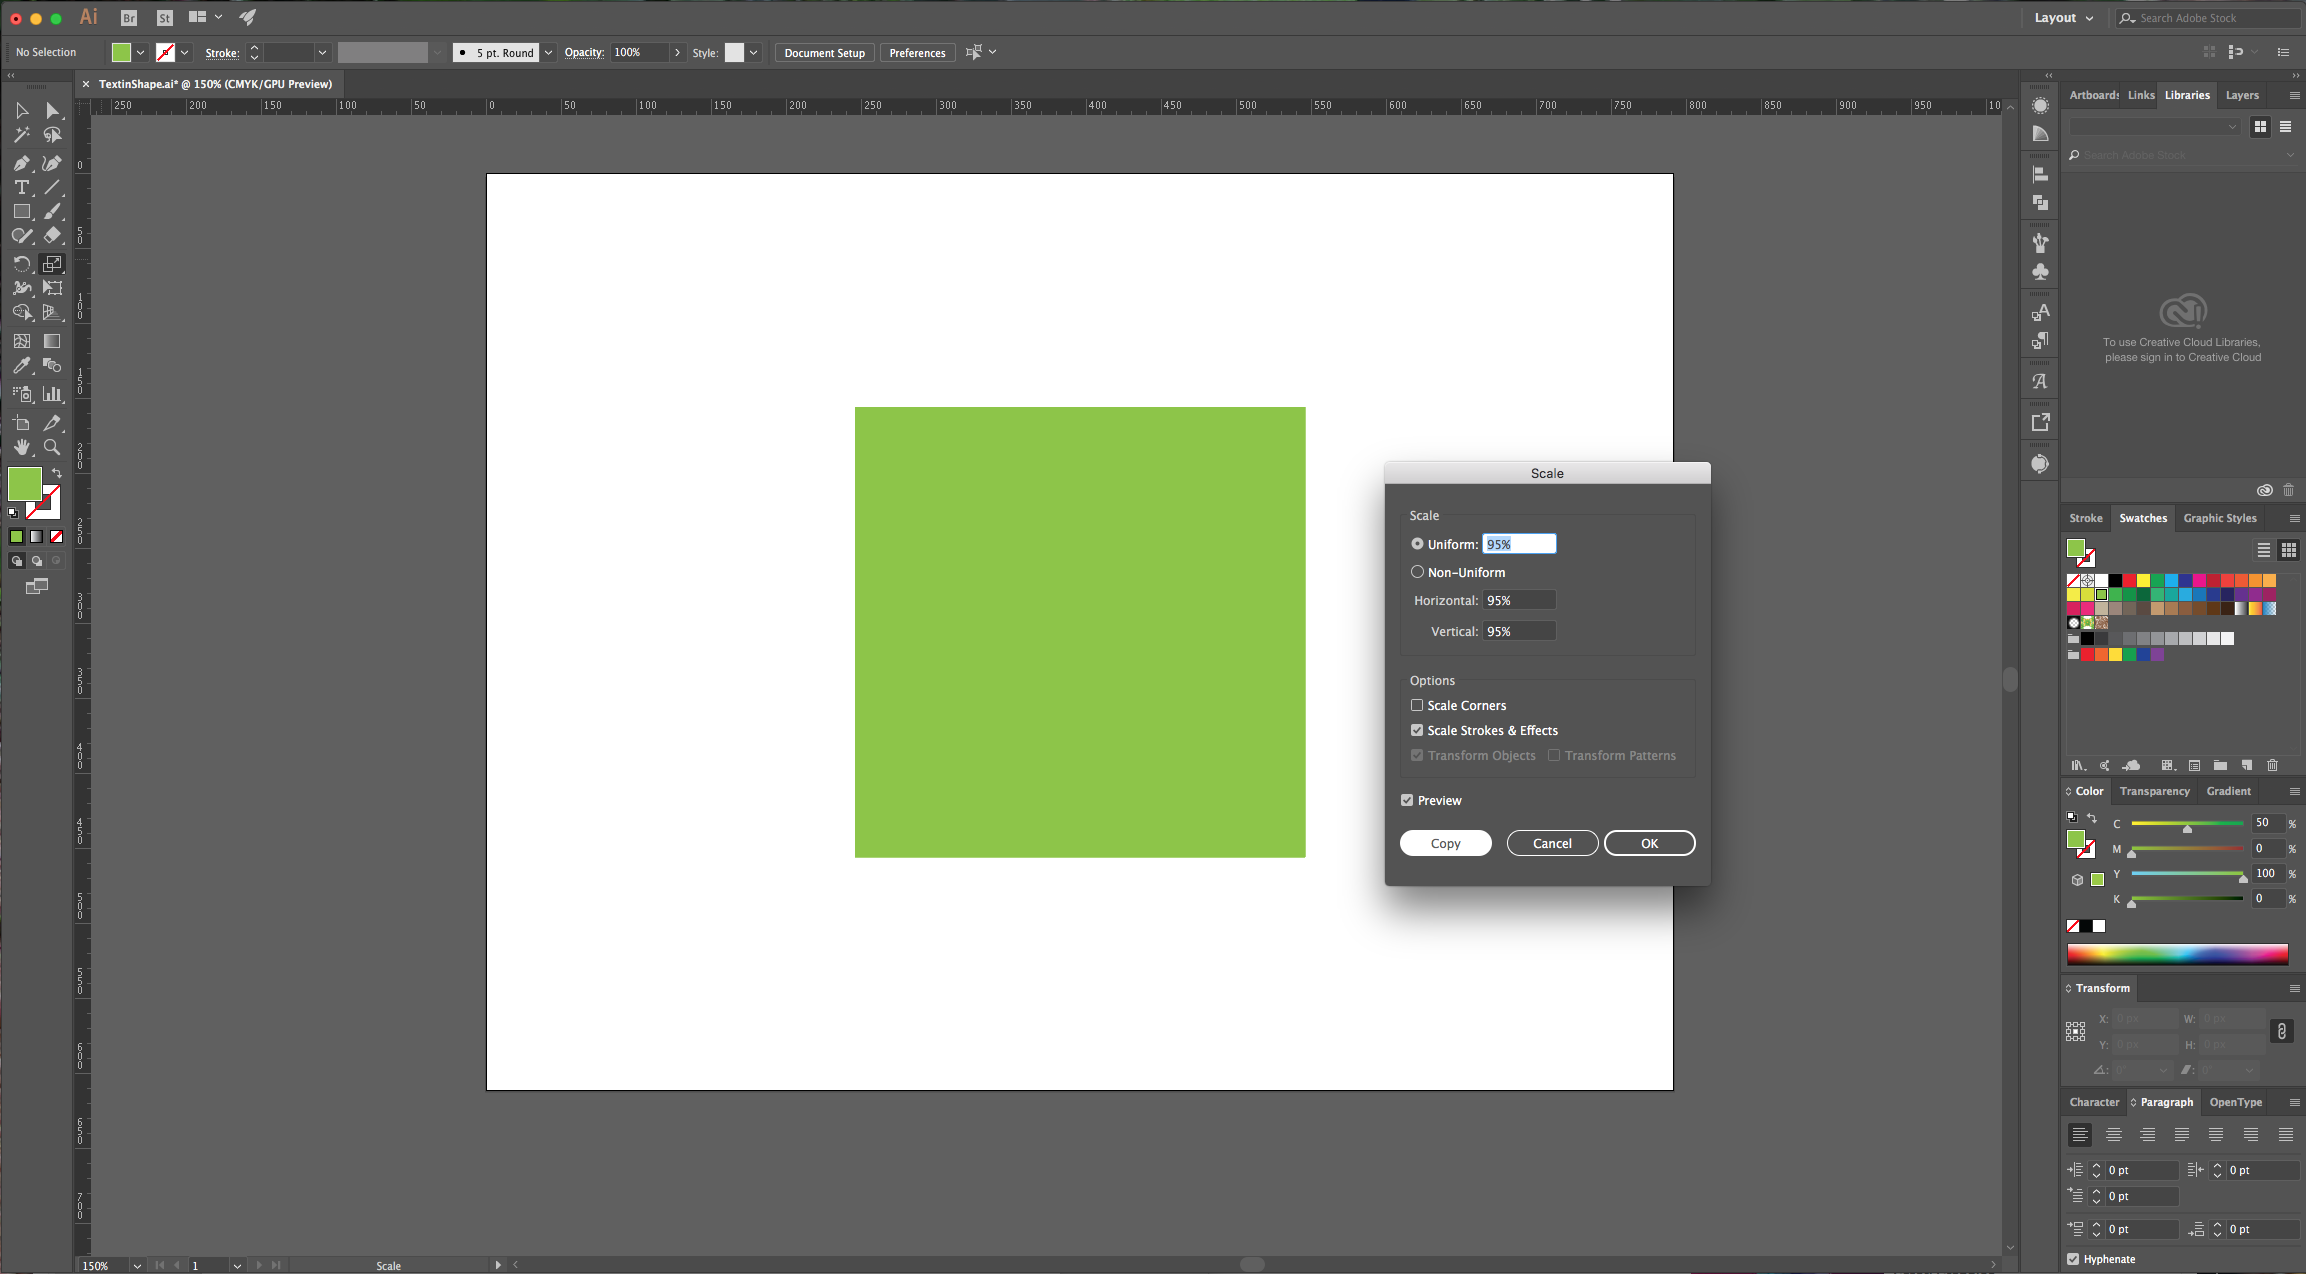
3 - Select the “Scale Tool” (S), and making sure your square is selected, double-click on it and in the dialog, choose “Scale Uniform” and 95%, then click “Copy” instead of “OK”. Move the new shape to the middle if needed. Turn the “Fill” color to “None”.
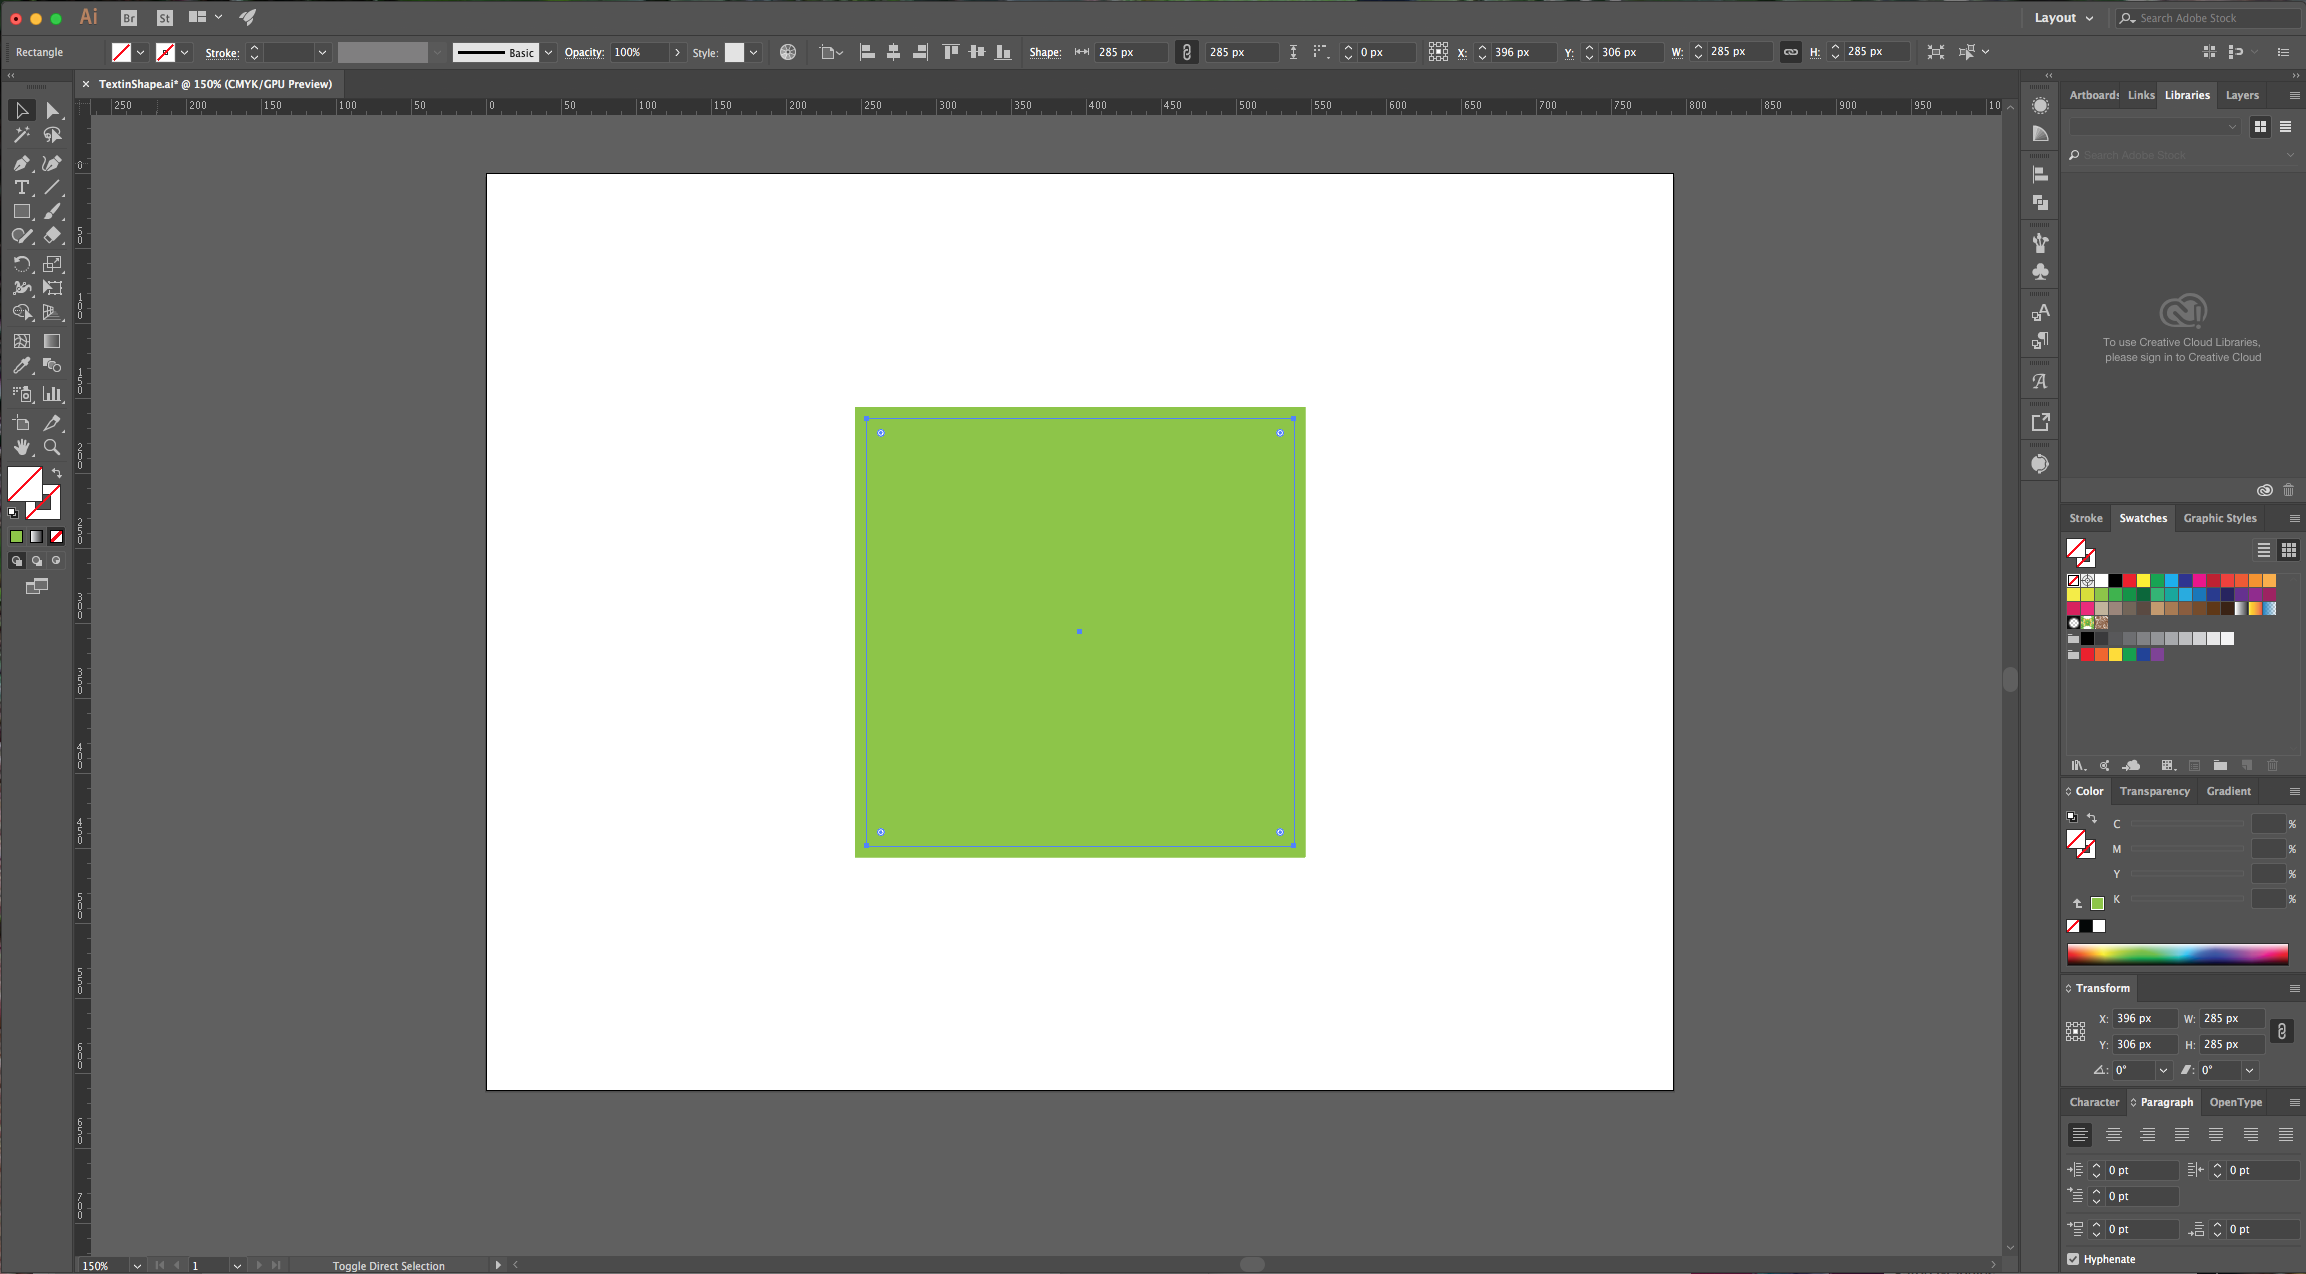
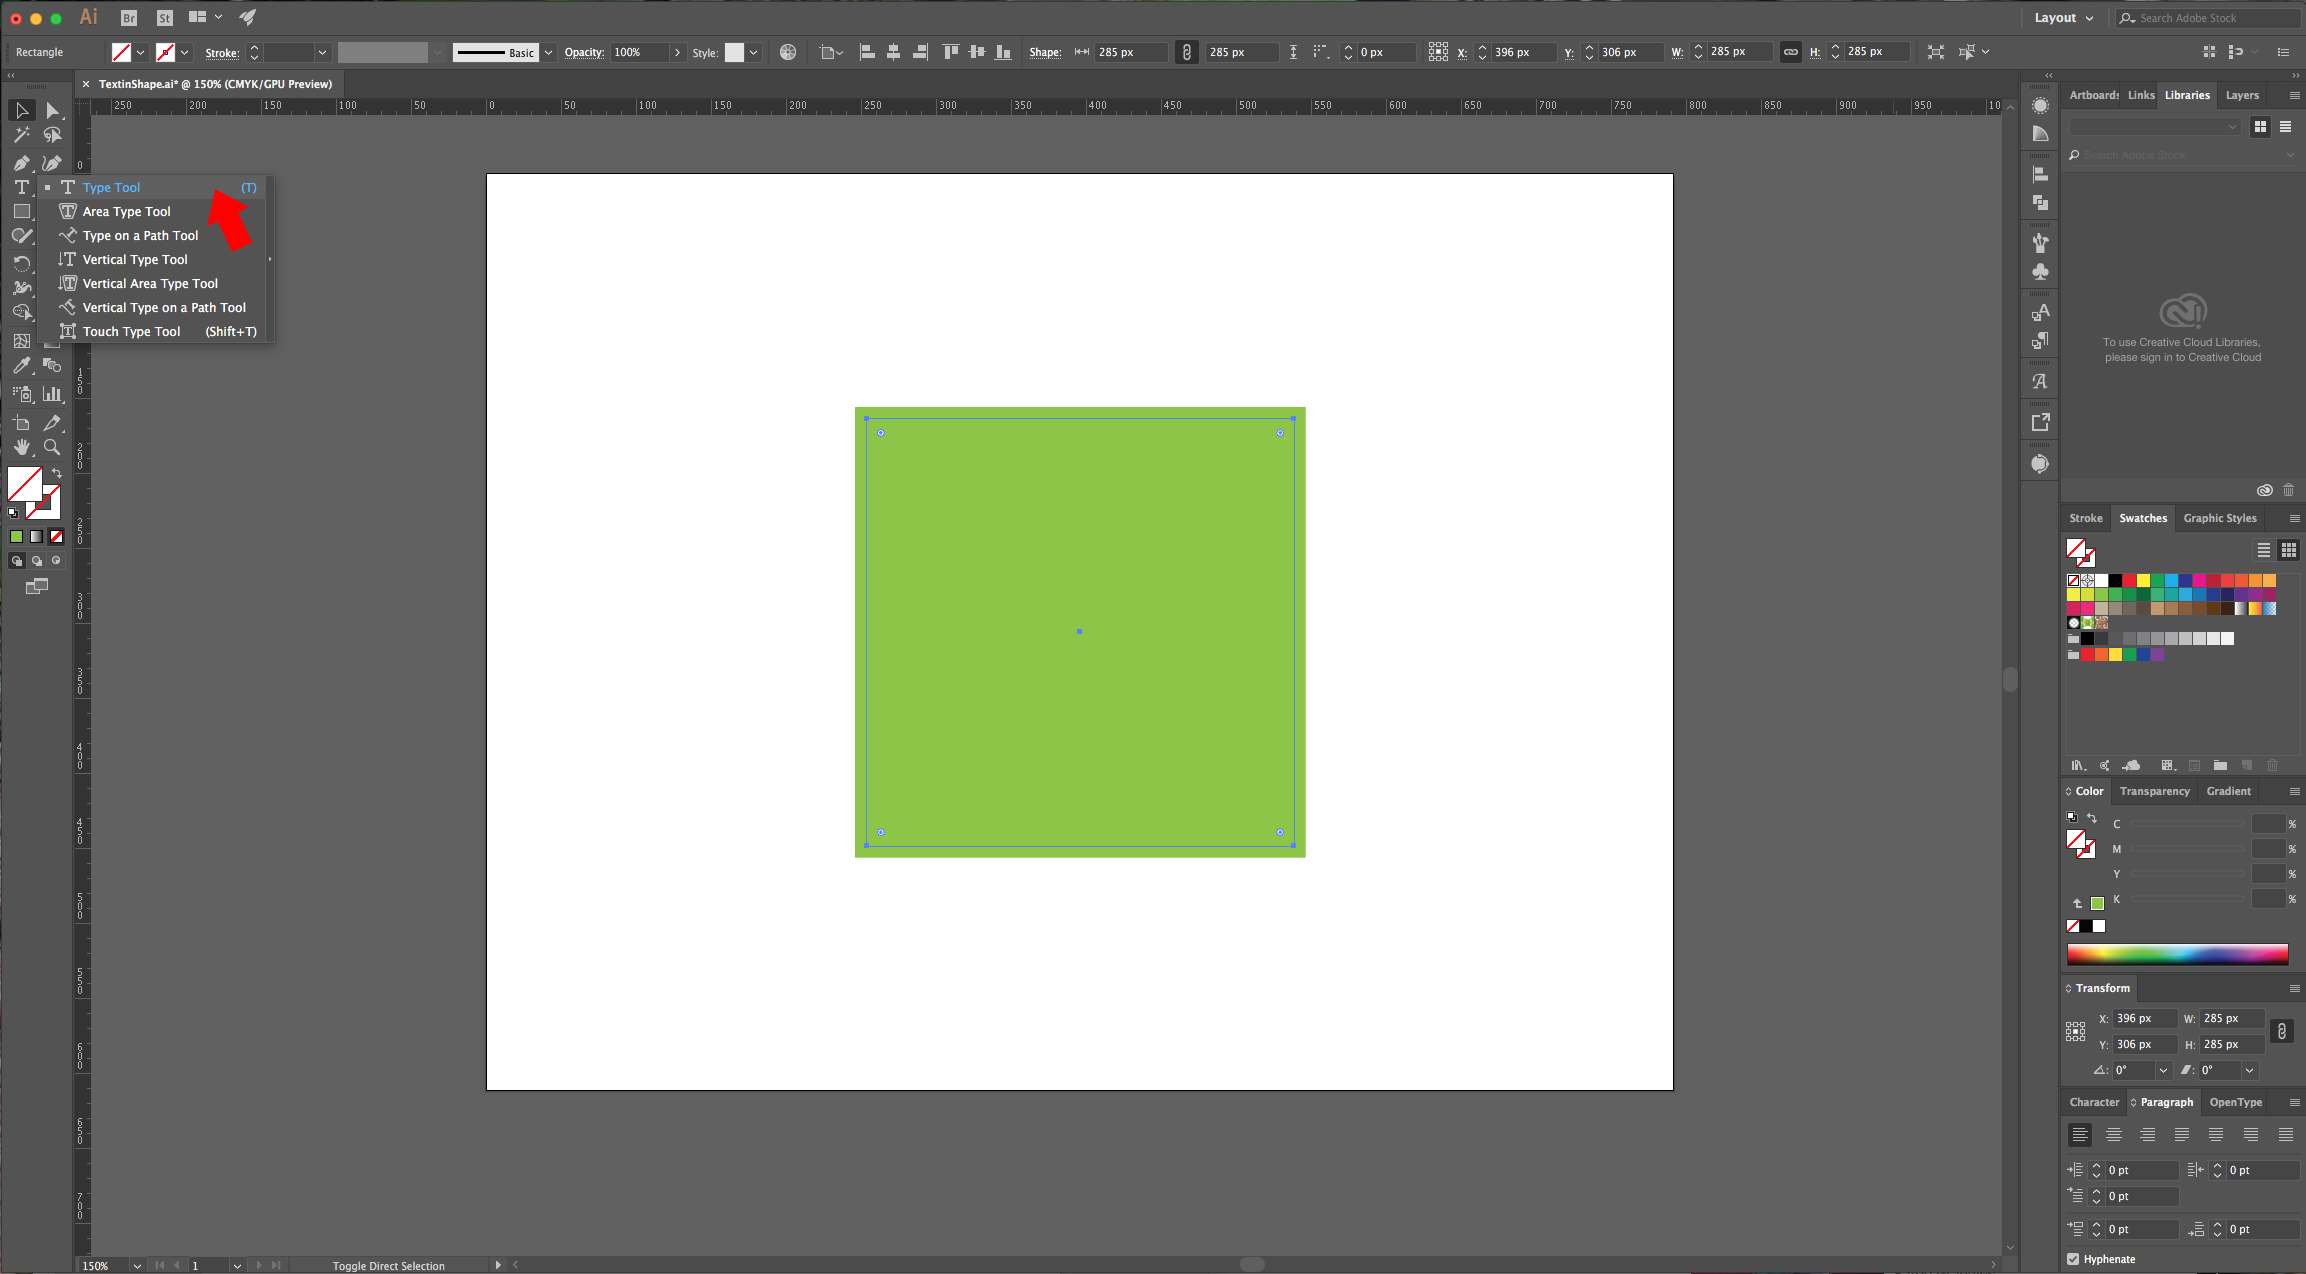
4 - Select the “Type Tool” (T) and click on the inner triangle shape to turn it into a “Text Box”. You should see the little square surrounding your cursor turn into a circle. Choose any font you like, (we used Myriad Pro) and change the size if you want.
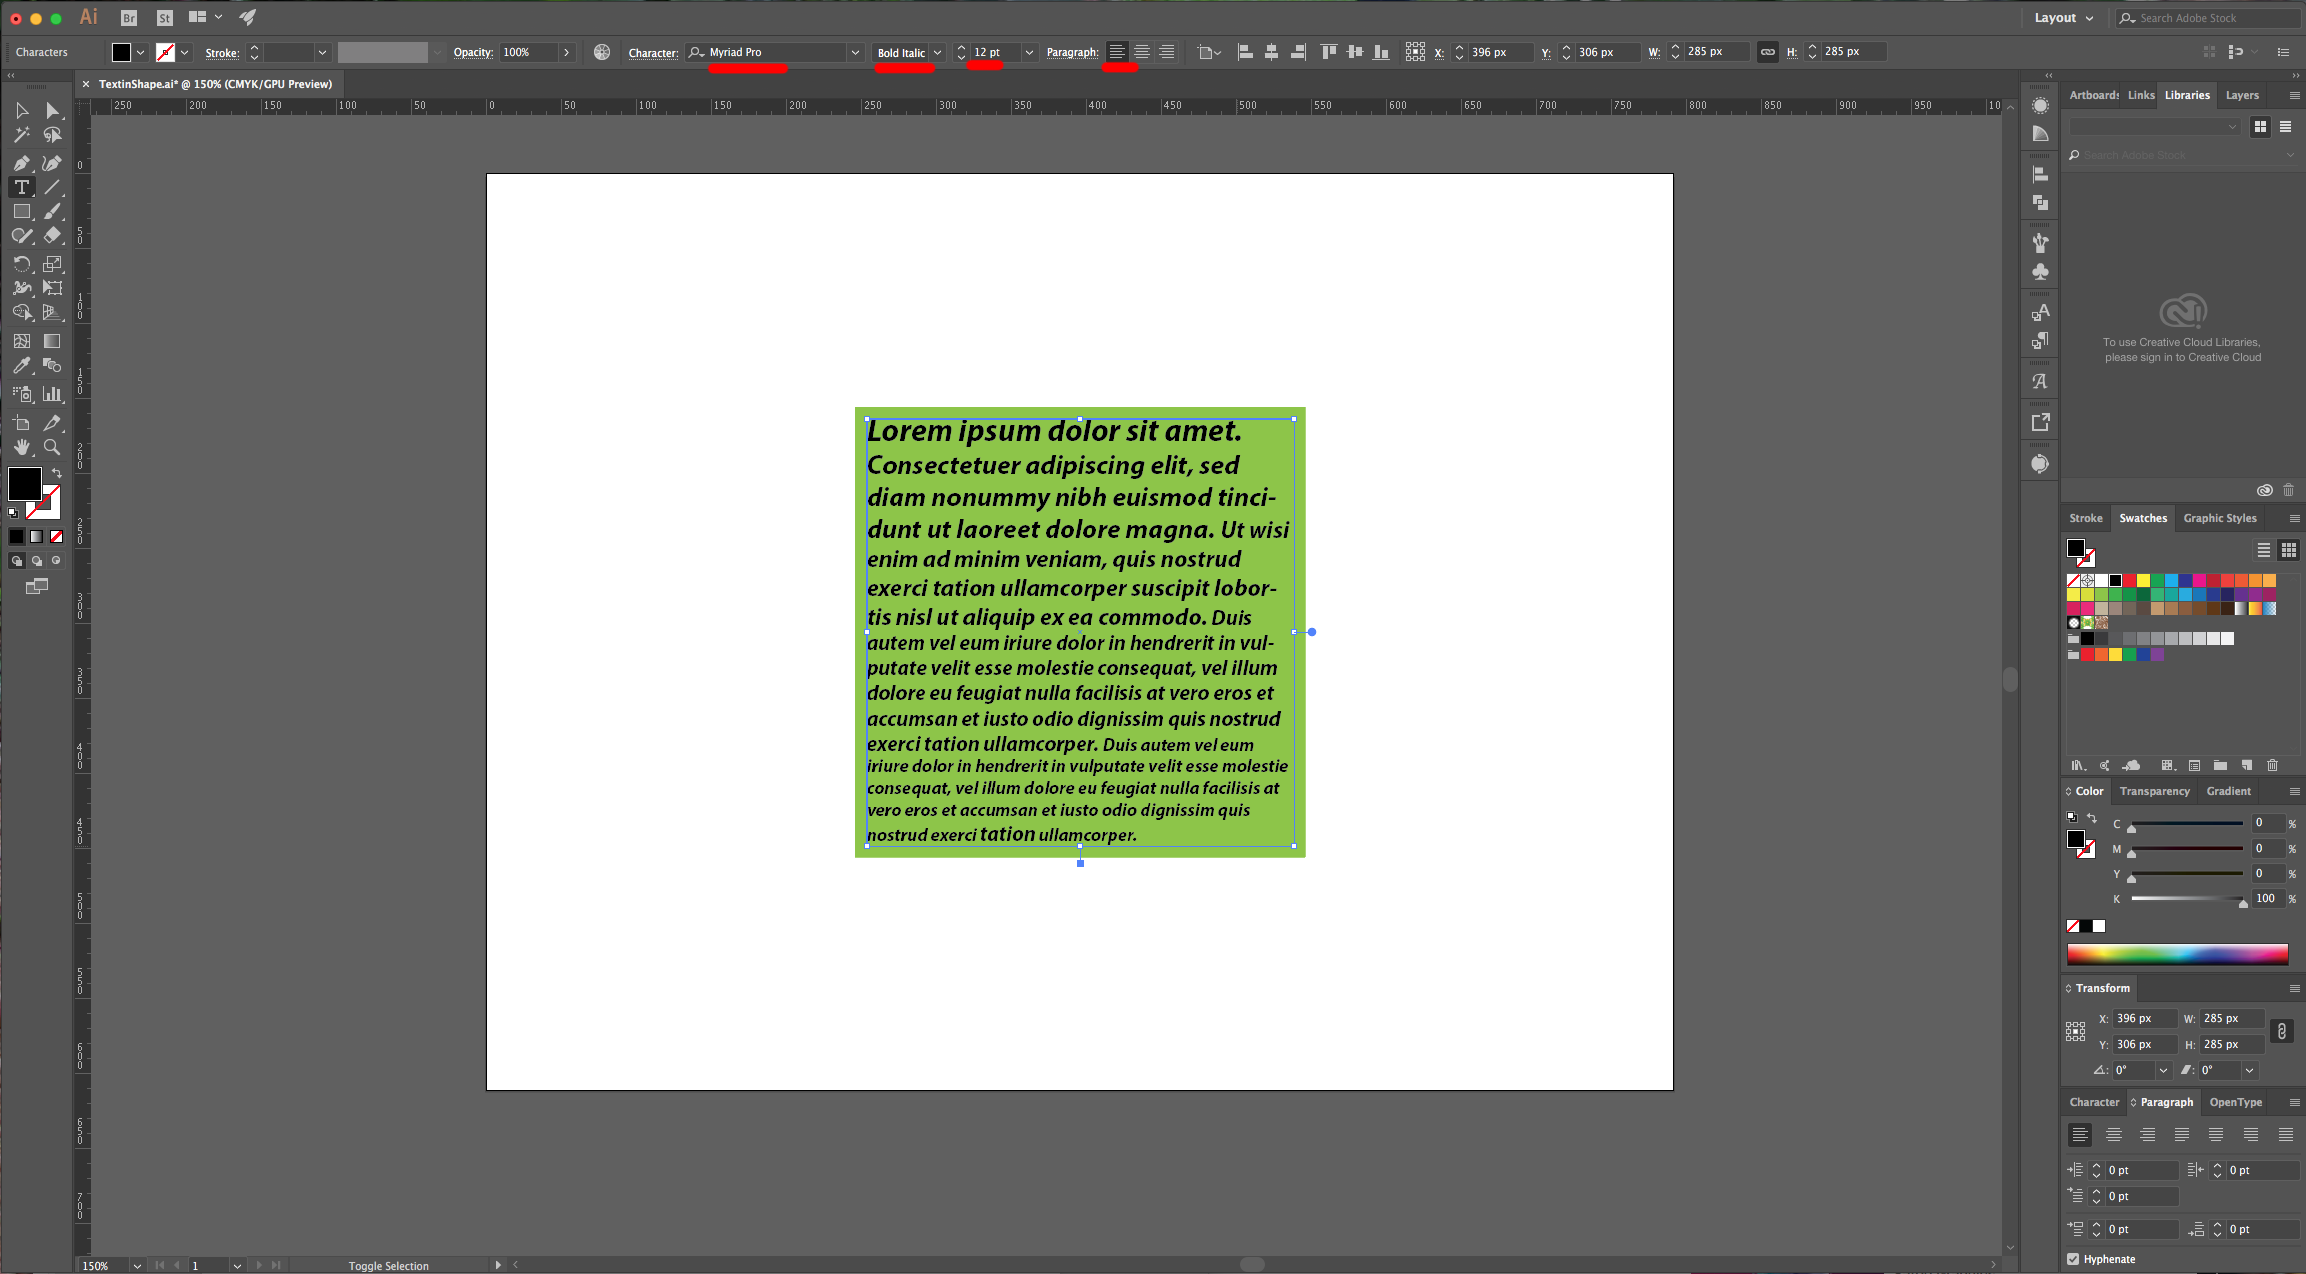
5 - Drag your text-filled shape outside of your “Artboard” and duplicate it a couple of times (Command/Control + C and Command/Control + V). Change the “Alignment” of the text.
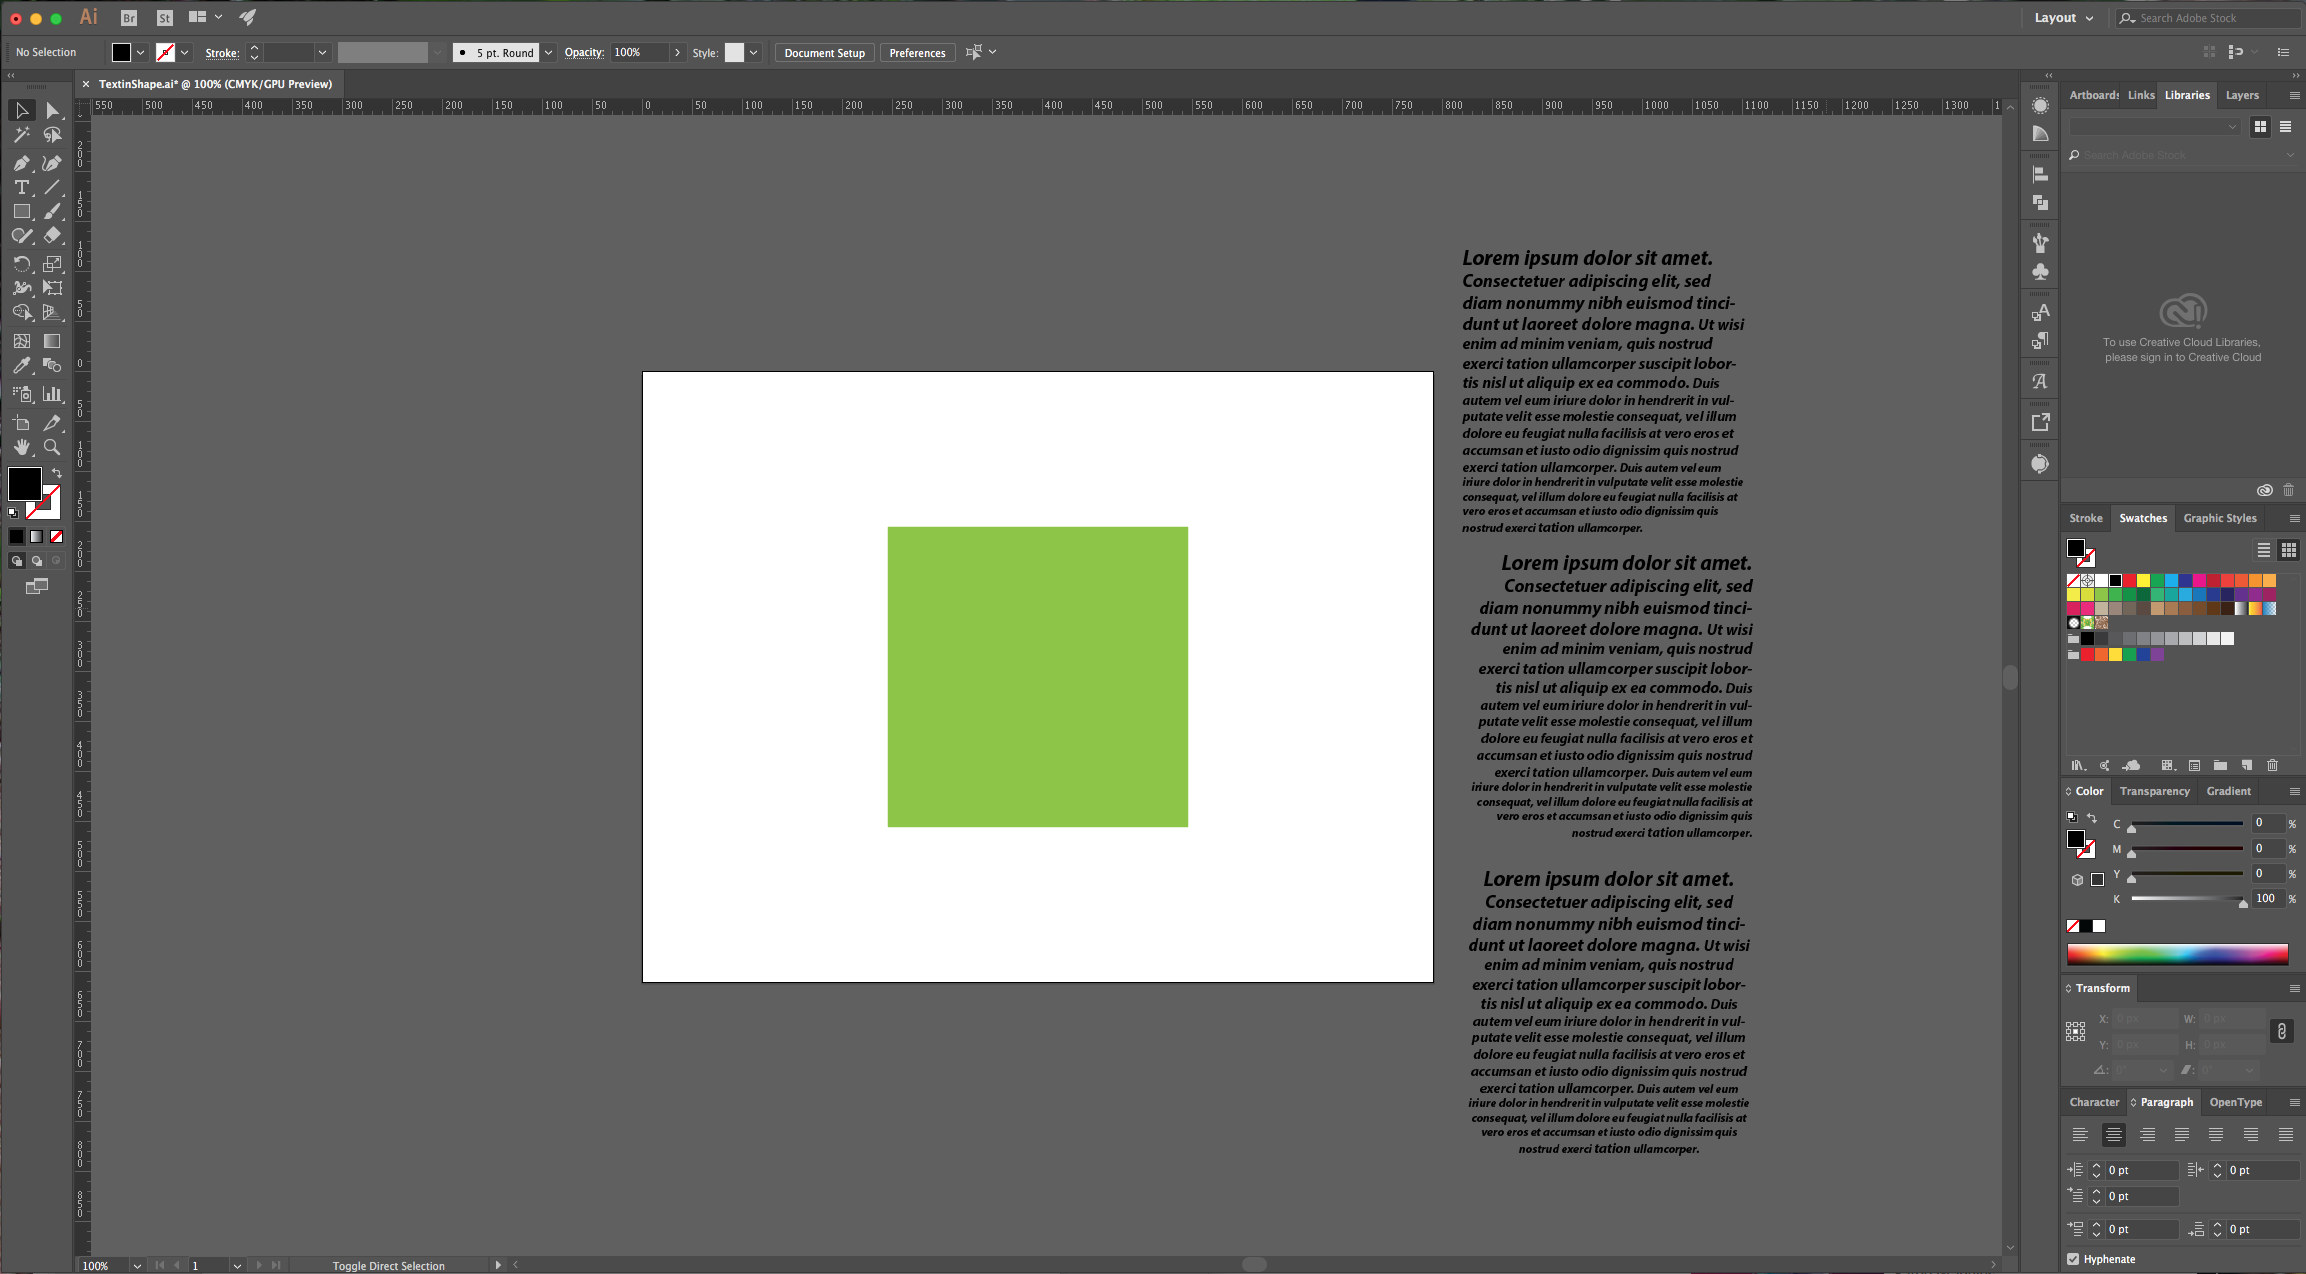
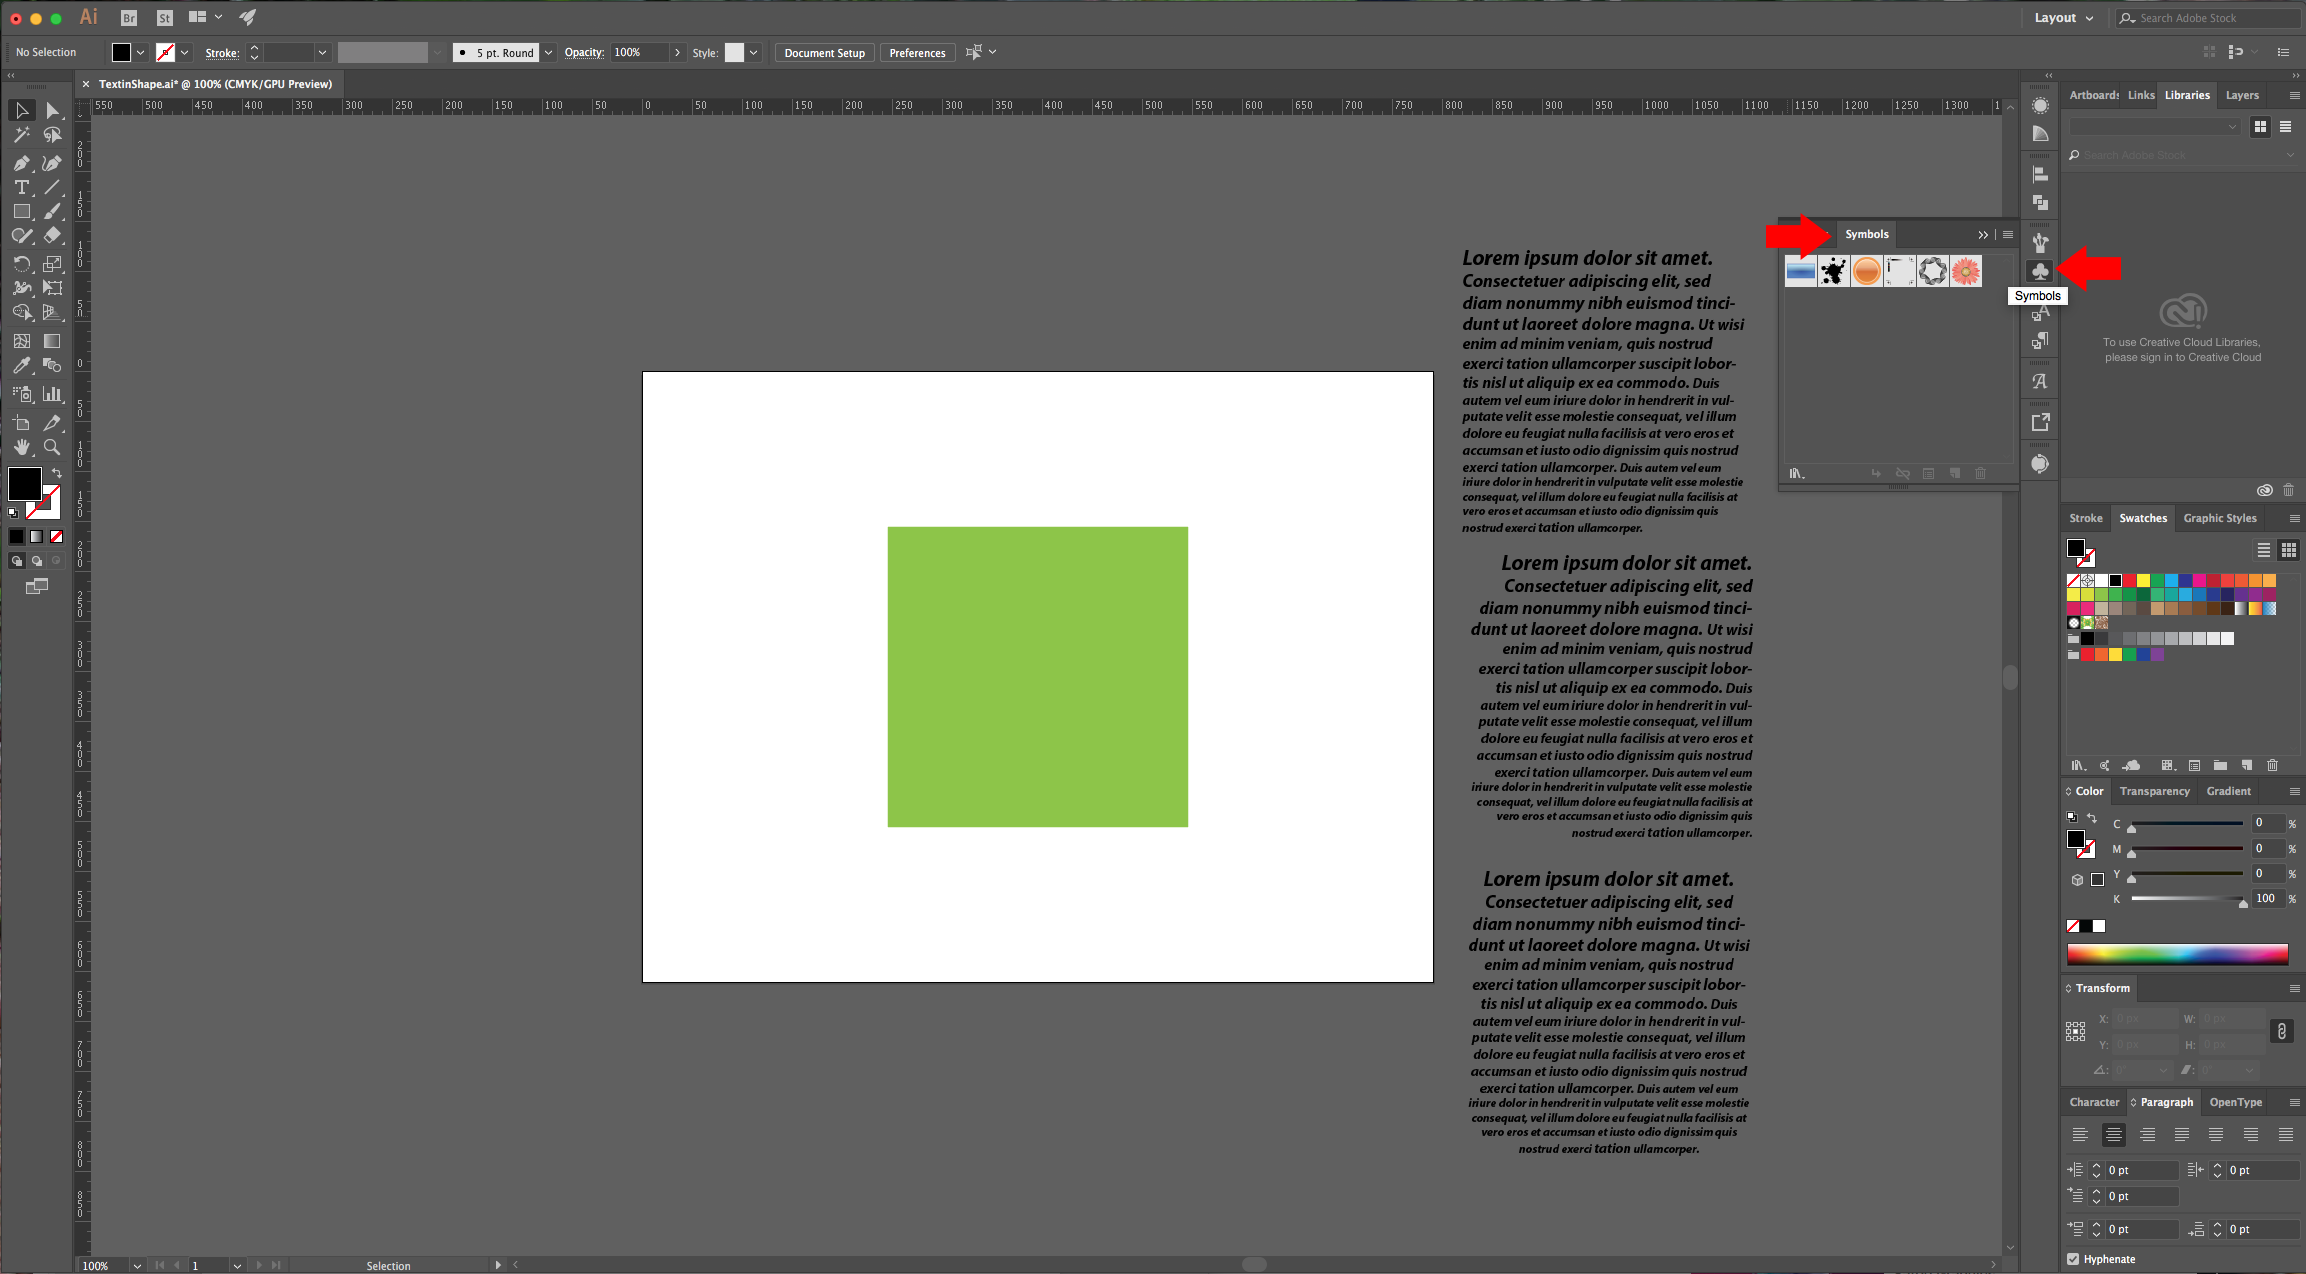
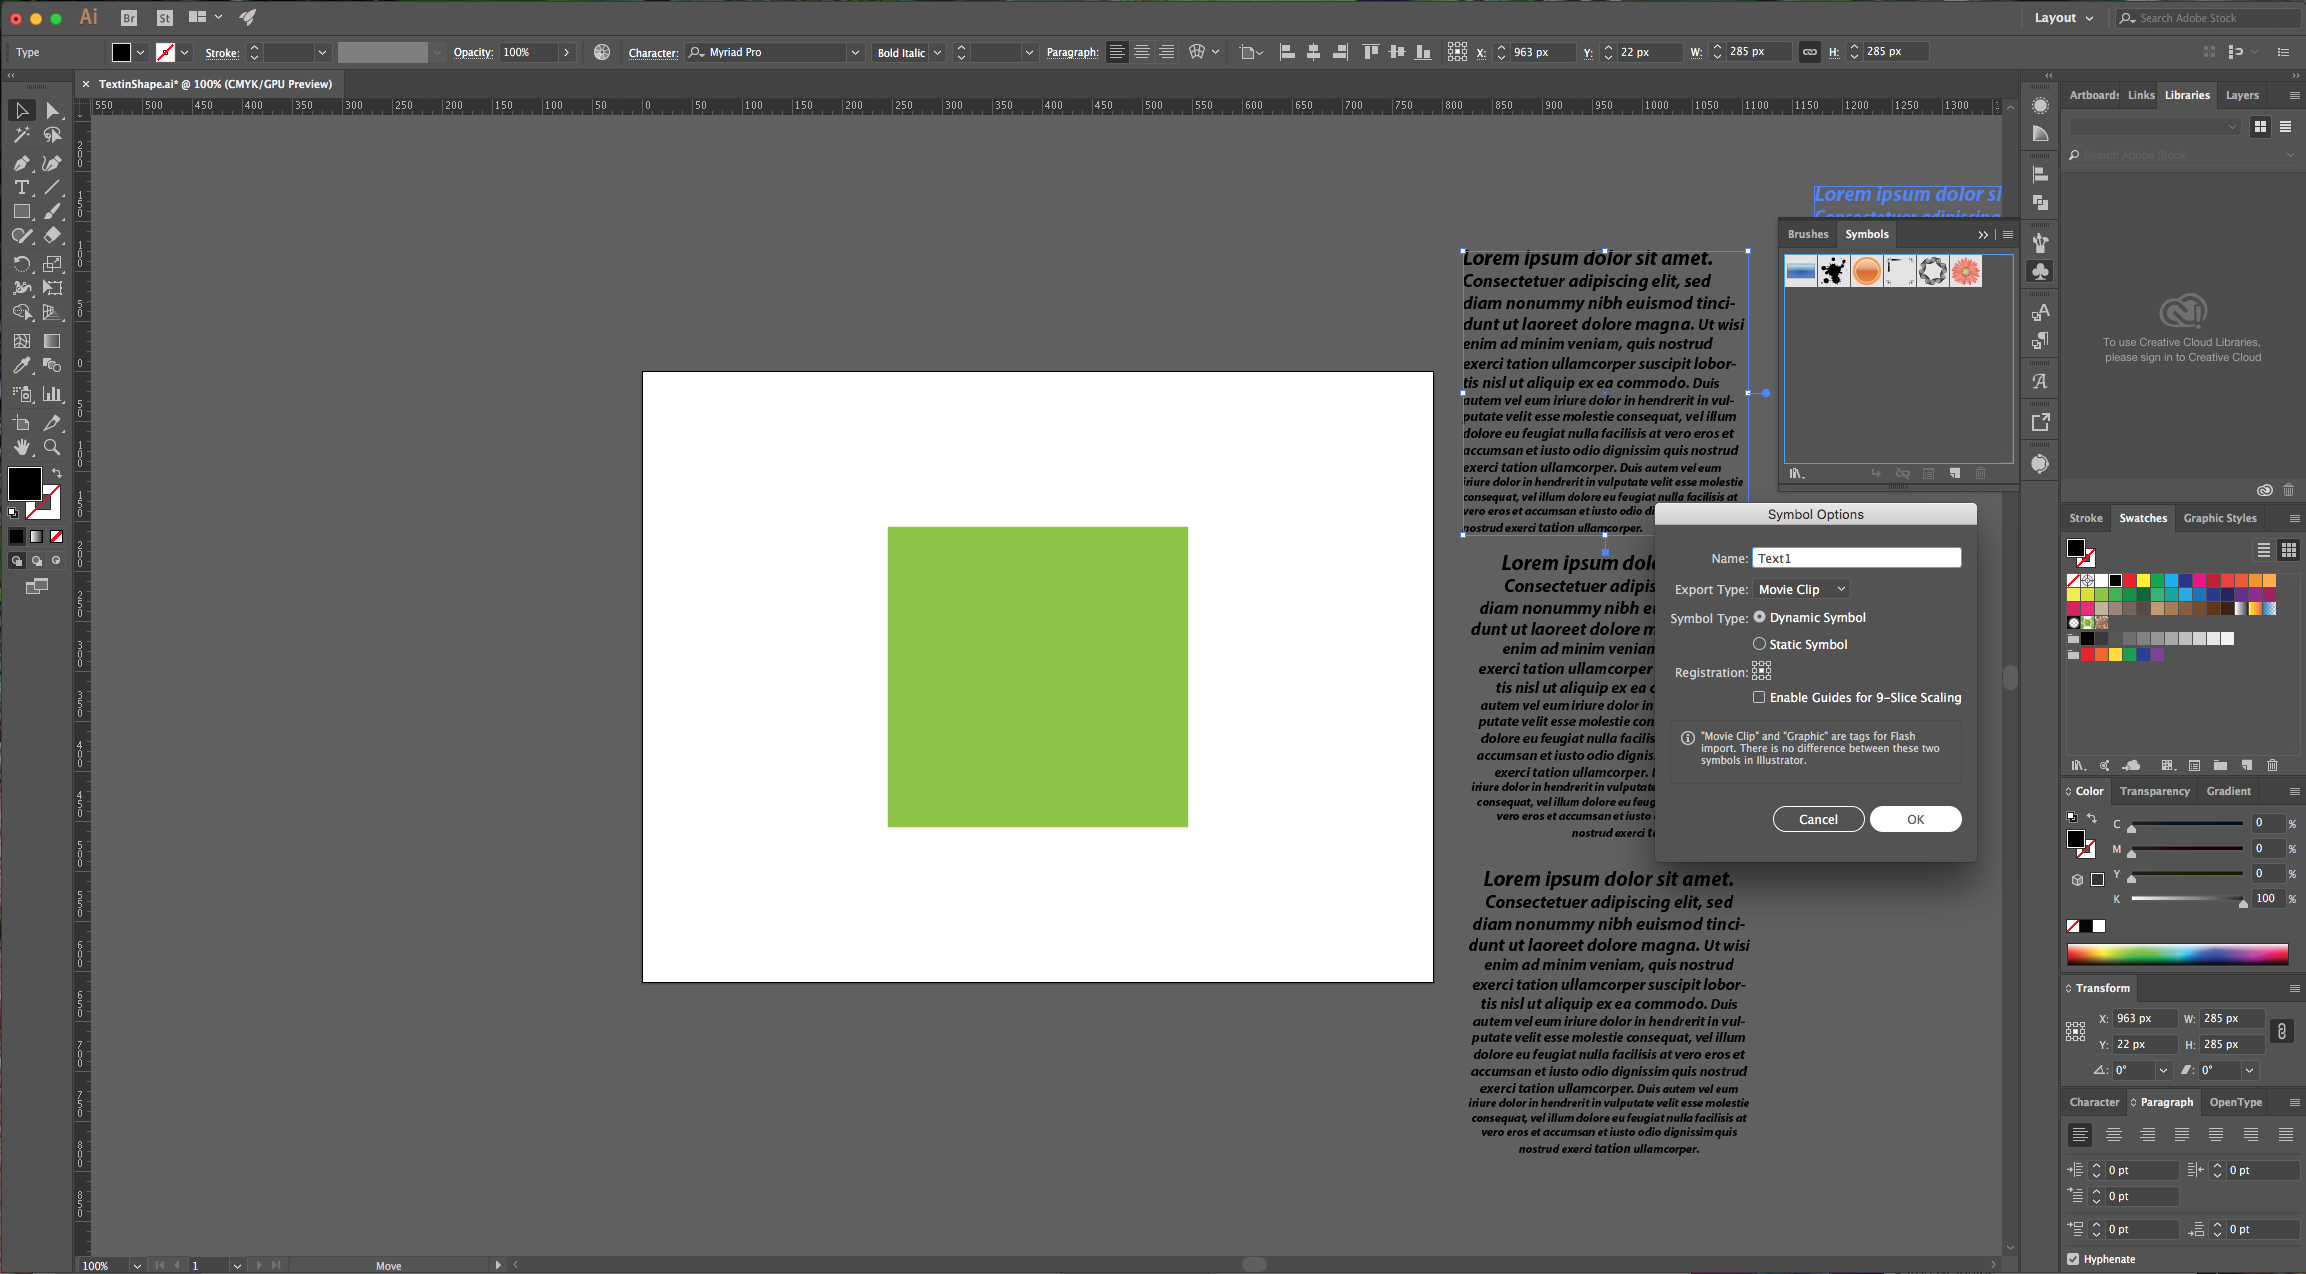
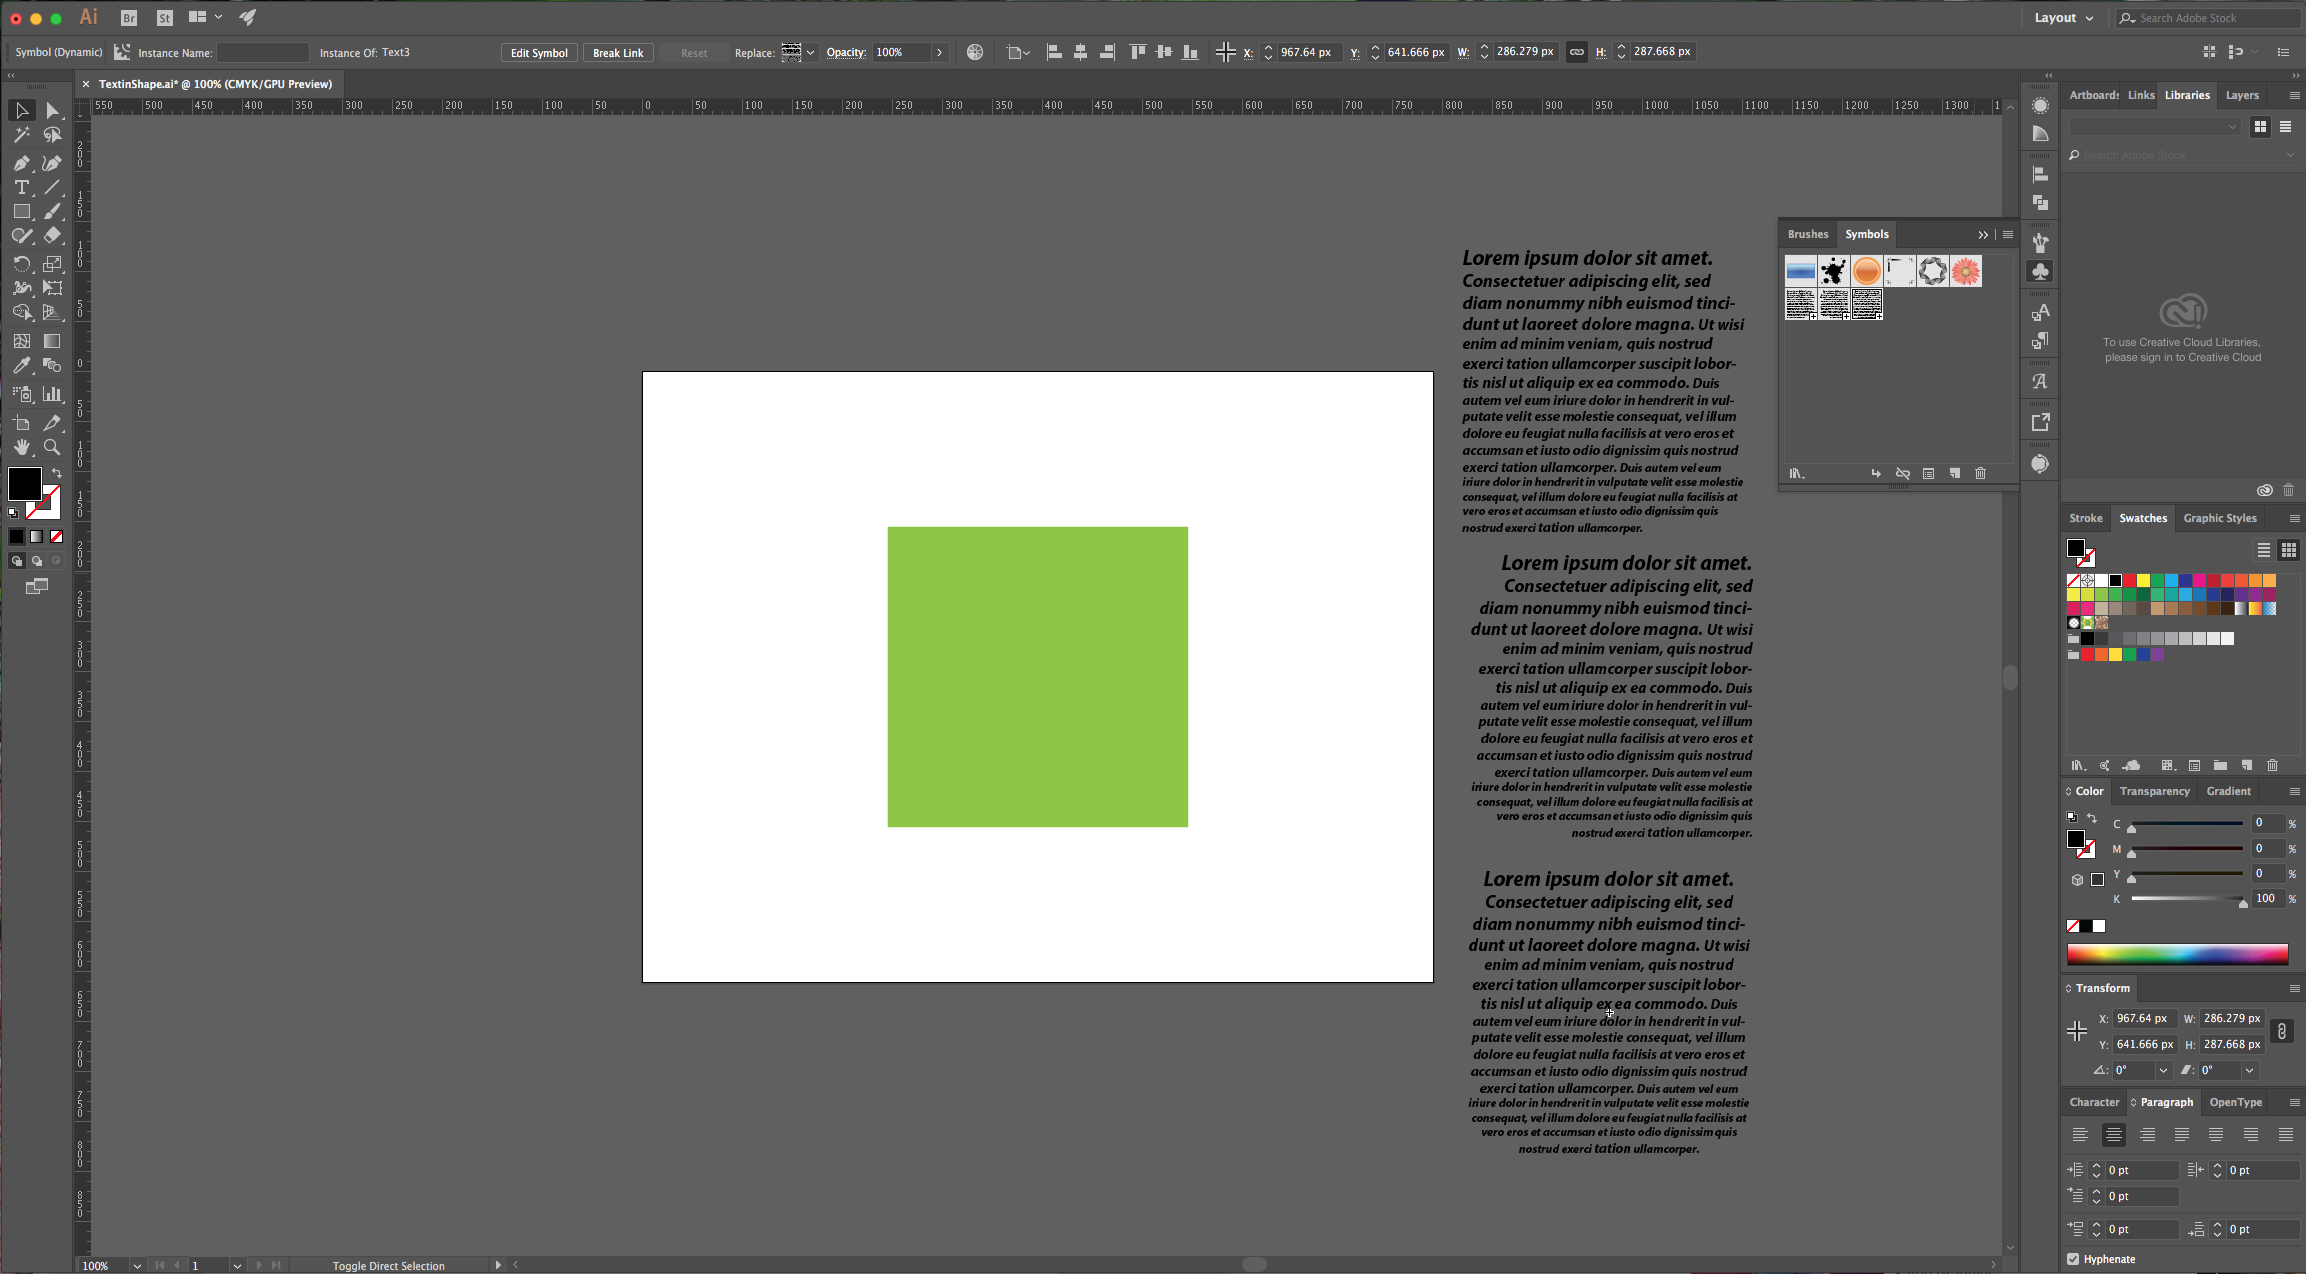
6 - Go to the “Symbols” Panel (or go to Window > Symbols), select one of your text-filled shapes and drag it into the Panel. Give the new symbol a name and click the “Dynamic Symbol” button so you can modify the symbol later. Repeat with the other two text-filled shapes. You can delete your original text now if you want.
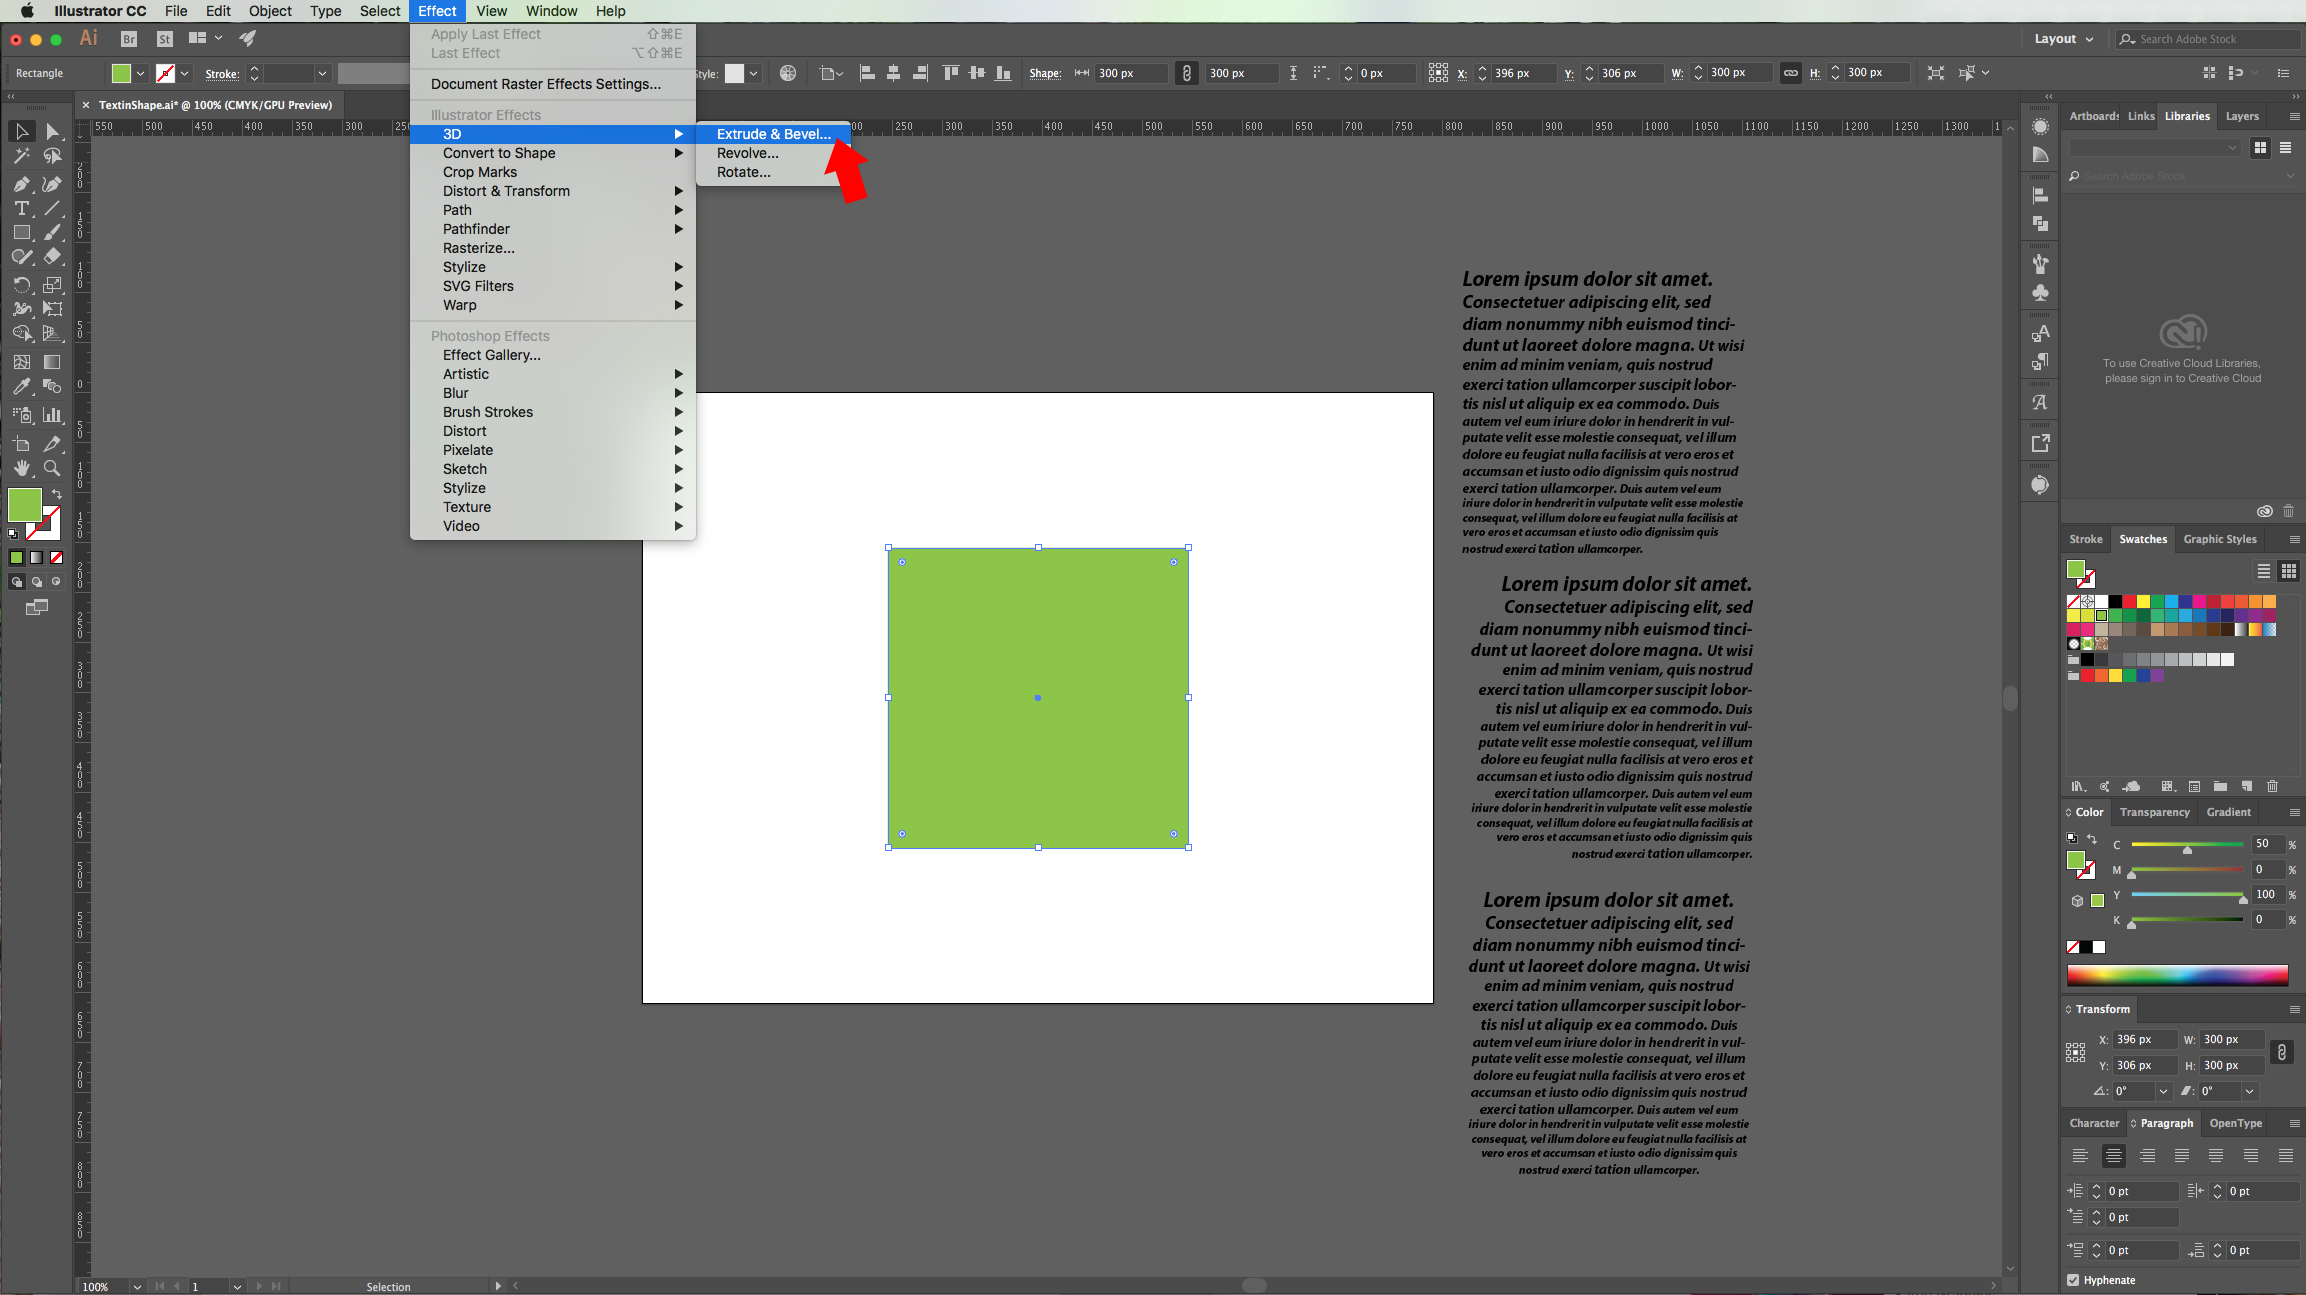
7 - Select your shape and go to Effect > 3D > Extrude & Bevel and apply the following settings:
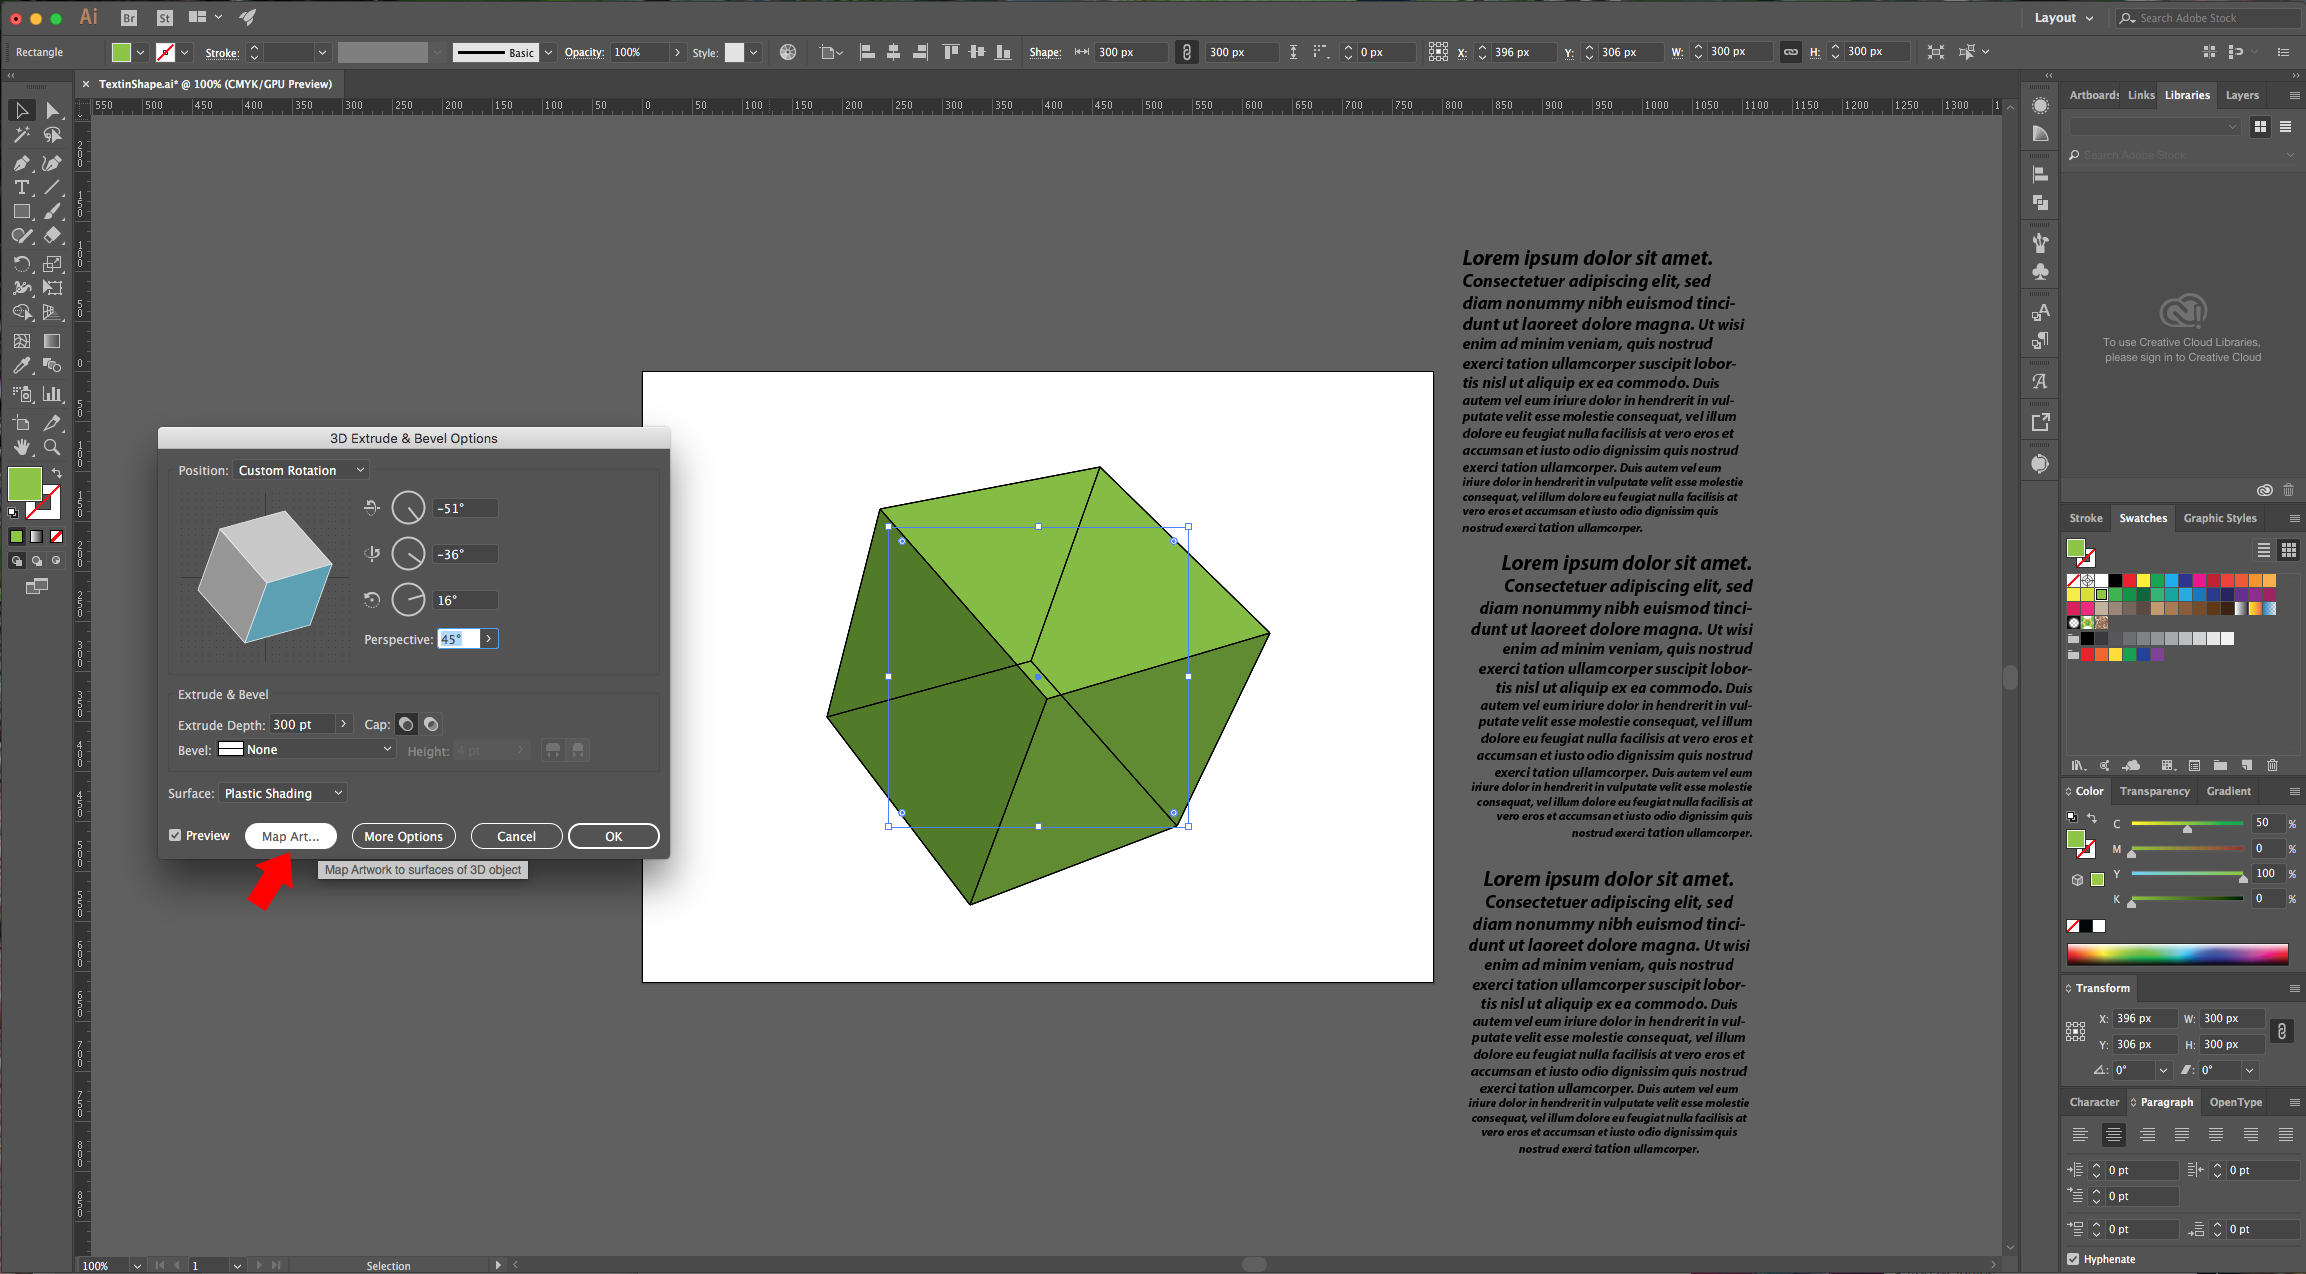
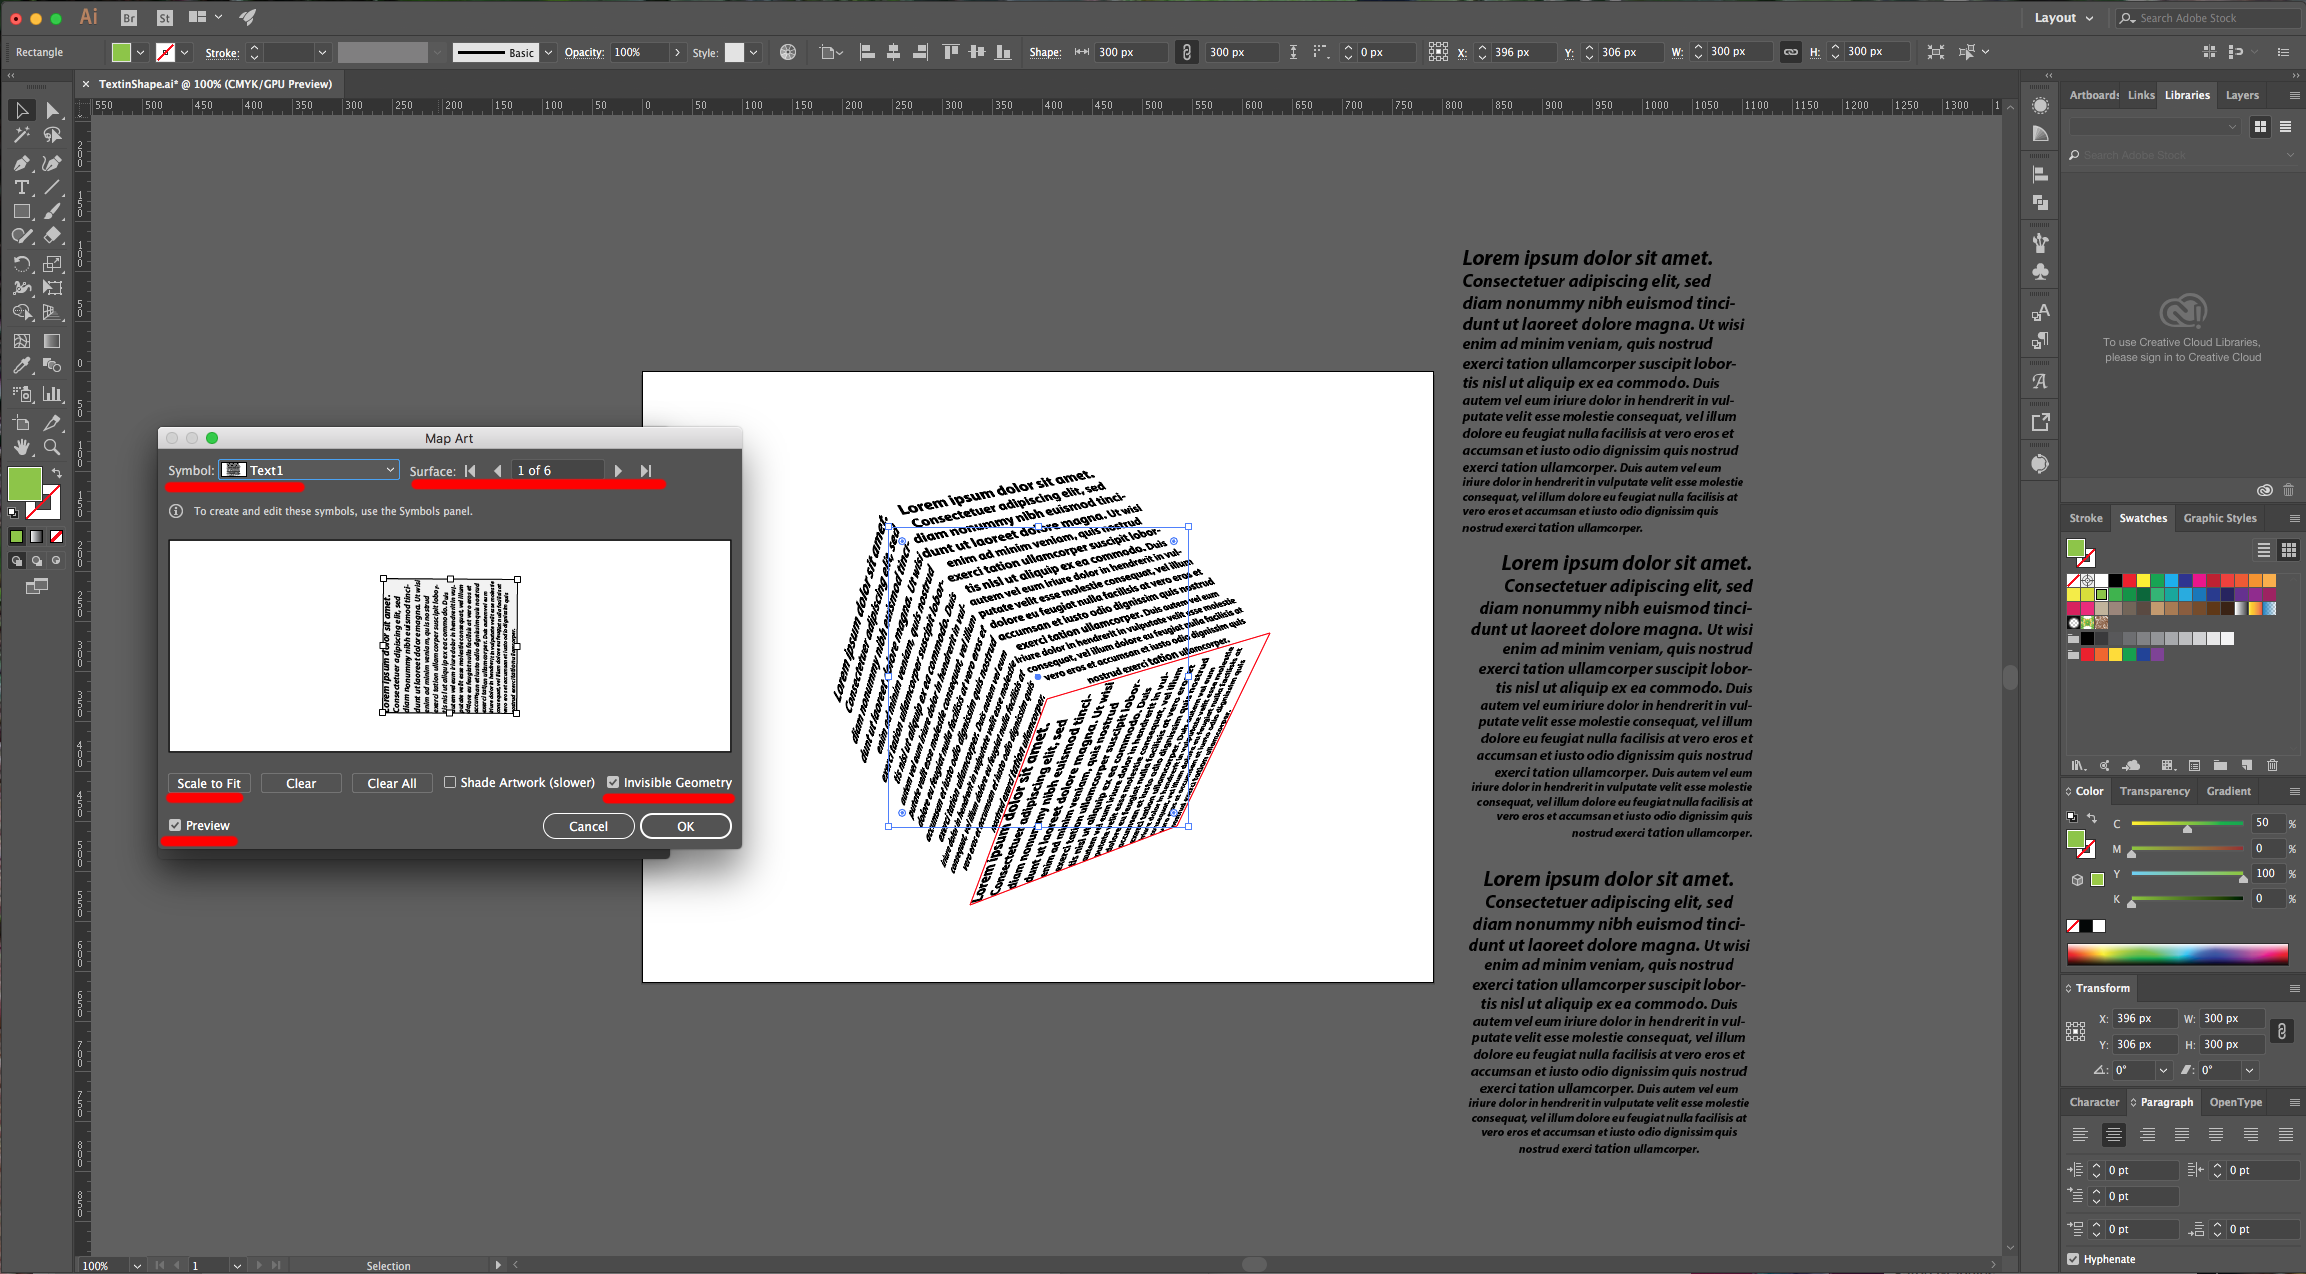
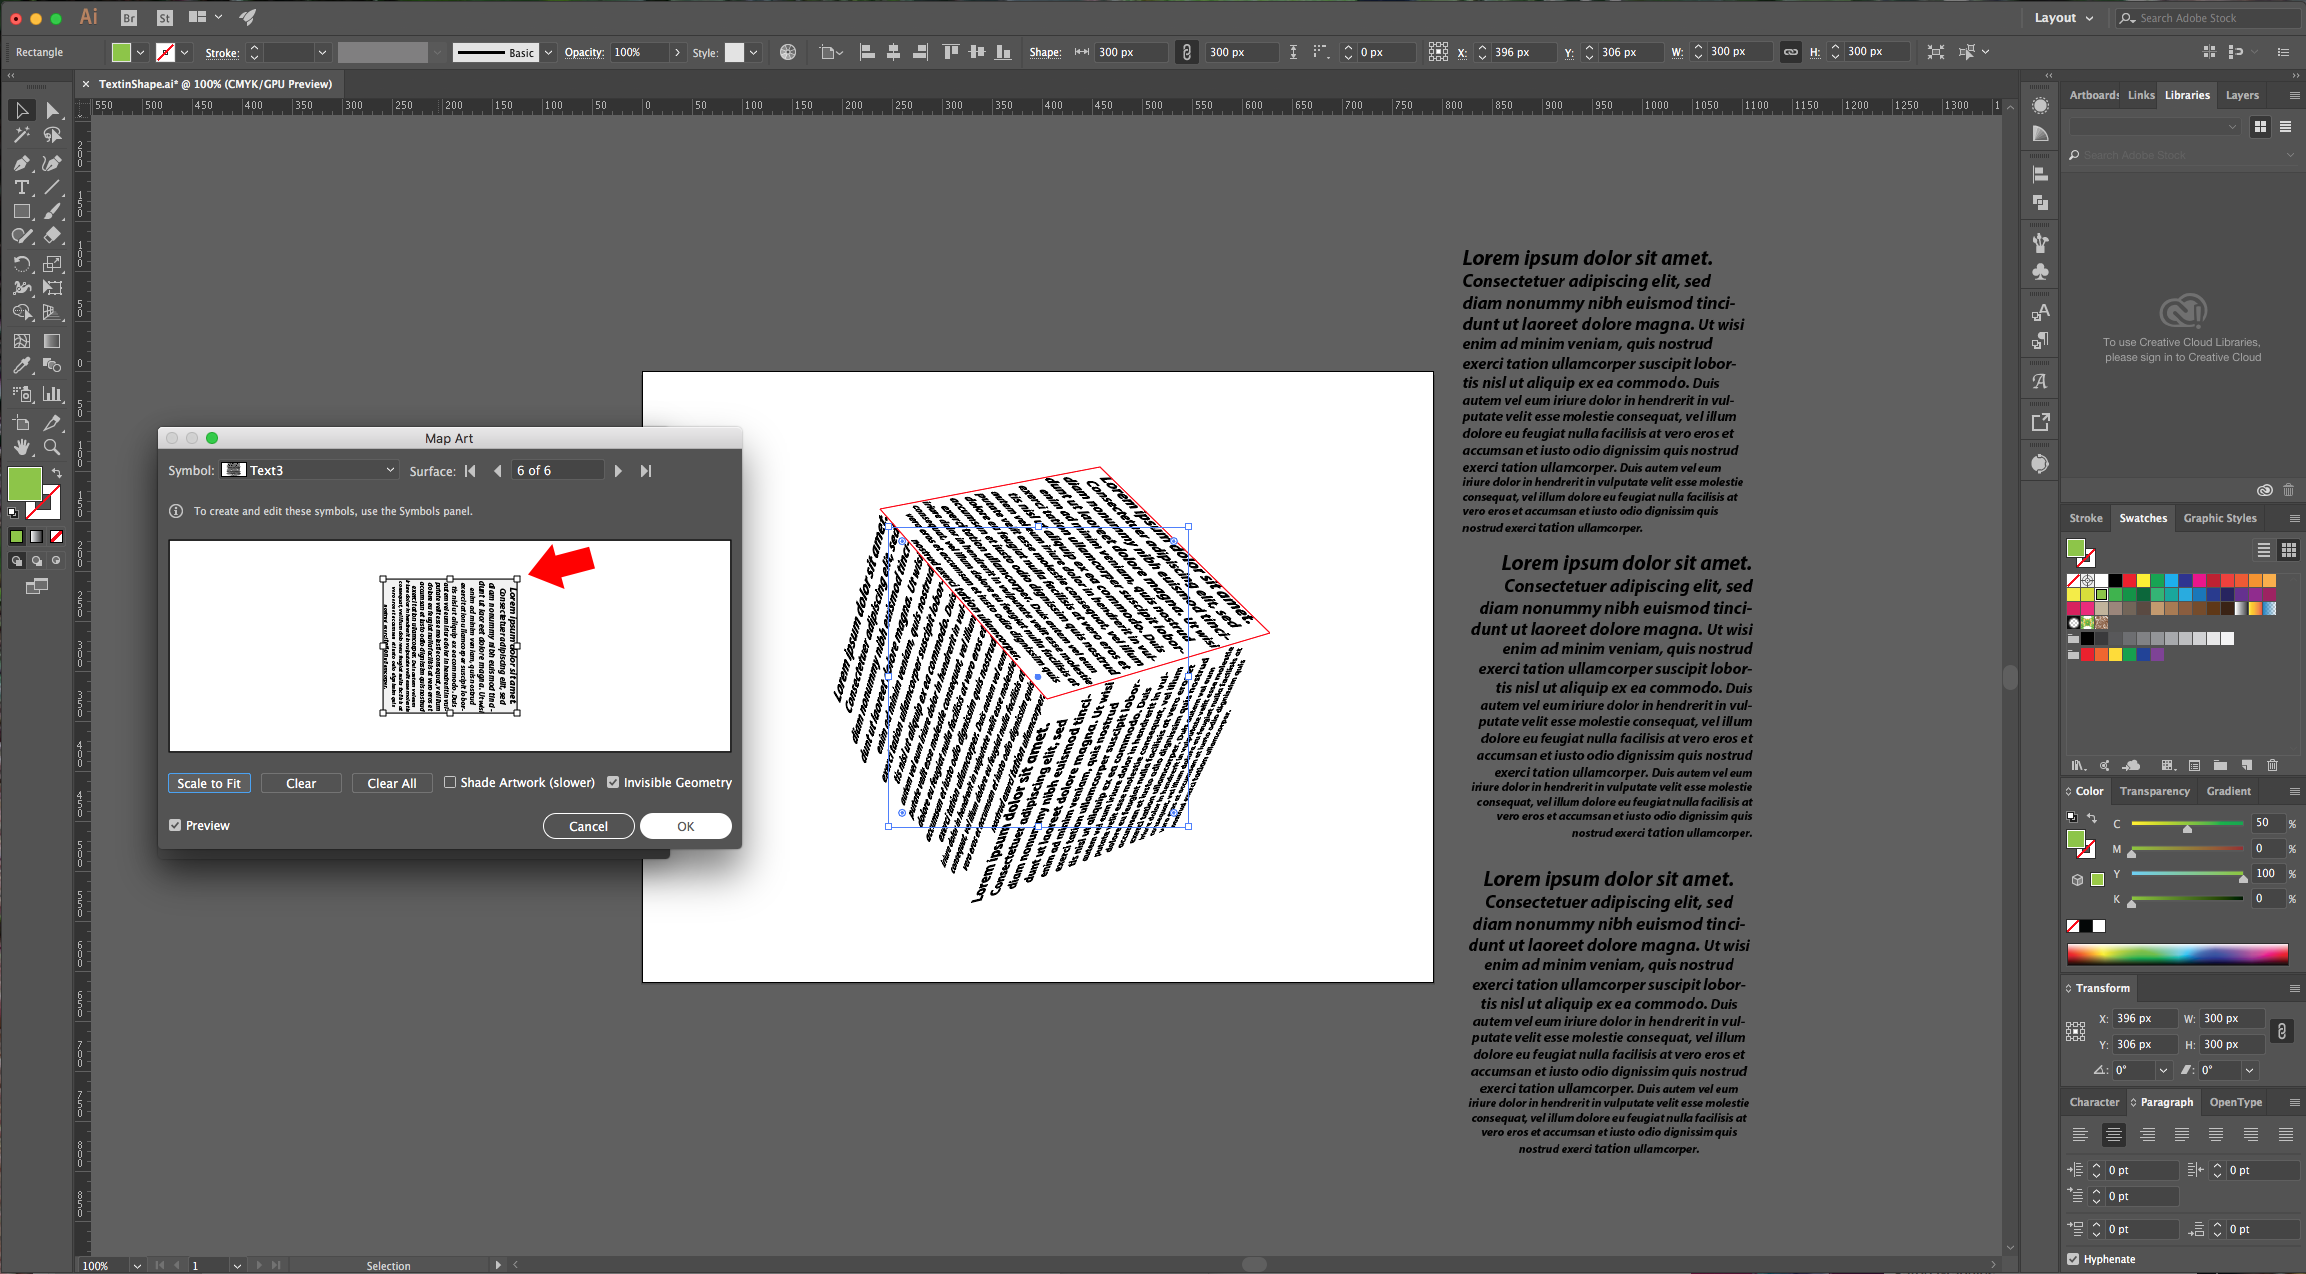
8 - Click the “Map Art” button and choose the “Surface” you want to select and the “Symbol” you want applied to that “Surface”. Click “Scale to Fit” and Make sure that the “Preview” box is checked so you can see if the result is the want you want. You can rotate and modify your text in the window. Once you applied text to all your sides click and “Invisible Geometry” to make the square disappear, then click “Ok”. If you are happy with the “Cube” position click “OK” or play around with the values.
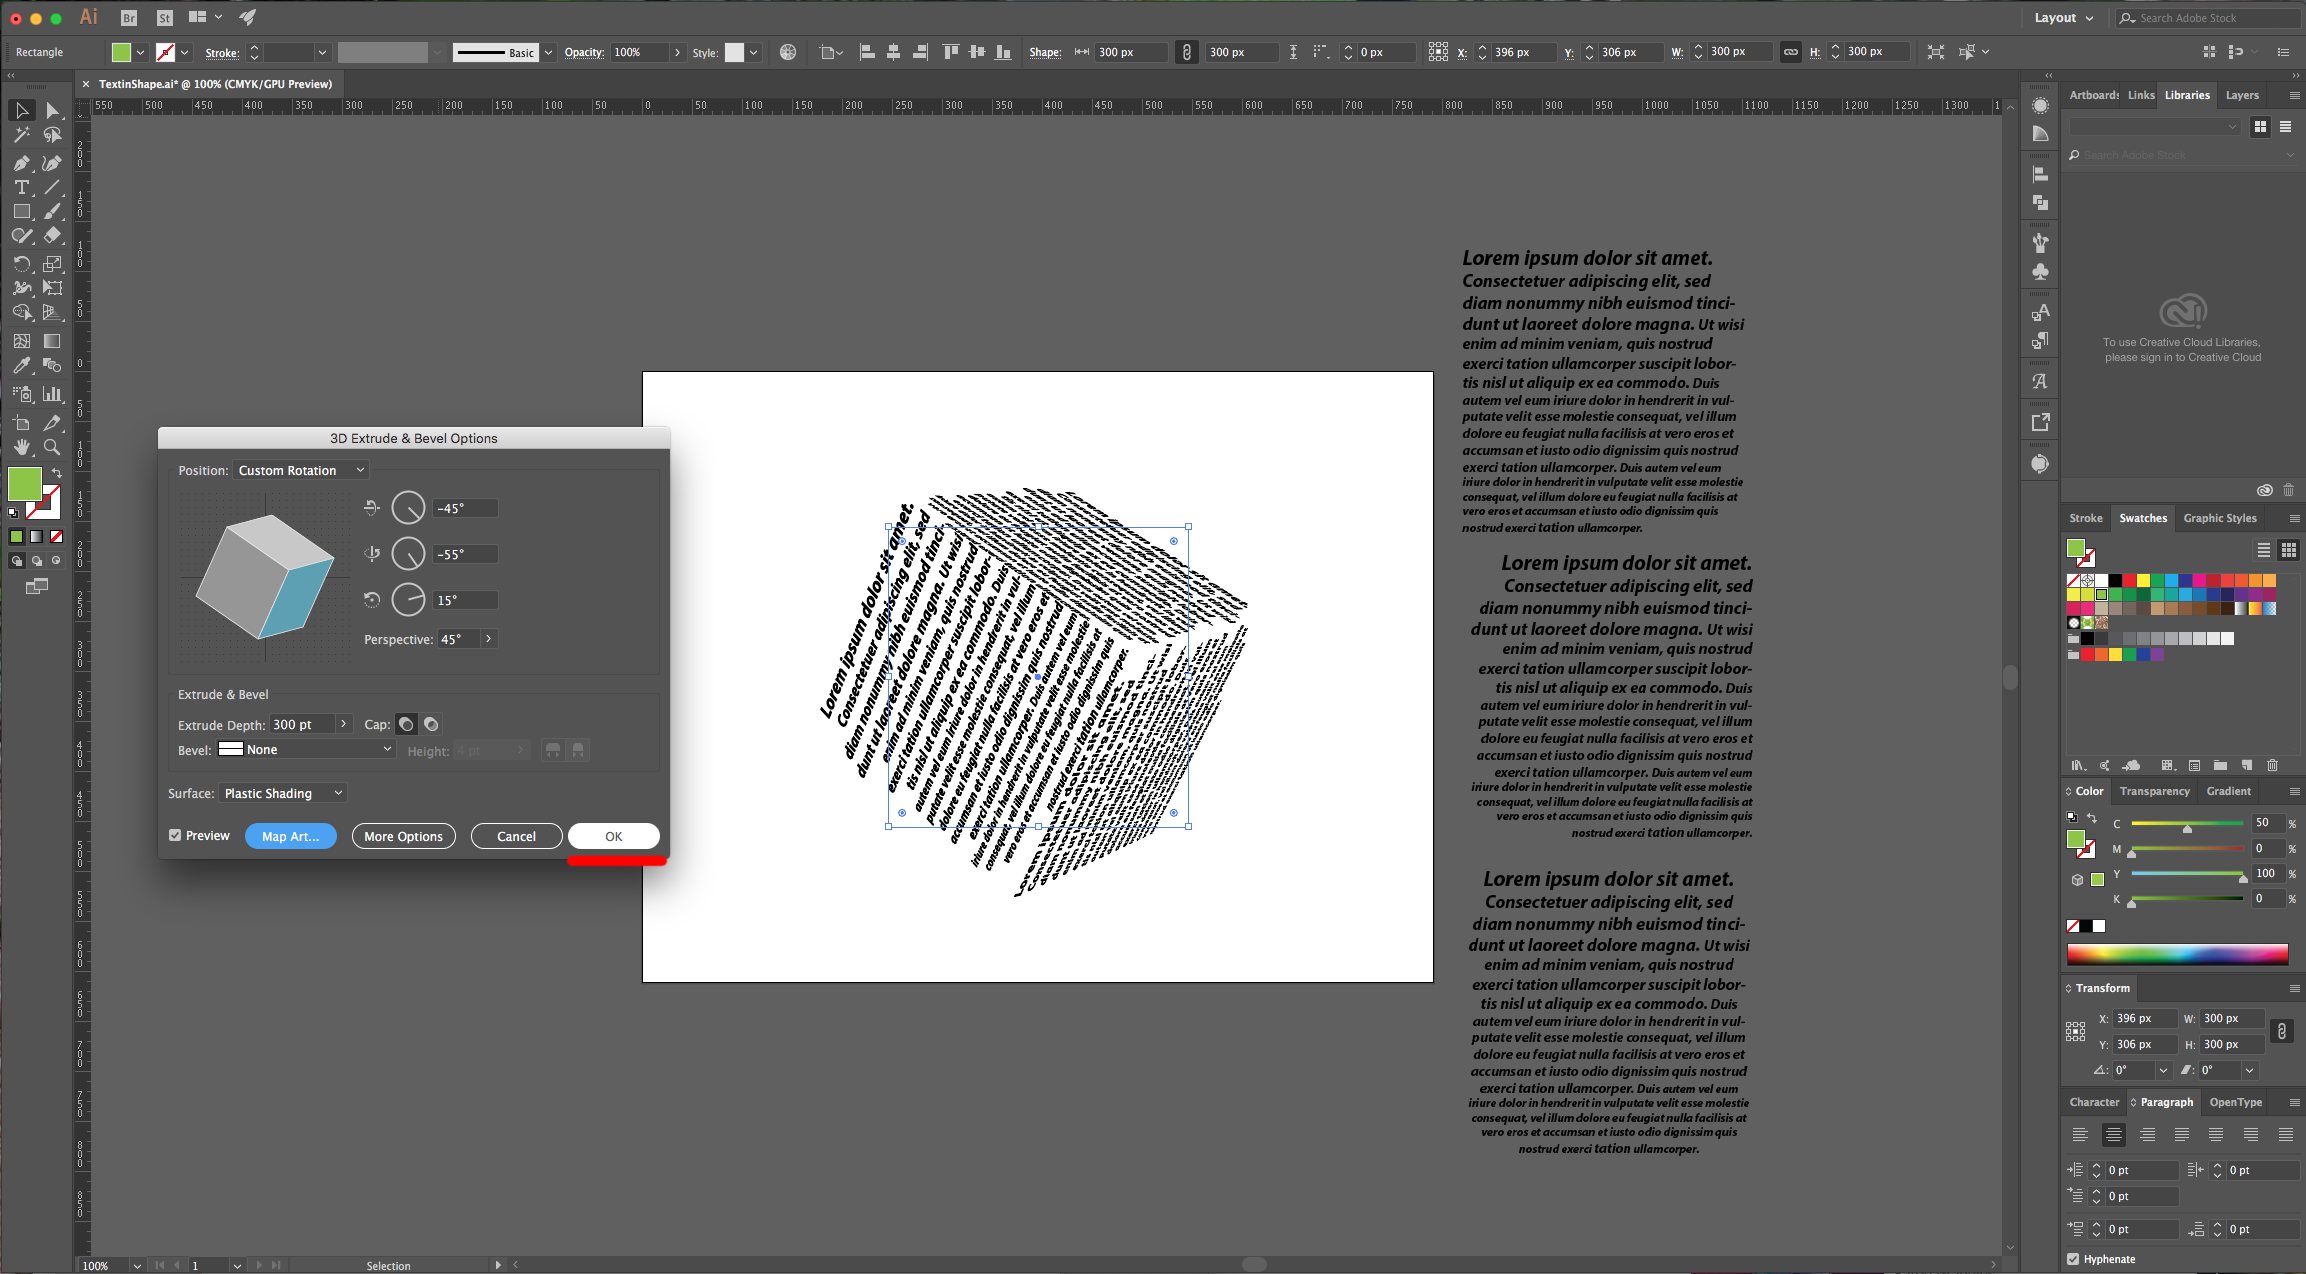
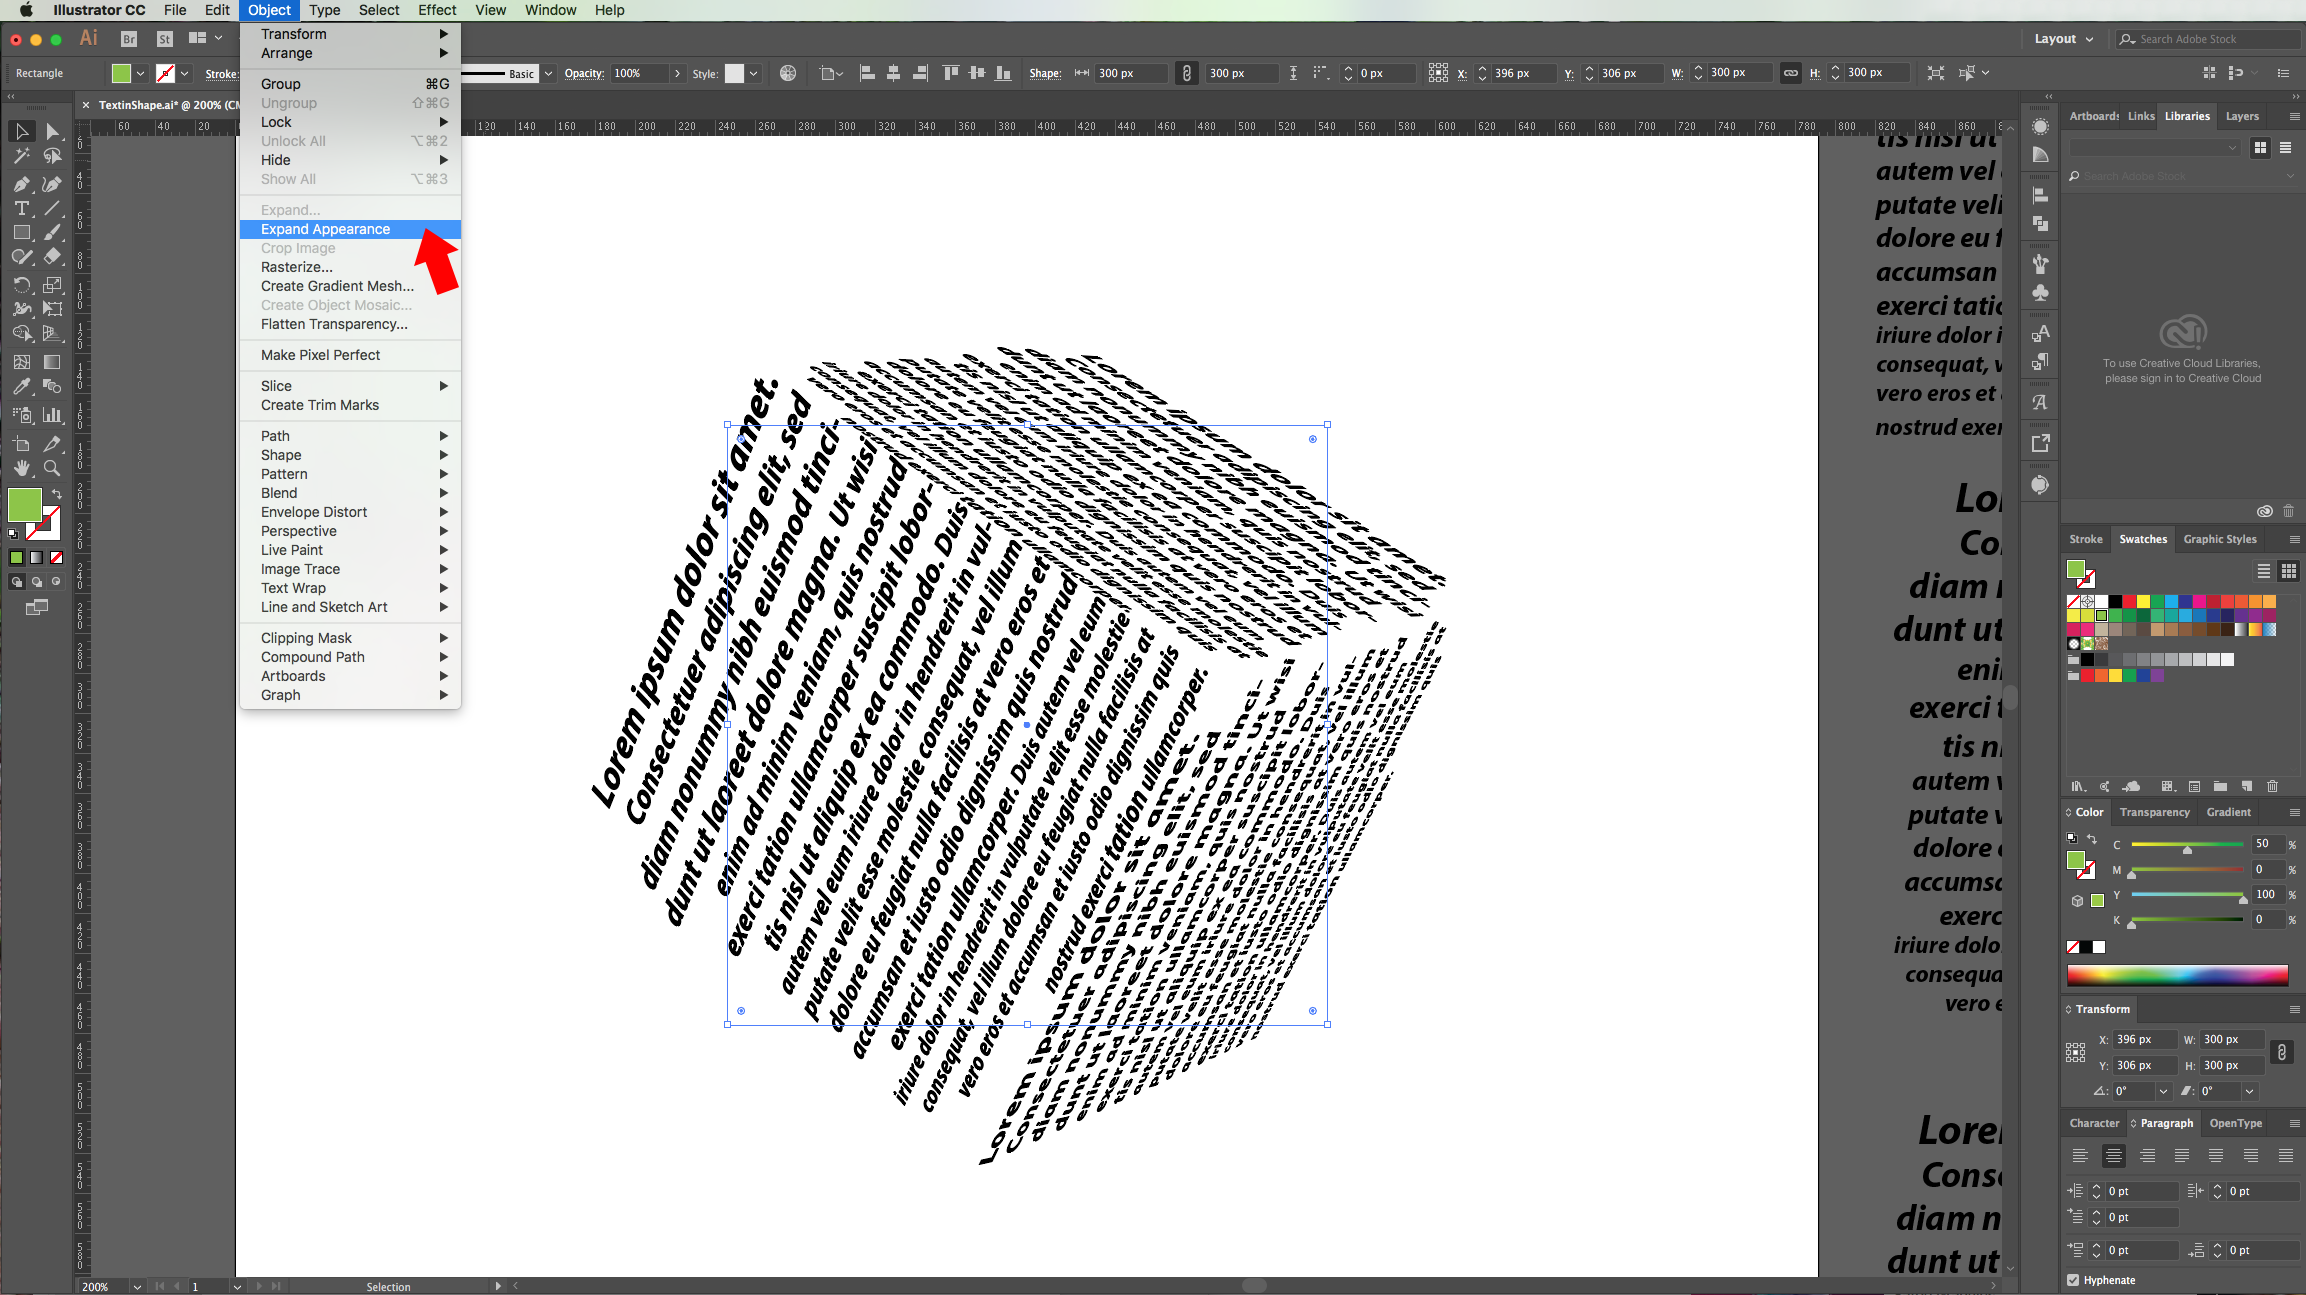
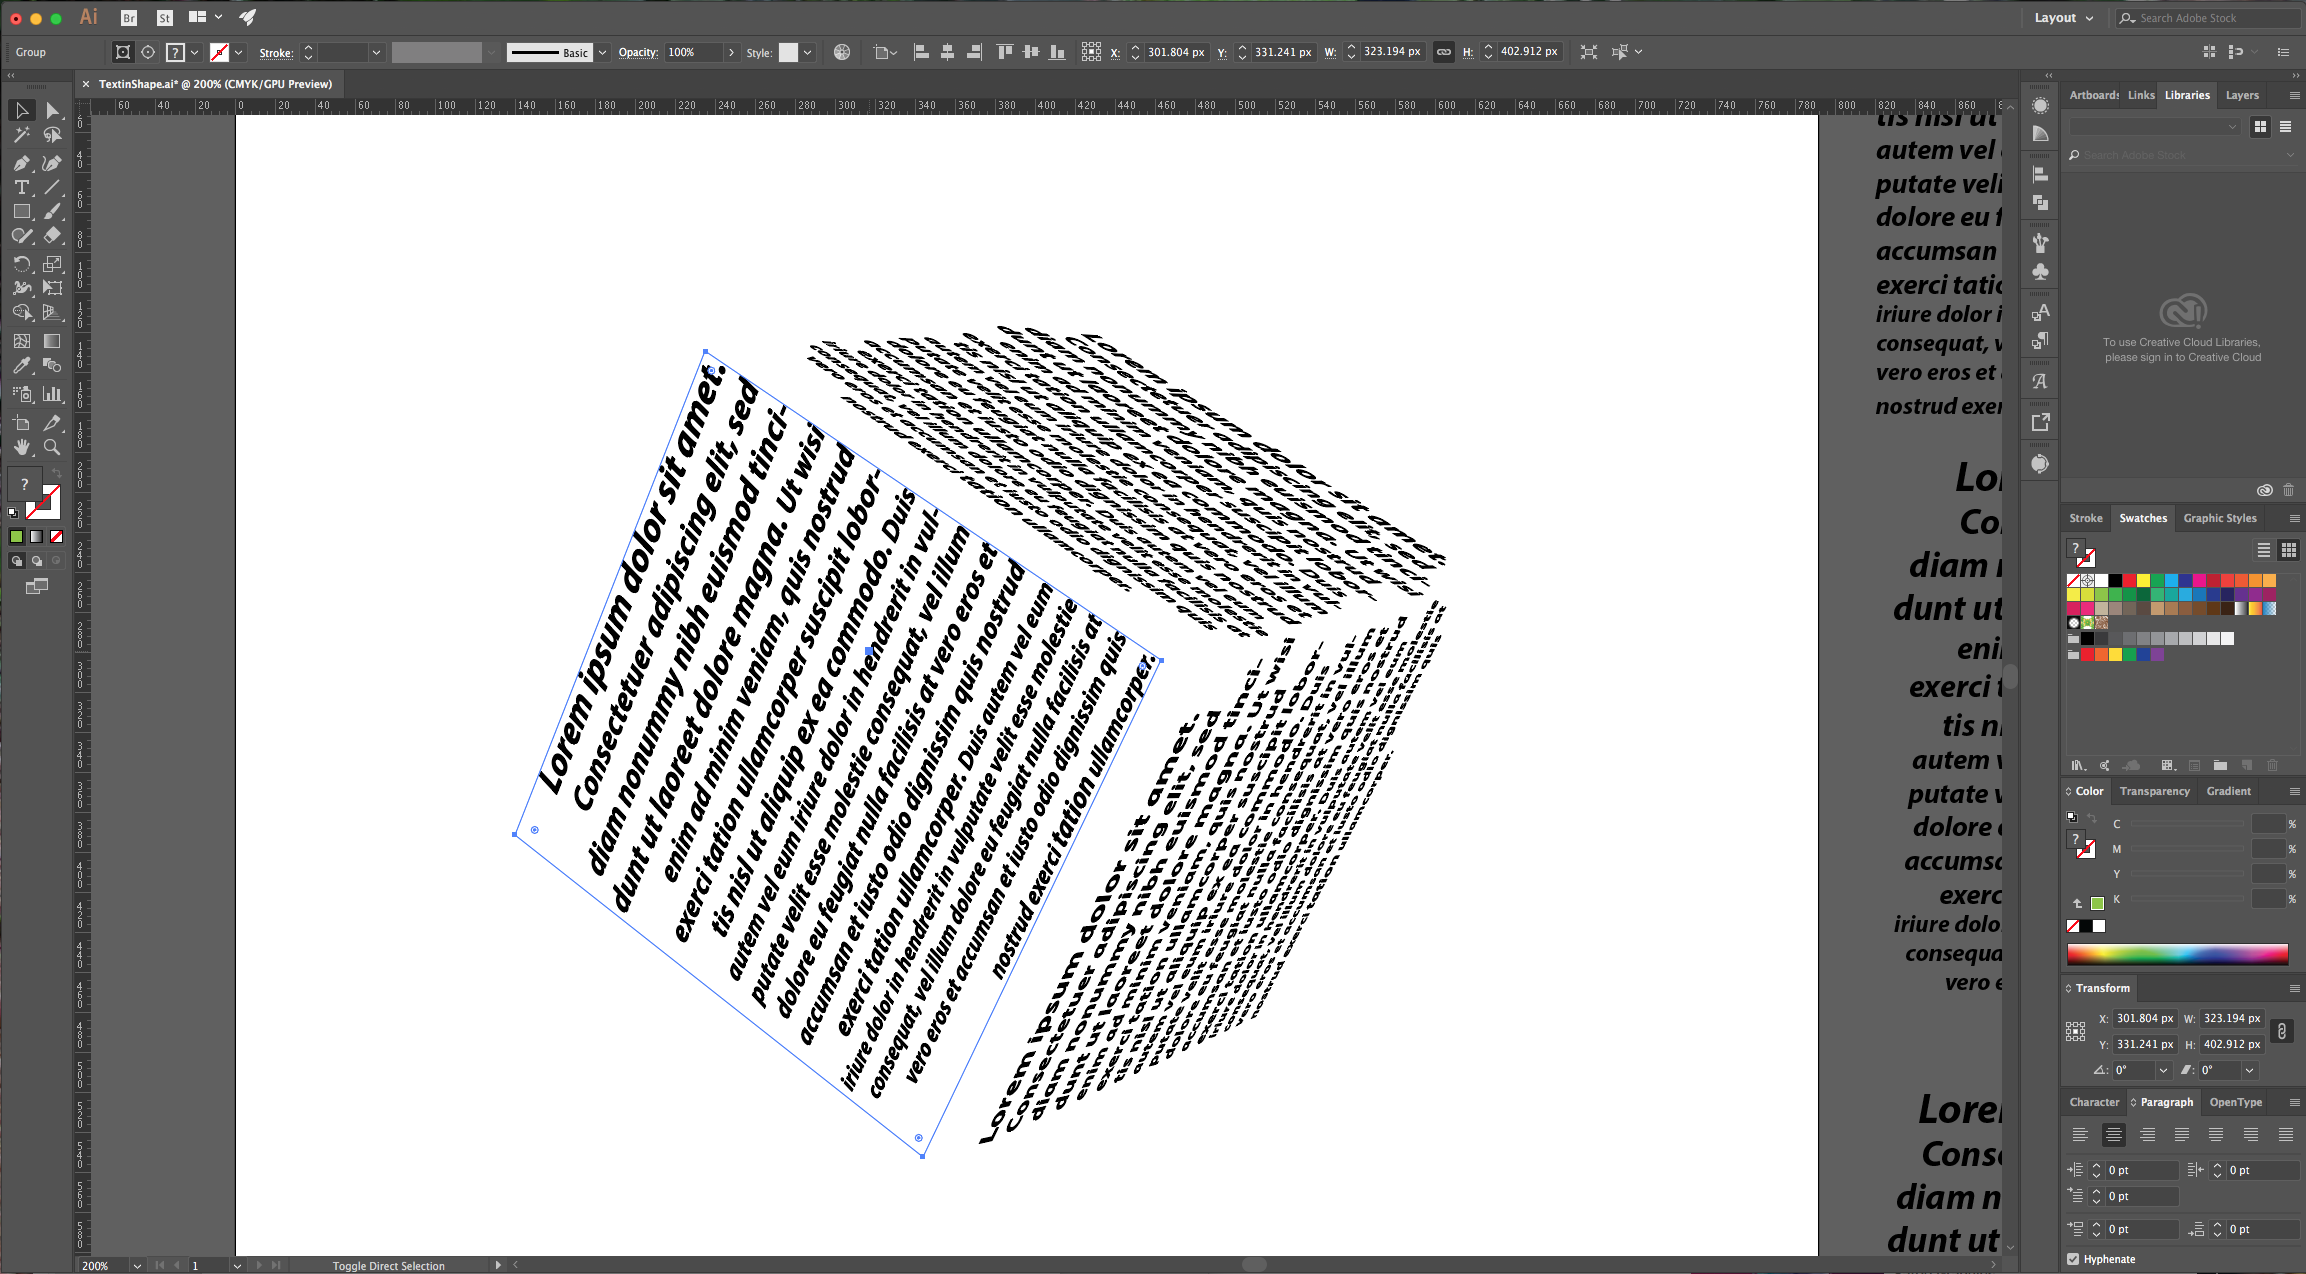
9 - If you are done with the editing you can go to Object > Expand Appearance and then “Ungroup” (Shift + Command/Control + G) your cube a couple of times.
2 - Select the “Rectangle Tool” (M), draw a square, then input a 300 Pixels “With” and “Height”. Fill it with a color of your choice and make sure it has no “Stroke”.
3 - Select the “Scale Tool” (S), and making sure your square is selected, double-click on it and in the dialog, choose “Scale Uniform” and 95%, then click “Copy” instead of “OK”. Move the new shape to the middle if needed. Turn the “Fill” color to “None”.
4 - Select the “Type Tool” (T) and click on the inner triangle shape to turn it into a “Text Box”. You should see the little square surrounding your cursor turn into a circle. Choose any font you like, (we used Myriad Pro) and change the size if you want.
5 - Drag your text-filled shape outside of your “Artboard” and duplicate it a couple of times (Command/Control + C and Command/Control + V). Change the “Alignment” of the text.
6 - Go to the “Symbols” Panel (or go to Window > Symbols), select one of your text-filled shapes and drag it into the Panel. Give the new symbol a name and click the “Dynamic Symbol” button so you can modify the symbol later. Repeat with the other two text-filled shapes. You can delete your original text now if you want.
7 - Select your shape and go to Effect > 3D > Extrude & Bevel and apply the following settings:
8 - Click the “Map Art” button and choose the “Surface” you want to select and the “Symbol” you want applied to that “Surface”. Click “Scale to Fit” and Make sure that the “Preview” box is checked so you can see if the result is the want you want. You can rotate and modify your text in the window. Once you applied text to all your sides click and “Invisible Geometry” to make the square disappear, then click “Ok”. If you are happy with the “Cube” position click “OK” or play around with the values.
9 - If you are done with the editing you can go to Object > Expand Appearance and then “Ungroup” (Shift + Command/Control + G) your cube a couple of times.
by @lornacane
Related Tutorials
Illustrator Tutorials
Wavy Text in Illustrator
Learn how to create Wavy Text in Illustrator using two Methods in this tutorial.
Illustrator Tutorials
Place Images Inside Text in Adobe Illustrator
In this Adobe Illustrator tutorial, learn how to quickly place images inside text.
Illustrator Tutorials
How to Use Text Effects in Illustrator
Learn how to use Illustrator Text Effects in 1 click!
Illustrator Tutorials
Editing Text in Adobe Illustrator
With this step by step tutorial we'll show you everything you need to know about editing text.
Illustrator Tutorials
Overlapping Text in Illustrator
Learn how to easily overlap text in this Adobe Illustrator tutorial.
Illustrator Tutorials
How to Gradient Fill Text in Adobe Illustrator
In this tutorial we will show you how to gradient fill text in Adobe Illustrator.