By Design Bundles
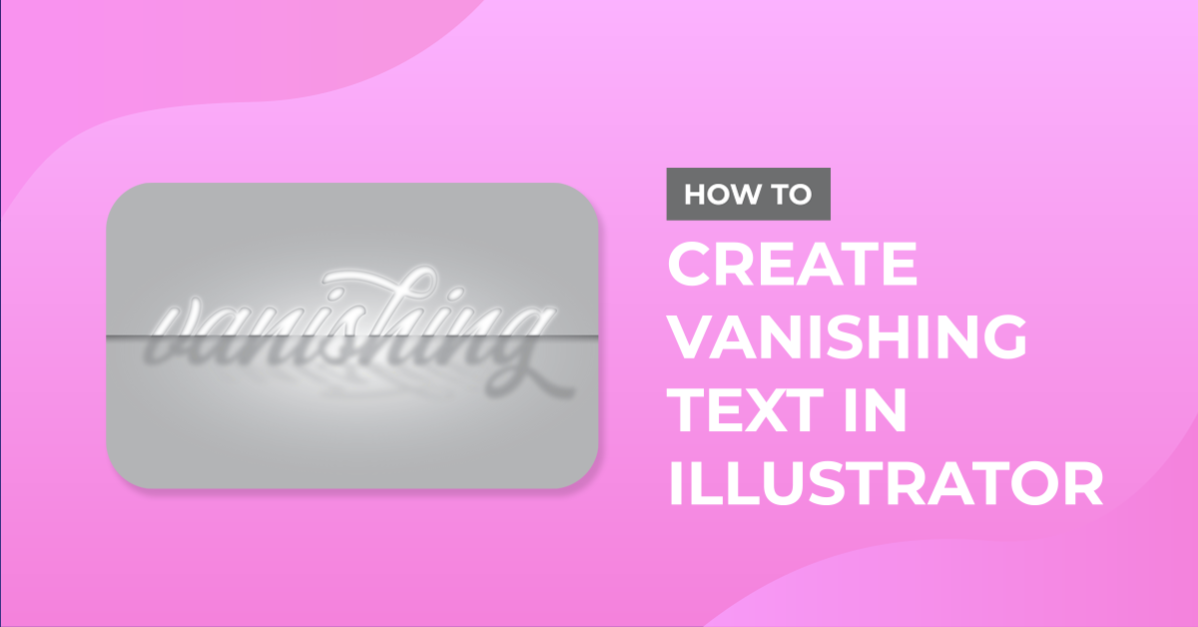
Vanishing Text in Illustrator
For this tutorial we will use the free font “Adrenaline Script”.
1 - In Illustrator, create a “New Document”.

2 - Go to Illustrator > Preferences > Guides & Grid… and input 0.35 cm for “Gridline every…” and 1 for “Subdivisions”. Now, go to the “Units” Tab and make sure “Pixels” is chosen for all three instances (General, Stroke and Type). Click “OK”.


3 - Select the “Rectangle Tool” (M), choose White from the “Swatches Panel” and create a Rectangle that covers the entire Canvas.


4 - Change the “Fill” to a White to Transparent “Radial Gradient”, make the “Aspect Ratio” 29.5% and head to the “Transparency Panel” to change the “Blending Mode” to “Overlay” and the “Opacity” to 70%.


5 - Select the “Type Tool” (T), choose your font (we used “Adrenaline Script”) and type your text.


6 - Center it using the “Horizontal and Vertical Align Center” options on your Top Menu and make sure that “Align to Artboard” is selected. Or use the same options in the “Align Panel”.

7 - Select the text and make sure the “Fill” and “Stroke” are set to “None” in the “Swatches Panel” then, head to the “Appearance Panel”, click on the “Add New Fill” button on the Bottom-Left side of the panel and choose 60% Black from the “Swatches Window”. Make a “Copy” of your text (Command/Control + C) to keep on the “Clipboard” for future use.


8 - Go back to the “Appearance Panel” and lower the “Opacity” of the “Fill” you created before to 50%. Then, click on the “Effects Menu” on the Bottom-Left side of the panel and navigate to Blur > Gaussian Blur… and use a “Radius” of 15 pixels.


9 - Without deselecting your text, add another “Fill” (it should be on Top), use Black as fill color, change the “Blending Mode” to “Soft Light” and lower its “Opacity” to 25%. Go to the “Effects Menu”, navigate to Stylize > Feather and use a “Radius” of 20 px.


10 - Add another “Fill”, use the Medium Grey as fill color and drag it to the bottom. Change the fill to a Gray to Transparent “Linear Gradient” with a -90° Angle. Go to the “Effects Menu”, navigate to Distort & Transform > Free Transform and move the bottom “Points” to the top and the top ones to the bottom but pull them about a centimeter outside to create the idea of perspective.


11 - Back to the “Effects Menu”, navigate to Blur > Gaussian Blur and use a “Radius” of 20 pixels. In the “Appearance Panel” double-click on top of the “Free Distort” effect to modify it and pull down the Top “Points” so they rest about 1.5 cm from the bottom and the final result looks like a projected “Shadow”.


12 - Select the “Rectangle Tool” (M), choose White from the “Swatches Panel” and create a Rectangle that covers the entire lower half of the Canvas including half of your text. This Rectangle may be bigger in “Height” than the upper portion of the canvas.


13 - Select both the “Rectangle” and the “Text”, head to the “Transparency Panel” andclick the “Make Mask” button.


14 - “Paste in Front” (Command/Control + F) the copied text you had in your “Clipboard”. Leave the Grey Fill color.


15 - Create another White “Rectangle” buy this time cover the upper portion of the “Canvas” and make its bottom part coincide with the top of the one you made before. You can mark the spot with a “Gide” if you want.


16 - Select both the “Rectangle” and the “Text”, head to the “Transparency Panel” andclick the “Make Mask” button.


17 - Select the “Background” Gradient and change the colors to White (#ffffff, 100% Opacity) for the first one and Grey (60% K, 60% Opacity) for the second one and change the “Aspect Ratio” to 49.7%.


18 - “Paste in Front” (Command/Control + F) the copied text you had in your “Clipboard” again. Change the Fill color to White, then, click on the “Effects Menu” on the Bottom-Left side of the panel and navigate to Blur > Gaussian Blur… and use a “Radius” of 15 pixels.


19 - Select the “Rectangle Tool” (M), choose White from the “Swatches Panel” and create another Rectangle that covers the entire upper half of the Canvas. Select both the “Rectangle” and the “Text”, head to the “Transparency Panel” andclick the “Make Mask” button.


20 - Select the “Rectangle Tool” (M) again, but this time create a Rectangle that covers the entire “Width” of the canvas but is only 1.5 pixels in “Height”, fill it with Black and make it start where the other bottom rectangle starts. Go to the “Transparency Panel”, change the “Blending Mode” to “Soft Light” and lower its “Opacity” to 50%.


21 - “Paste in Front” (Command/Control + F) the copied text you had in your “Clipboard” one more time. Change the Fill color to White. Select both the small “Rectangle” and the “Text”, head to the “Transparency Panel” andclick the “Make Mask” button.


22 - Go back to the “Appearance Panel” and click on the “Effects Menu” on the Bottom-Left side of the panel and navigate to Blur > Gaussian Blur… and use a “Radius” of 5 pixels.


23 - Create another Rectangle similar to the last one but make its “Height” 15 px and fill it with a Black to Transparent “Linear Gradient” with a -90° Angle and a “Midpoint” of 38.39%. Head to the “Transparency Panel” to change the “Blending Mode” to “Color Dodge” and the “Opacity” to 80%.


24 - Your Text should be similar to this.

by @lornacane