By Design Bundles
How to Create and Save Color Palettes in Inkscape
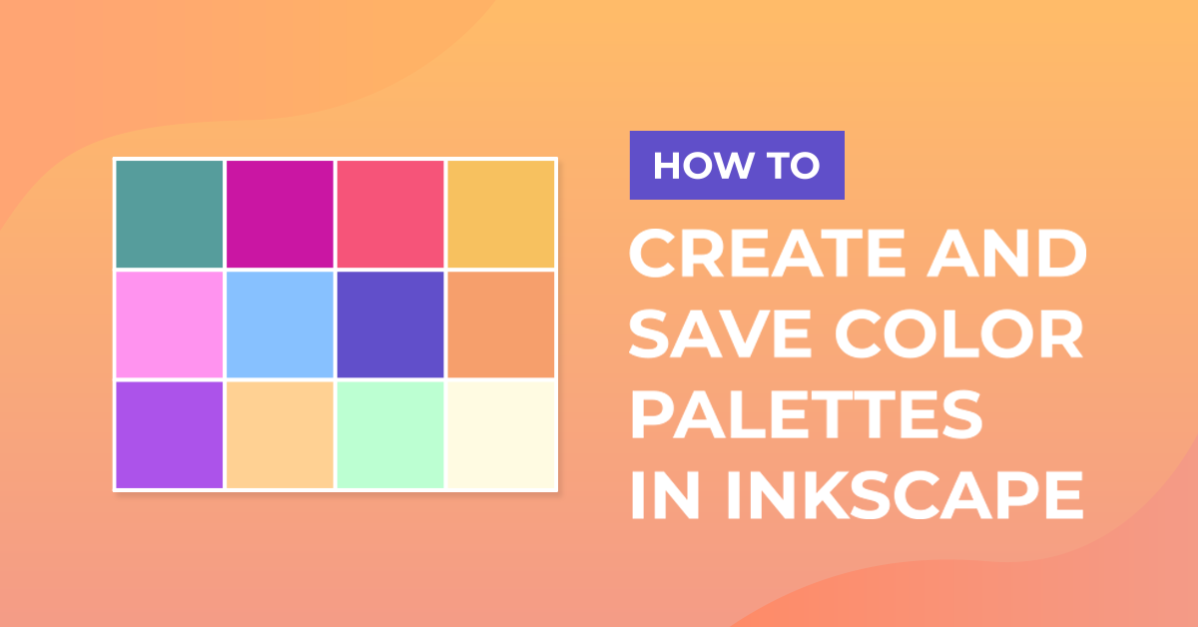
Inkscape comes preloaded with quite a few color palettes. You can also make and save your own custom color palette. Custom palettes can be created from images or designs and are great for color reference. We will show you how to create and save color palettes using an image.
In this tutorial we will be using a breakfast stock photo to create our color palette. However, you can use any food stock photo from Design Bundles.
Inkscape saves palettes as Gimp Palette or .gpl files. Unfortunately you can't install palettes created for Procreate or other editing software. However, if the product contains a resource file or JPG/PNG file then you can create a palette from that.
Start by opening Inkscape and choosing New Document.
Step 1 - Setup the color palette
The color palette is found at the bottom of the screen. To the right of the palette is an arrow that when clicked brings up the Palette Menu. The palette Inkscape Default is usually selected but you can choose from a host of palettes.
We will use Create rectangles and squares to make up our palette. Select the tool and click + drag out a square that is 1 inch by 1 inch. The width and height can be adjusted at the top. On the right hand side click on Enable Snapping to help align the squares.
Right click the square and select Duplicate. Move the duplicate to the right of the square until it snaps into place. Duplicate the squares until you have four rows across and four rows down. You can choose to add more or less according to how many colors you want.

Drag and drop the reference image into the document area. When using this method the Import menu will appear. Leave the settings as is and click Ok. Click a square then click on Pick colors from image on the left side. Place your mouse over a color on the image and click to select. The square will be filled with the color.
Repeat and choose your colors for the custom palette. When done delete the reference image before going on to the next step.

Step 2 - Save your custom color palette
With the palette set up there are a few more steps to take before adding it to the Palette Menu. Click on File and select Document Properties. Next, click Page at the top and under Custom Size click on the arrow next to Resize page to content. Select Resize page to drawing or selection.

The page will fit around the size of palette. Save this selection by clicking on File and Save As. Give the palette a name and under Save as Type select GIMP Palette (*.gpl).

Step 3 - Add new palette to the Palette Folder
Unlike other programs, new palettes need to be moved into the Palette Folder of Inkscape. First, close down Inkscape by clicking File, Close and choose Close without saving. We have already saved the palette so we don't need to keep the Square design.
Locate where the Inkscape folder is stored on your system. This would usually be found under Program Files. Click on the Inkscape folder, then on the Share folder.

In the Share folder is another Inkscape folder, click on this then scroll down and select the Palettes folder. This folder is where all the palettes we saw under the Palette menu are stored. Drag and drop your custom palette into this folder. Close the folder and open Inkscape again.

Go down to the bottom Color Palette and click on the arrow far right. With the Palette menu open, click on your custom palette name. Our palette name is Healthy Breakfast. It will then be loaded in the Color Palette.

The Color palette selection can be changed back to the Inkscape Default at any time. Just click the arrow to access the Palette Menu and click on the palette you want. To delete a palette you will need to go back to the Palette Folder and physically delete it from there.
If you enjoyed this tutorial you may also enjoy our tutorials on making an SVG file, creating a gradient, and making a heart shaped mandala in Inkscape.