By Saqib Ahmad
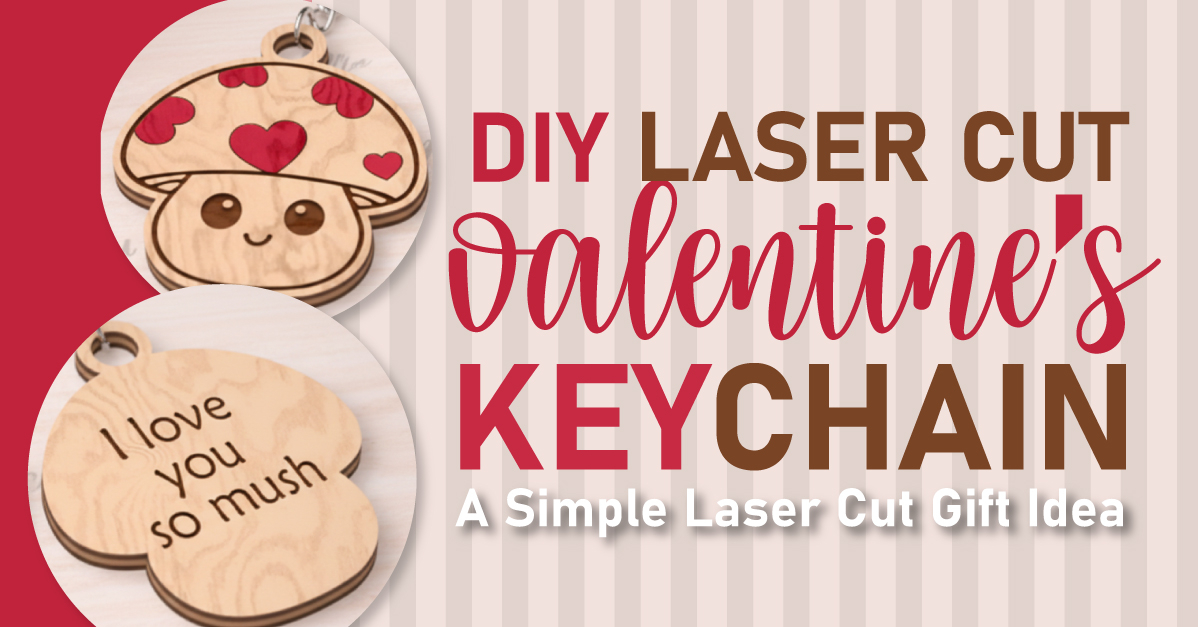
DIY Valentines Keychain: A Simple Laser Cut Gift Idea
Valentine’s projects are always a favorite, and today we’re creating an adorable Valentine’s-themed keychain that’s perfect for gifts, backpacks, or even small handmade shop items. This project is beginner-friendly, versatile, and works with a wide range of cutting machines - making it ideal whether you’re new to laser cutting or just looking for a quick, fun craft.
In this tutorial, we’ll walk step by step through the entire process, from downloading the file to cutting, assembling, and finishing your keychain.
Why This Project Works for Everyone?
One of the best things about this Valentine’s keychain design is its flexibility. While it’s perfect for laser cutting, you don’t need a laser cutter to make it.
You can complete this project using:
- A laser cutting machine
- A heavy-duty cutting machine (like Cricut Maker) with chipboard
- Paper, vinyl, felt, or other cuttable materials
As long as your machine supports common vector file formats, this project is accessible to you.
Downloading the Design File
The keychain design used in this project is available through the Design Bundles Plus Library.
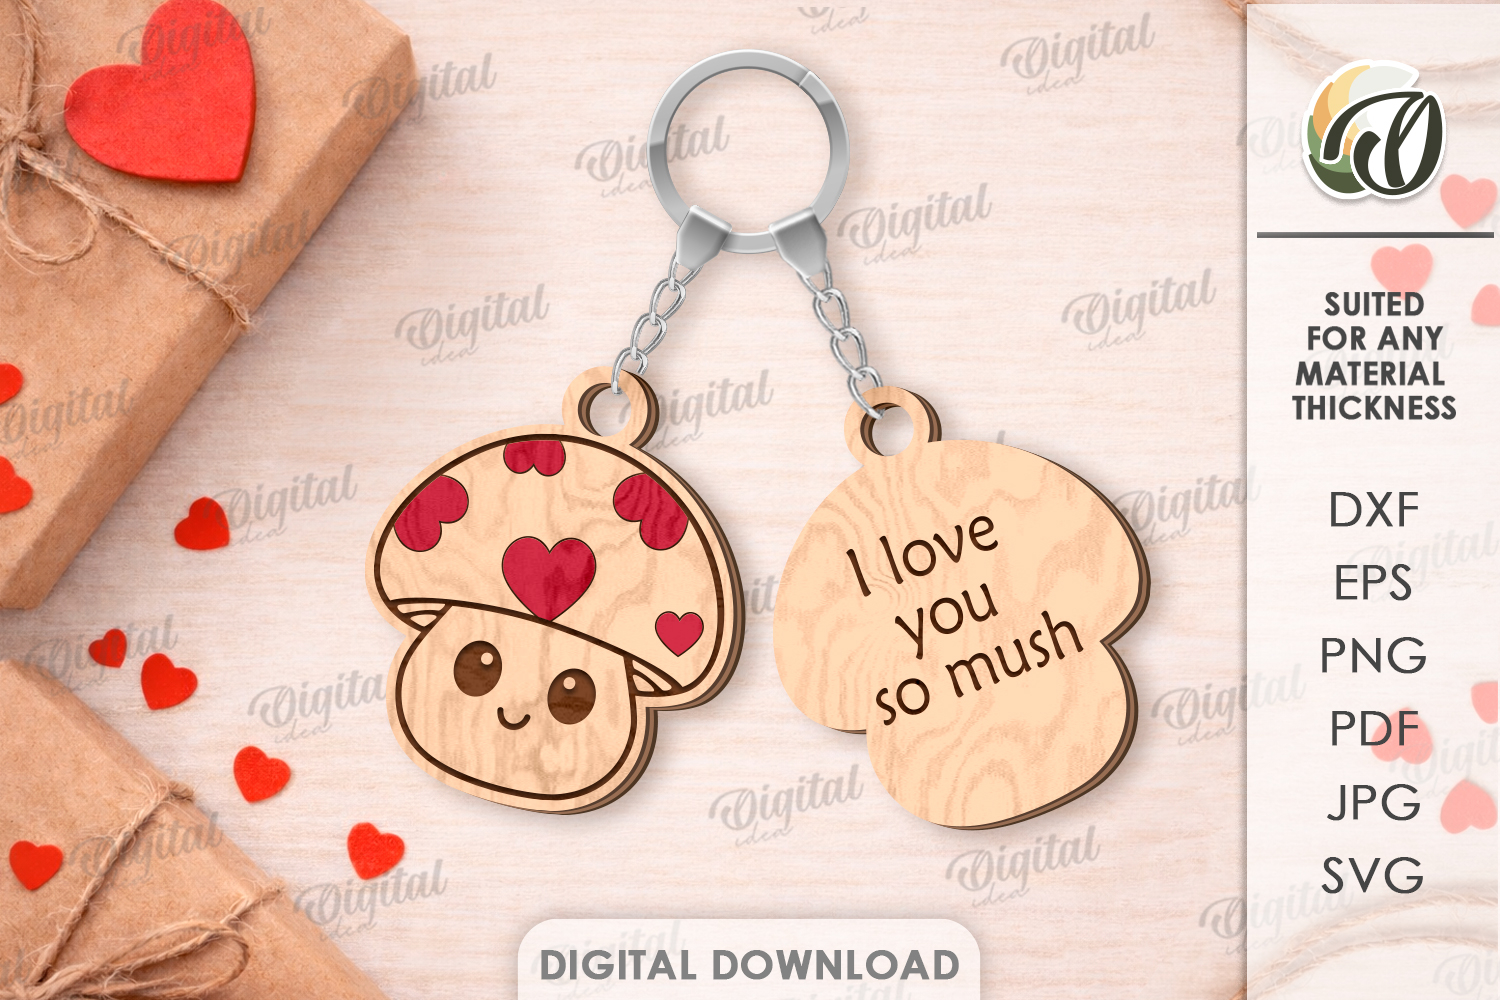
Here is the Link to Dwonload the File:
You will need a plus membership for this File. You can explore our 3 Different Membership Tiers from:
https://designbundles.net/plus-choose
File Formats Included
This design comes with multiple file types, making it compatible with most machines:
- SVG
- DXF
- EPS
- PNG
- JPEG
For this tutorial, we’ll use the SVG file, which is ideal for laser cutting and vector-based workflows.
Once downloaded, the file will arrive as a ZIP folder. Simply double-click the ZIP file to extract it before importing it into your software.
Materials Needed
Before we start cutting, gather the following supplies:
- Wood sheet (approximately 1/8 inch thick plywood)
- Keychain hardware (lobster claw clasp with jump ring)
- Paint pen or acrylic marker (red works perfectly for Valentine accents)
Tip: If your wood comes with protective masking on both sides, you may want to remove it beforehand. While masking can reduce burn marks, it can also make cleanup and peeling more difficult on small detailed cuts.
Setting Up the File in Your Laser Software
Open your laser software and create a new project
- Make sure your laser machine is connected
- Place your wood sheet inside the machine and close the lid (We are using Wecreate Lasercut Machine)
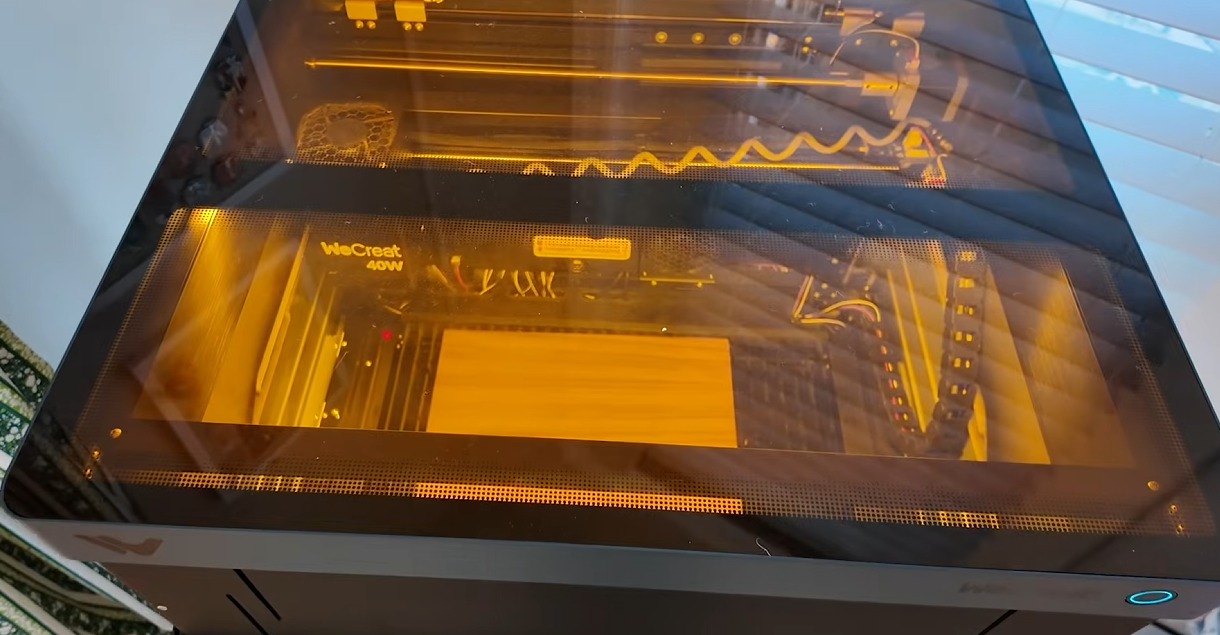
- Refresh the camera or workspace view so the material appears correctly
- Once your workspace is visible, drag and drop the SVG file into the project area.
- Positioning and Material Settings
- Save Your Wood
To minimize waste, move the design to one corner of the material instead of centering it.
Assign Cut and Engrave Lines
Carefully check each line in the design:
Red lines → Cut
Blue lines → Engrave
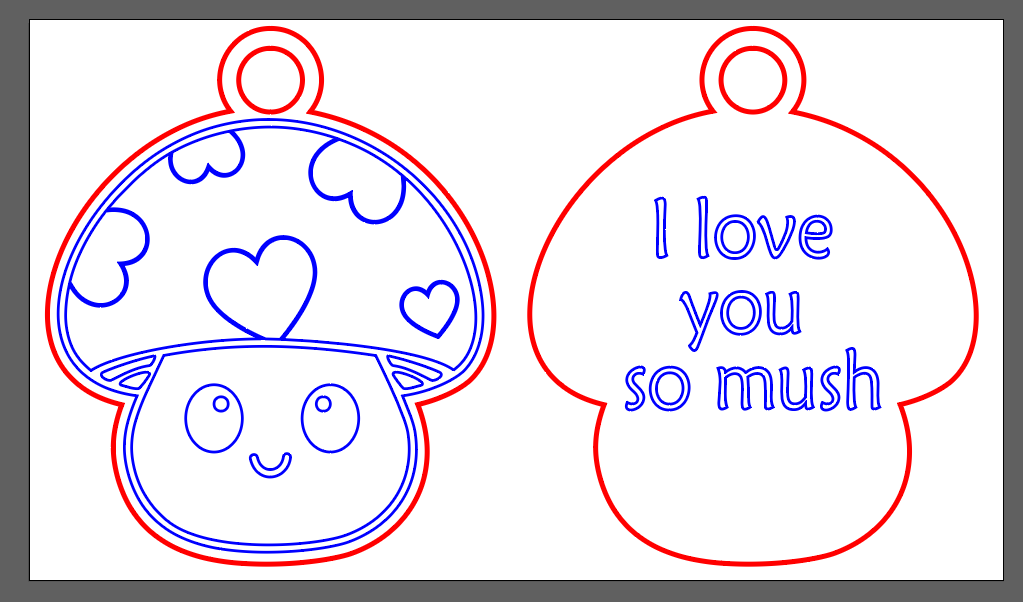
This step is crucial. Accidentally engraving everything instead of cutting is one of the most common beginner mistakes.
Material Thickness
If your wood is roughly 1/8 inch thick, set the thickness slightly higher in your software to ensure a clean cut.
Many laser programs allow you to preview engraving and cutting results based on speed and power. Use this feature to confirm your settings visually before starting.
Cutting the Design
Autofocus your laser (this is essential for clean cuts)
- Ensure proper ventilation is in place
- Start the job
- The machine will typically engrave first and cut second. This entire project takes only a few minutes to complete.
- Once finished, allow smoke to clear before opening the lid.
Cleaning the Wood
After removing the wood from the machine, you may notice light soot or ghosting around engraved areas.
A simple trick:
Use a baby wipe or soft cloth to gently wipe the surface
This instantly cleans the wood and makes engraved details stand out more clearly.
Assembling the Keychain
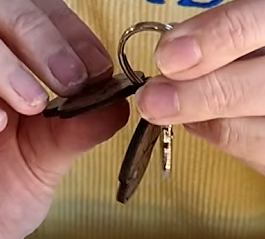
1- Attach the wooden pieces to the jump ring
2- Connect the jump ring to the lobster claw clasp
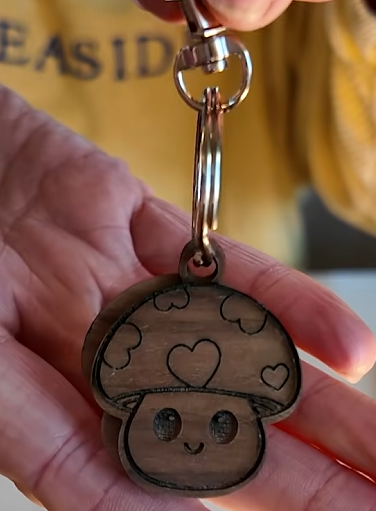
3- Be gentle - thin wood can snap if bent too aggressively.
4- Adding the Final Touch: Color
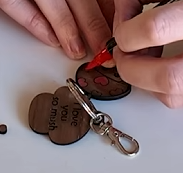
5- Using a red paint pen or acrylic marker, lightly fill in the engraved heart details.
Finished Result
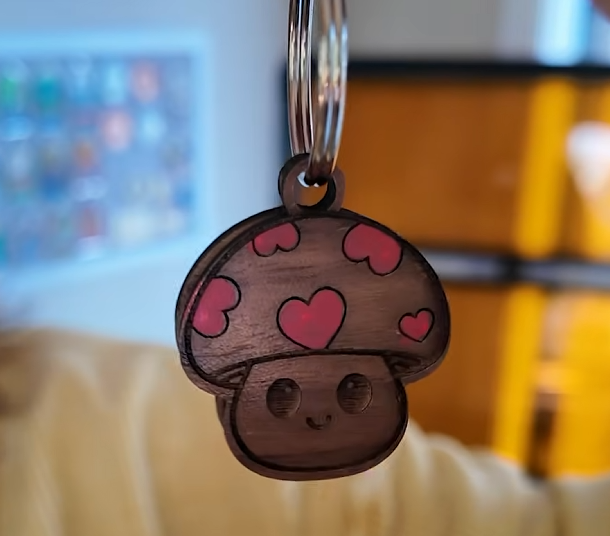
Once assembled, you’ll have a charming Valentine’s keychain that looks professional, gift-ready, and full of personality. The engraved details, layered wood, and pop of color make this design stand out despite its simplicity.
Final Thoughts
This Valentine’s keychain is an excellent beginner laser project and a great introduction to working with small wooden accessories. It’s fast, customizable, and uses a file that works across multiple machines and materials.
If you’re exploring laser cutting or want a fun seasonal project, this is a perfect place to start. Designs like this are widely available through the Design Bundles Plus Library, along with thousands of other cut-ready files.
Happy crafting - and enjoy turning simple designs into something truly special 💖