By Design Bundles
Photoshop Tutorials8 min
Candy Text in Photoshop
For this tutorial, we are using “Bukhari Script” from Fontbundles.net (https://fontbundles.net/mikrojihad/33277-bukhari-script).
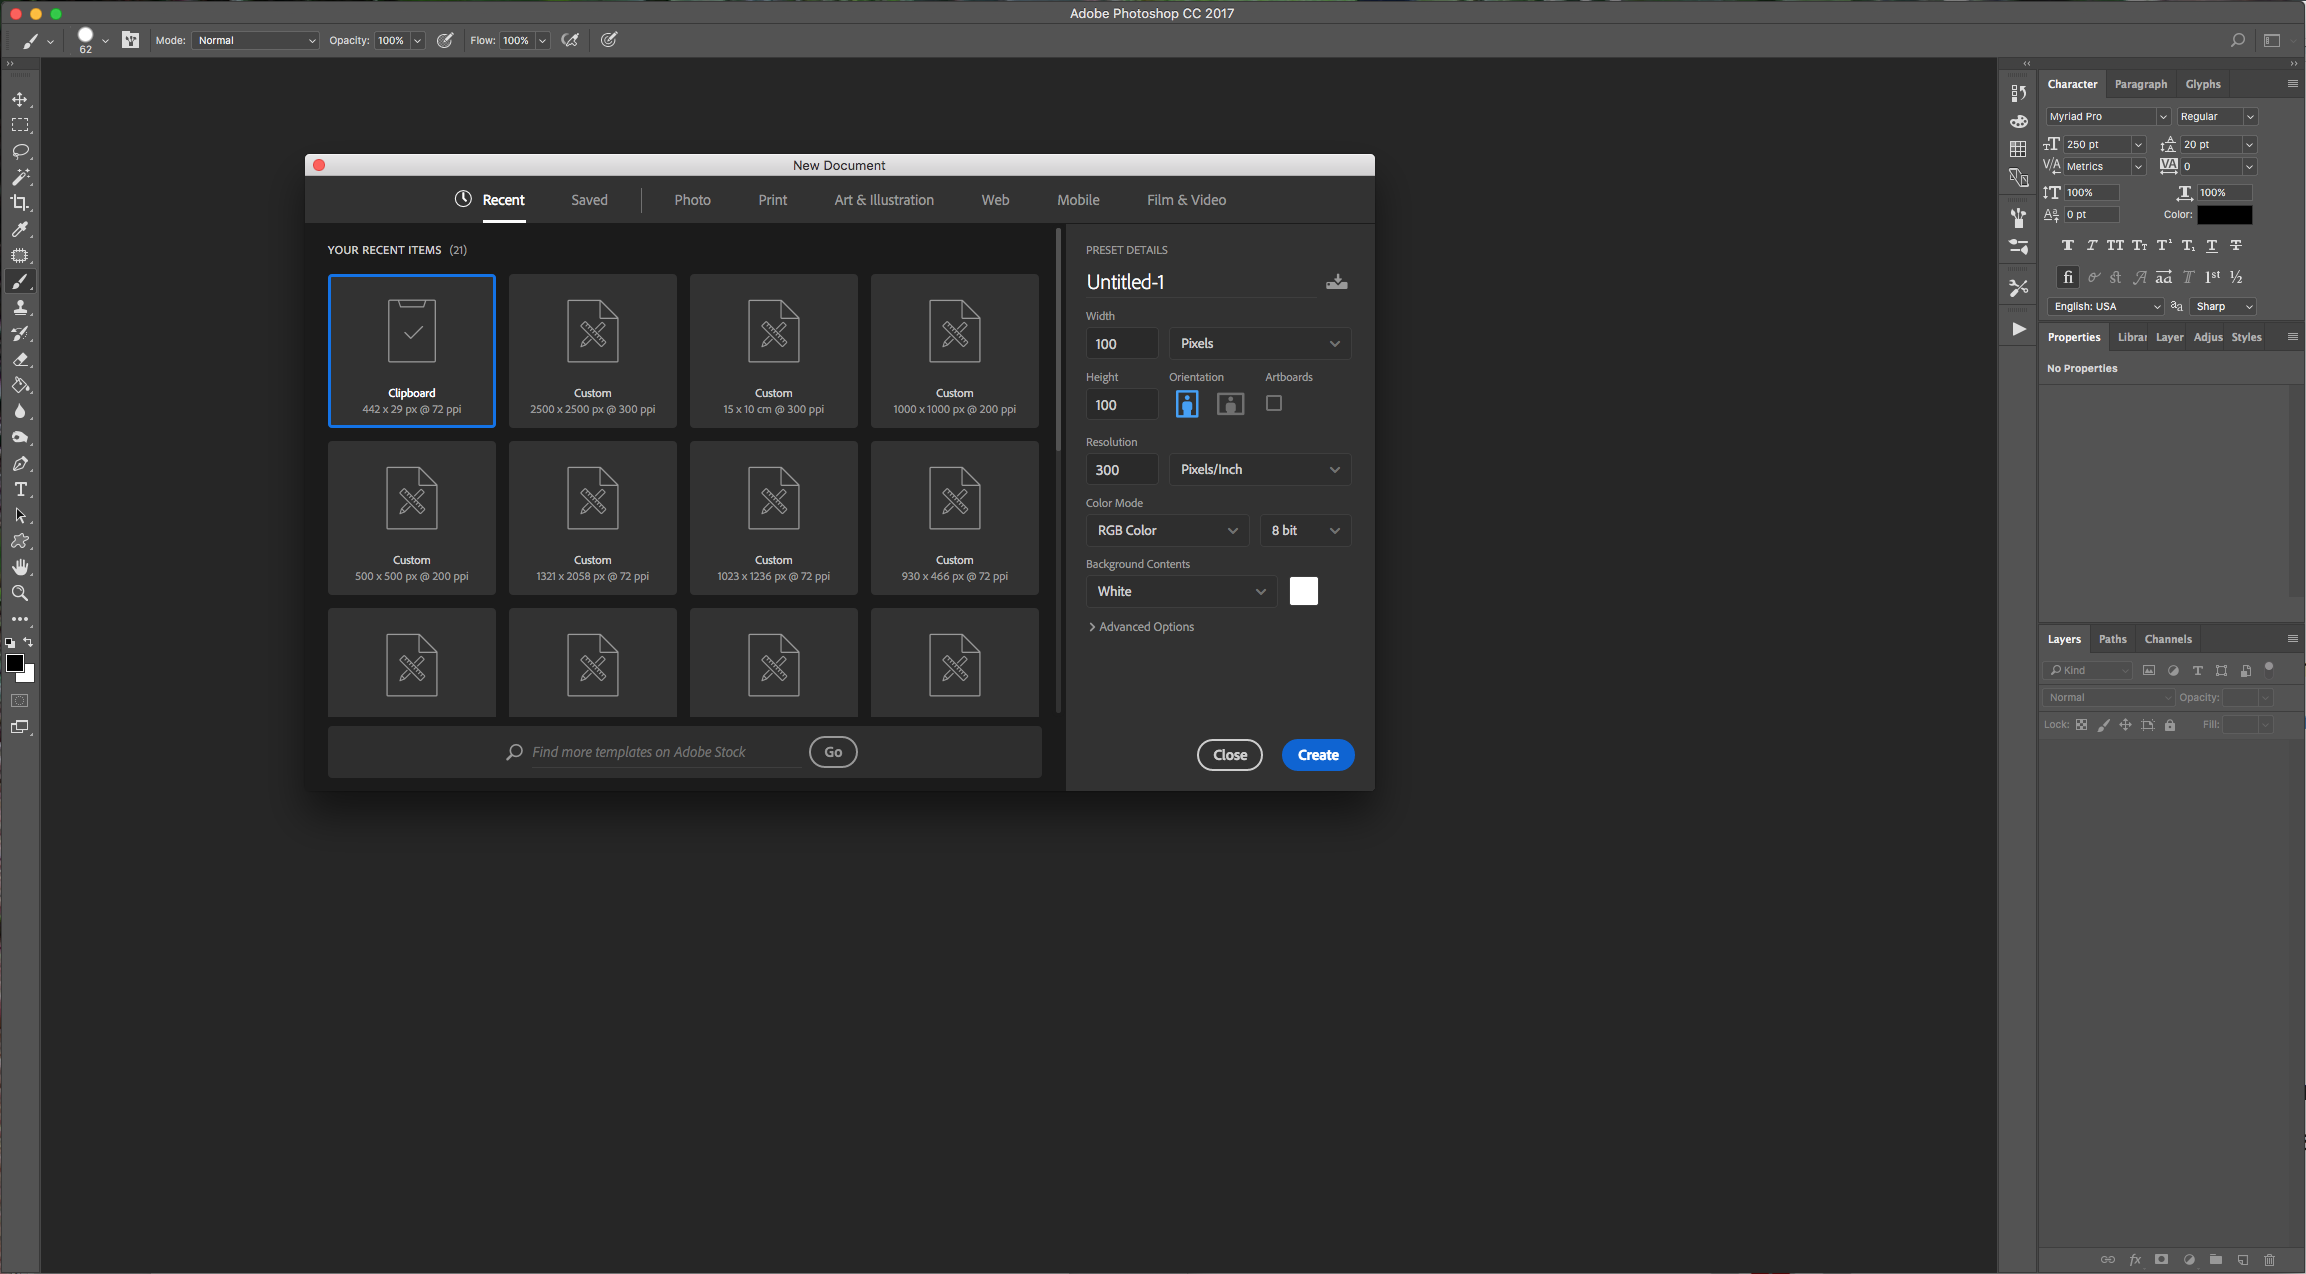
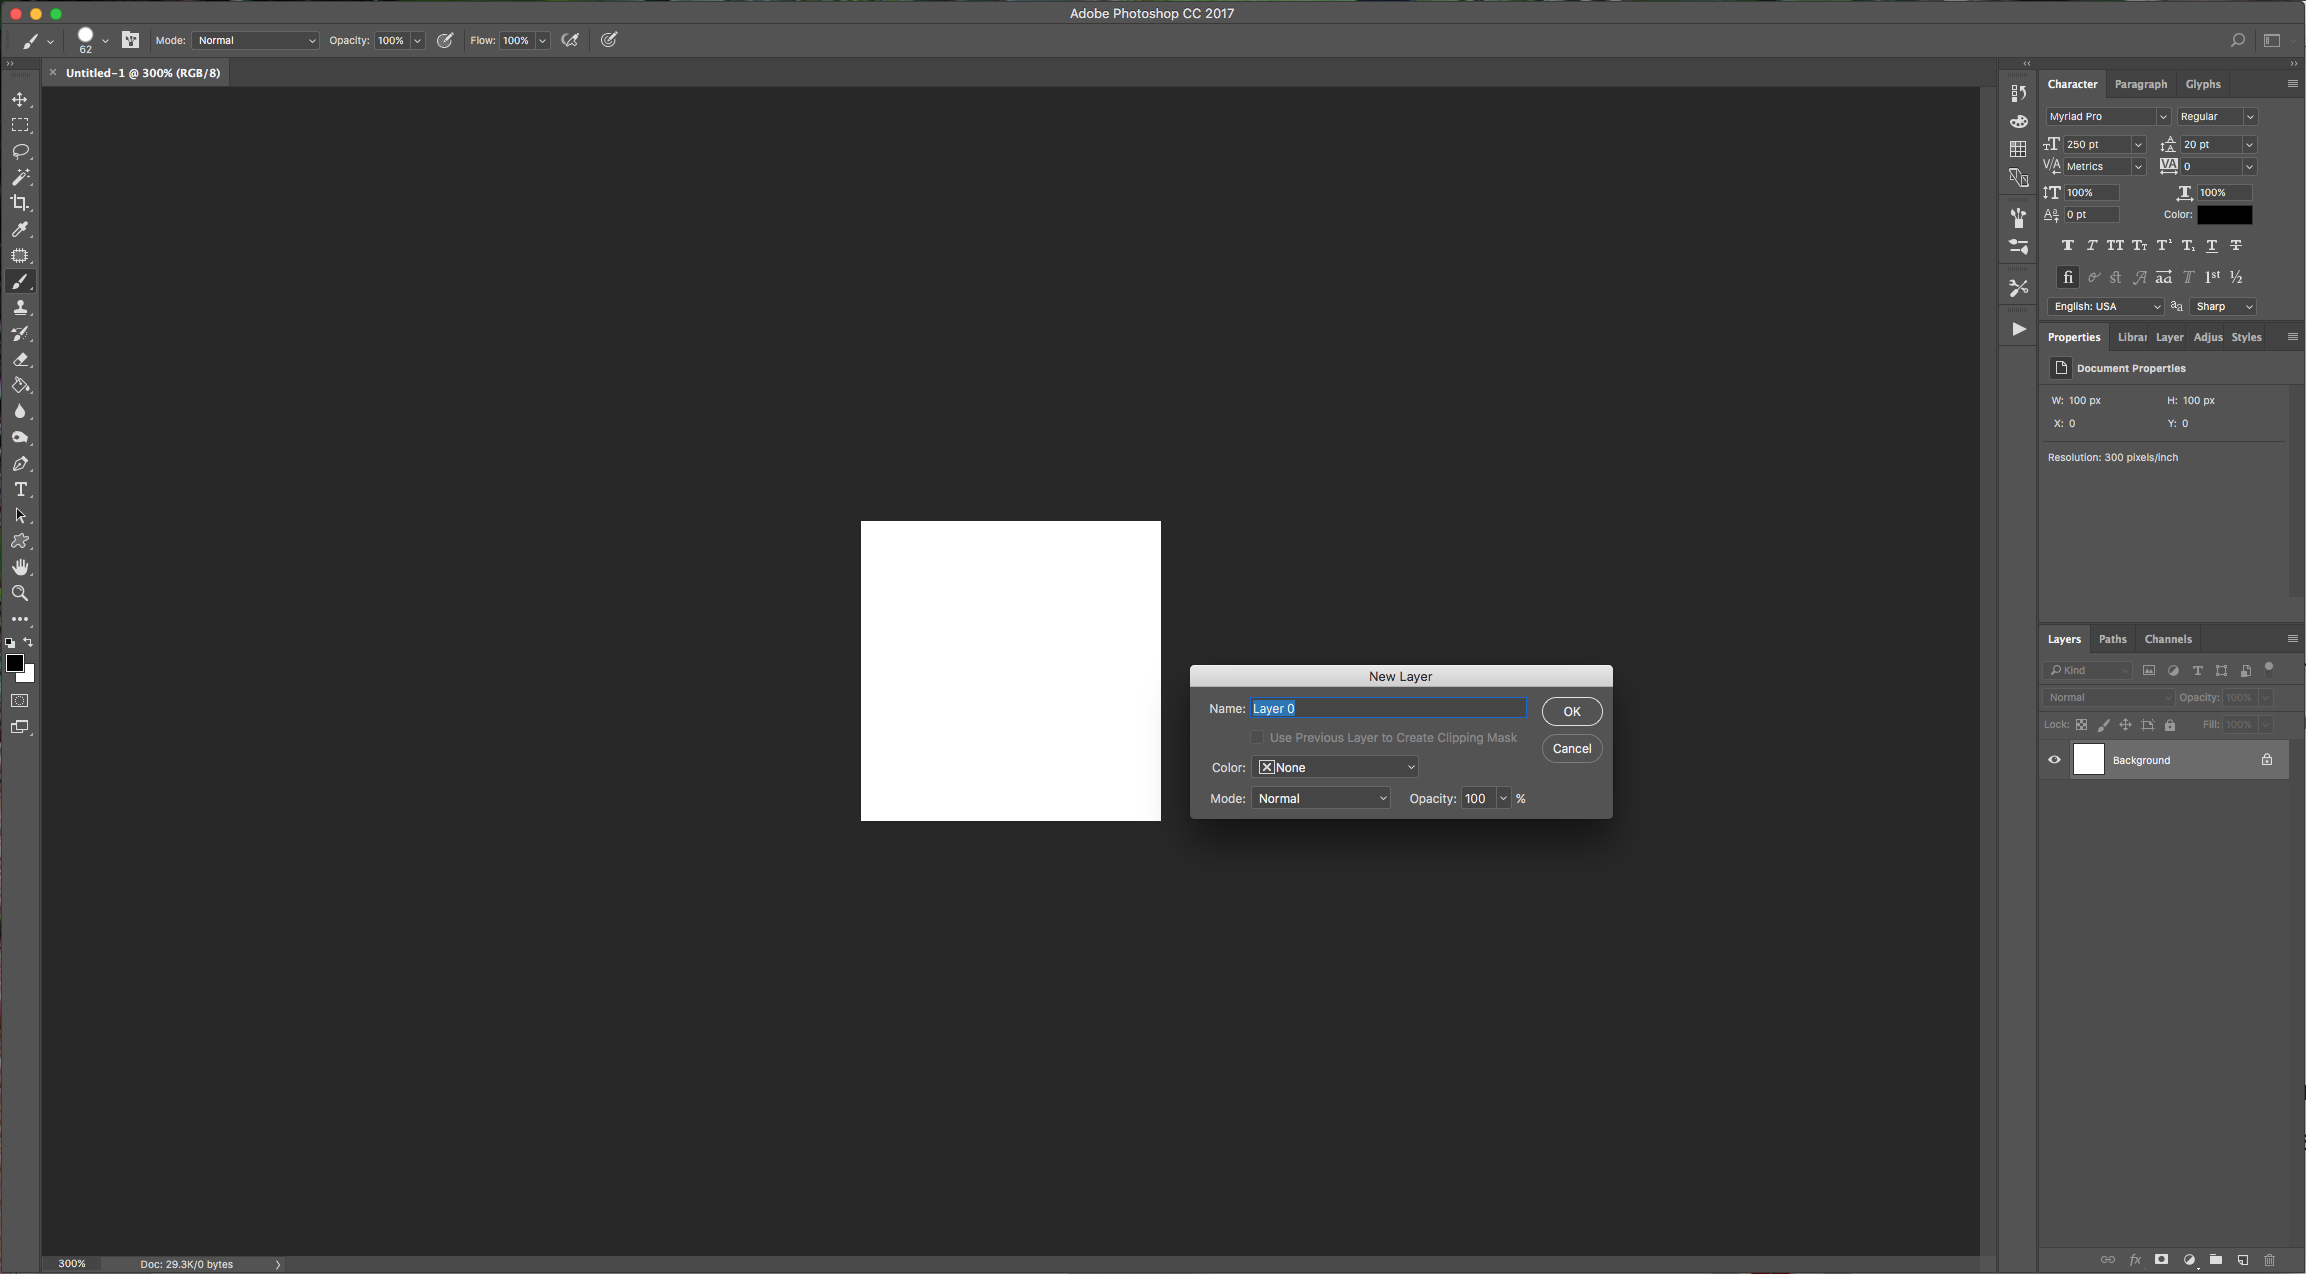
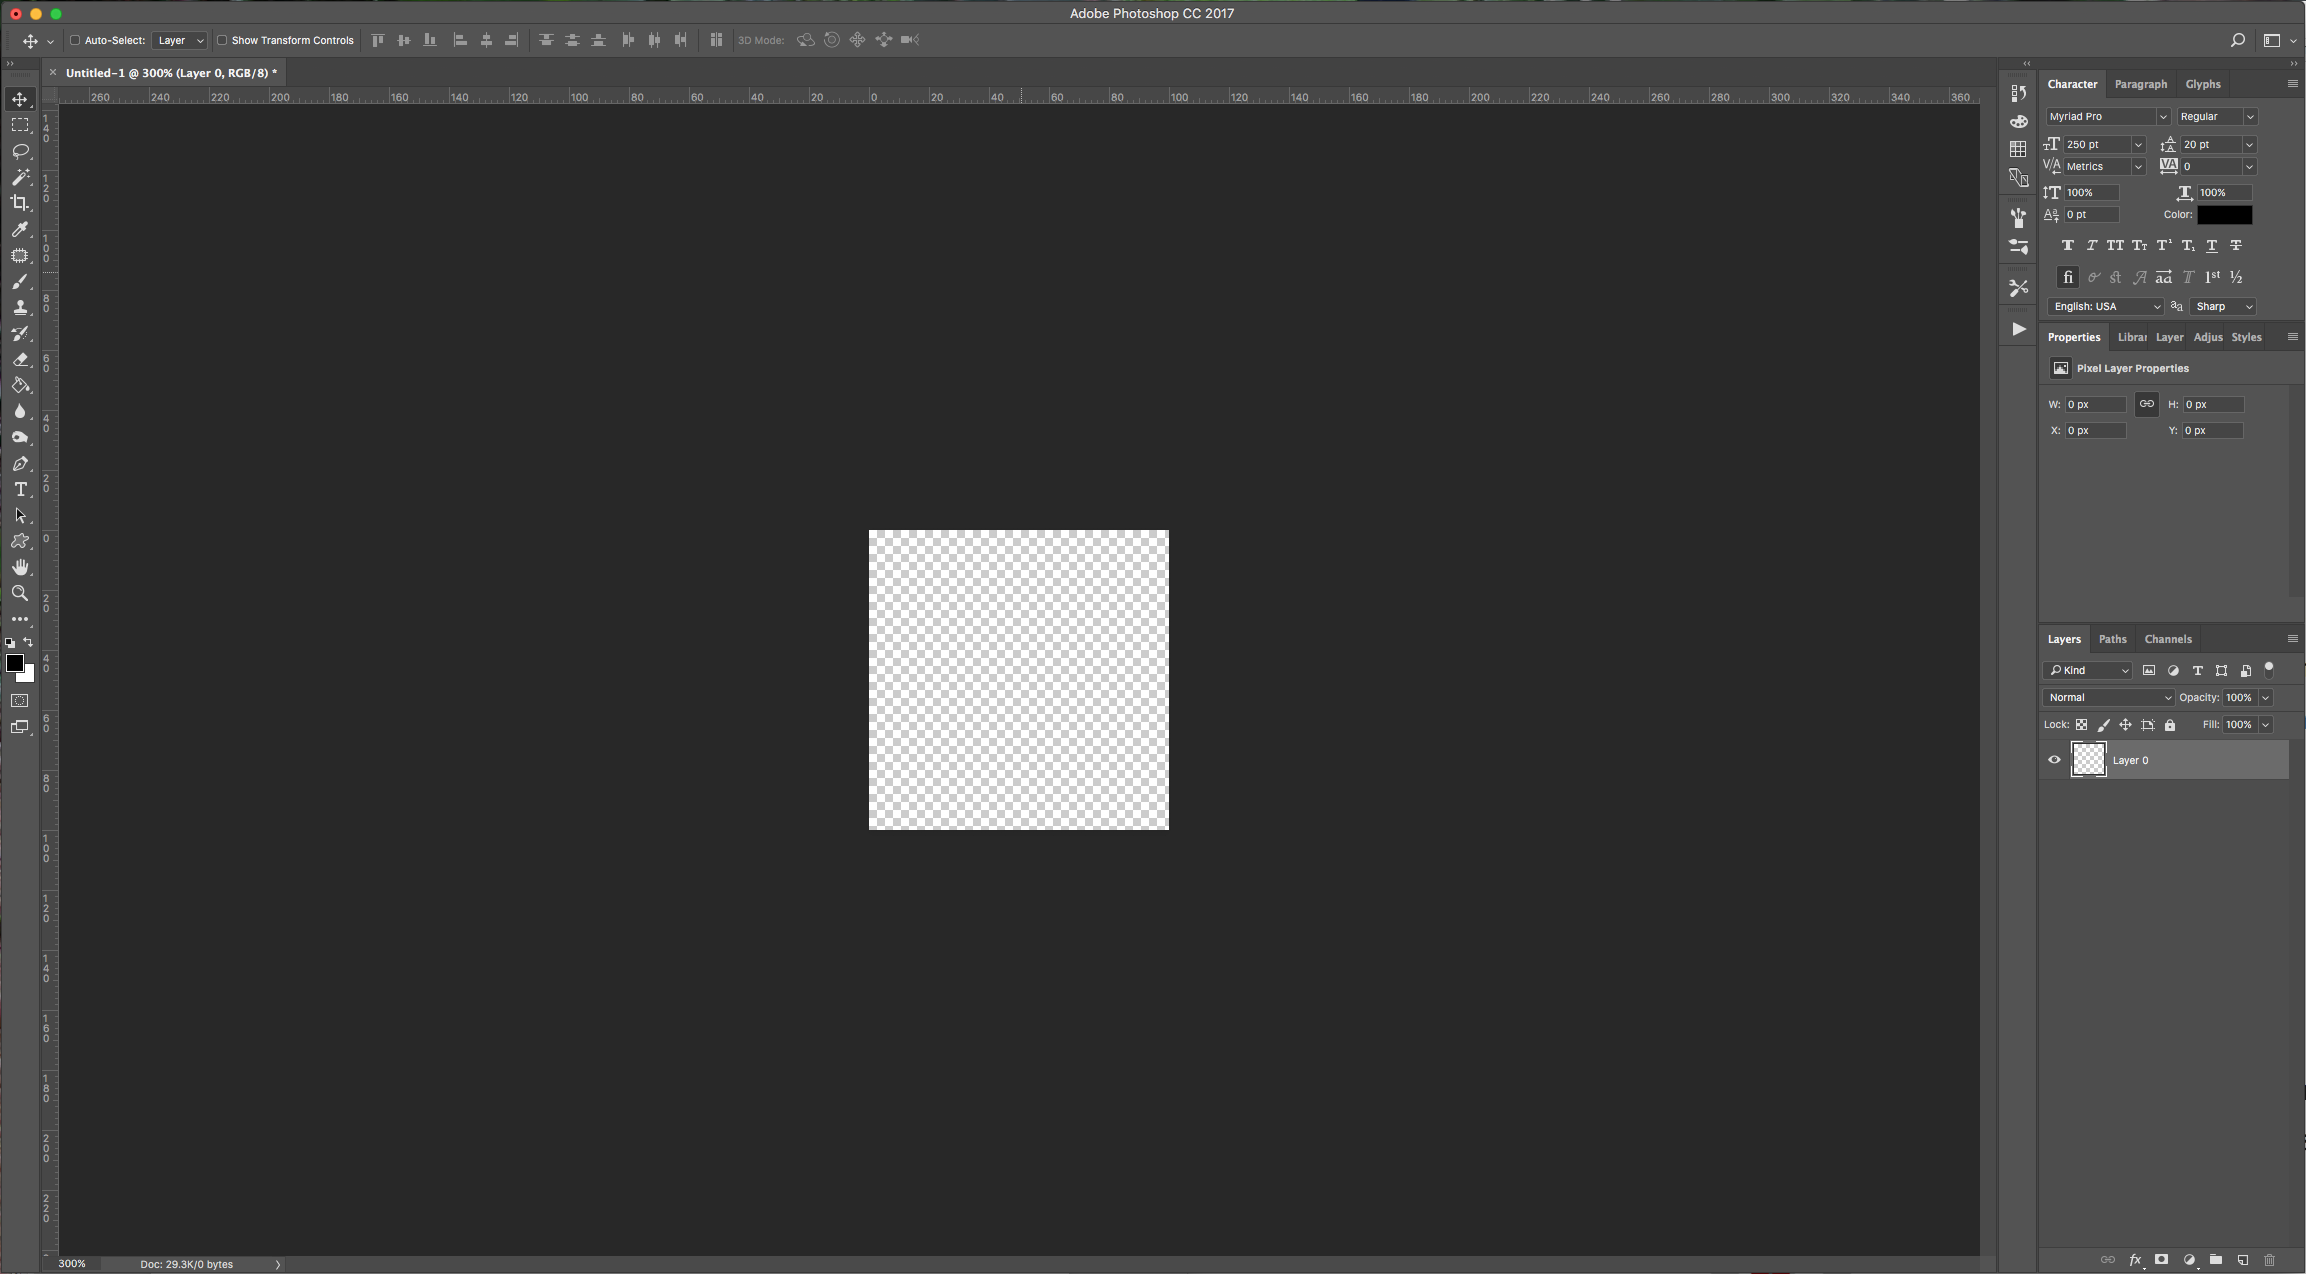
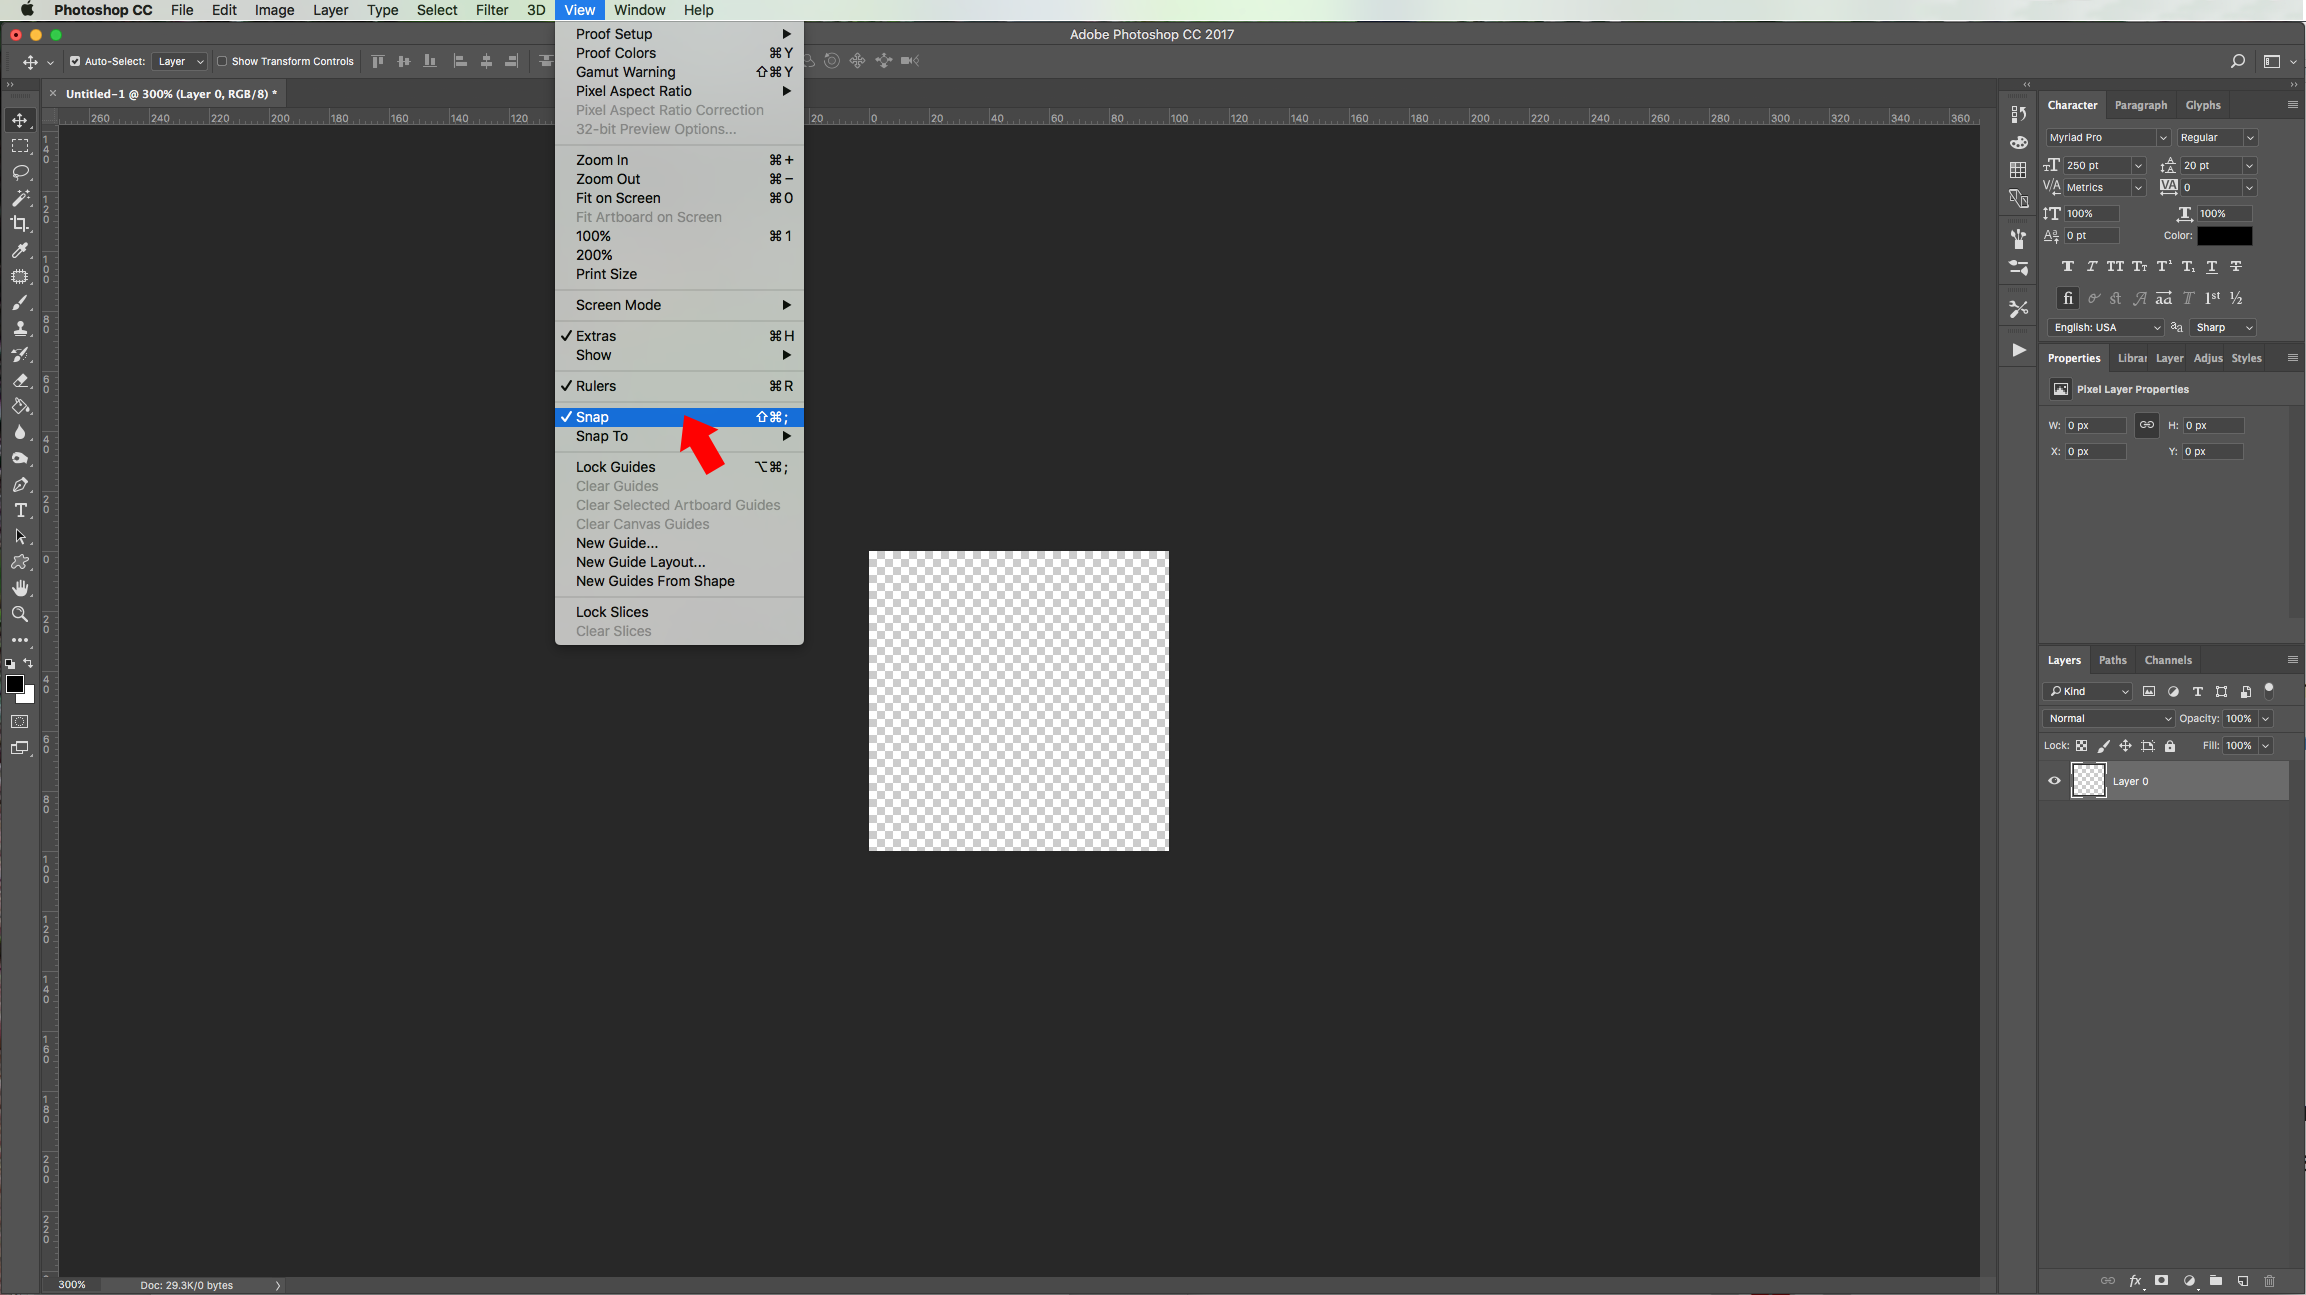
1 - First, we need to make the “Pattern”. Create a “New Document” measuring 100 pixels by 100 pixels. Double-click on the “Background” layer to unlock it, then select the entire layer (Command/Control + A) and hit Delete/Backspace to erase the color. If the document’s rulers are off click Command/Control + R to bring them out, and make sure that “Snap” is selected in the “View” menu.
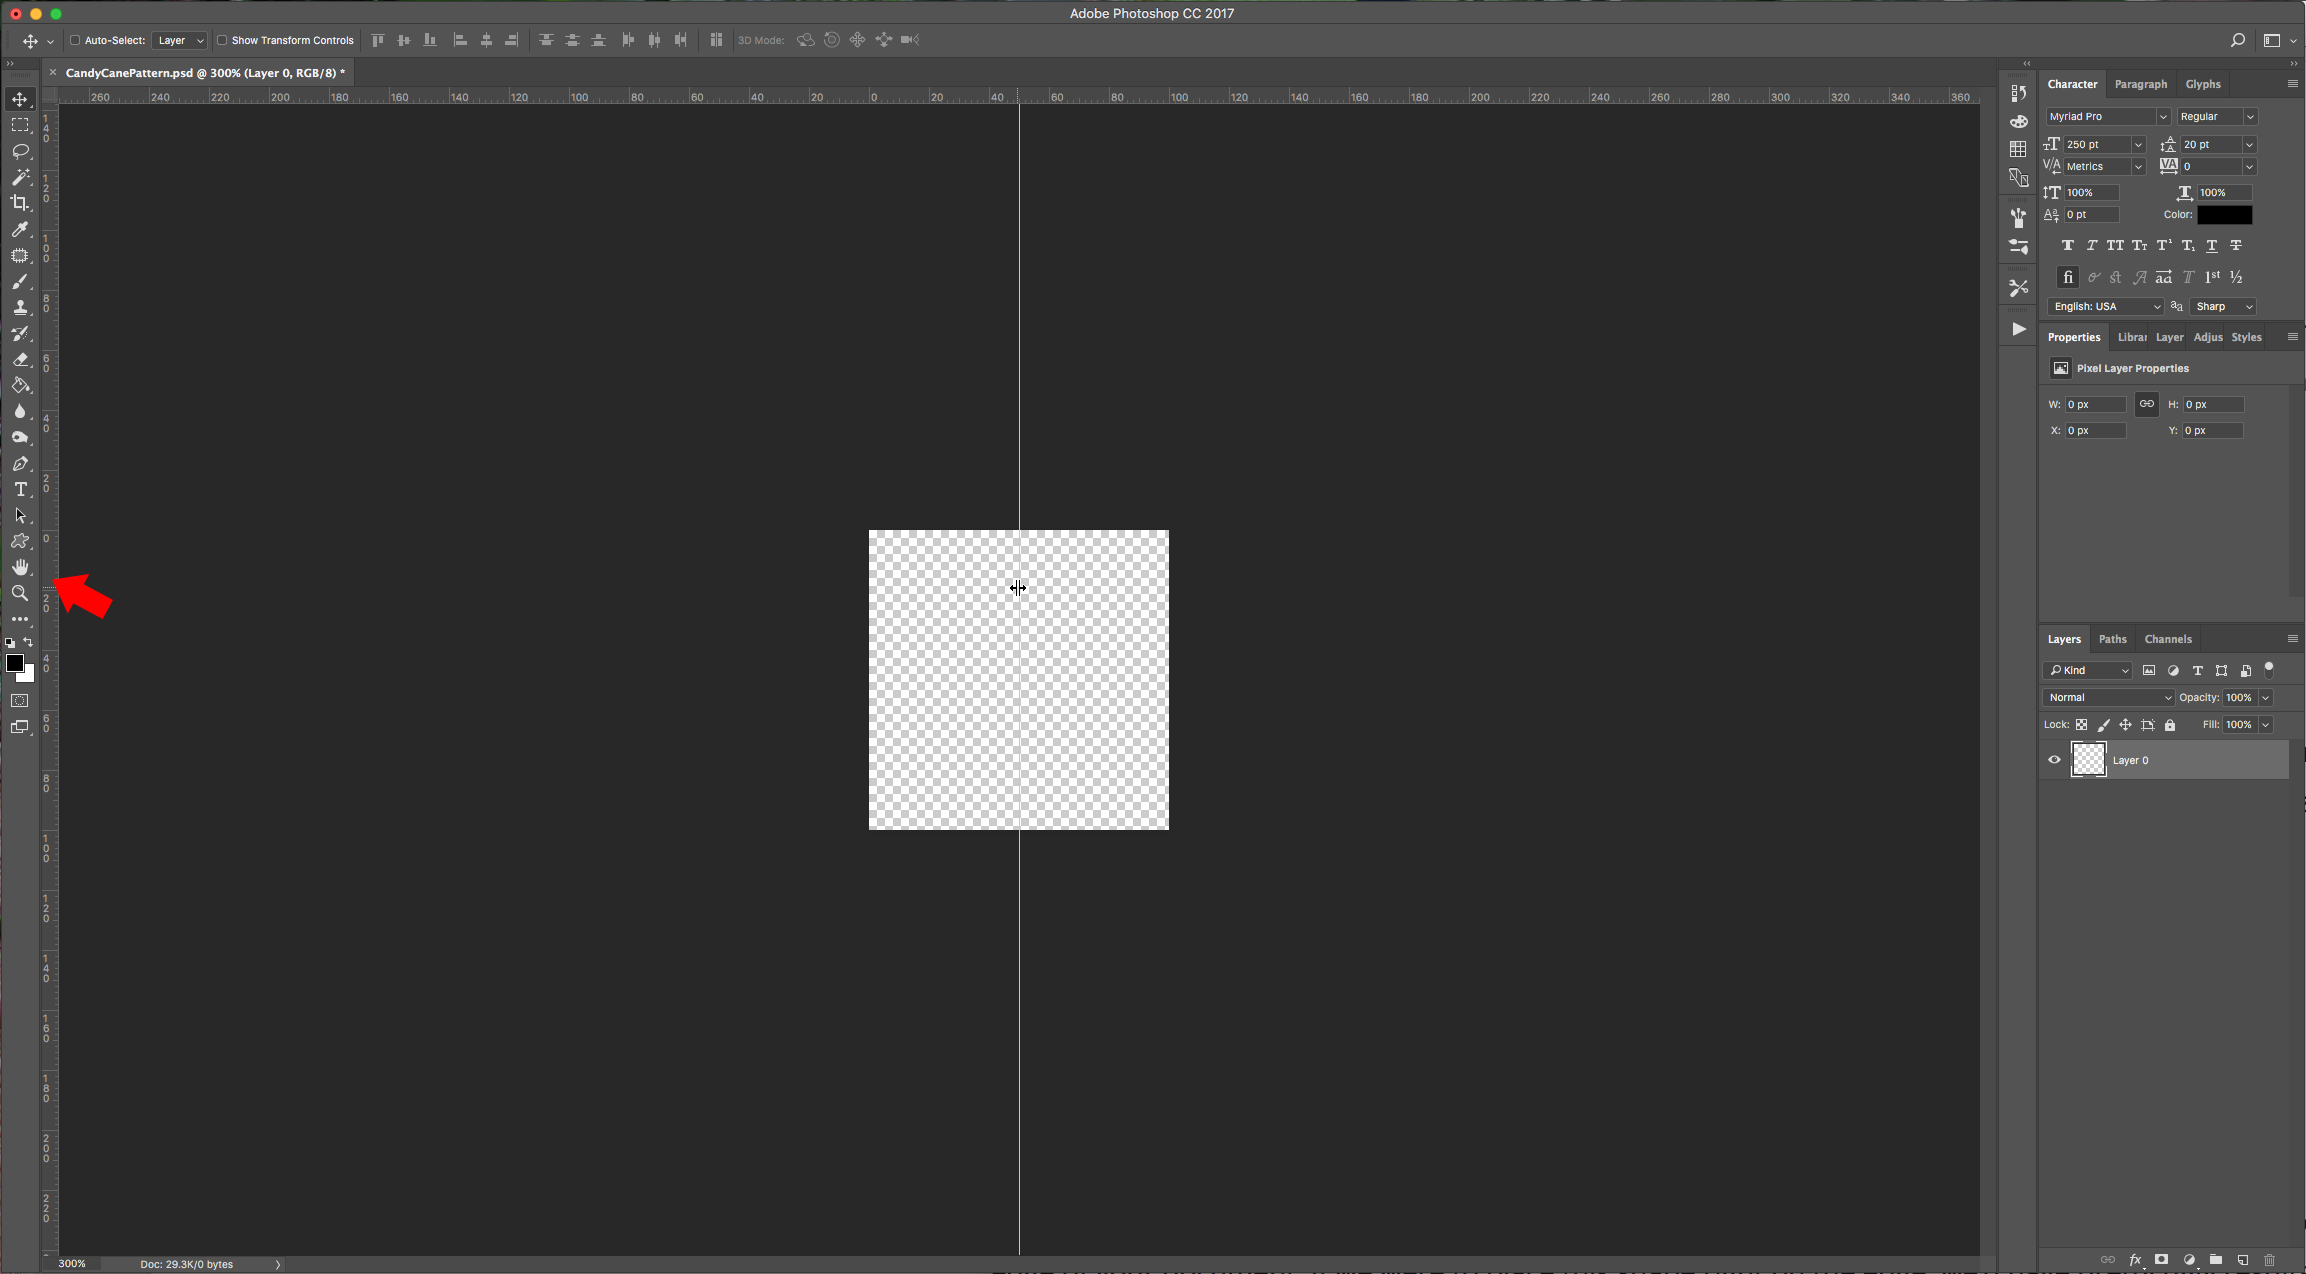
2 - Drag the cursor from your left ruler and stop in the middle (since you selected “Snap” you will feel when you reach the center) to place a guide.
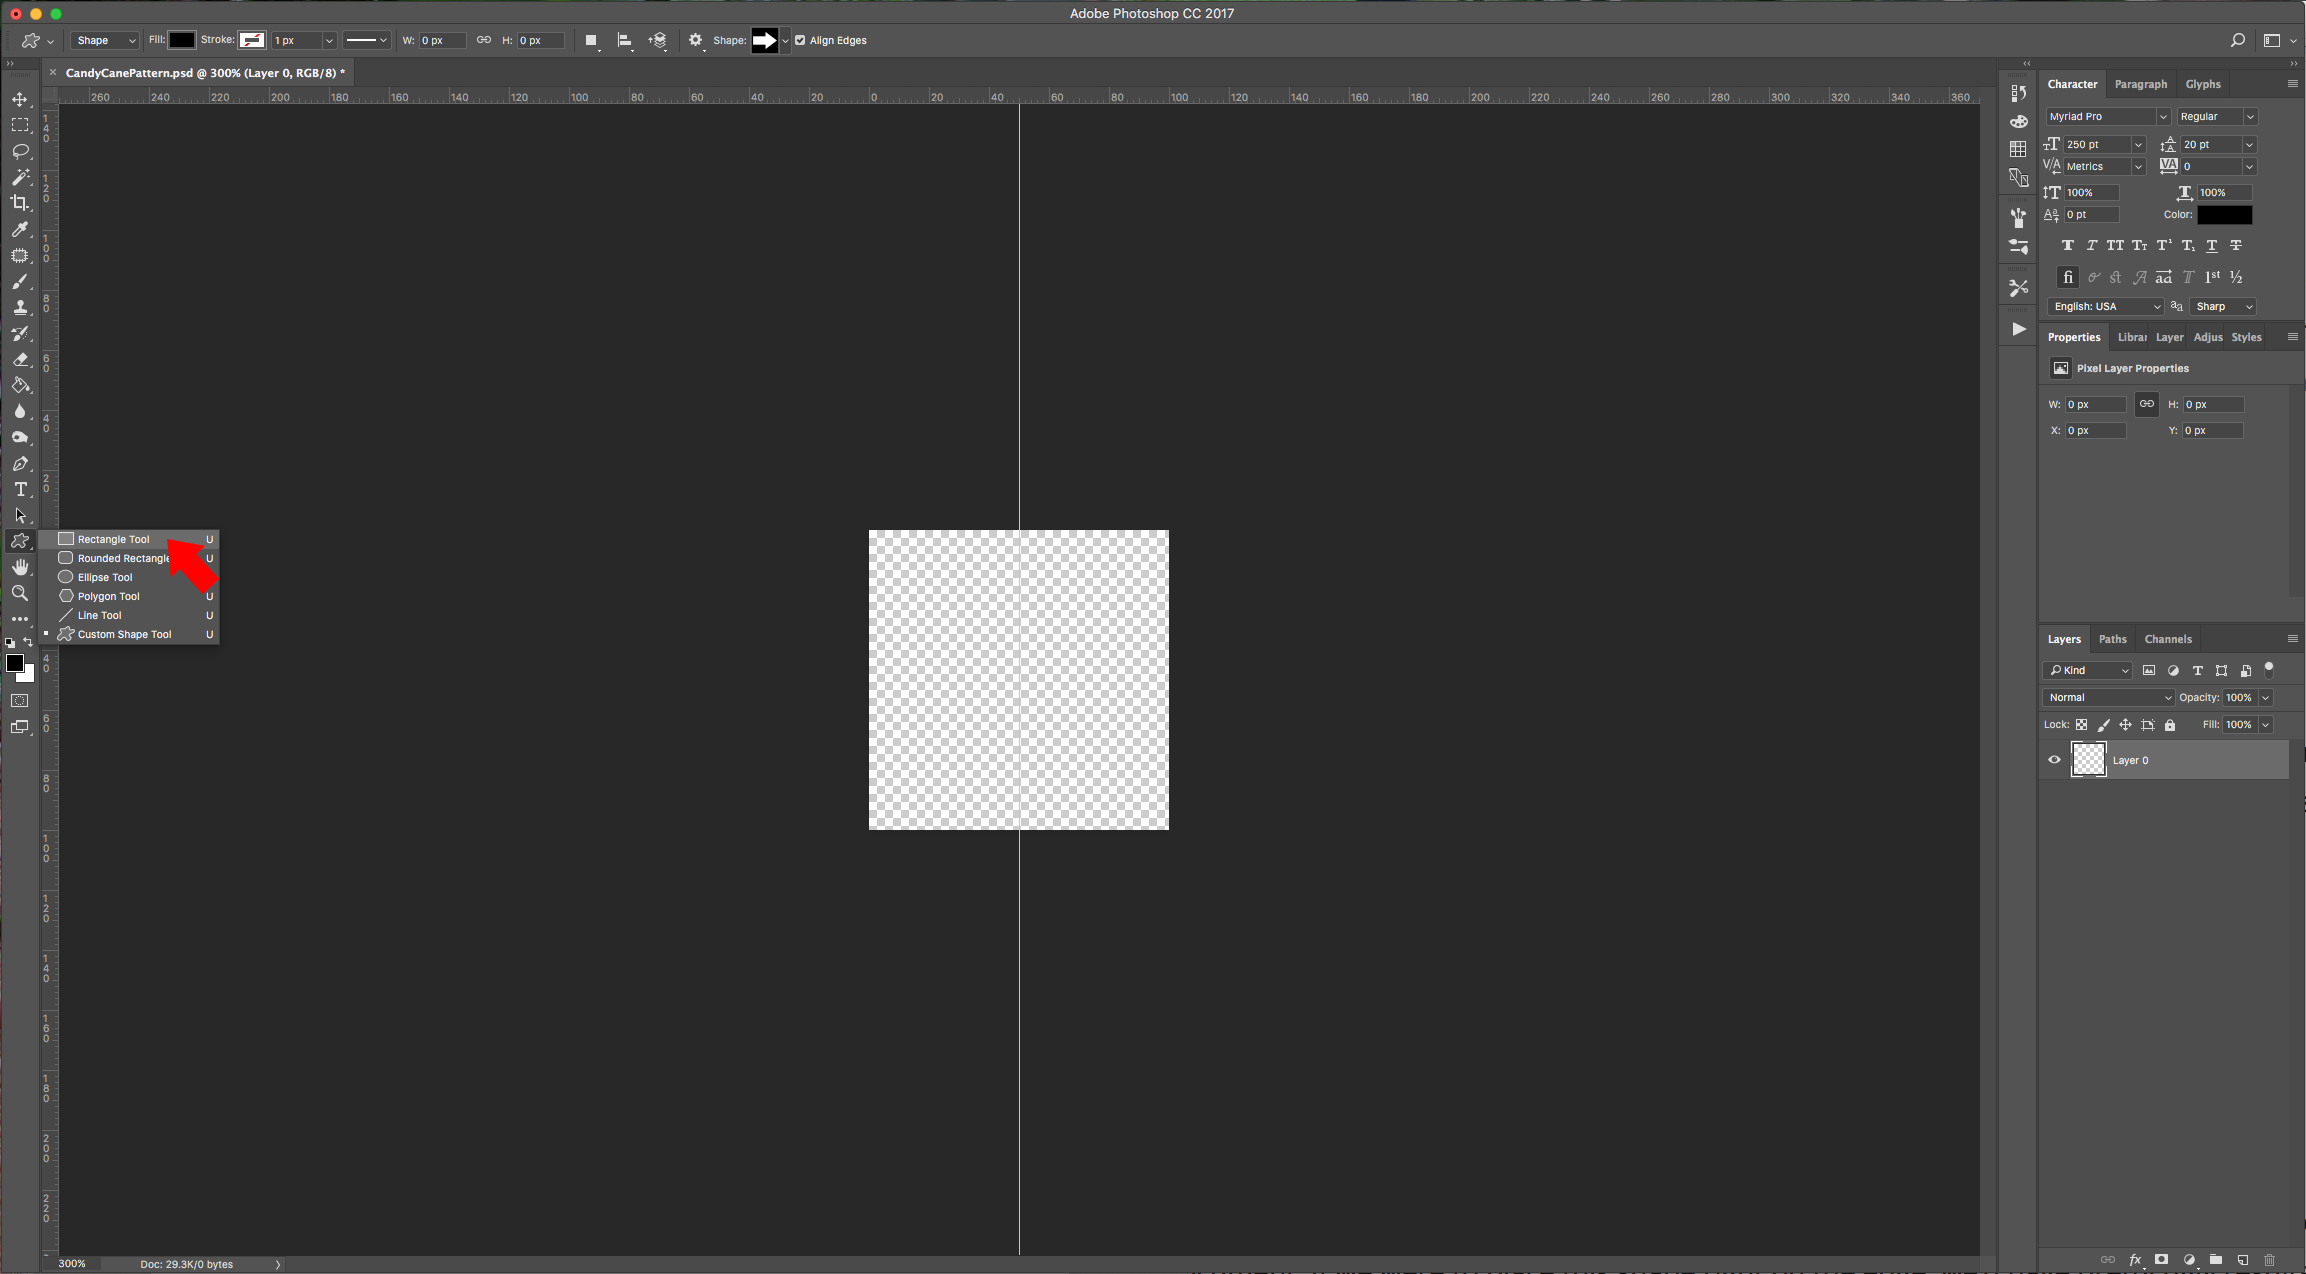
3 - Use the “Rectangle Tool” (U) choosing a medium ref for the fill (#b40808) and draw a rectangular shape in the middle of your document from top to bottom.
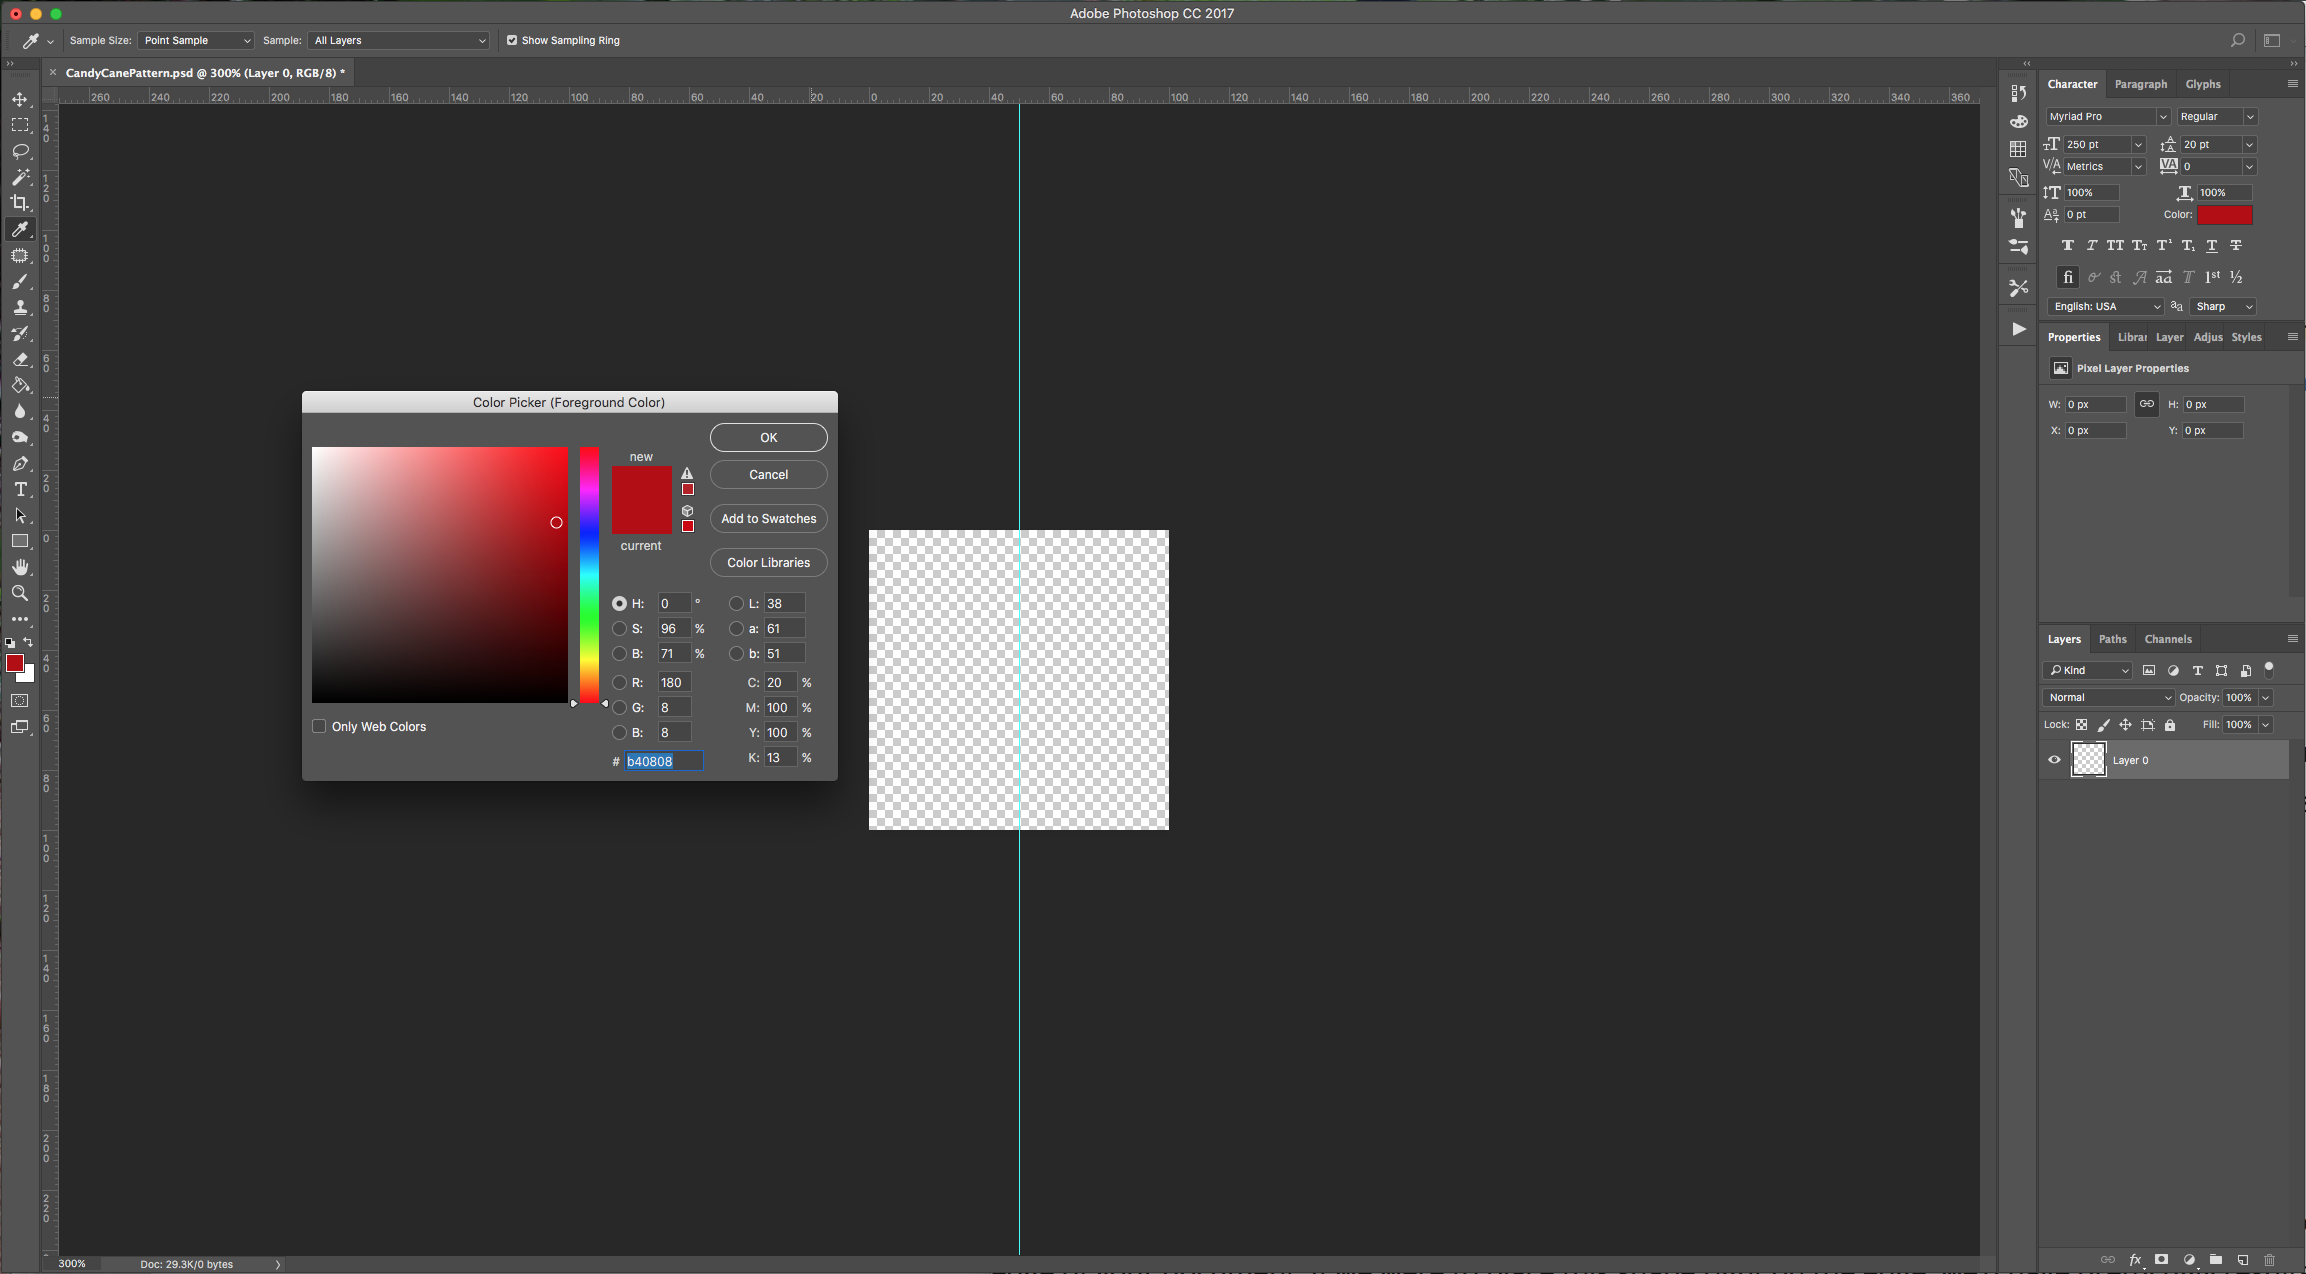
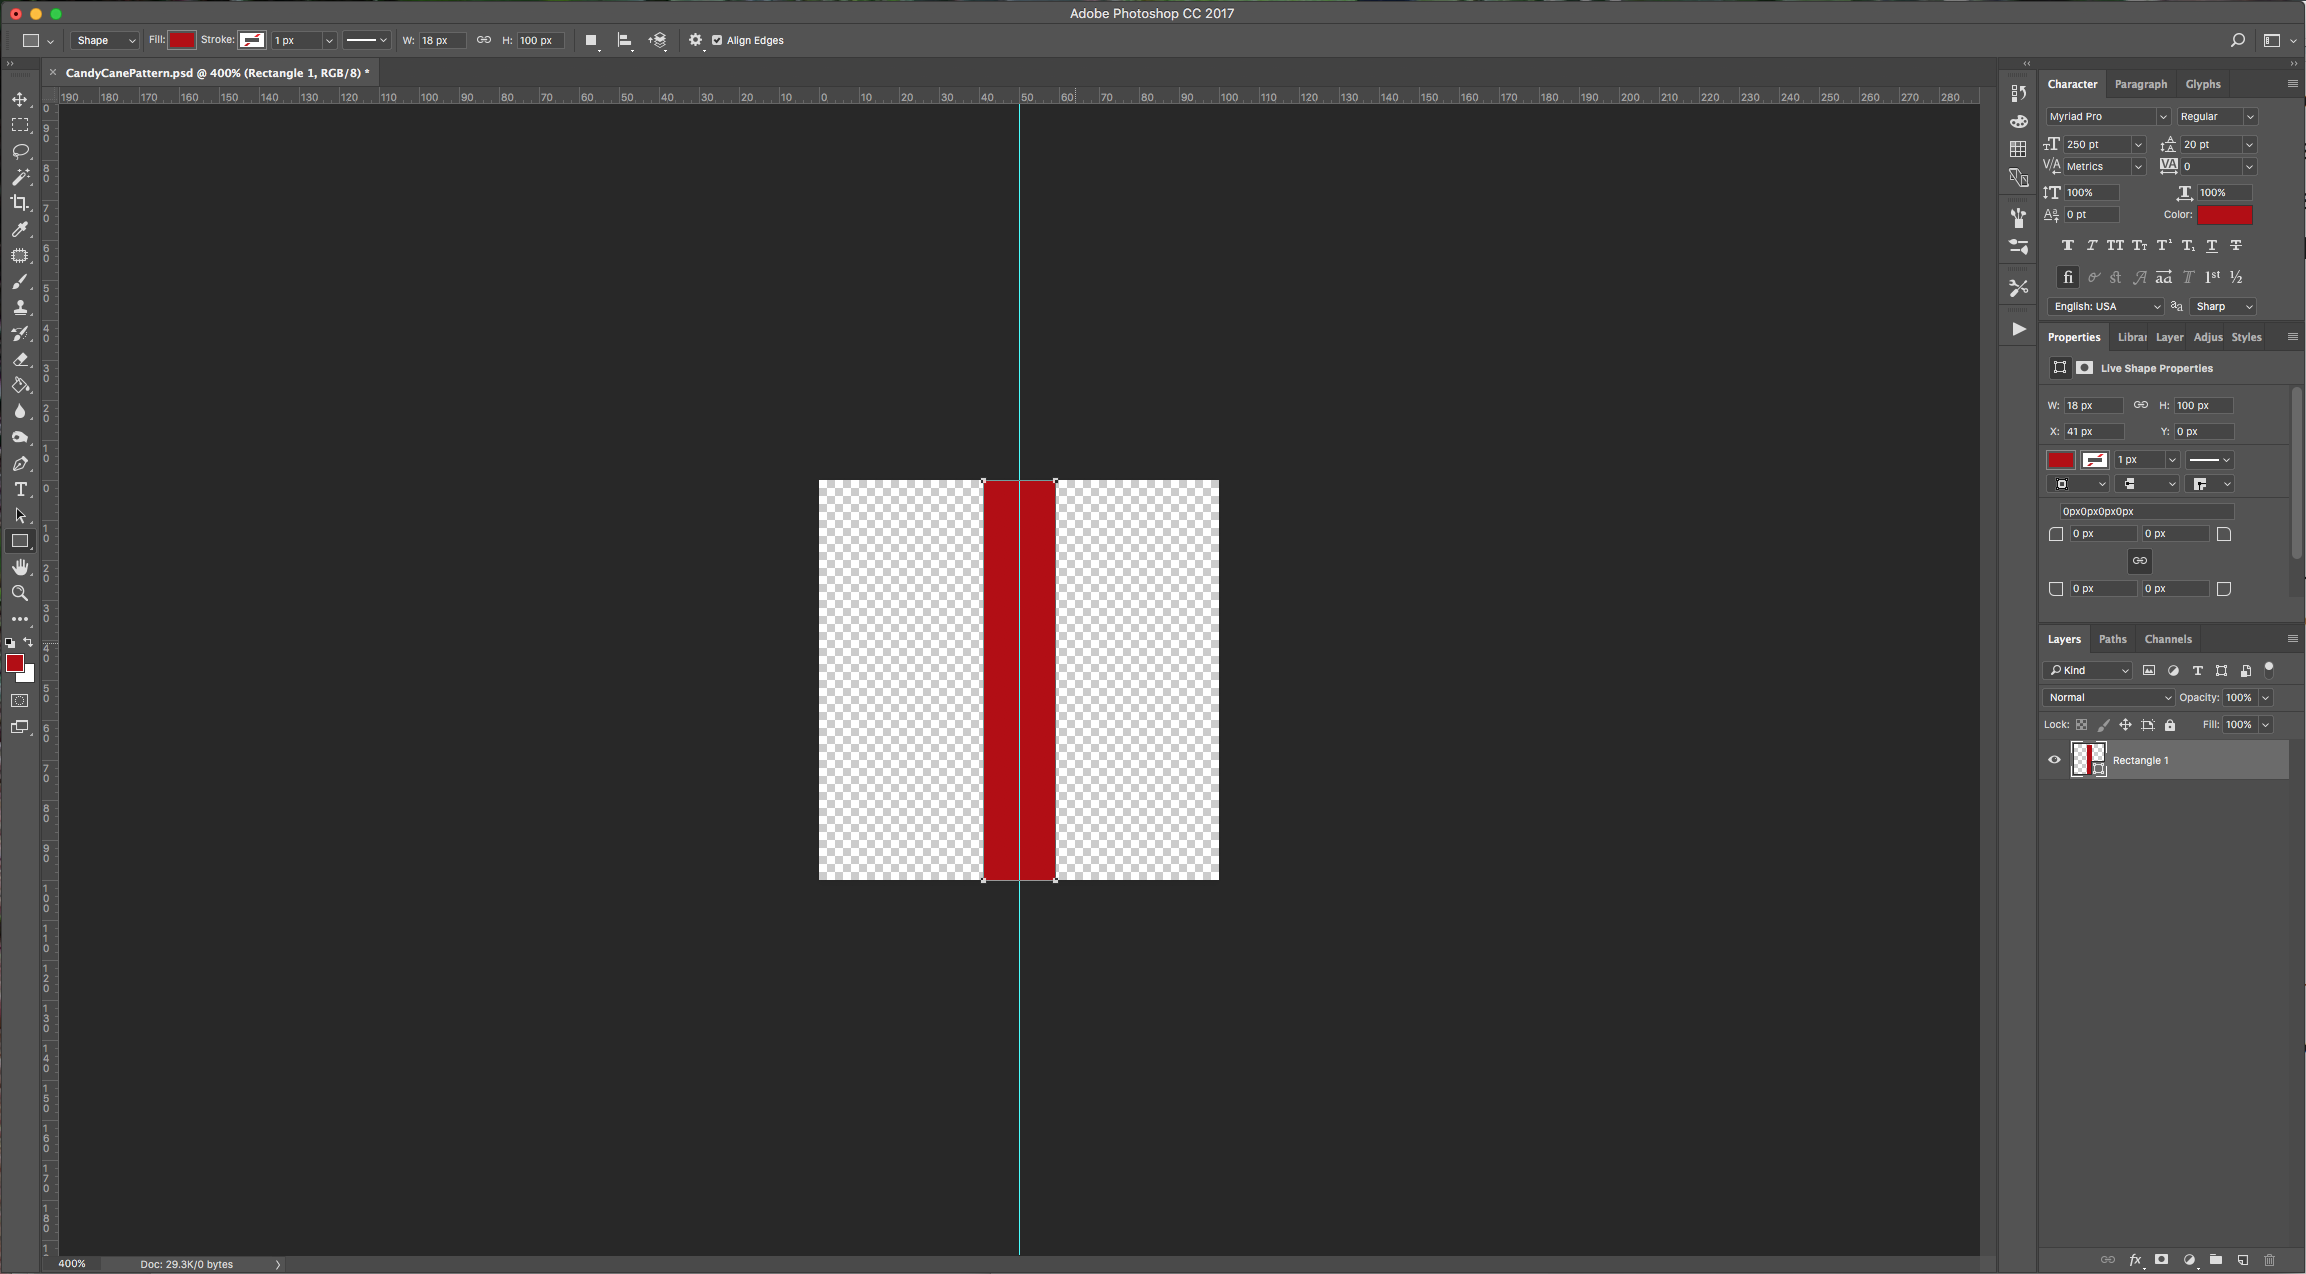
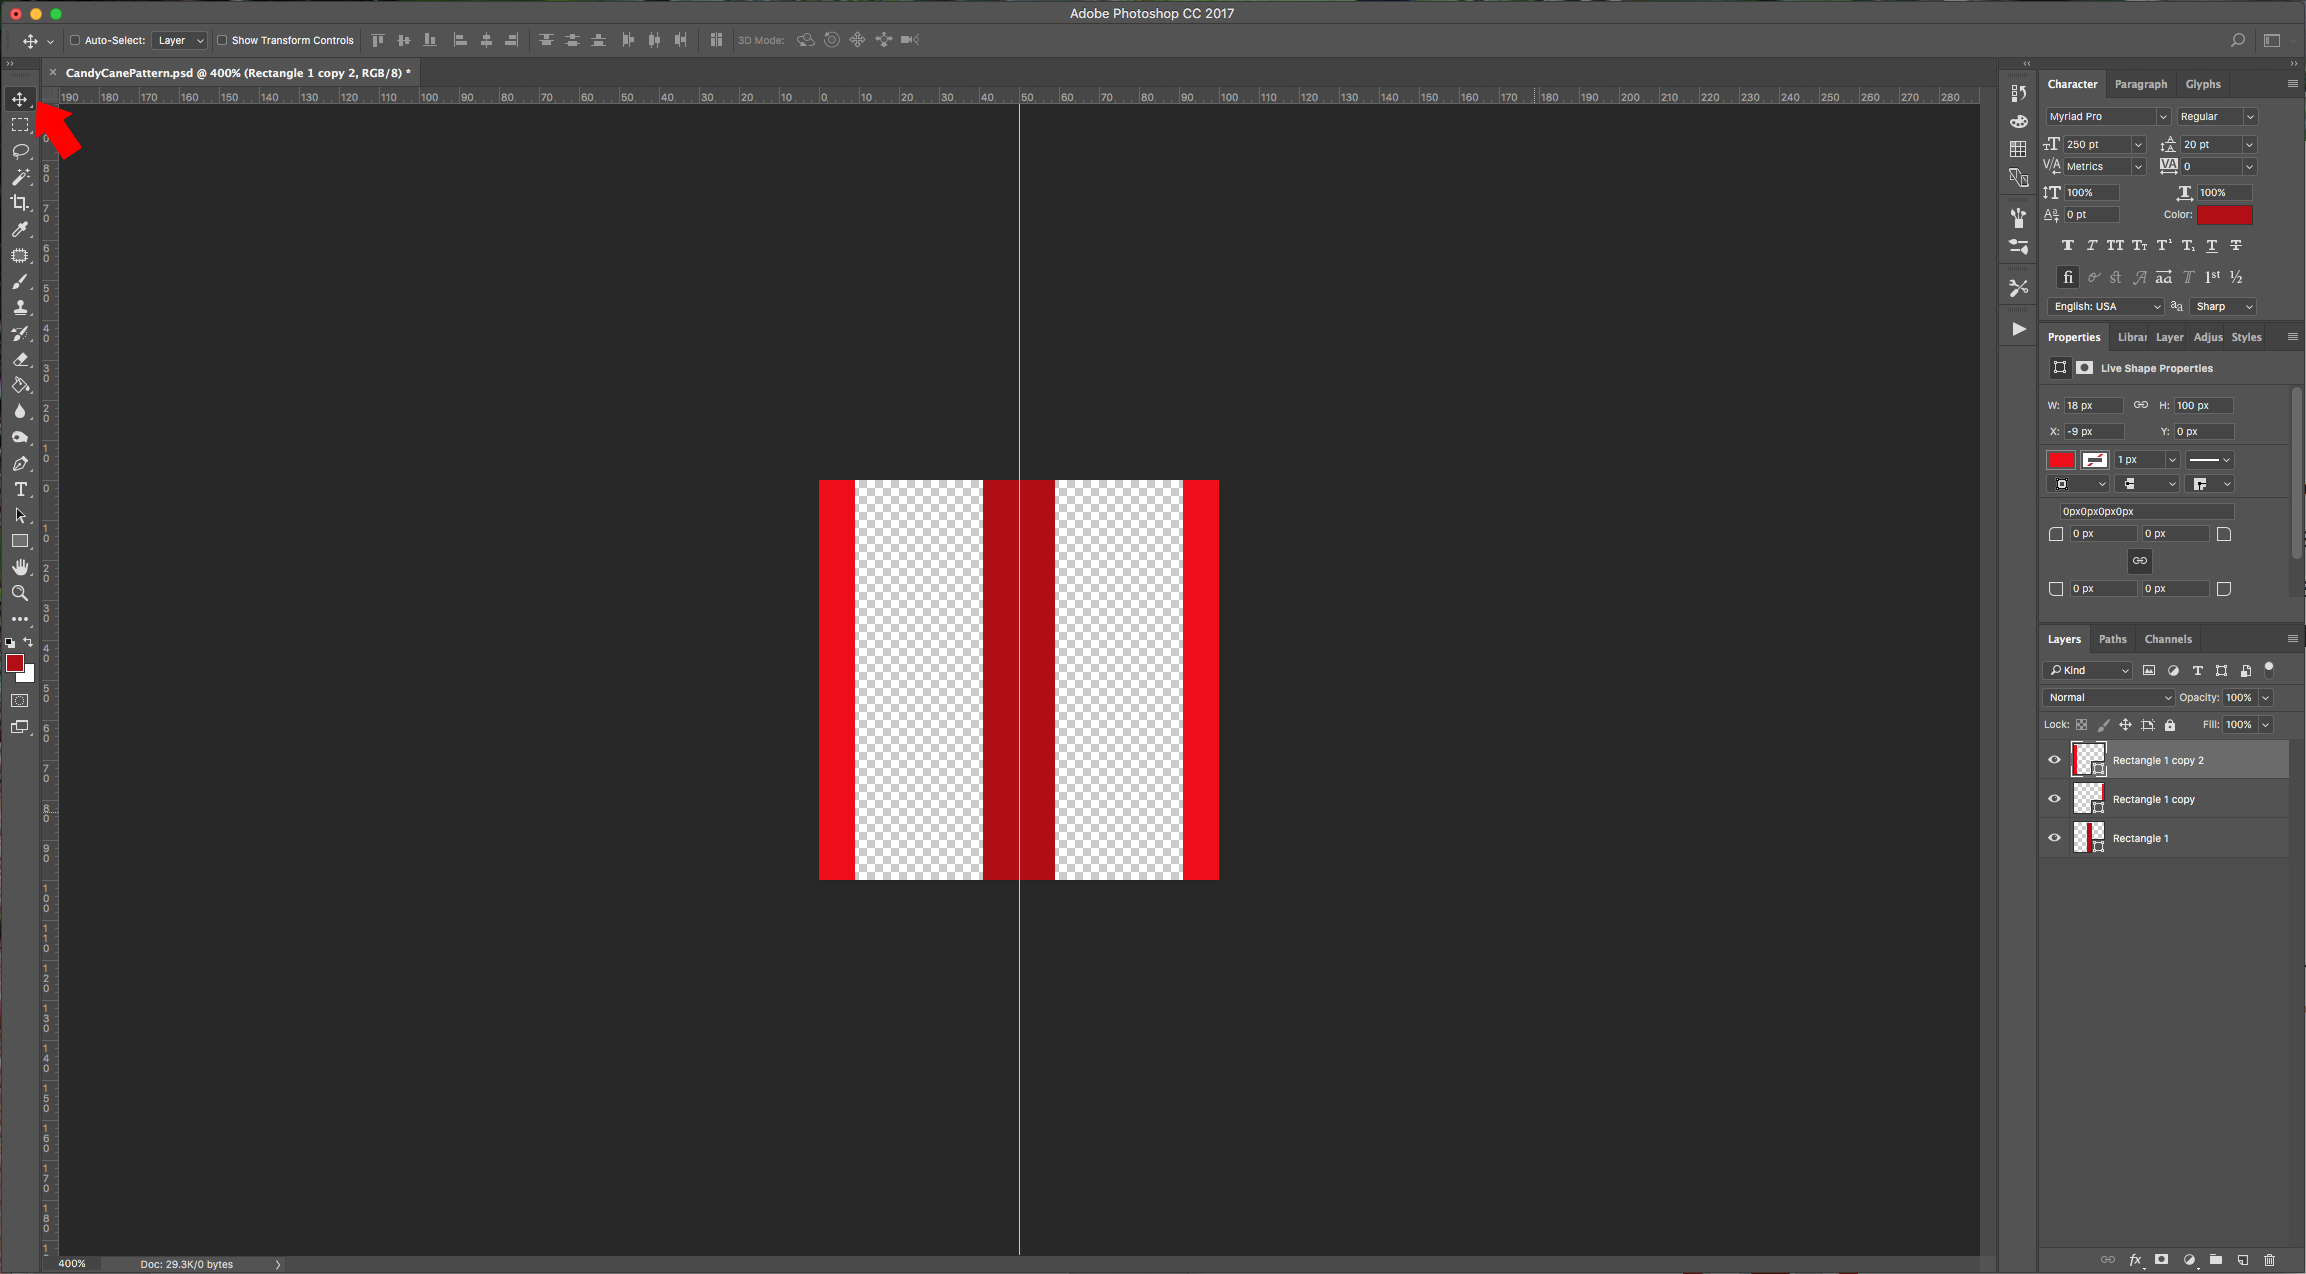
4 - Choose the “Move Tool” (V) and hold the Alt/Option key and drag the rectangle to the edge of the document to duplicate it. Make sure half of the rectangle is outside the document. Double-click on duplicate’s thumbnail and change the color to a lighter shade (#f20303). Duplicate this rectangle and place it on the opposite side of your document.
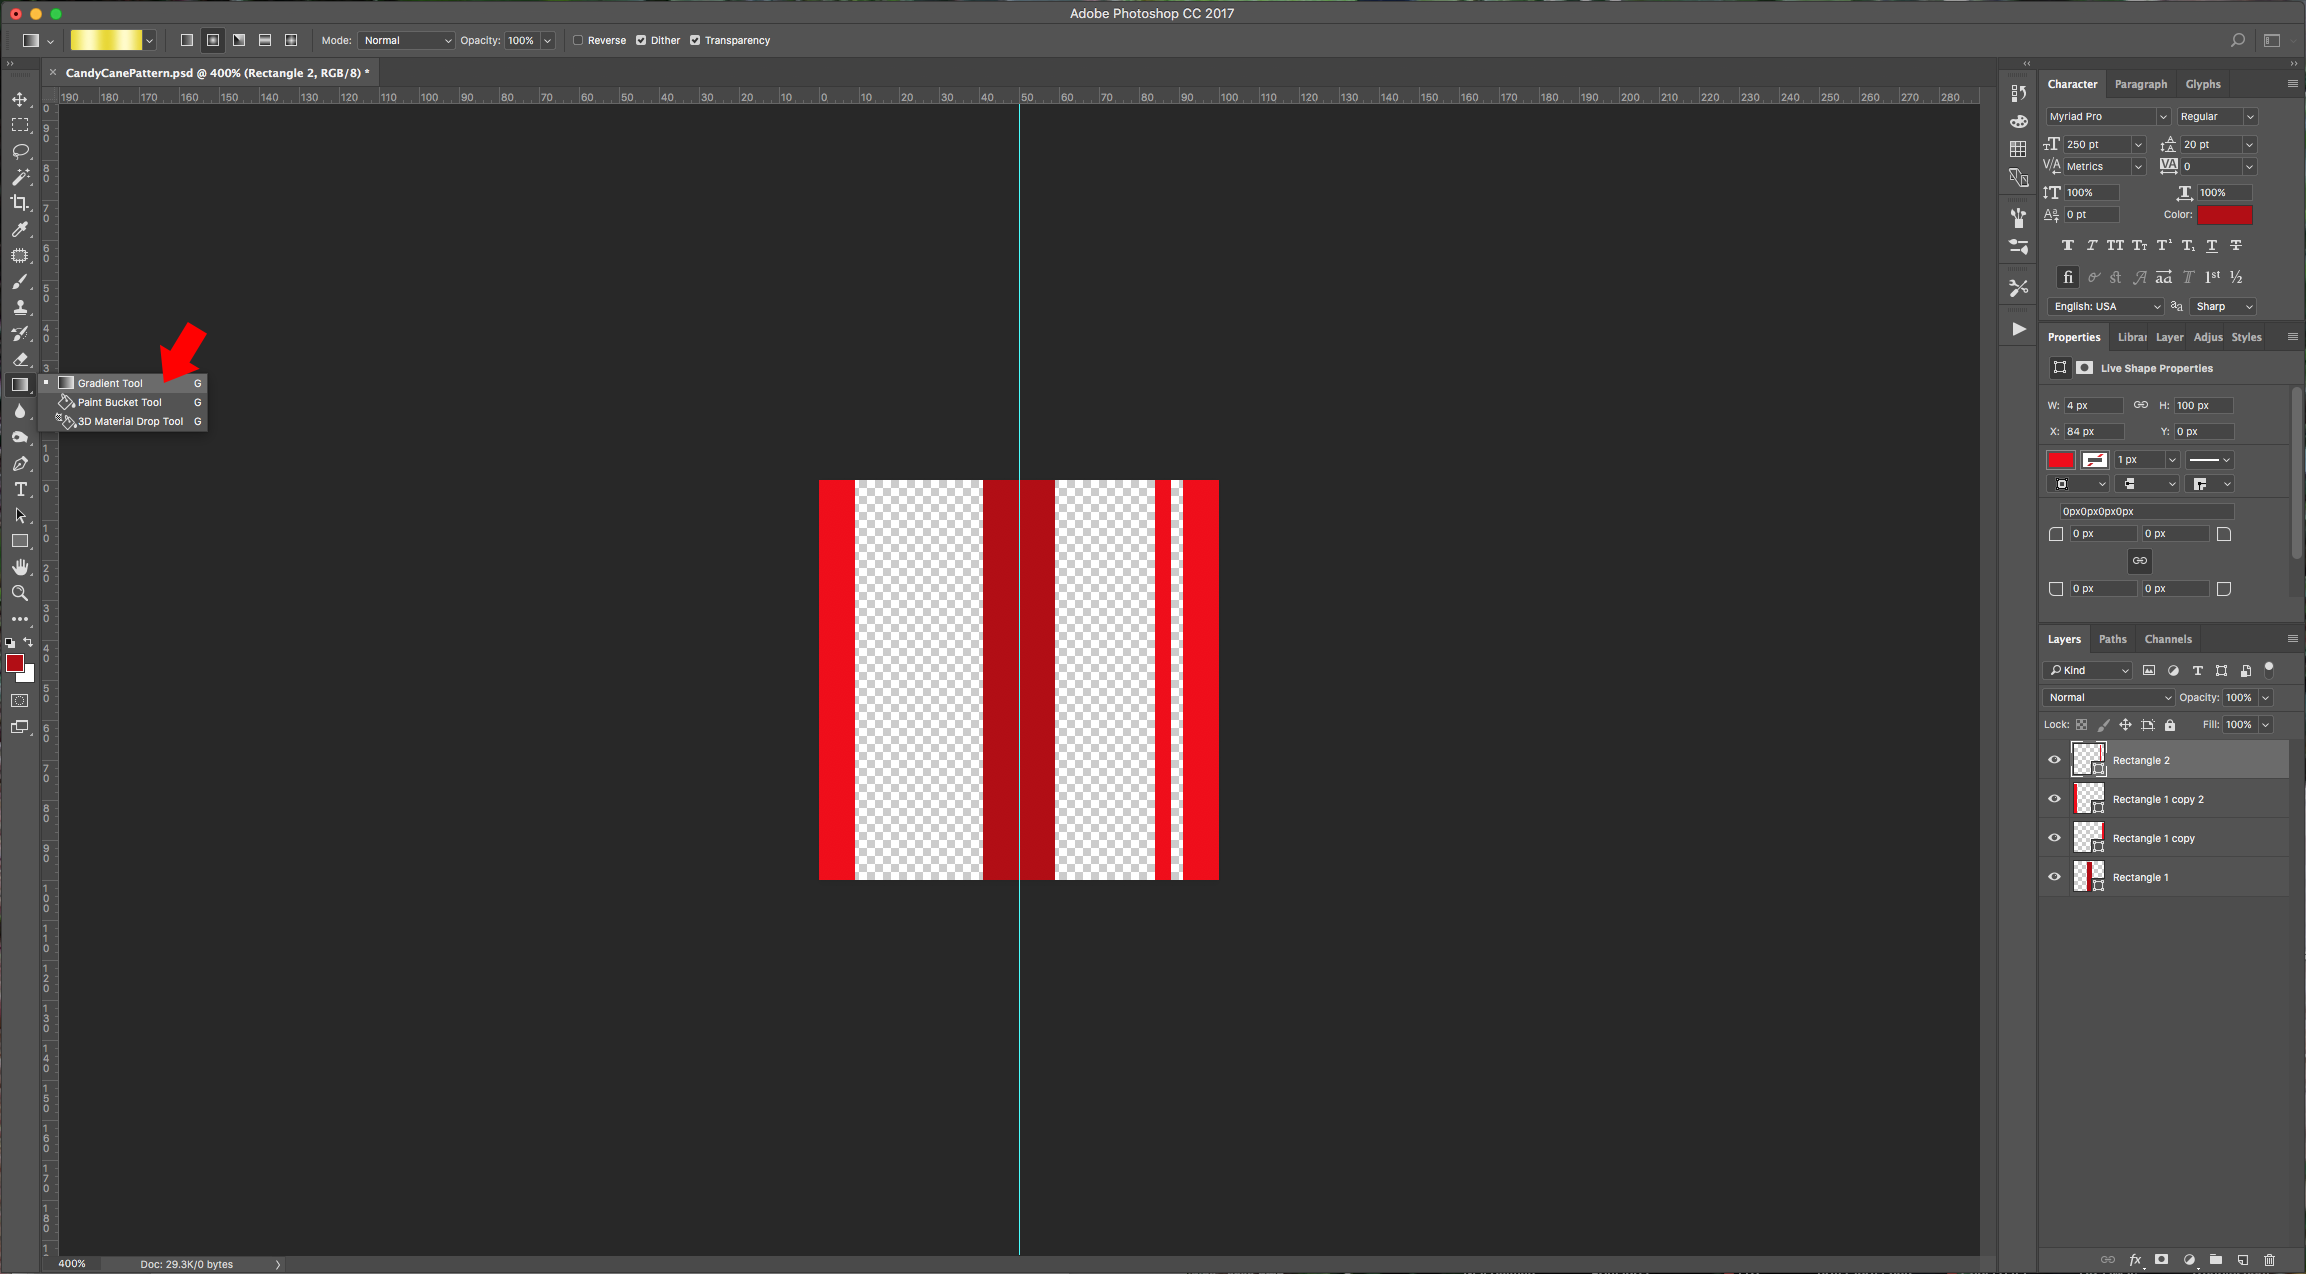
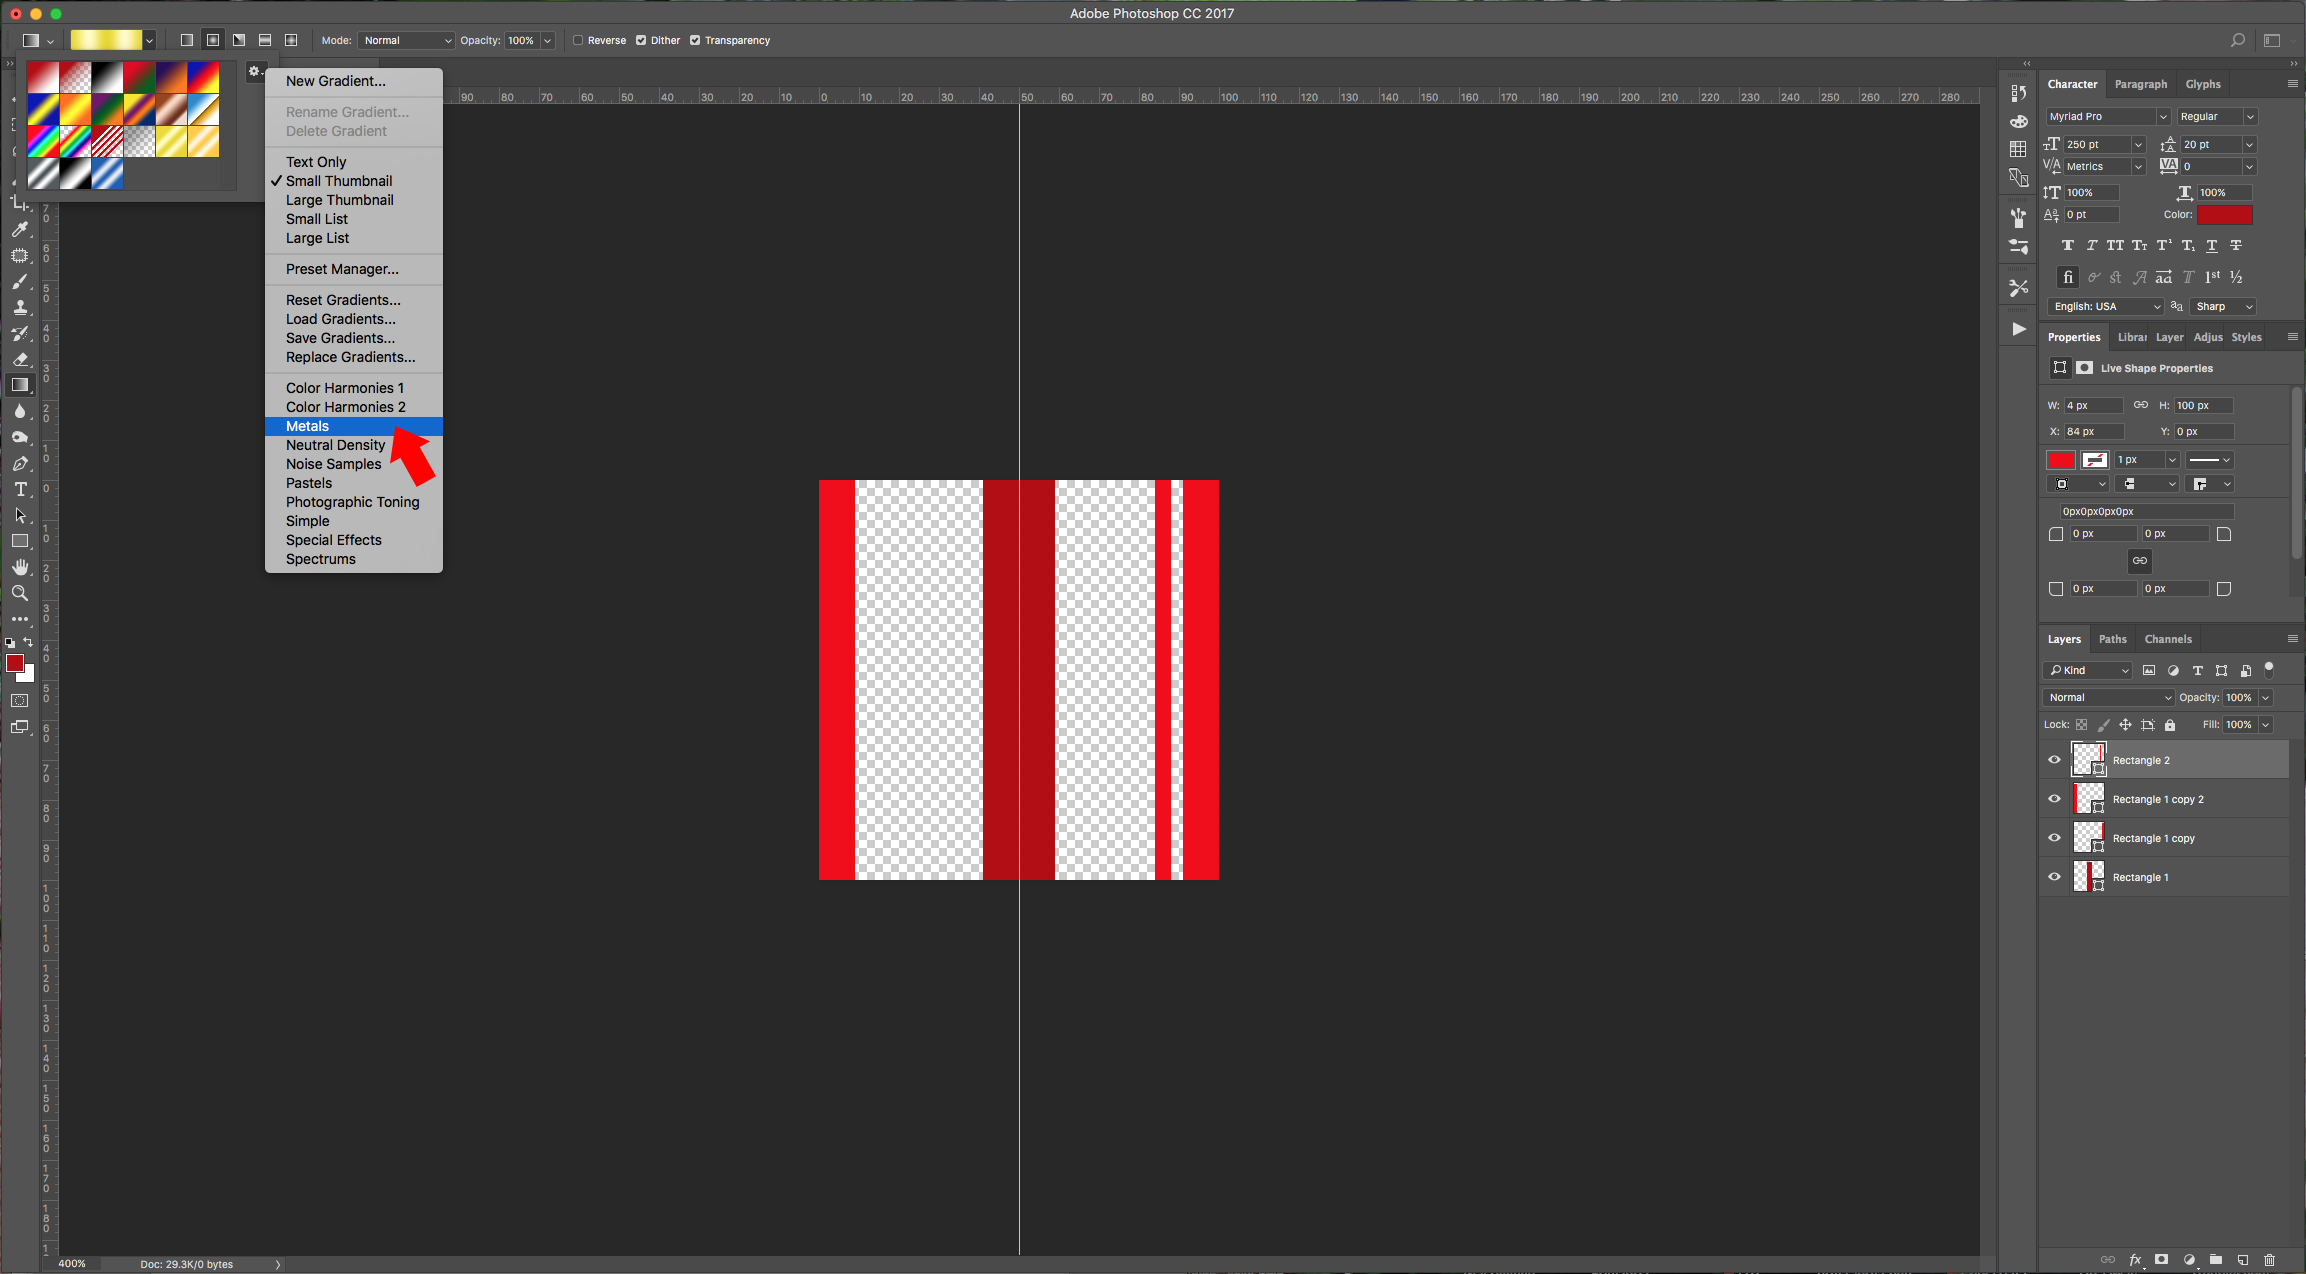
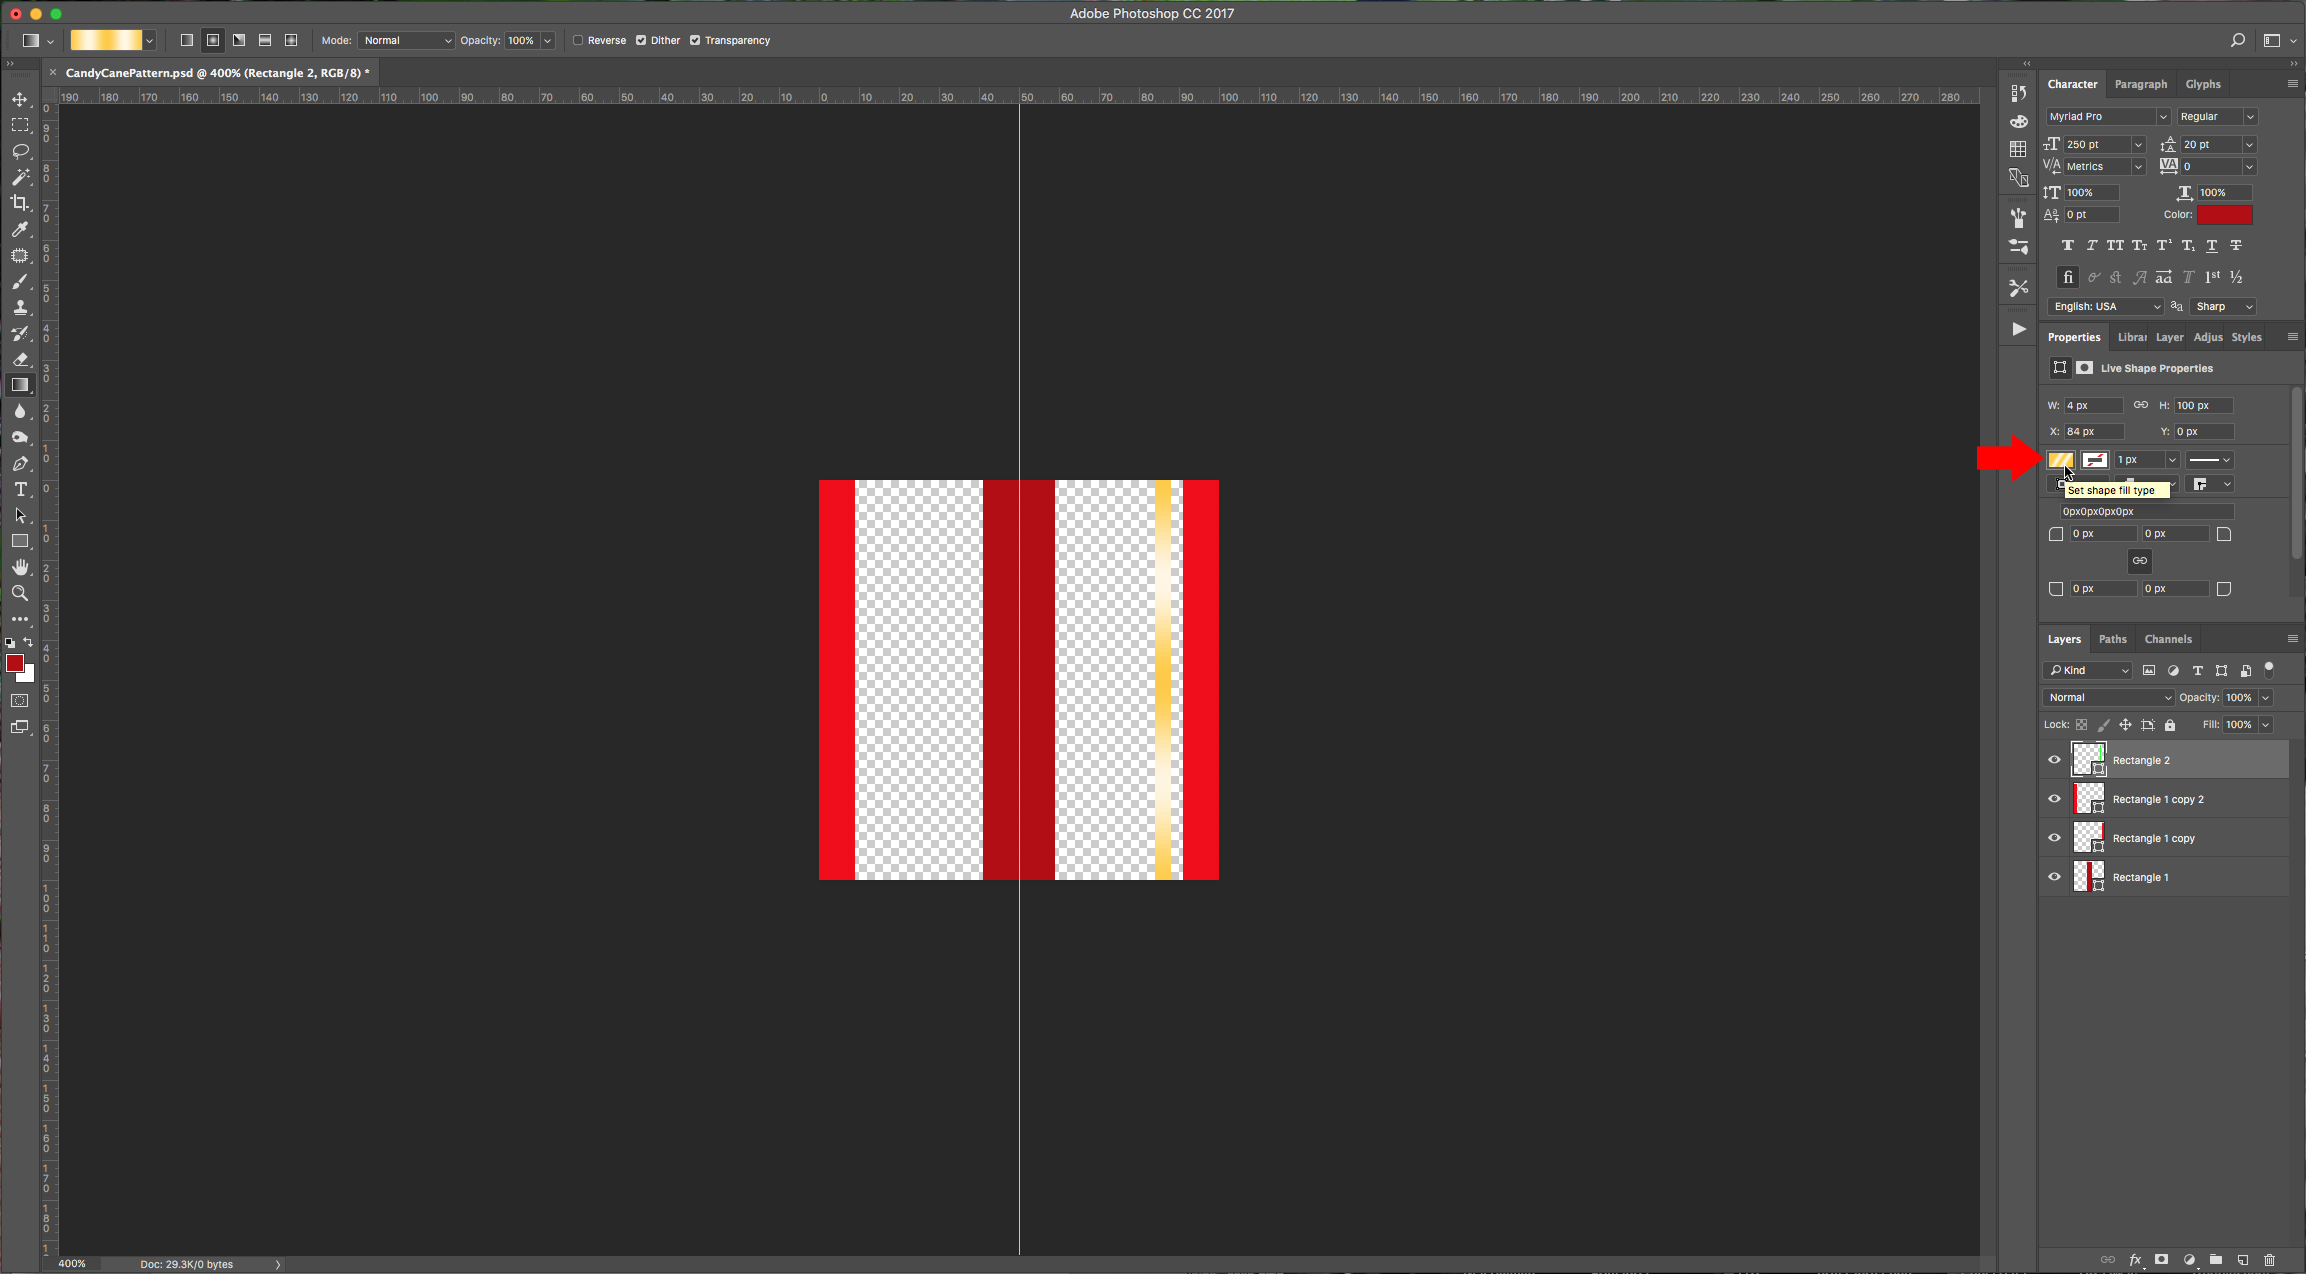
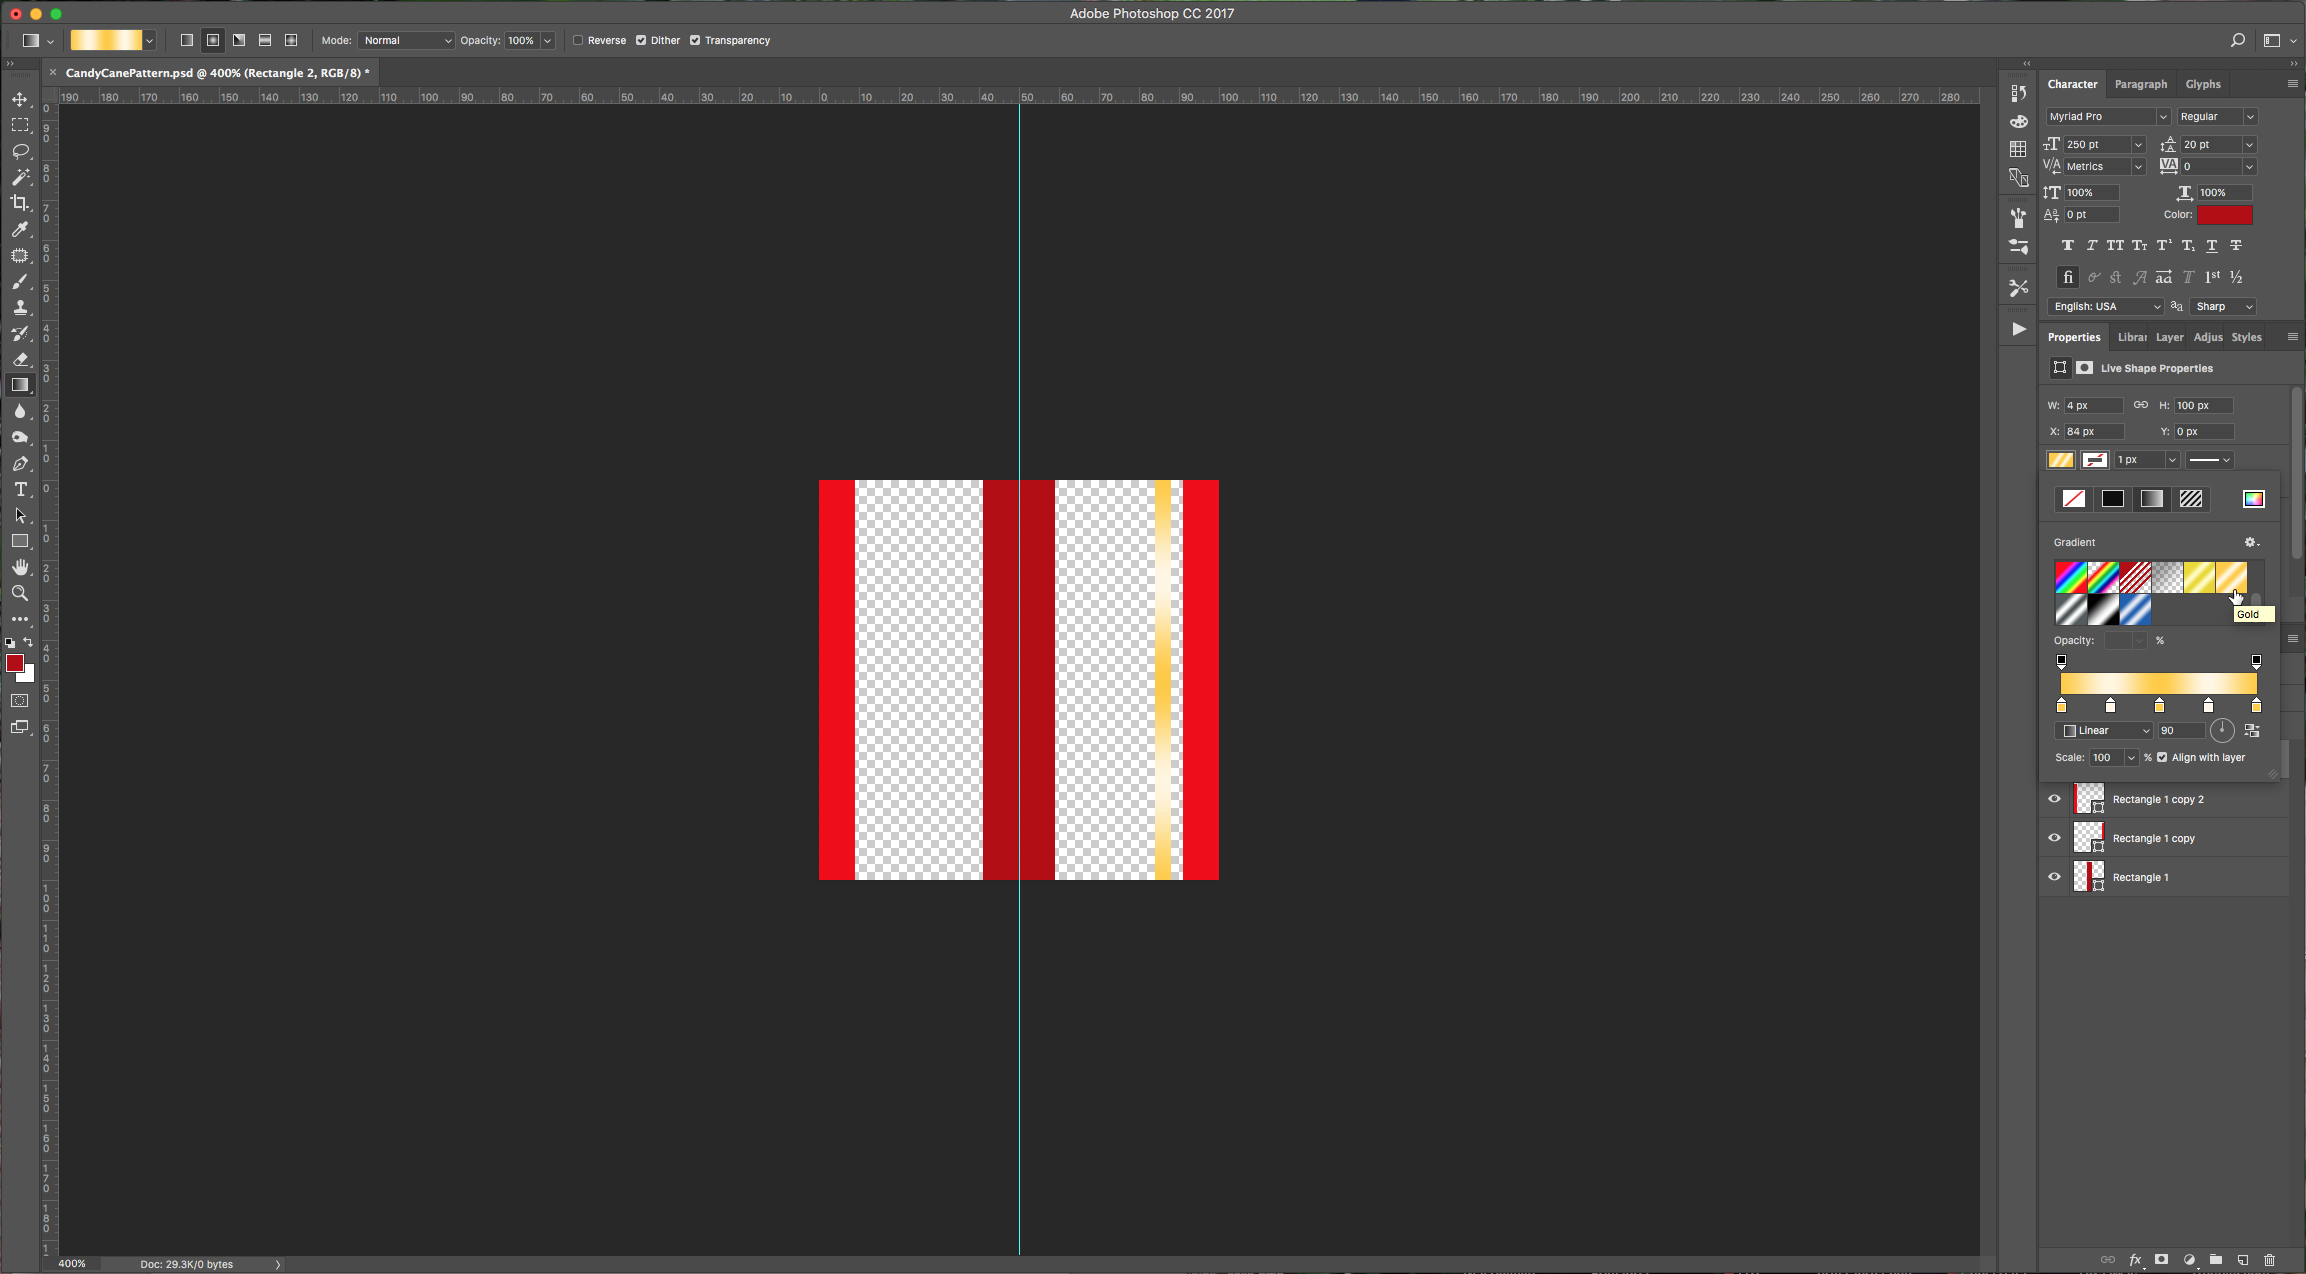
5 - Draw another rectangle, make it about half the width of the first one and place it near one of the sides. Choose the “Gradient Tool” (G), and go to the upper menu, click to open the “Gradient Picker” and click on the little icon on the top right and select “Metals”. Click on the “Shape Fill Type” button on the “Properties” menu and then choose “Gold” as your gradient.
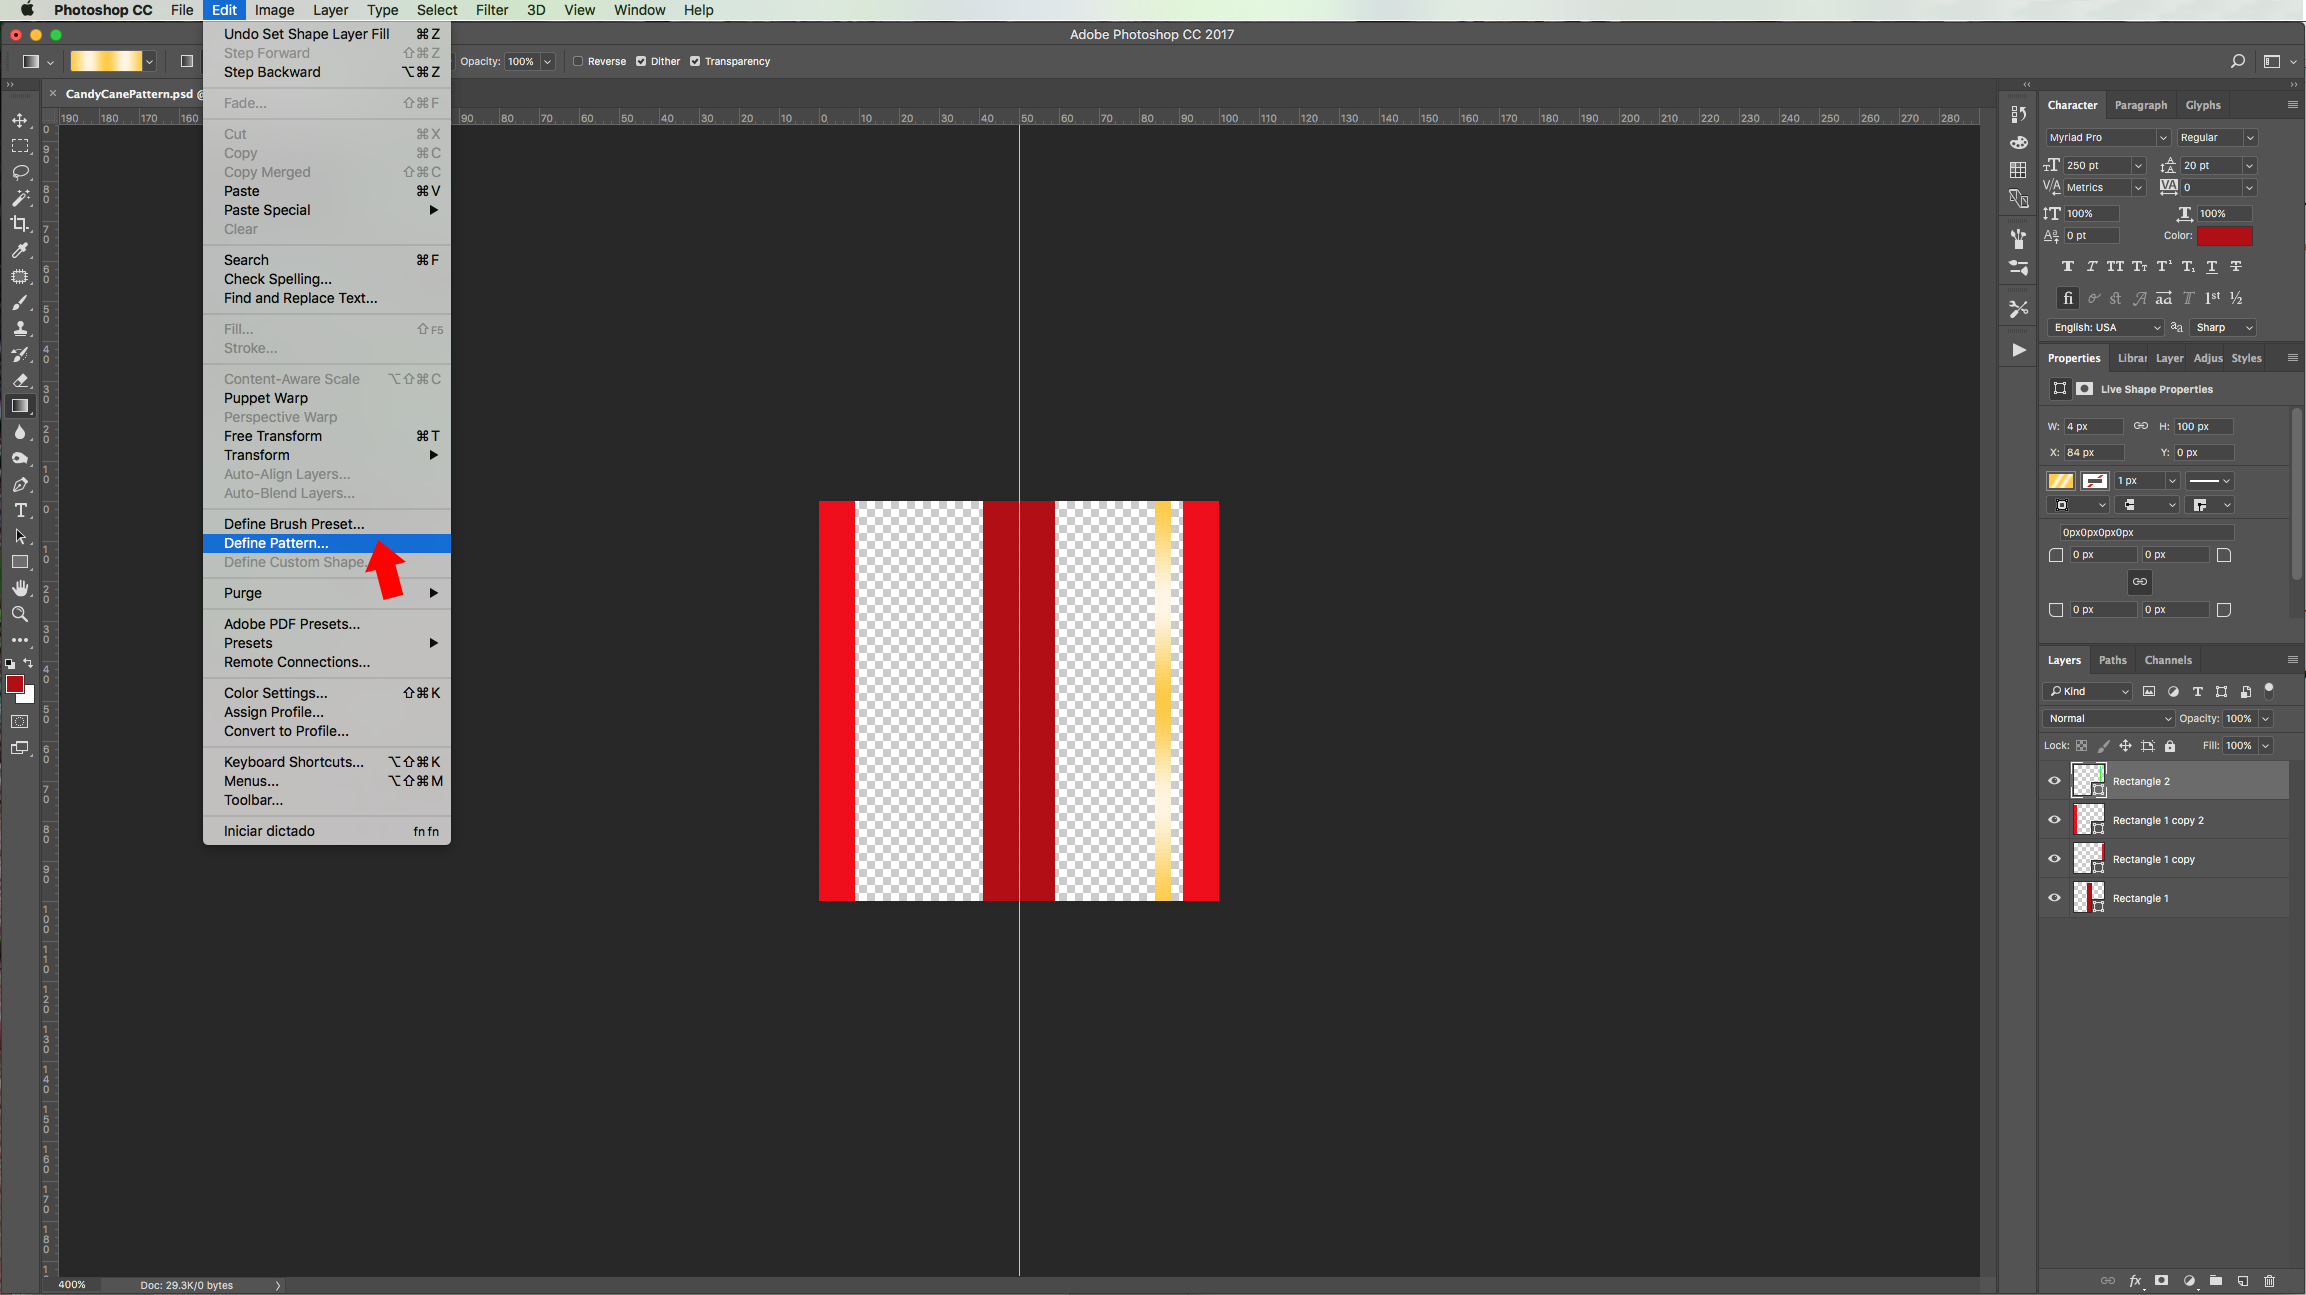
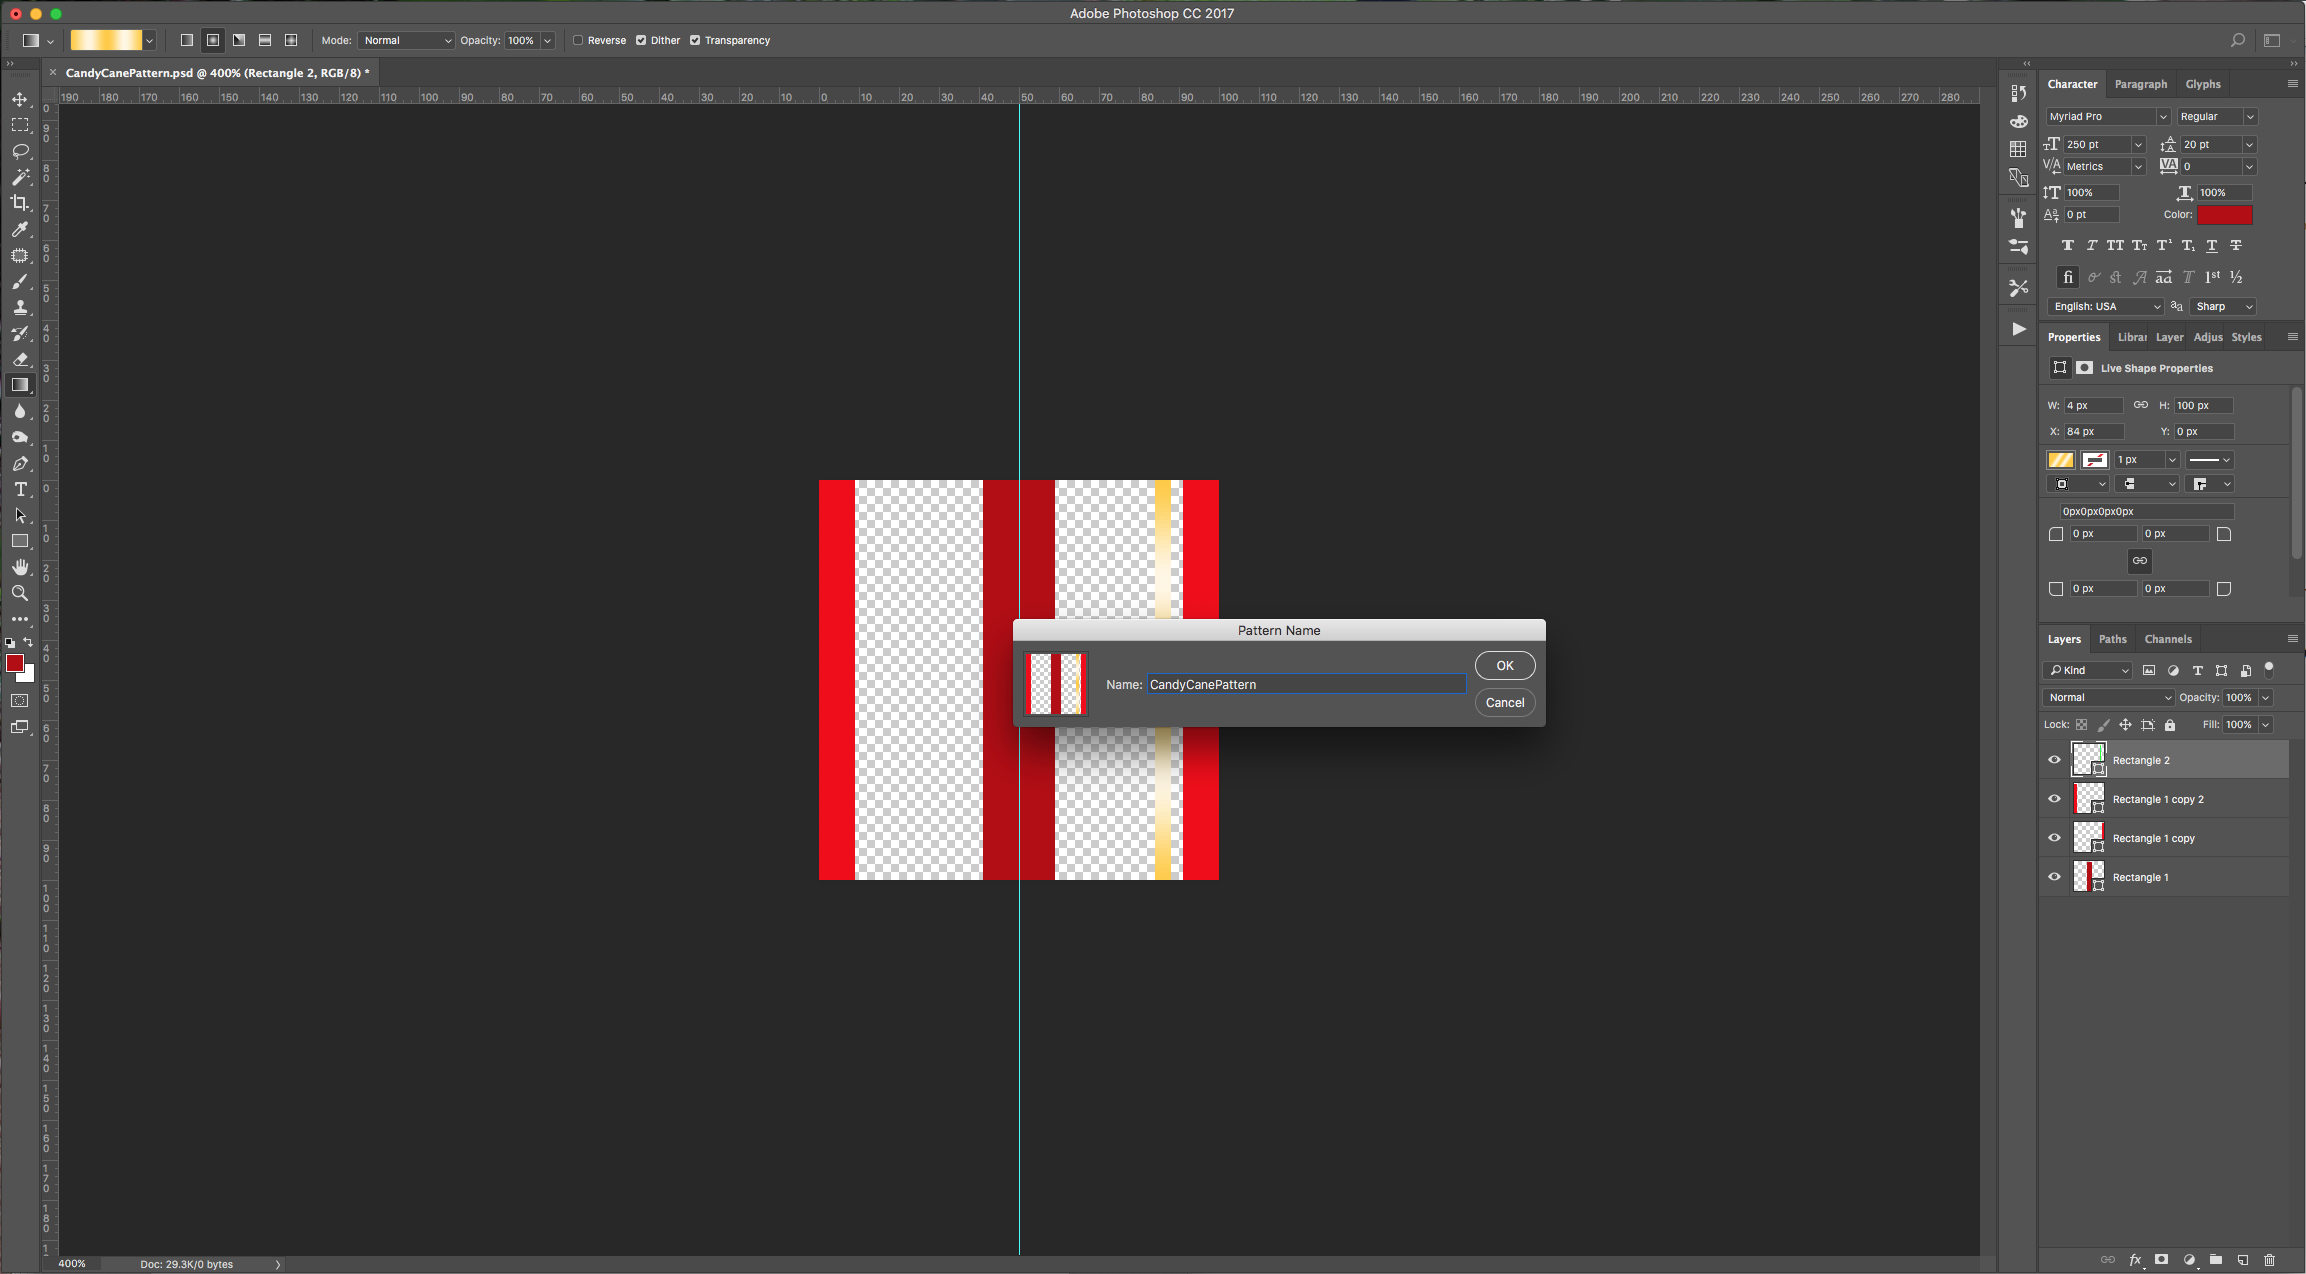
6 - Go to Edit > Define Pattern and give your pattern a name. You can save and close the document.
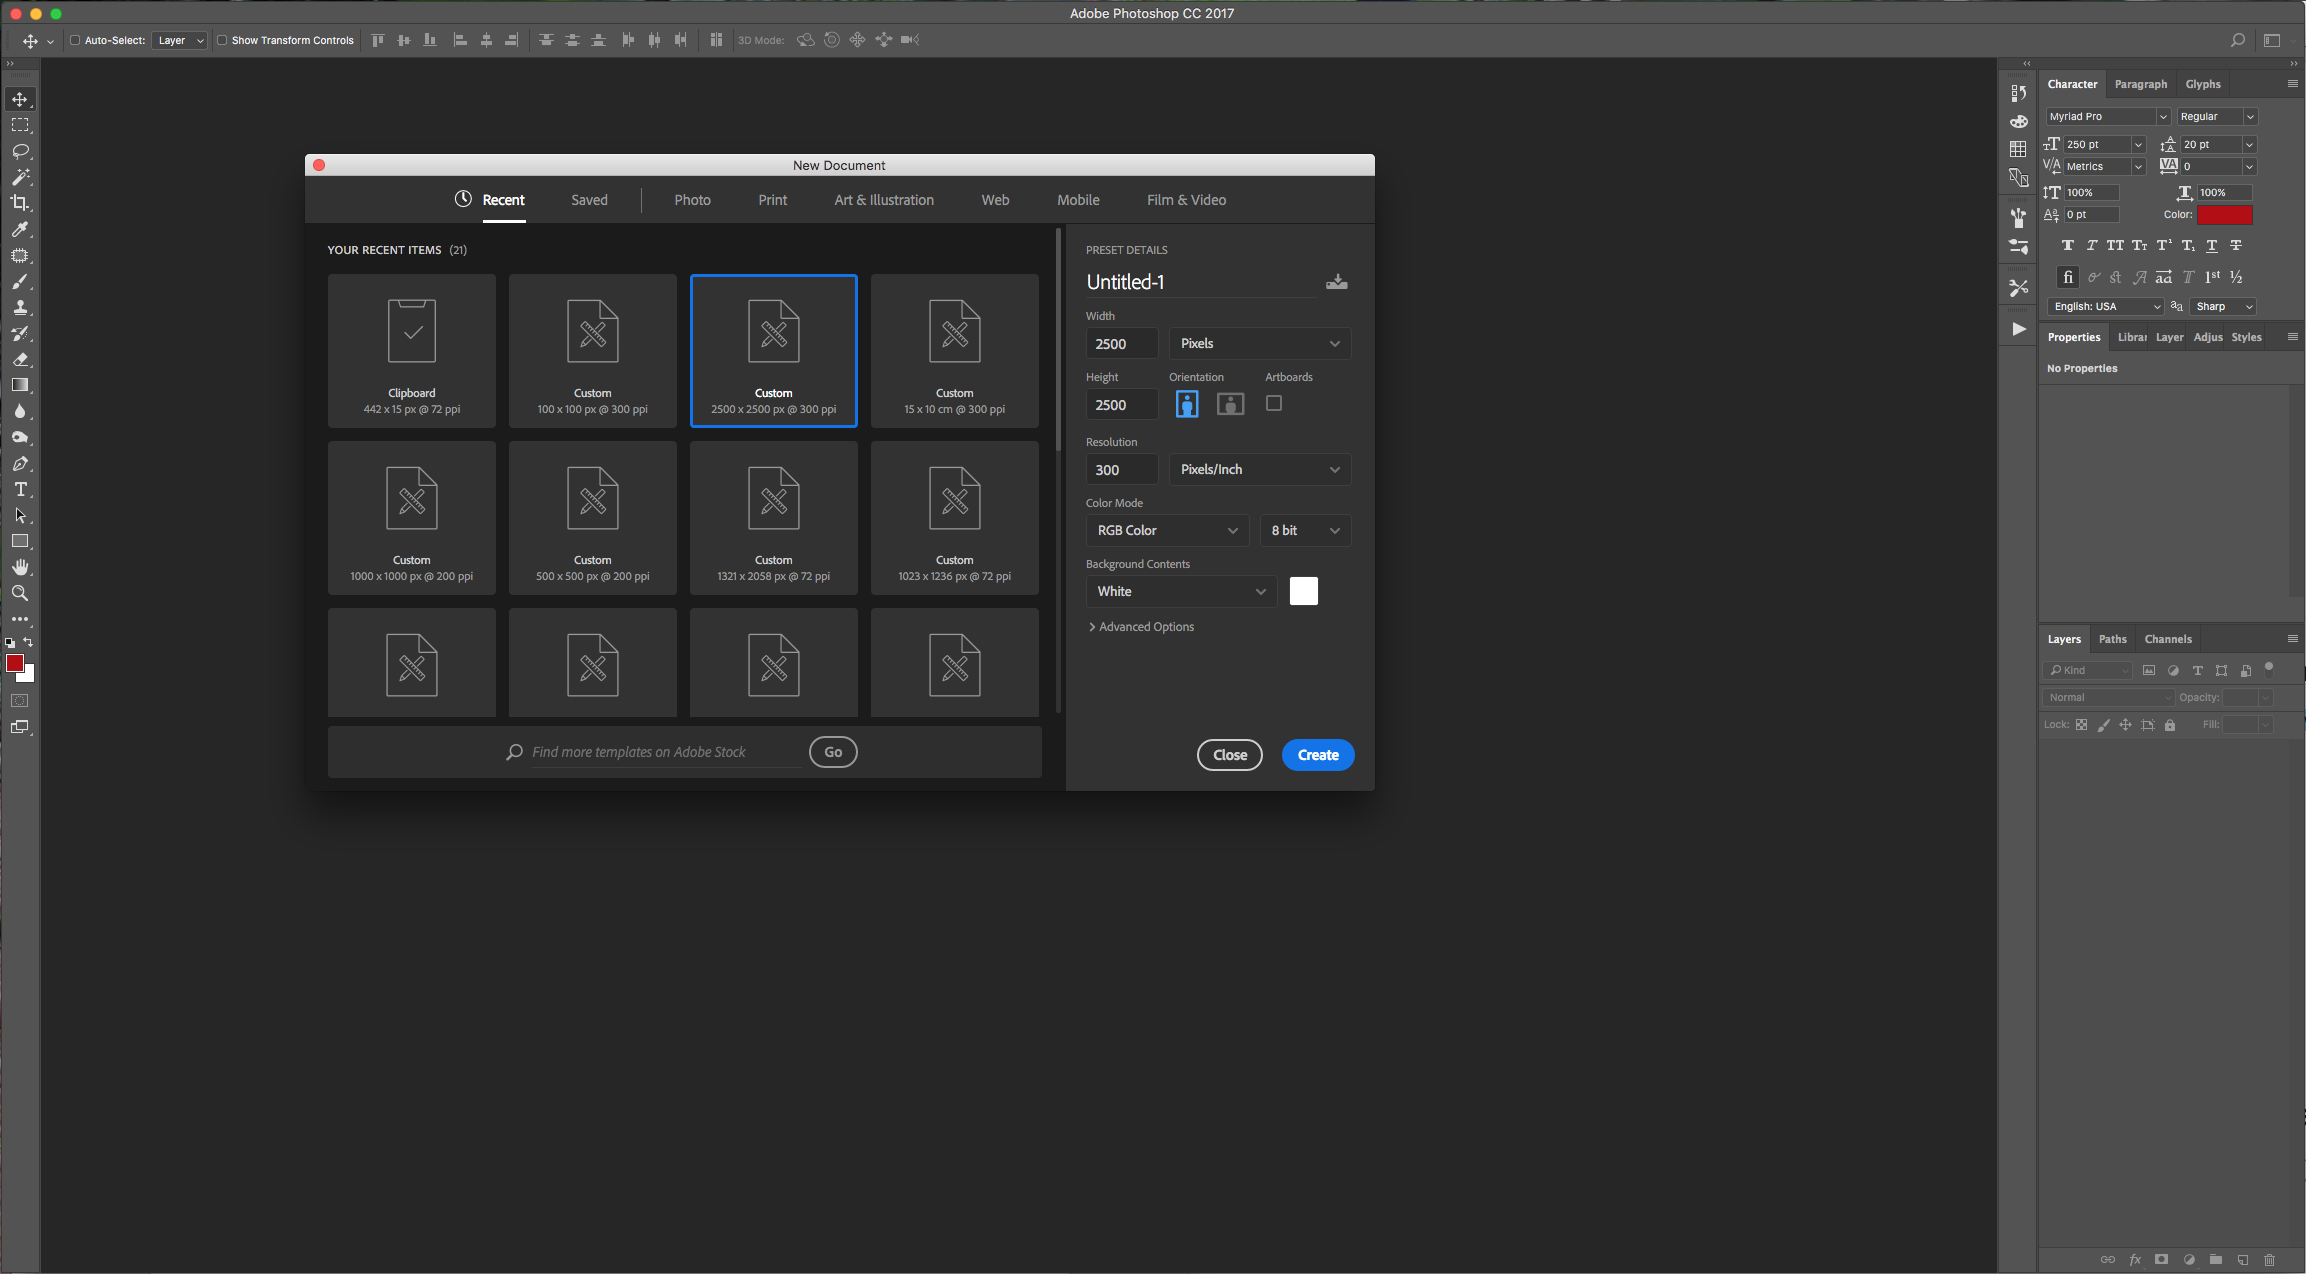
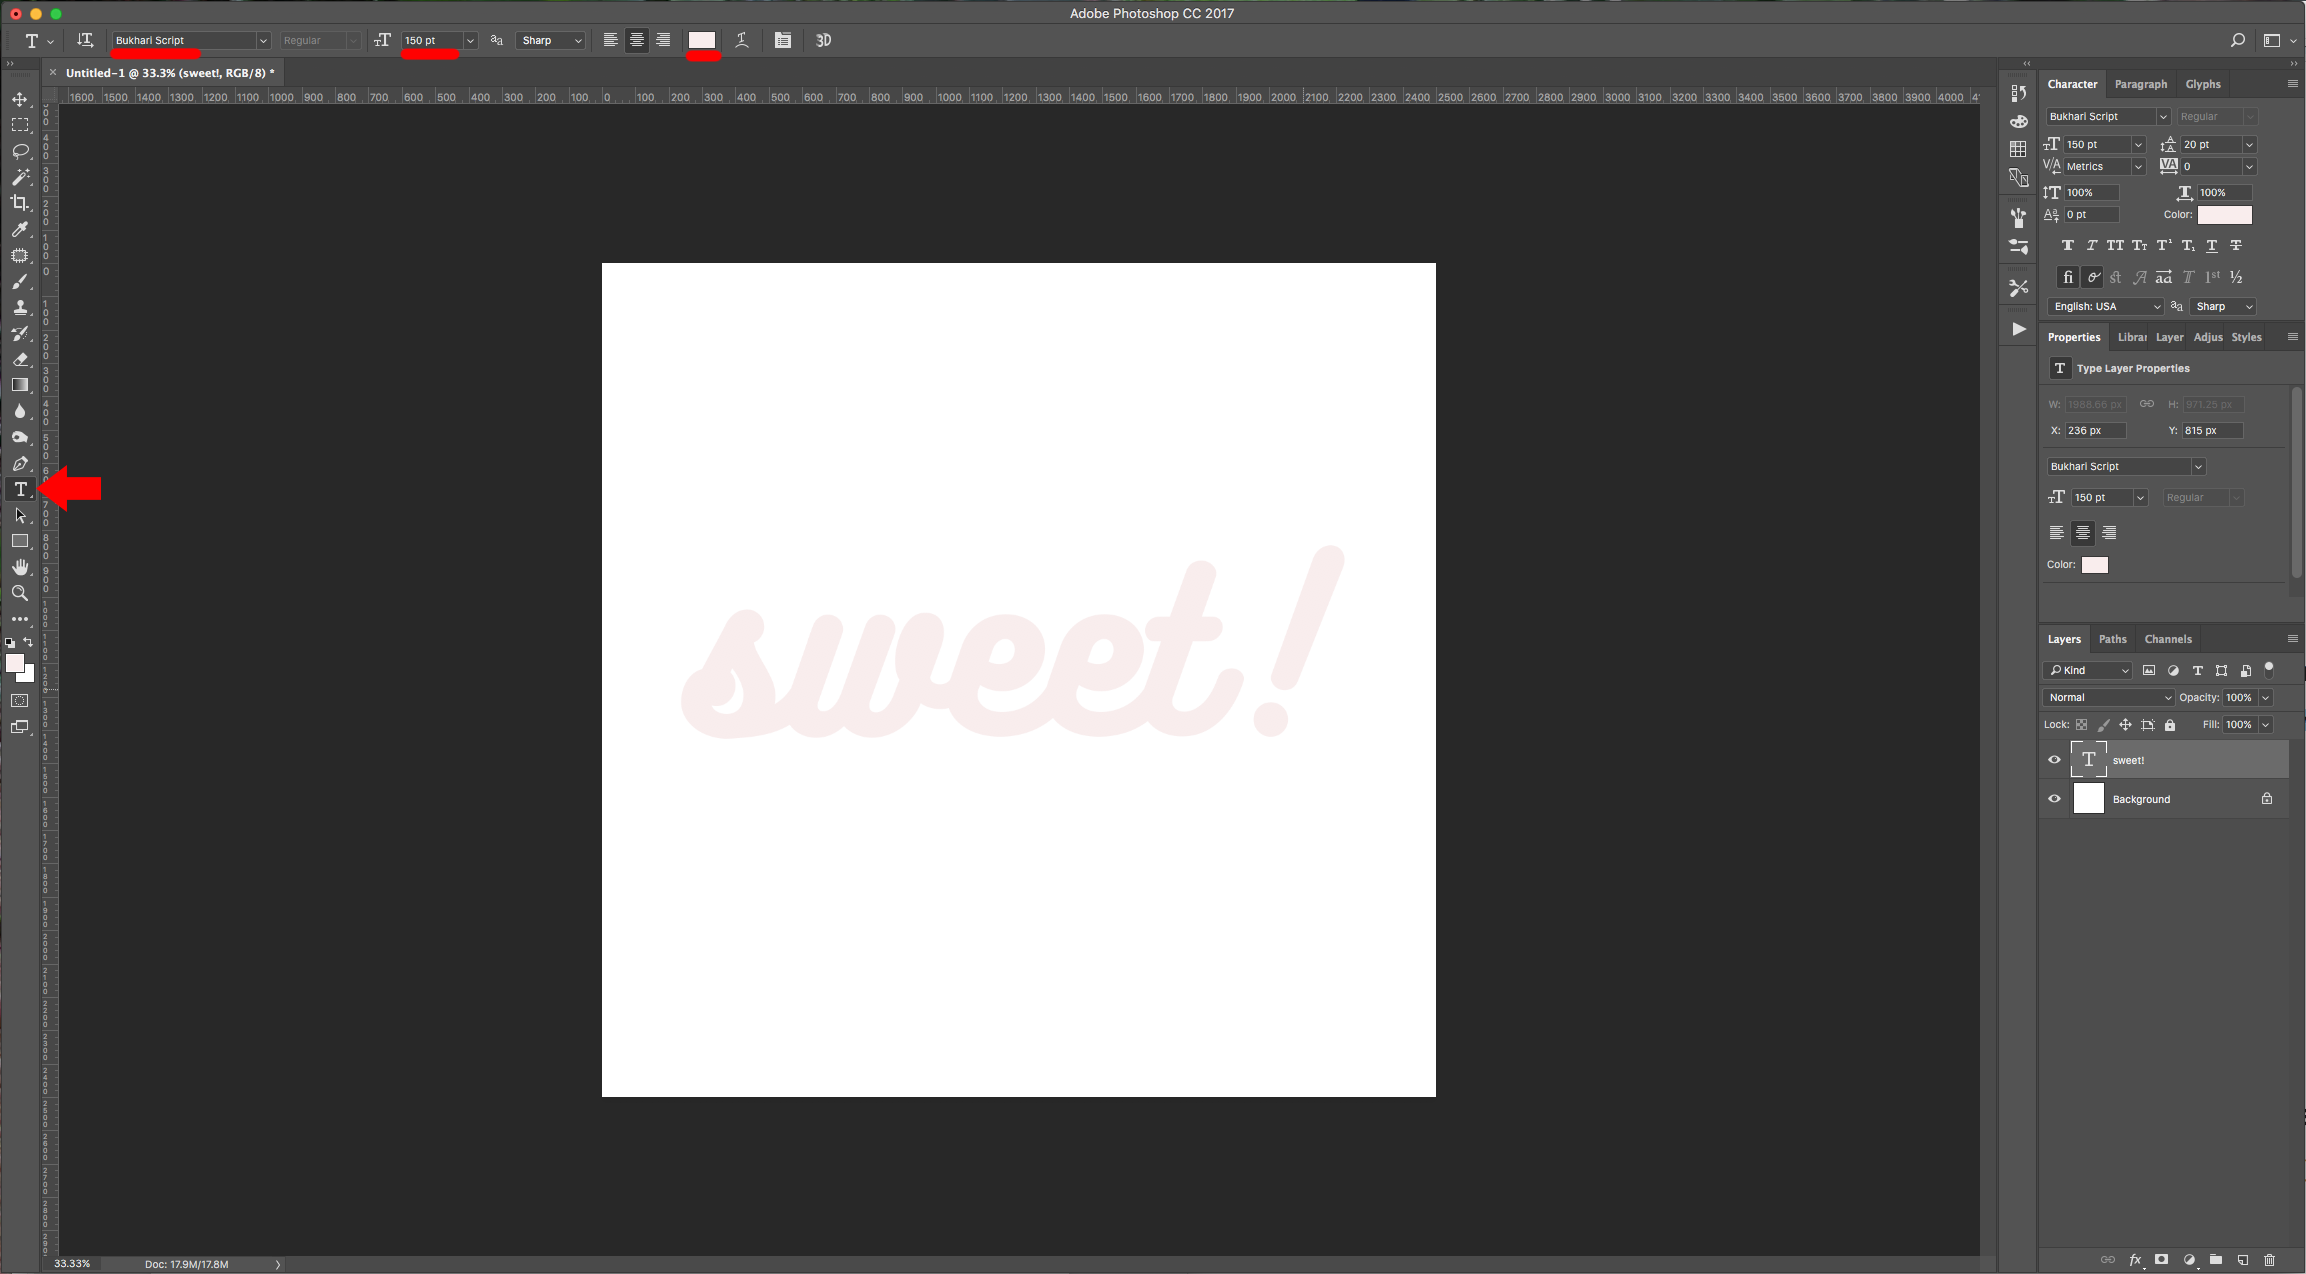
7 - Create a “New Document” and then select the “Type Tool” (T), pick the font of your choice (we used Bukhari Script). Give it a pinkish shade of white for fill (#f9eded) and write your text. The size of the font will depend on your document.
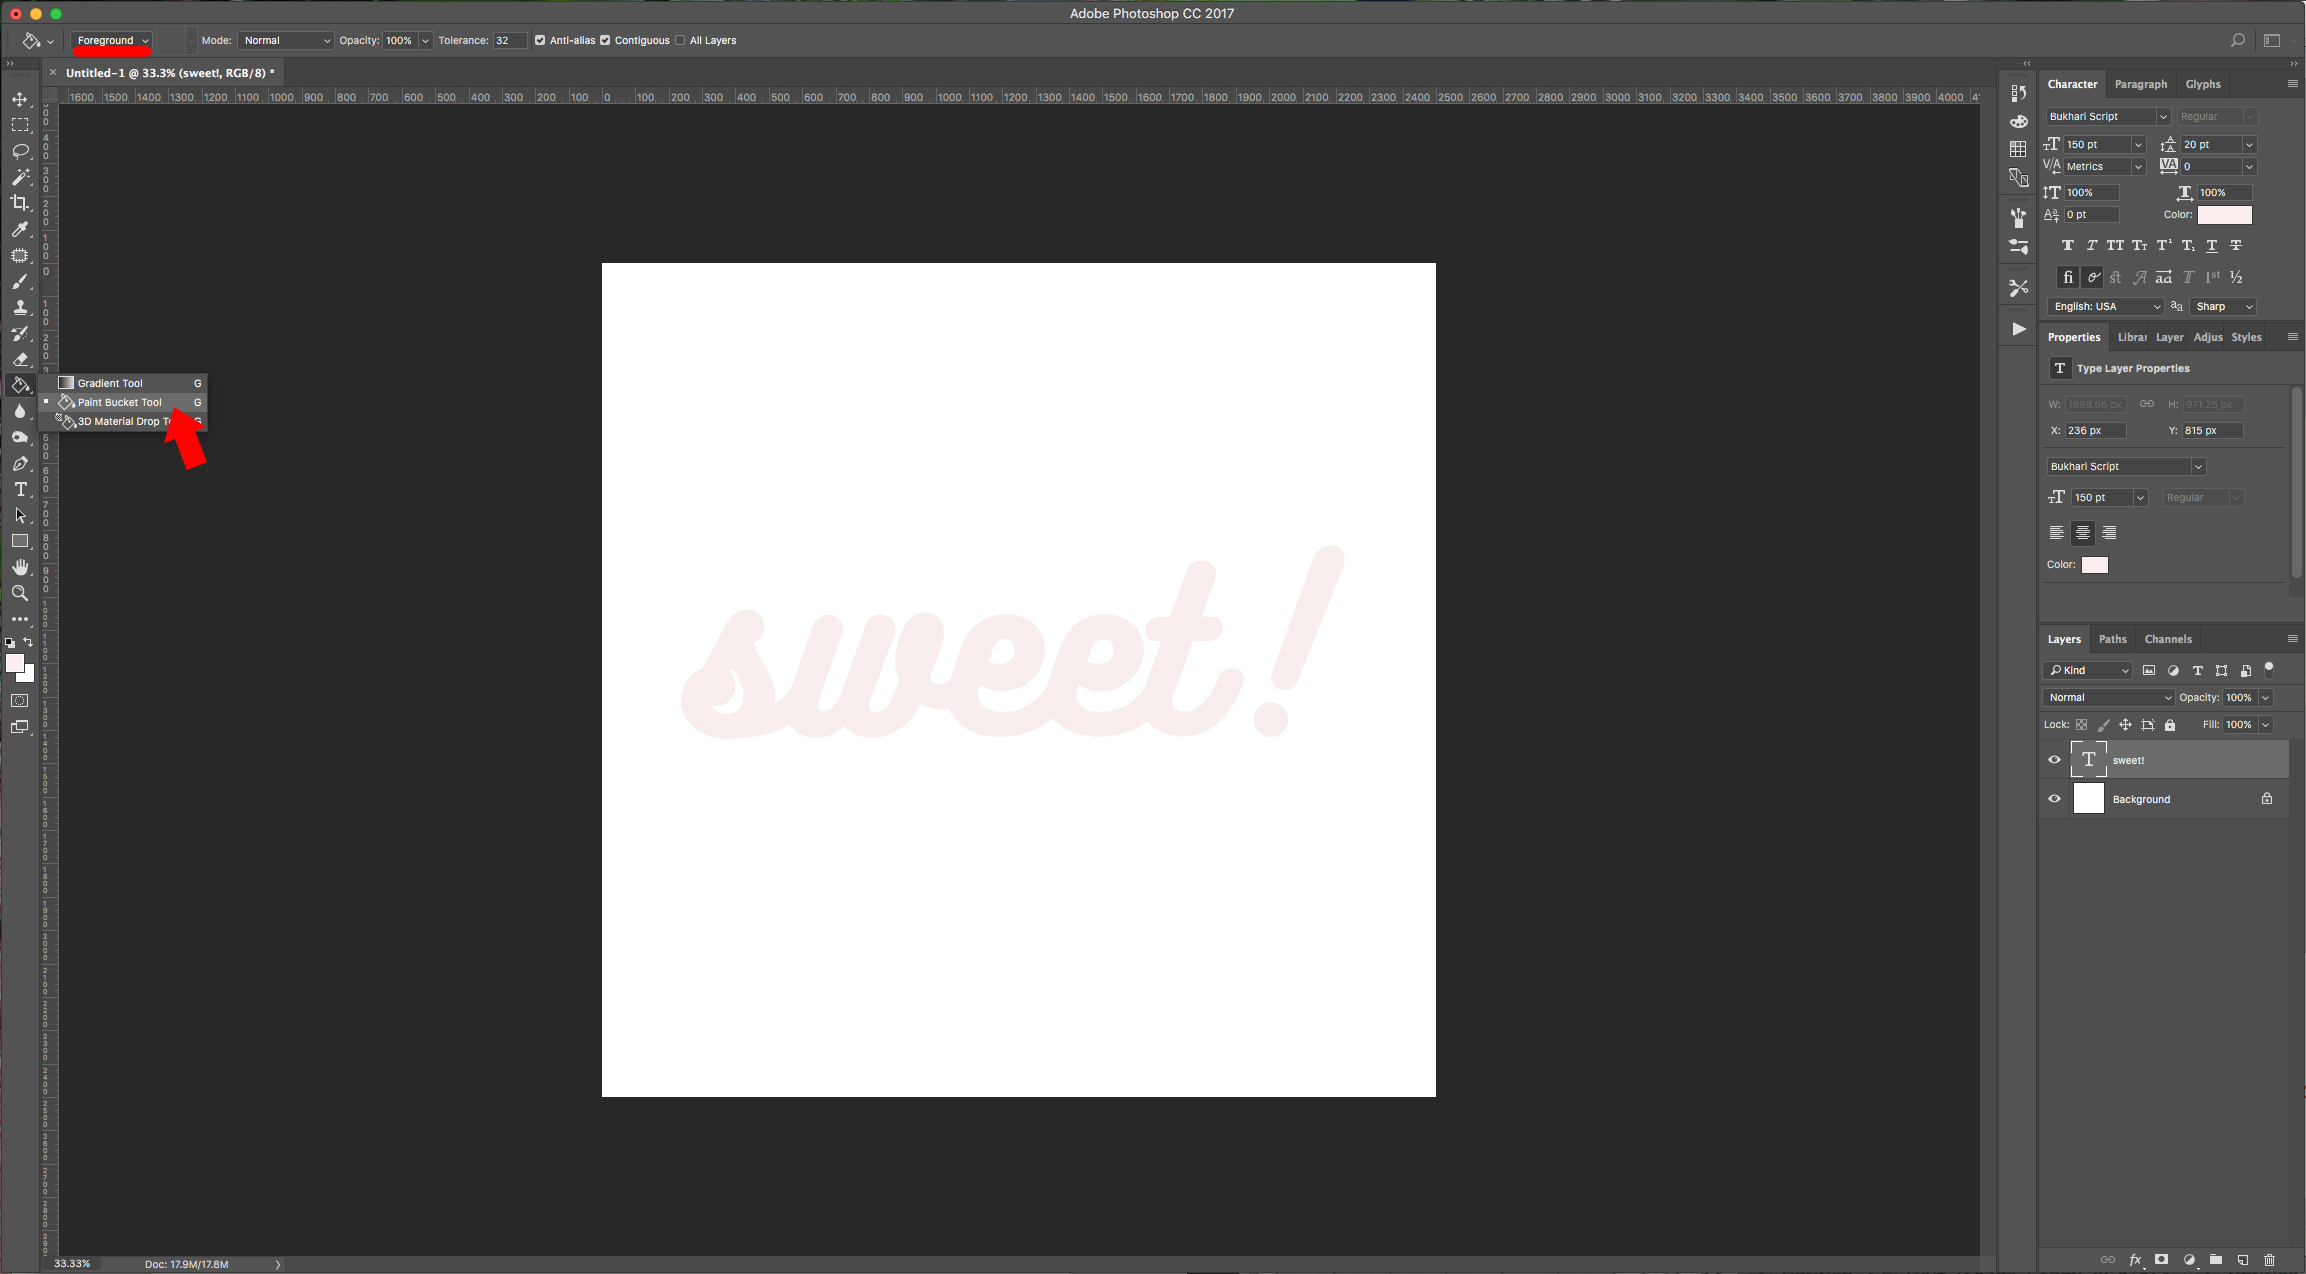
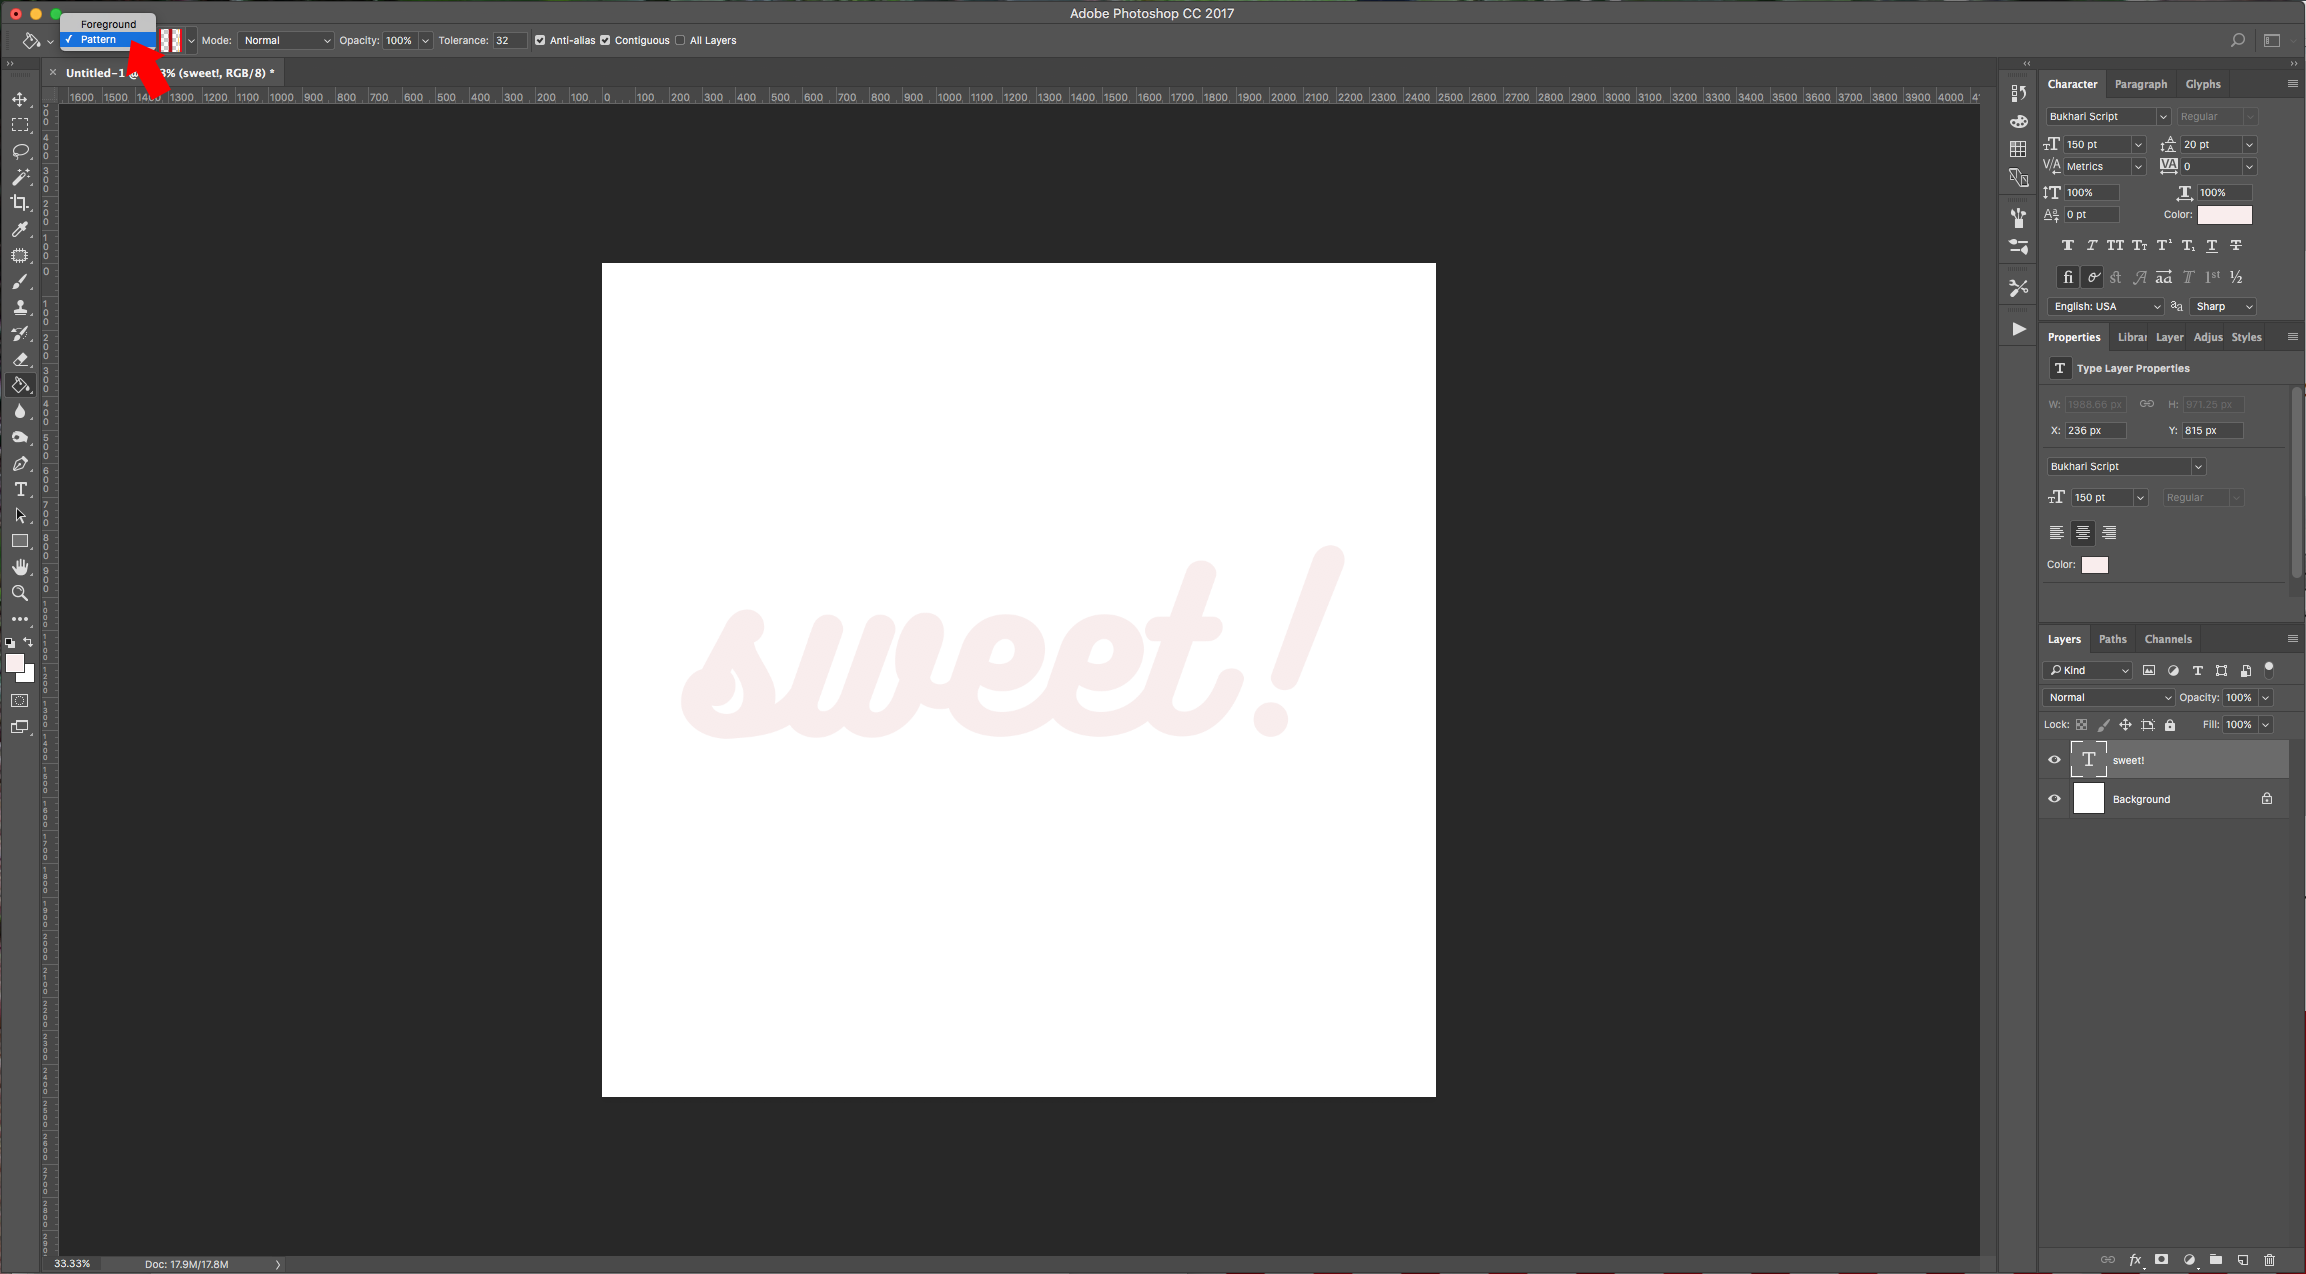
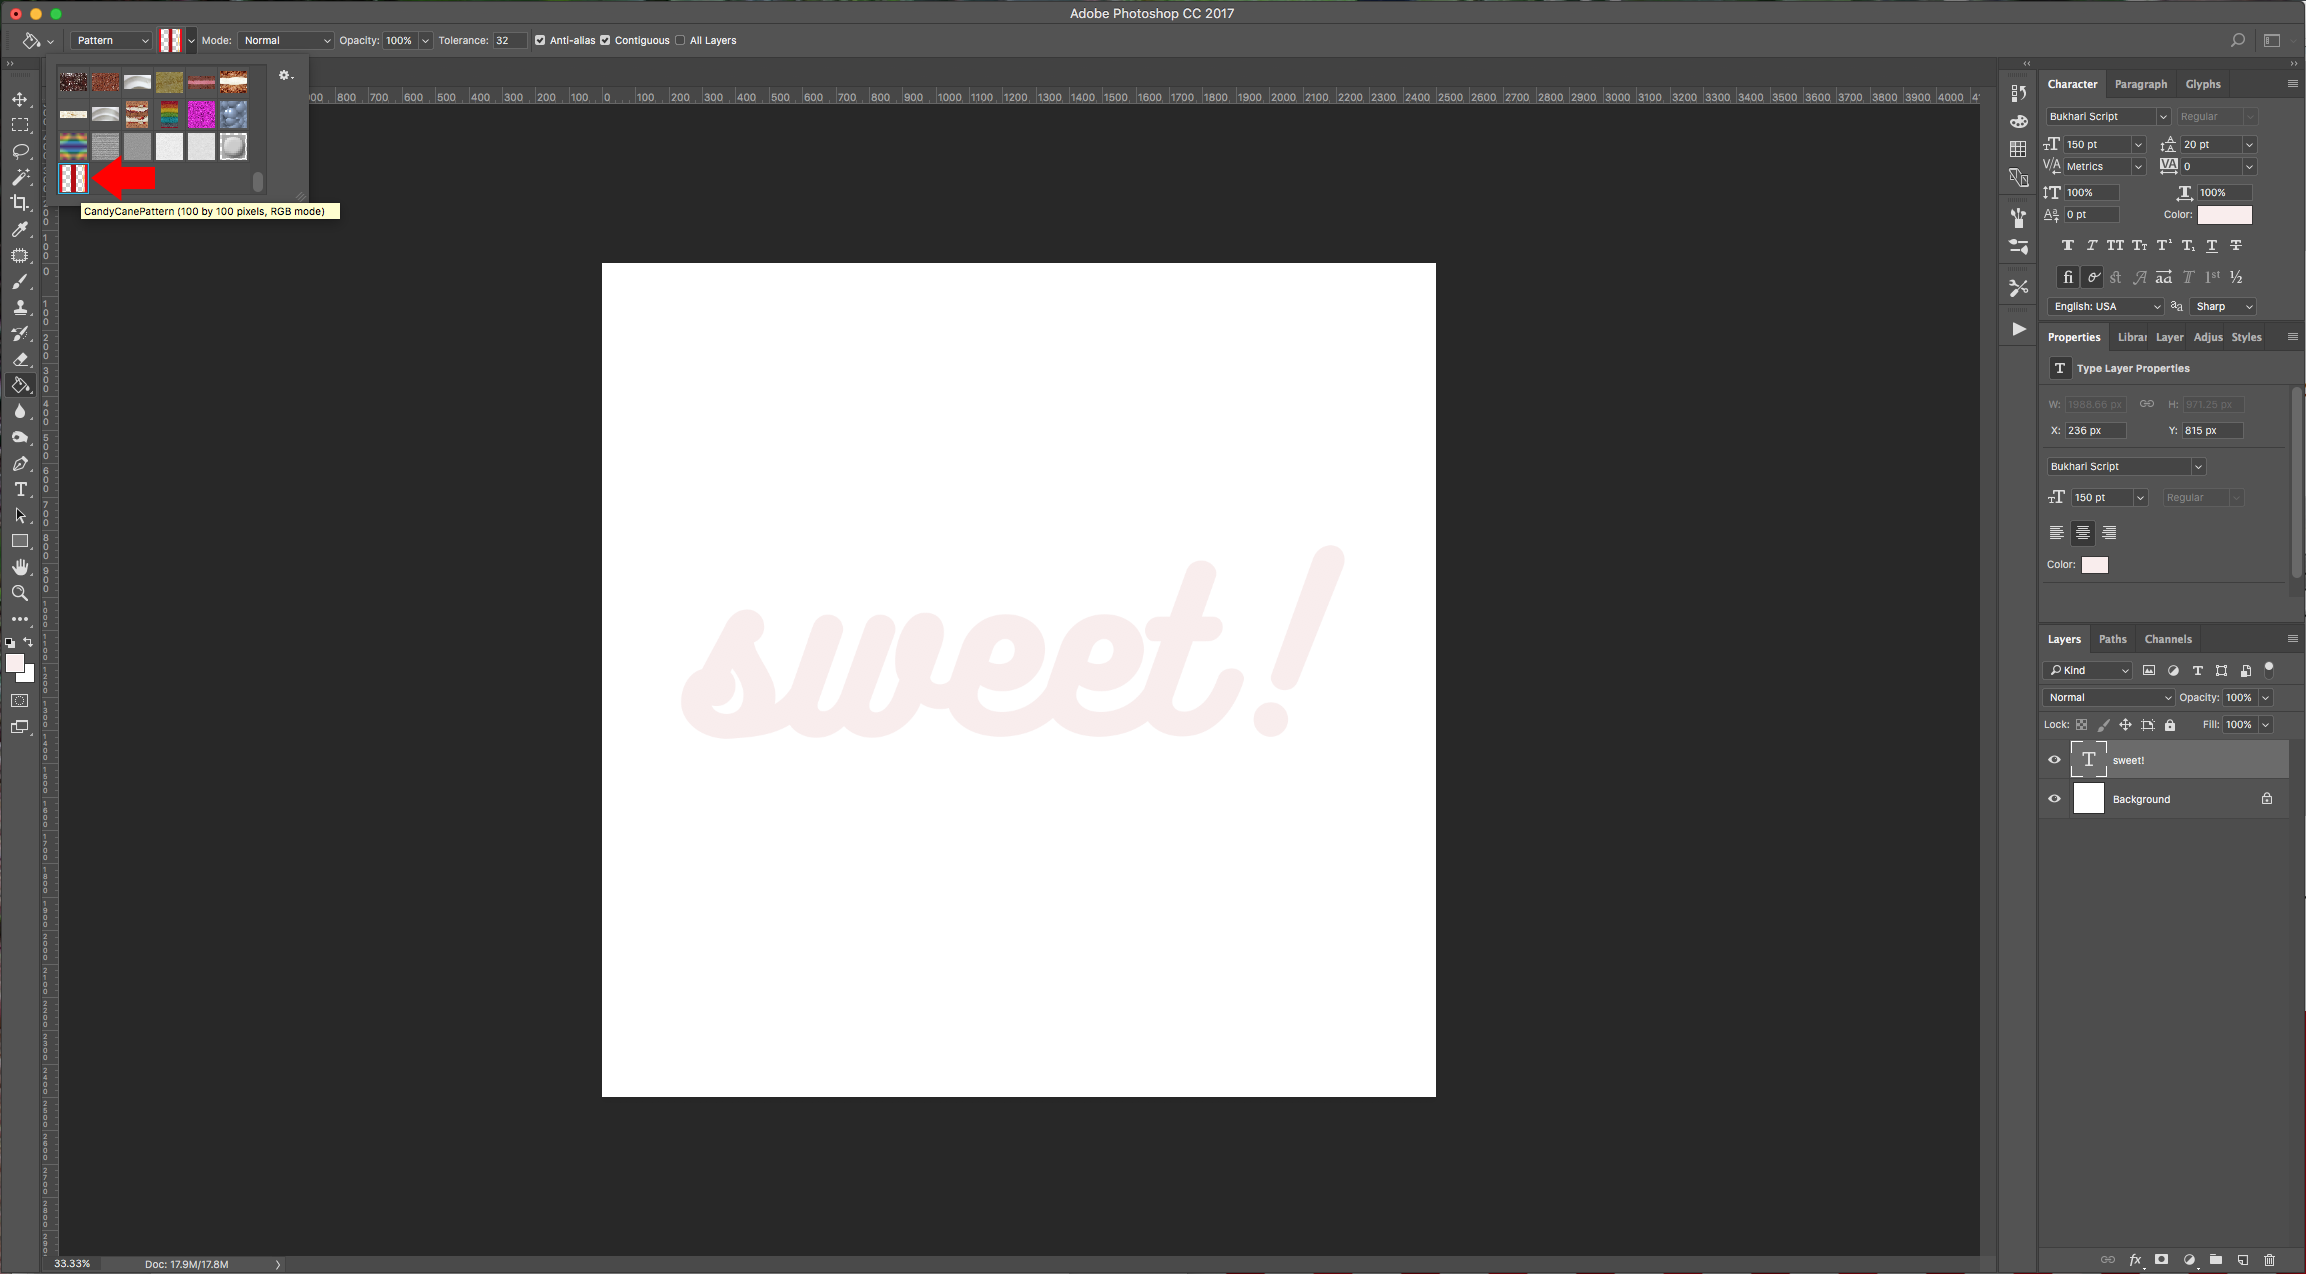
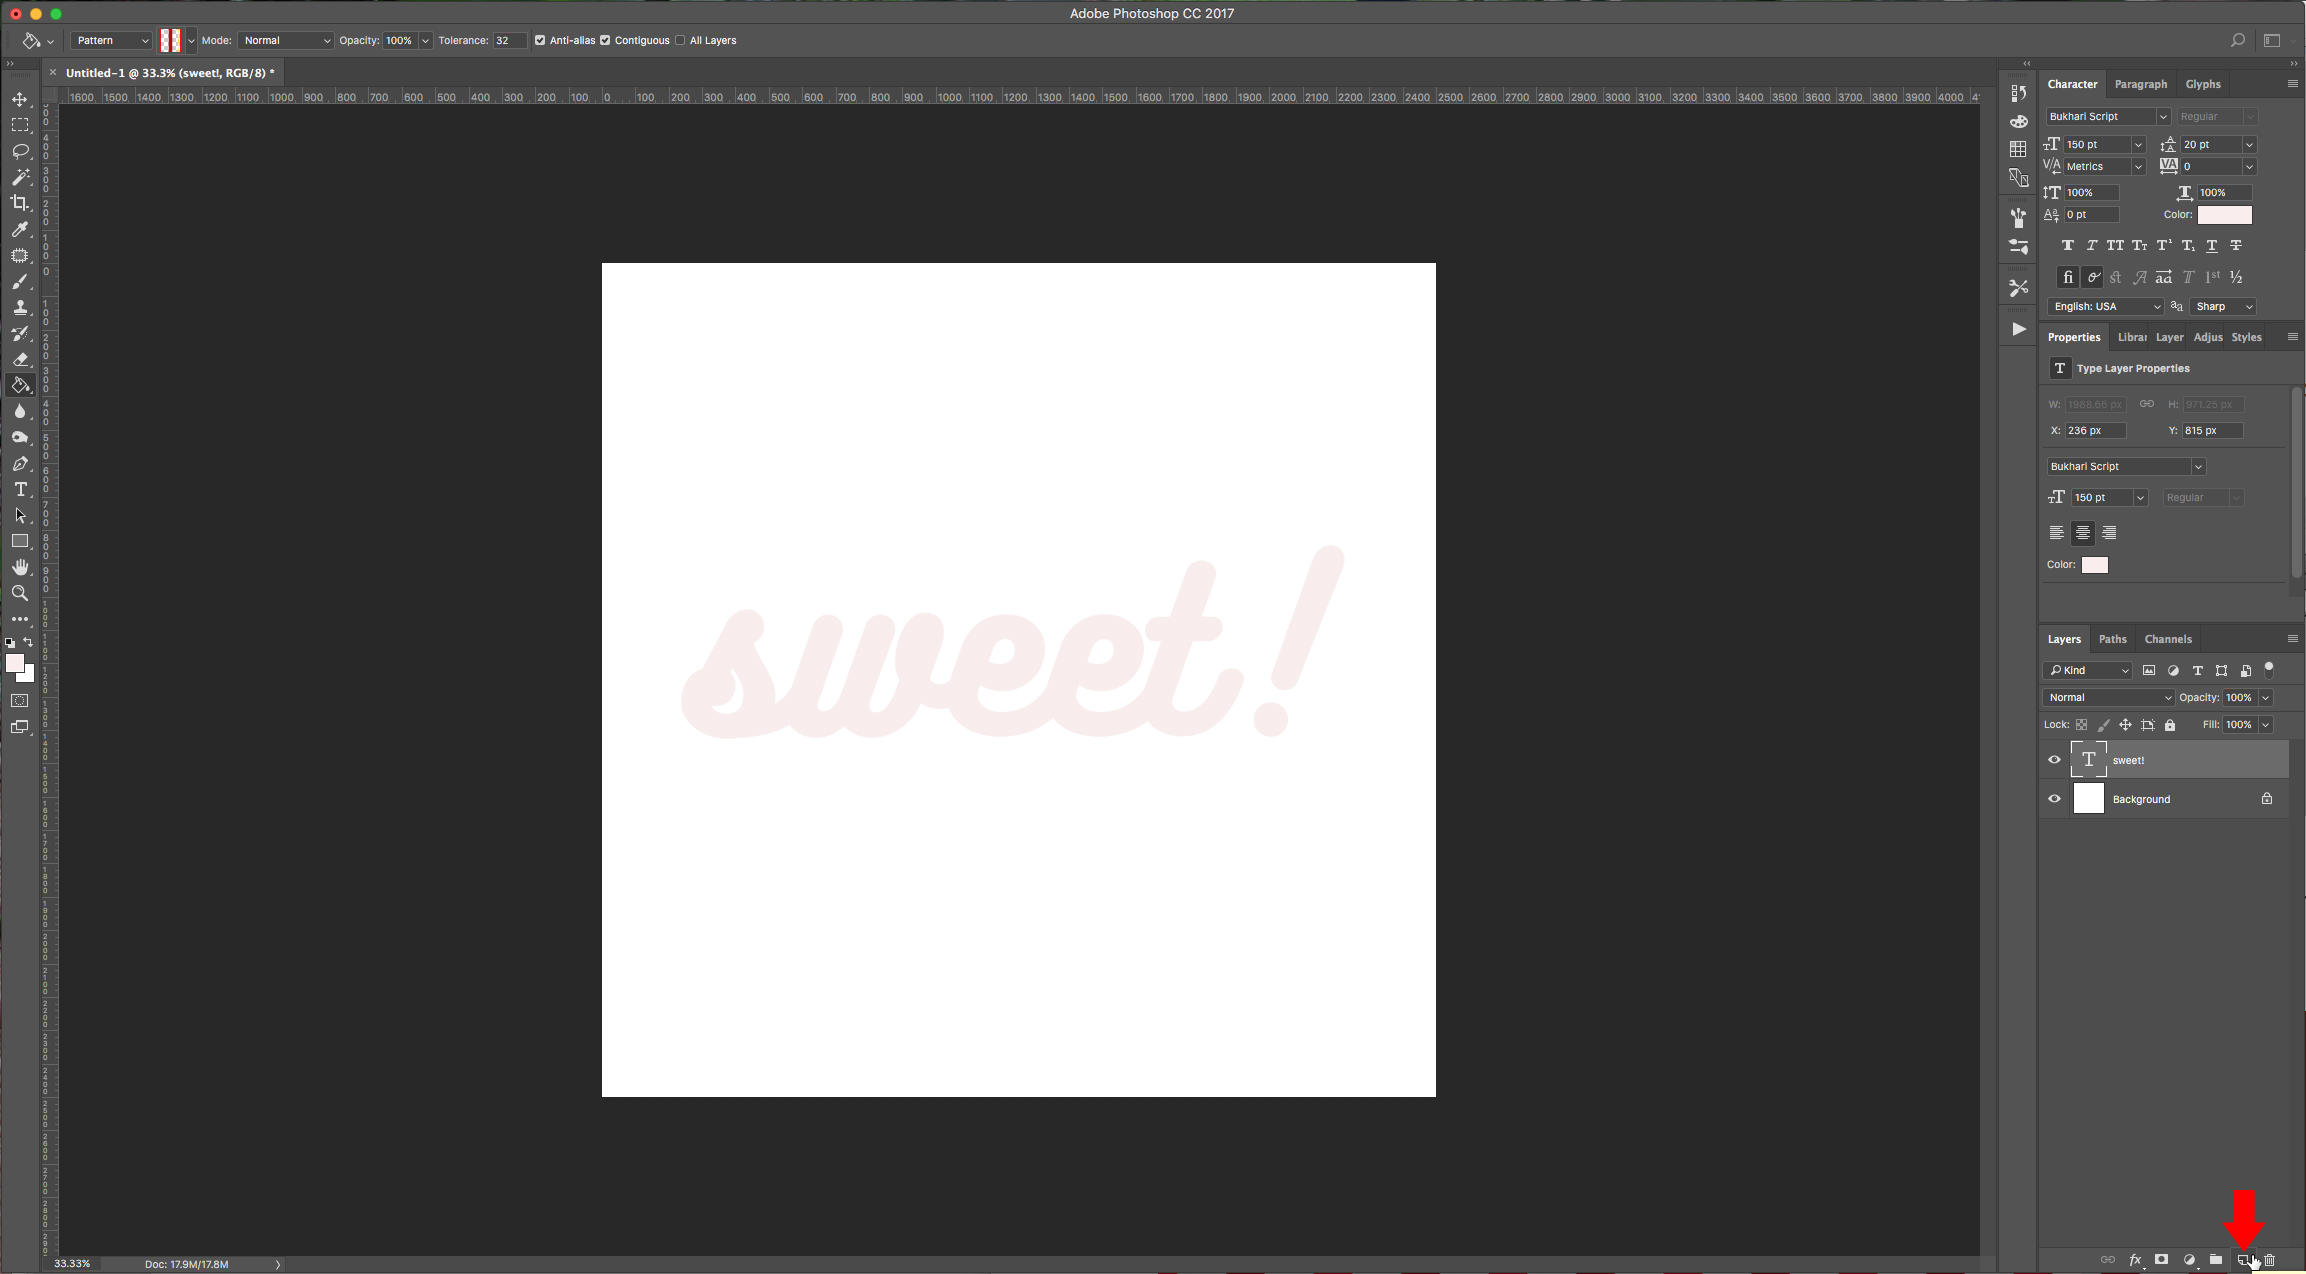
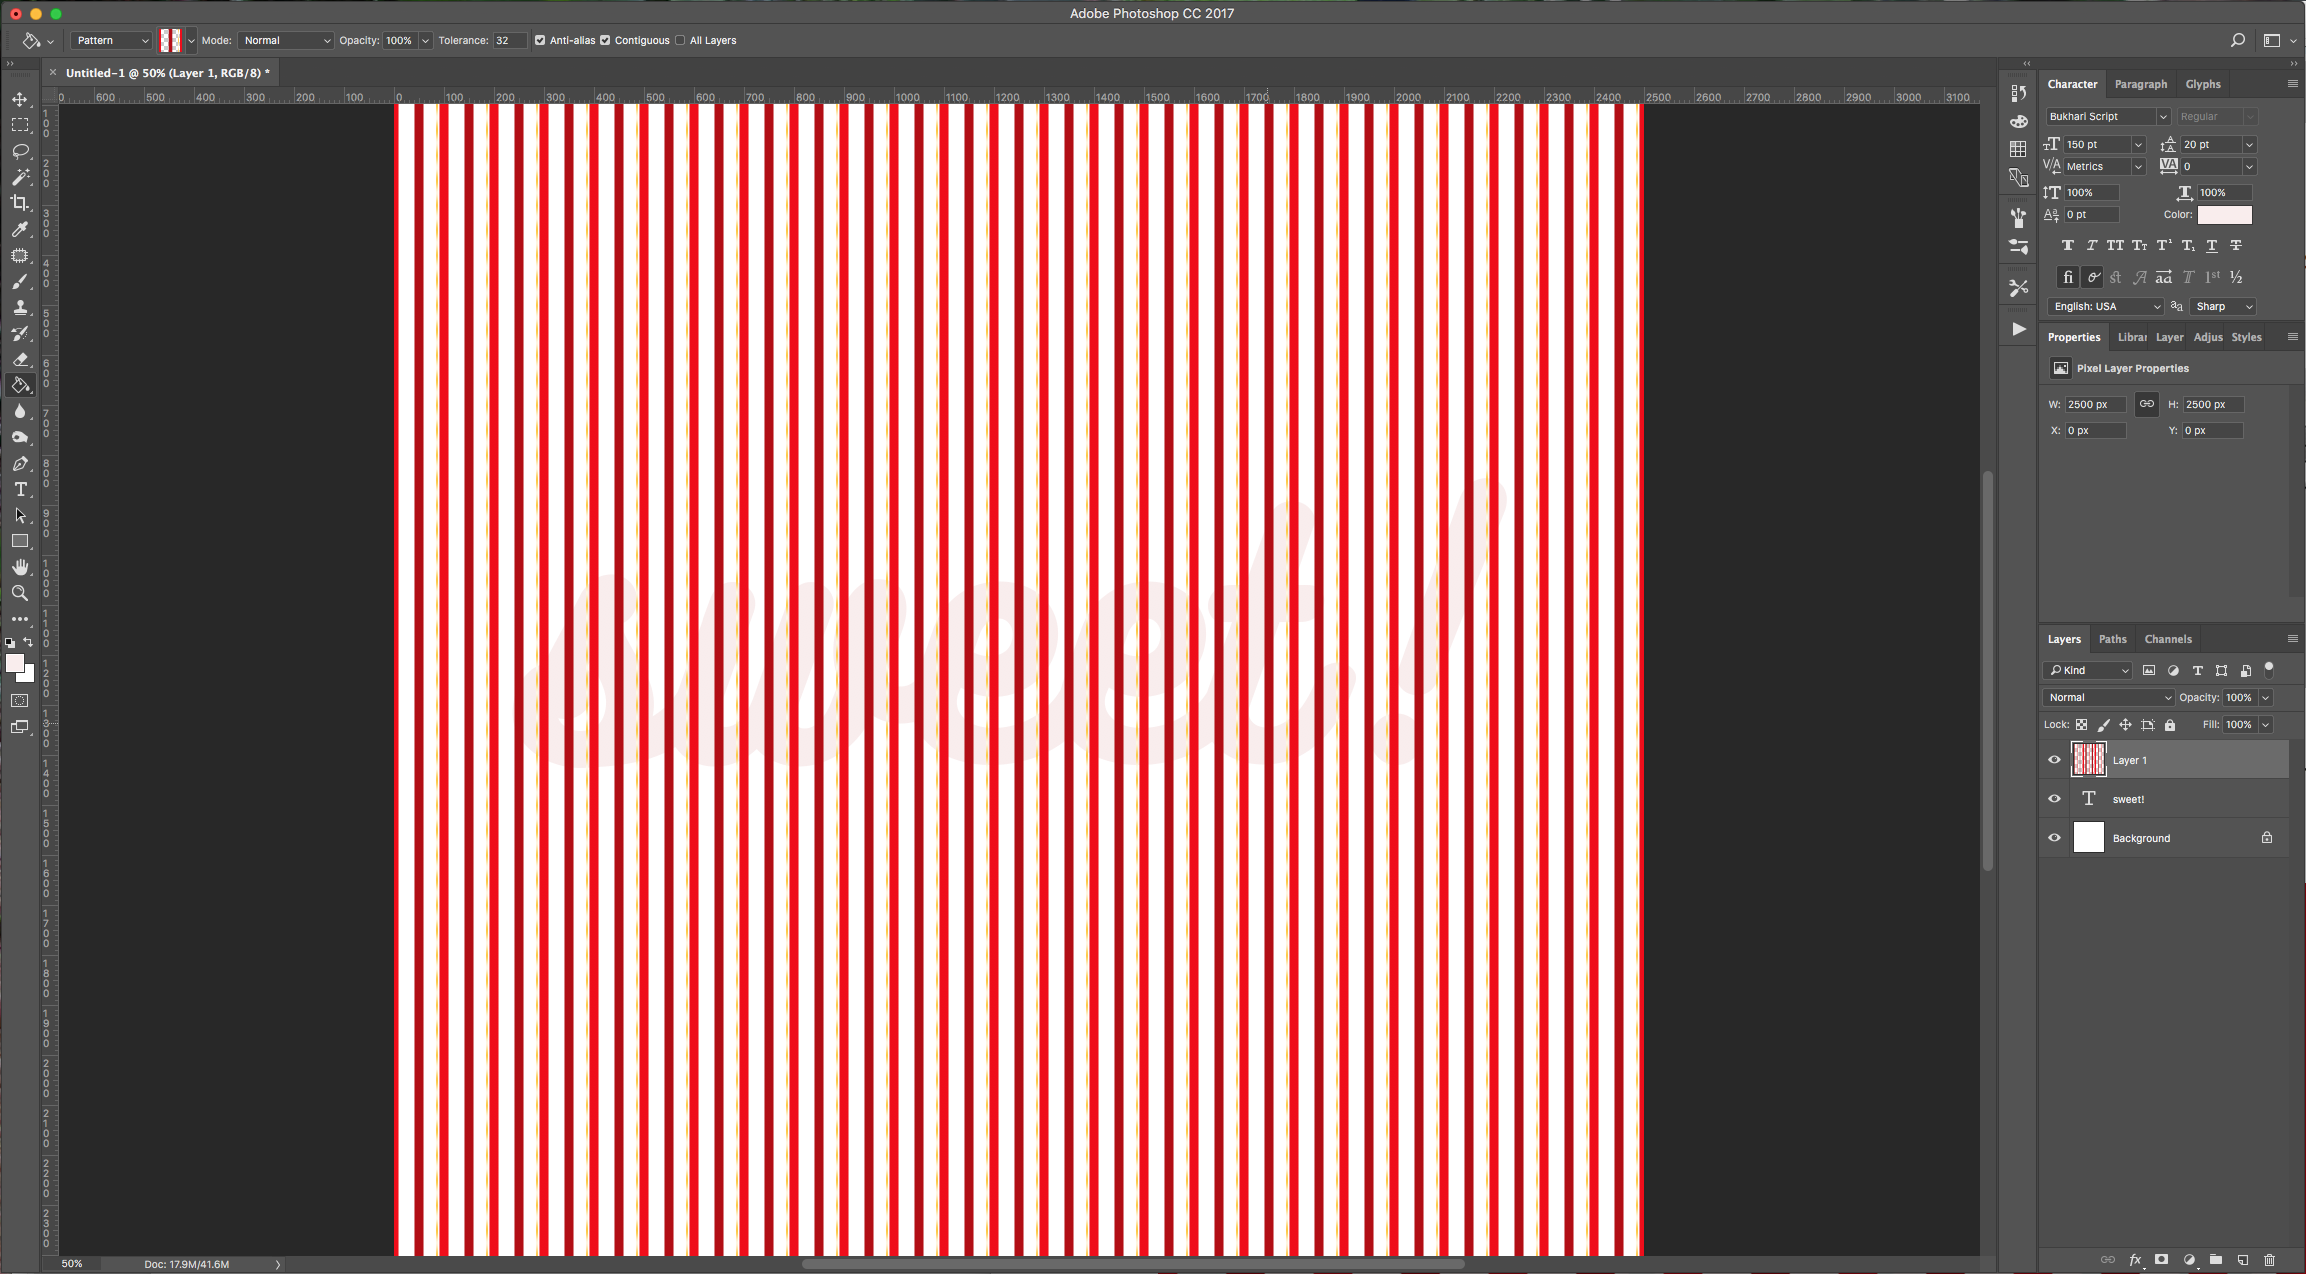
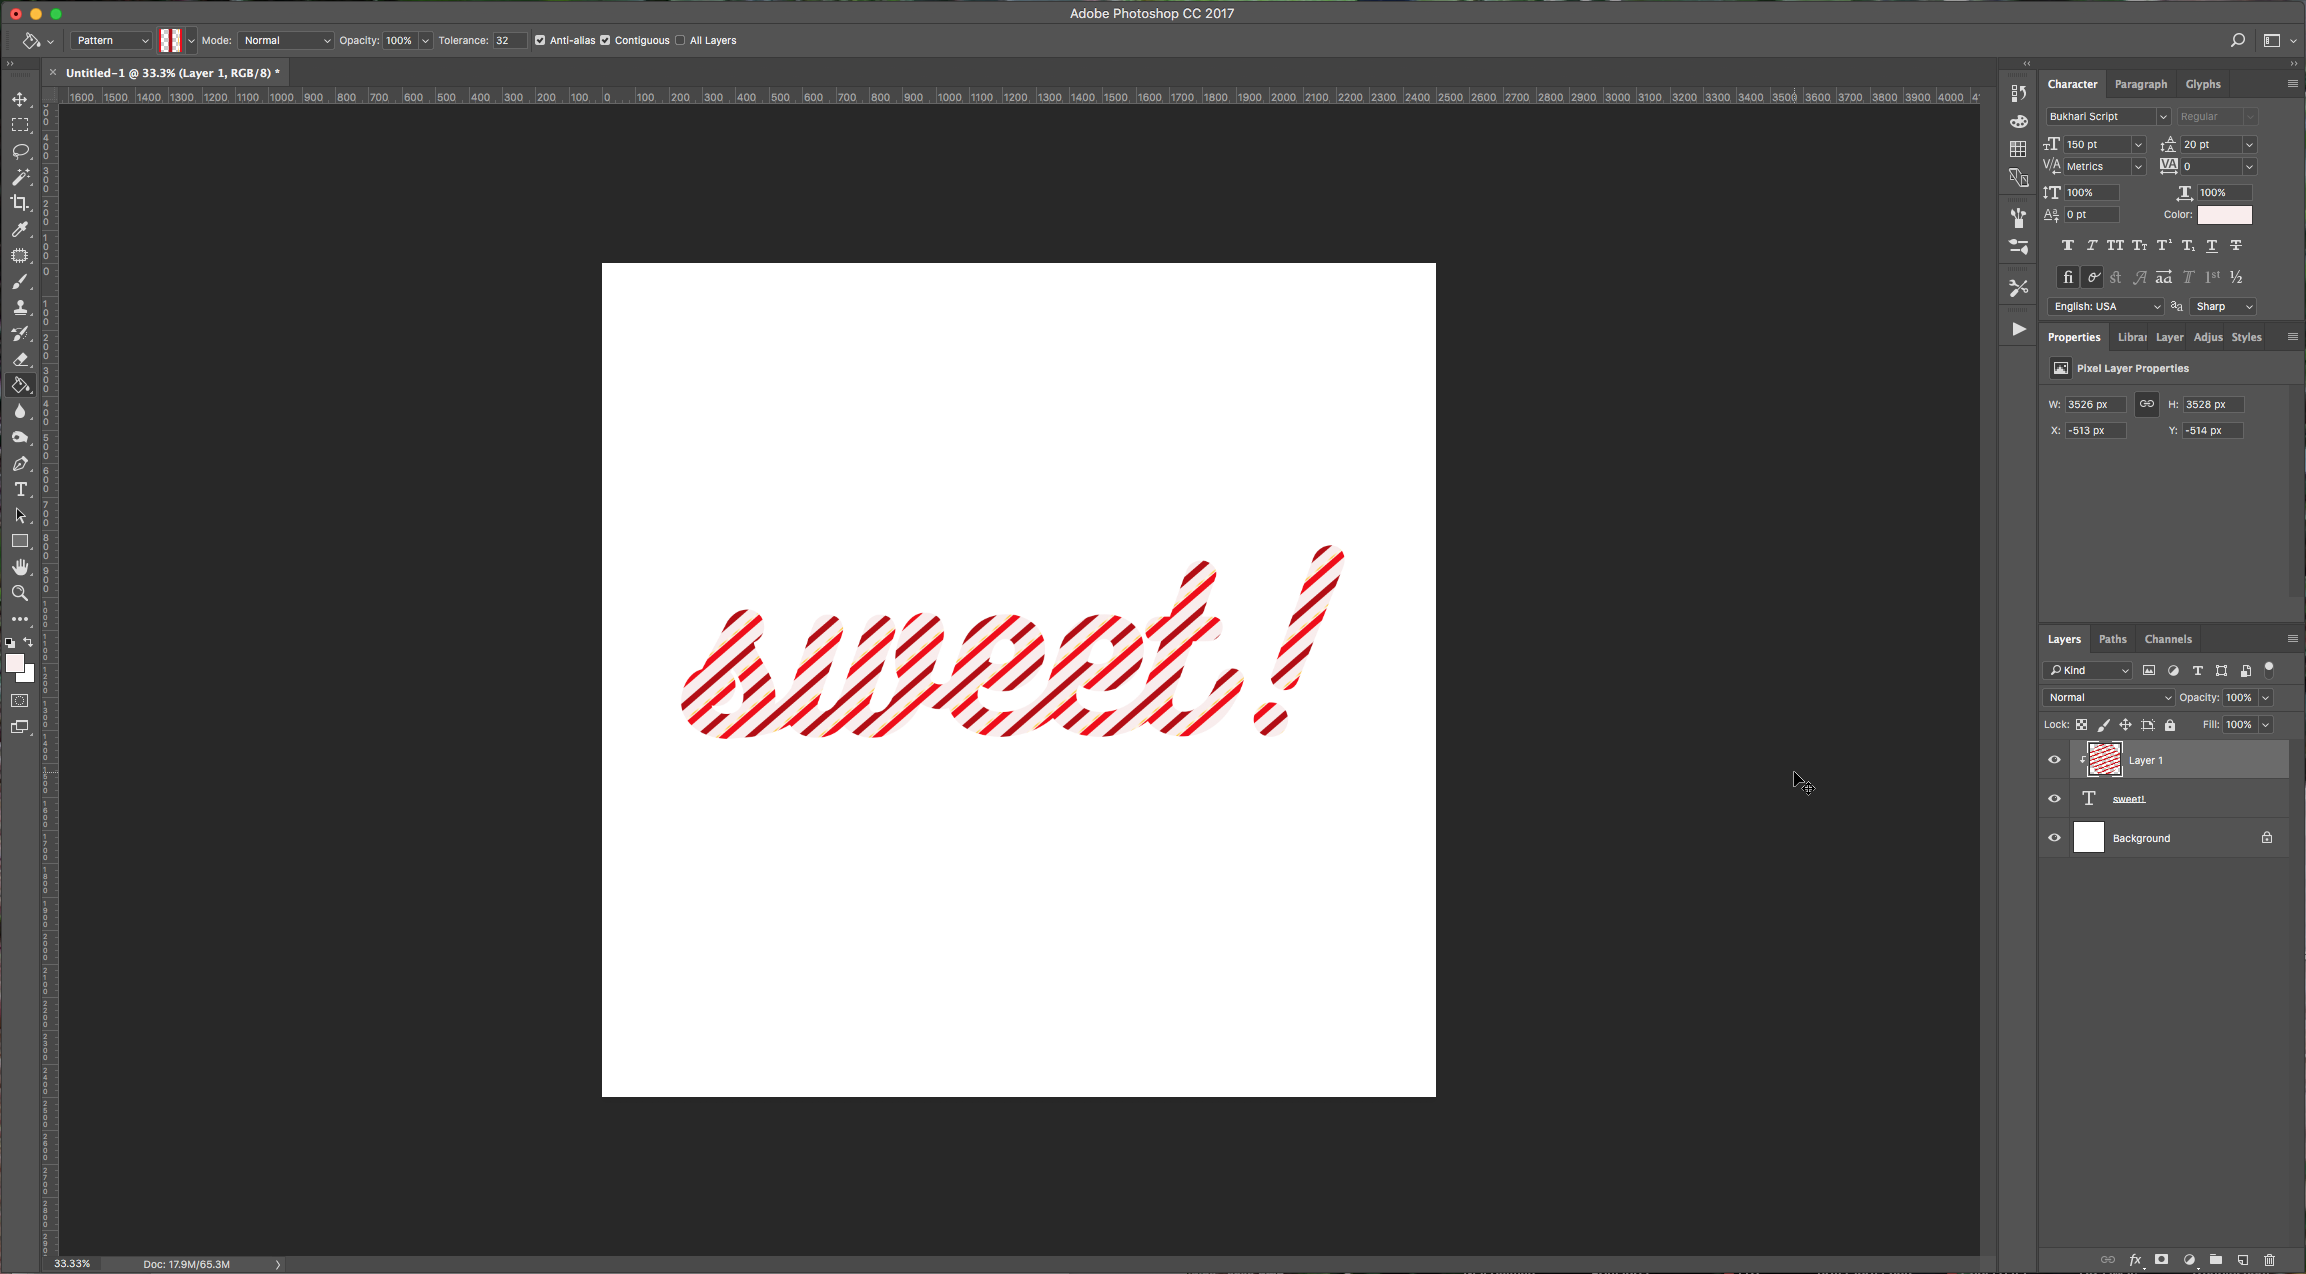
8 - Go to your Toolbar and pick the “Paint Bucket Tool” (G), then at the top menu, change the source from “Foreground” to “Pattern”, choose the pattern you created from the dropdown menu (it should be the last one). Create a “New Layer” by clicking the “Create a New Layer” button at the bottom of the “Layers” menu and then click on the document to fill the layer with your pattern.
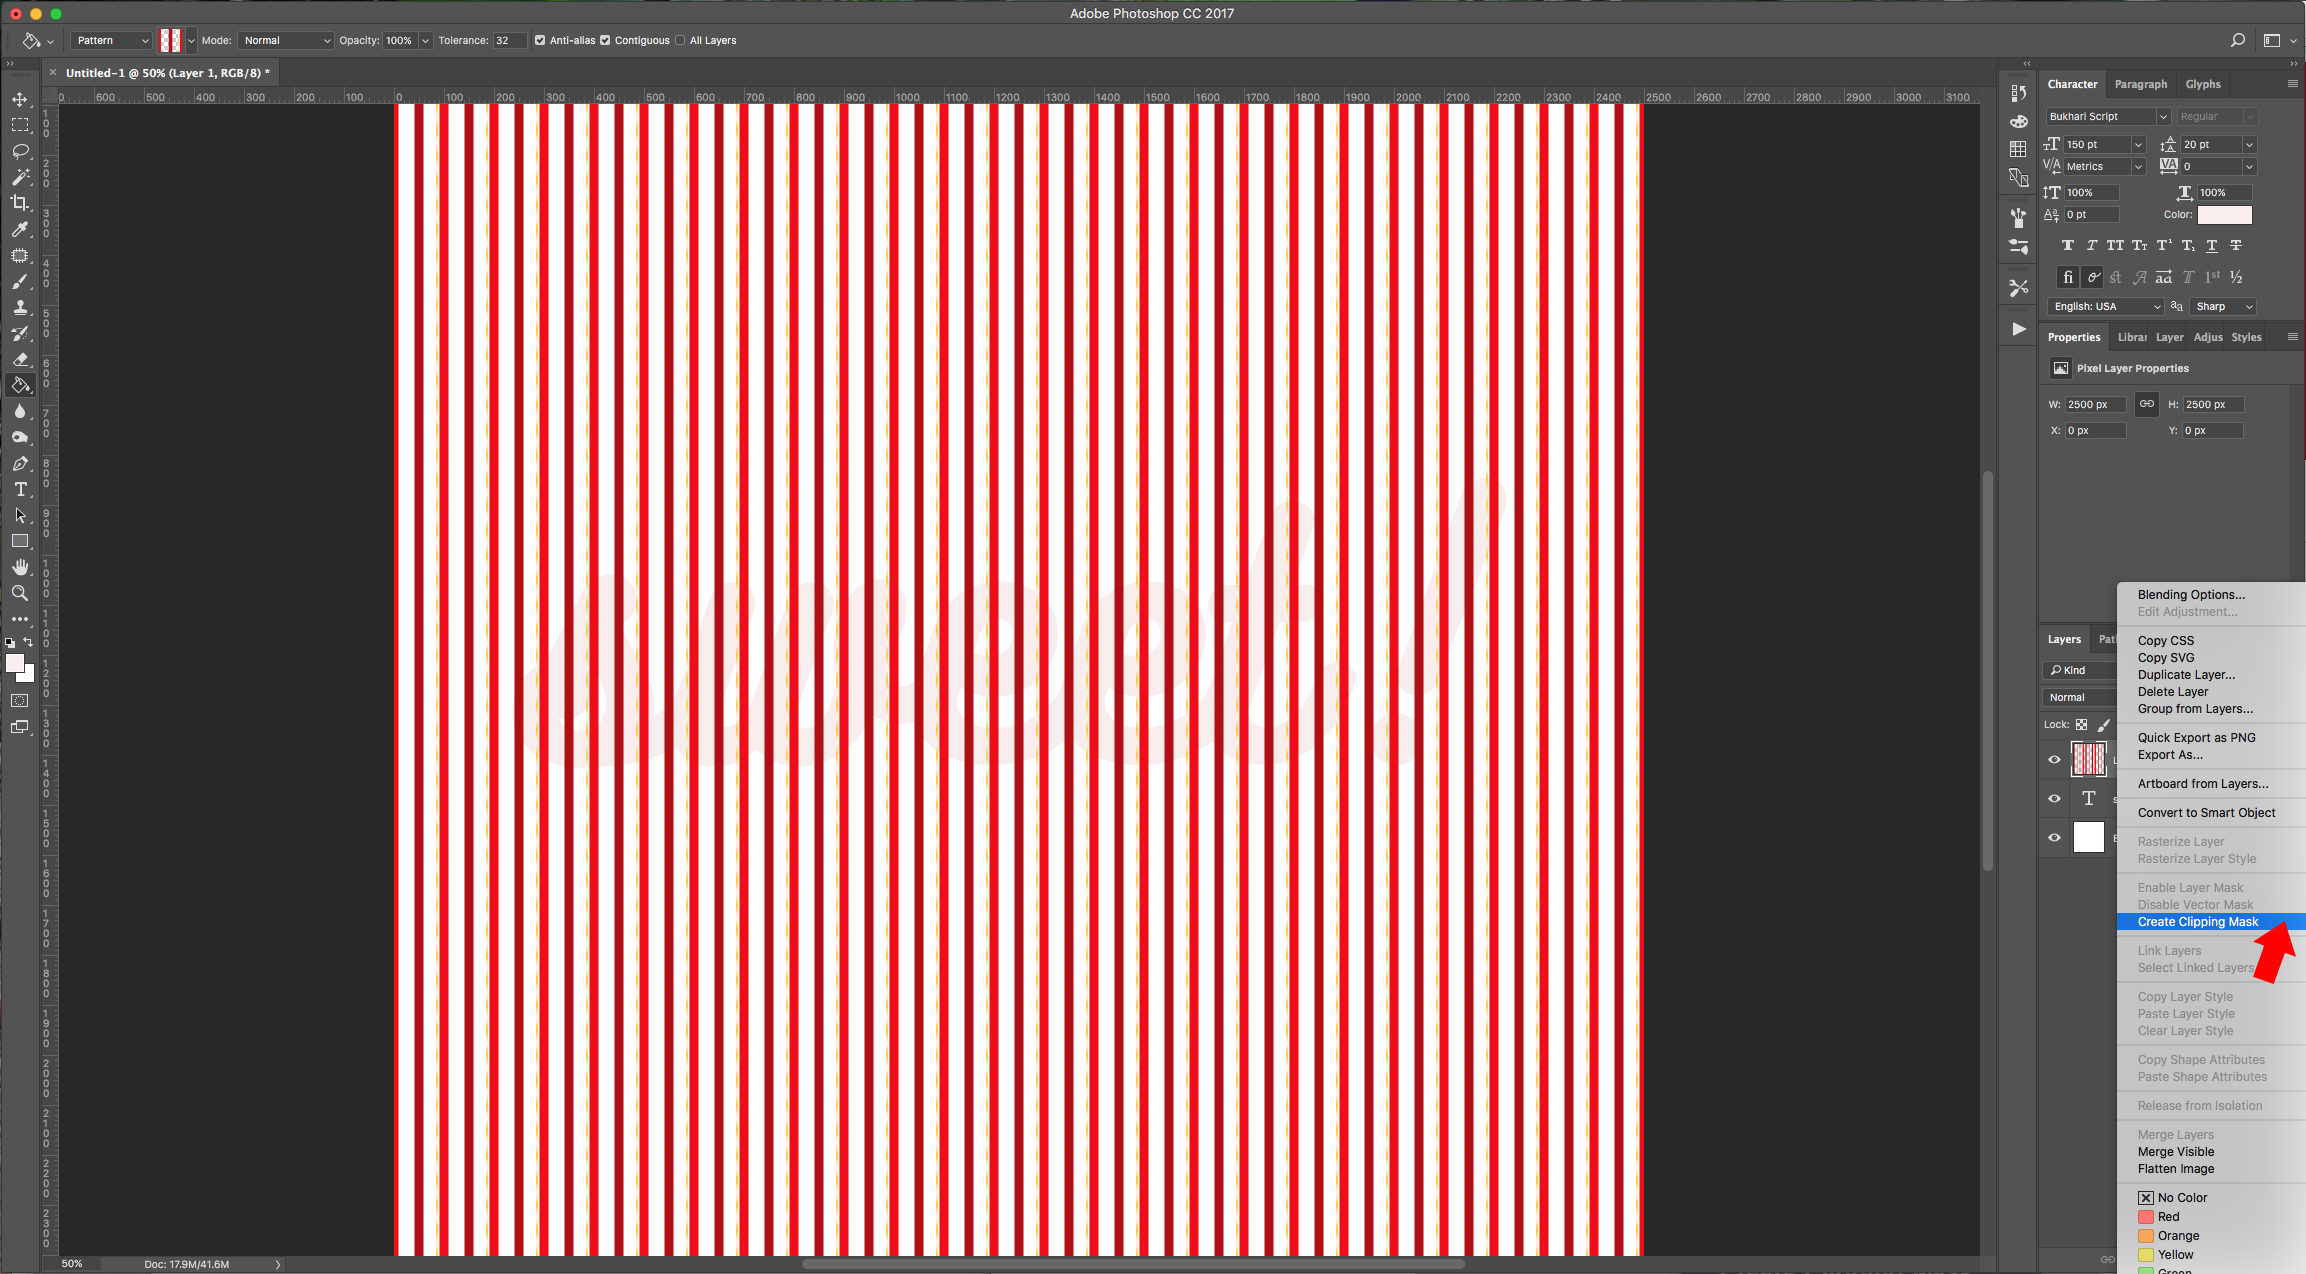
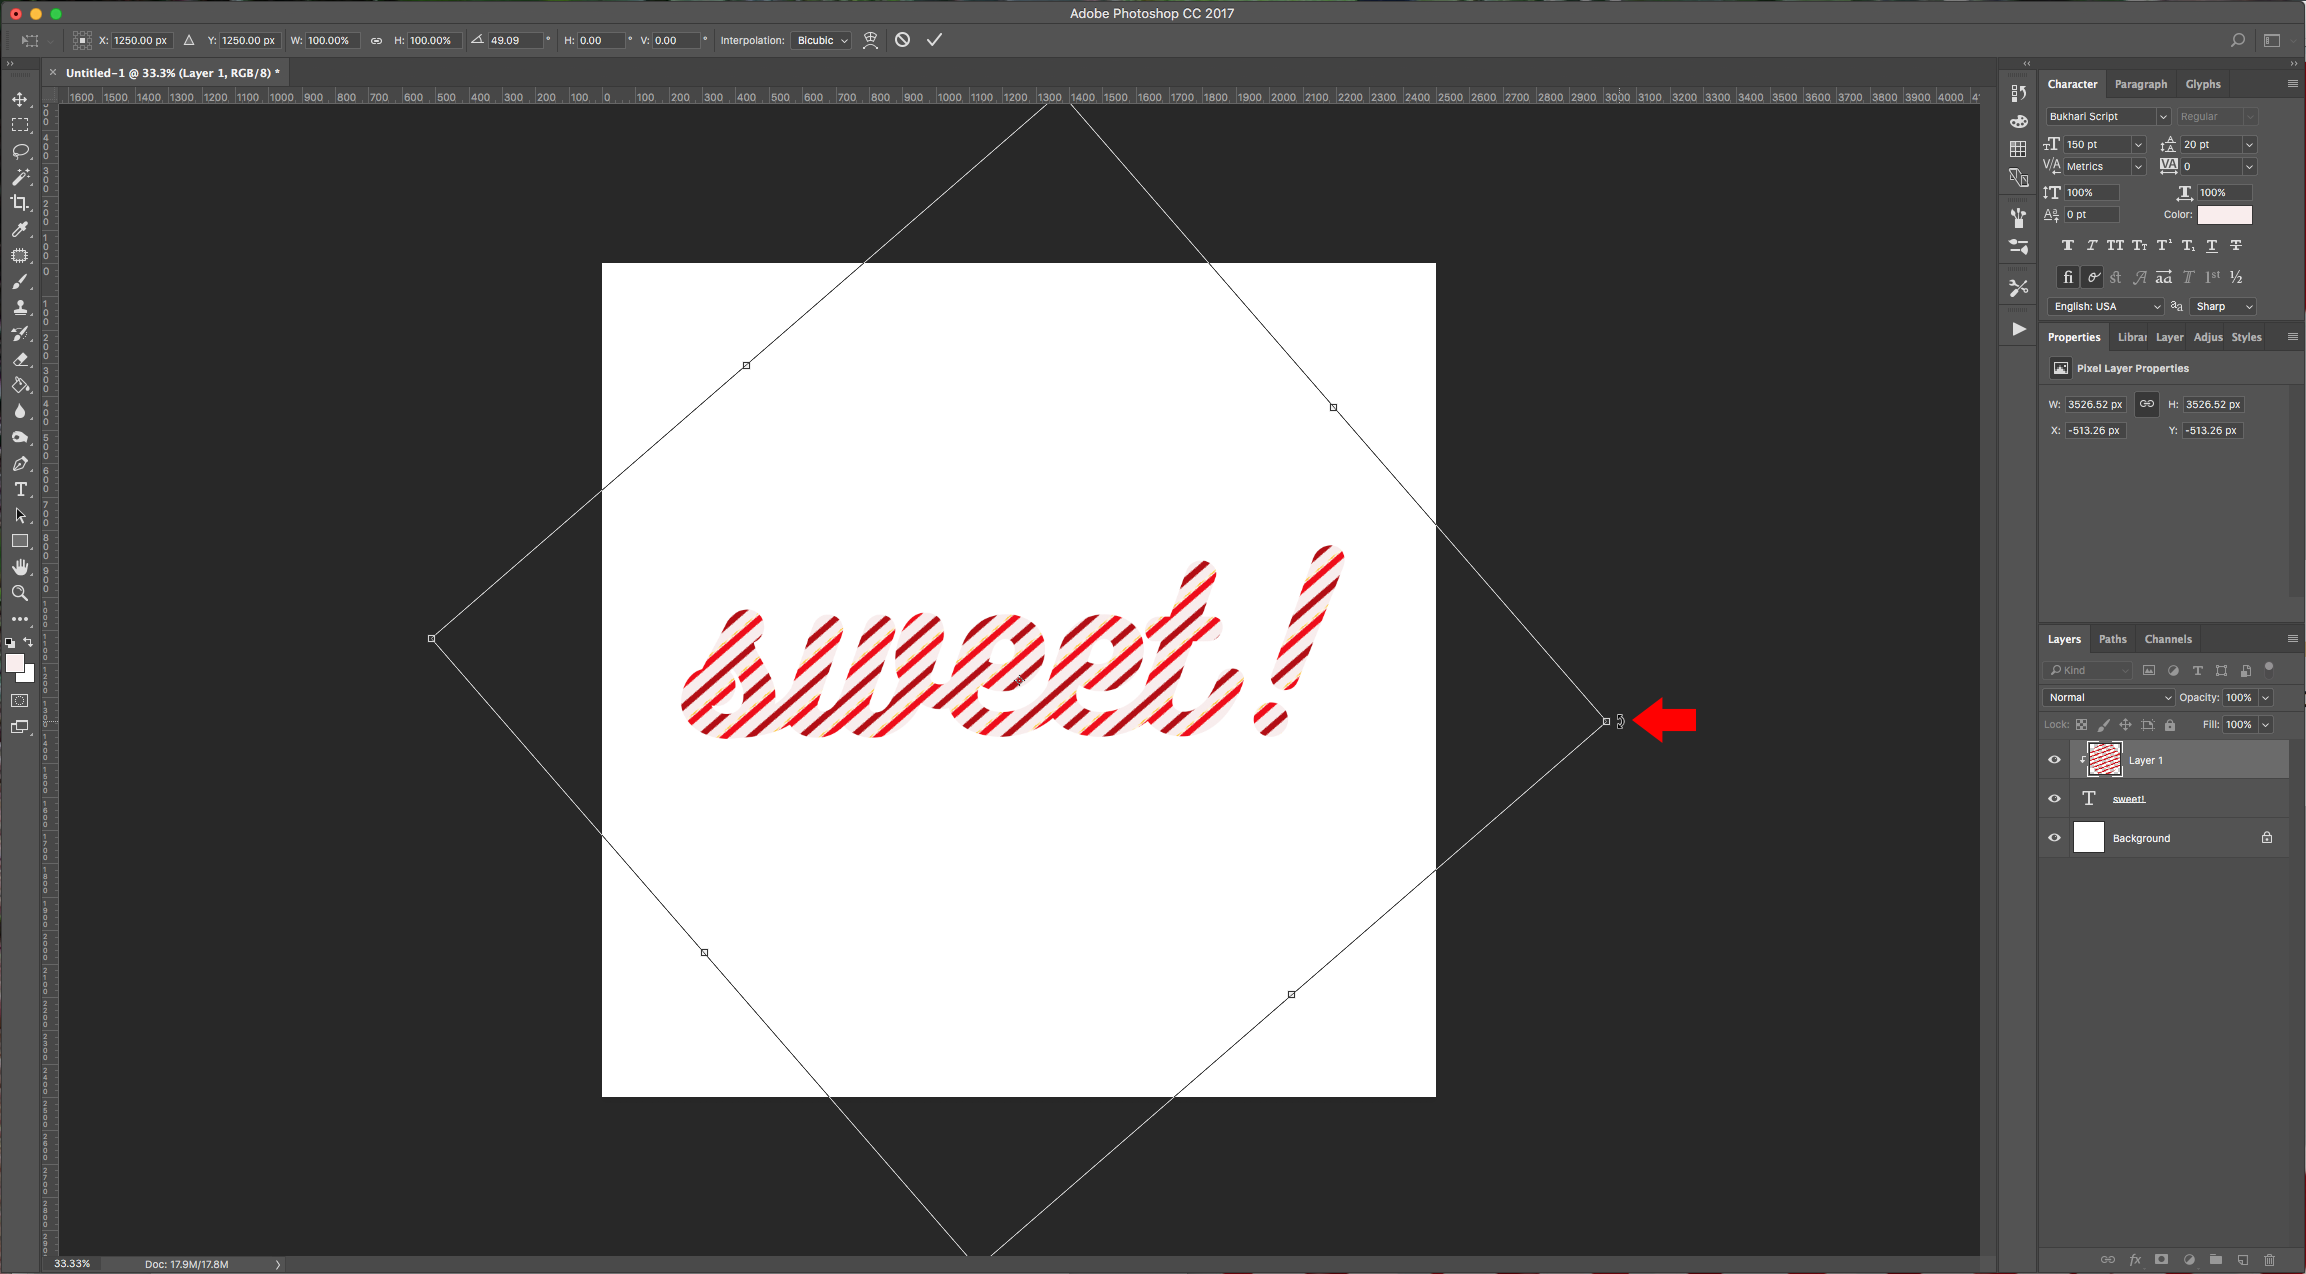
9 - Right-click on the pattern layer and choose “Create Clipping Mask”. Now click Command/Control + T and rotate the pattern a bit (we used a 49.1 degree angle). Once you are happy click the “Enter” key.
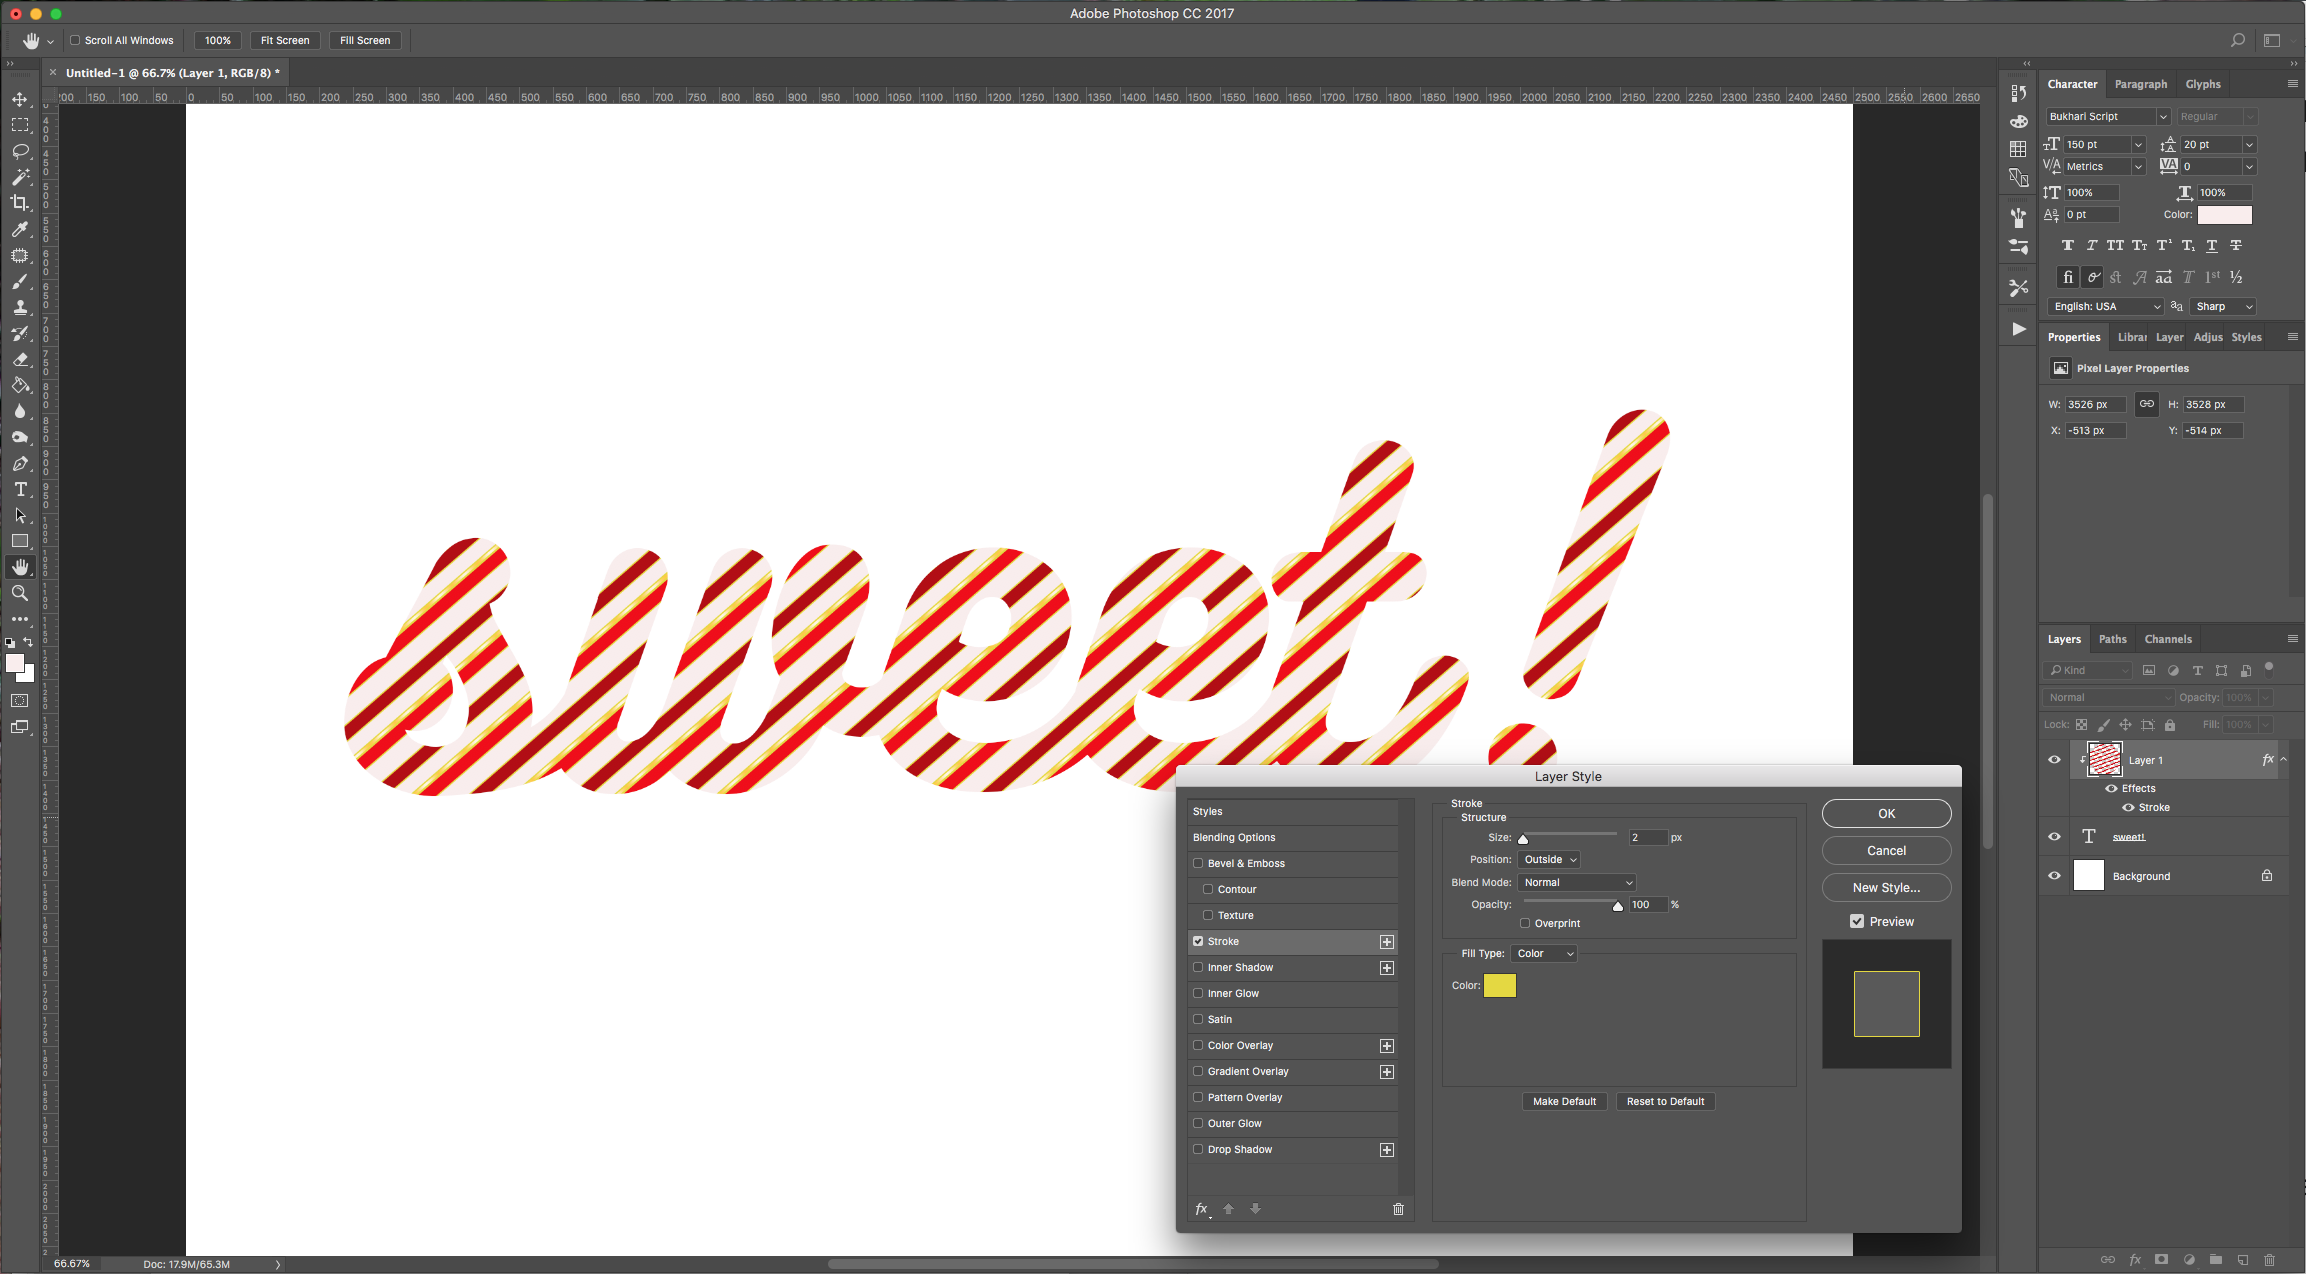
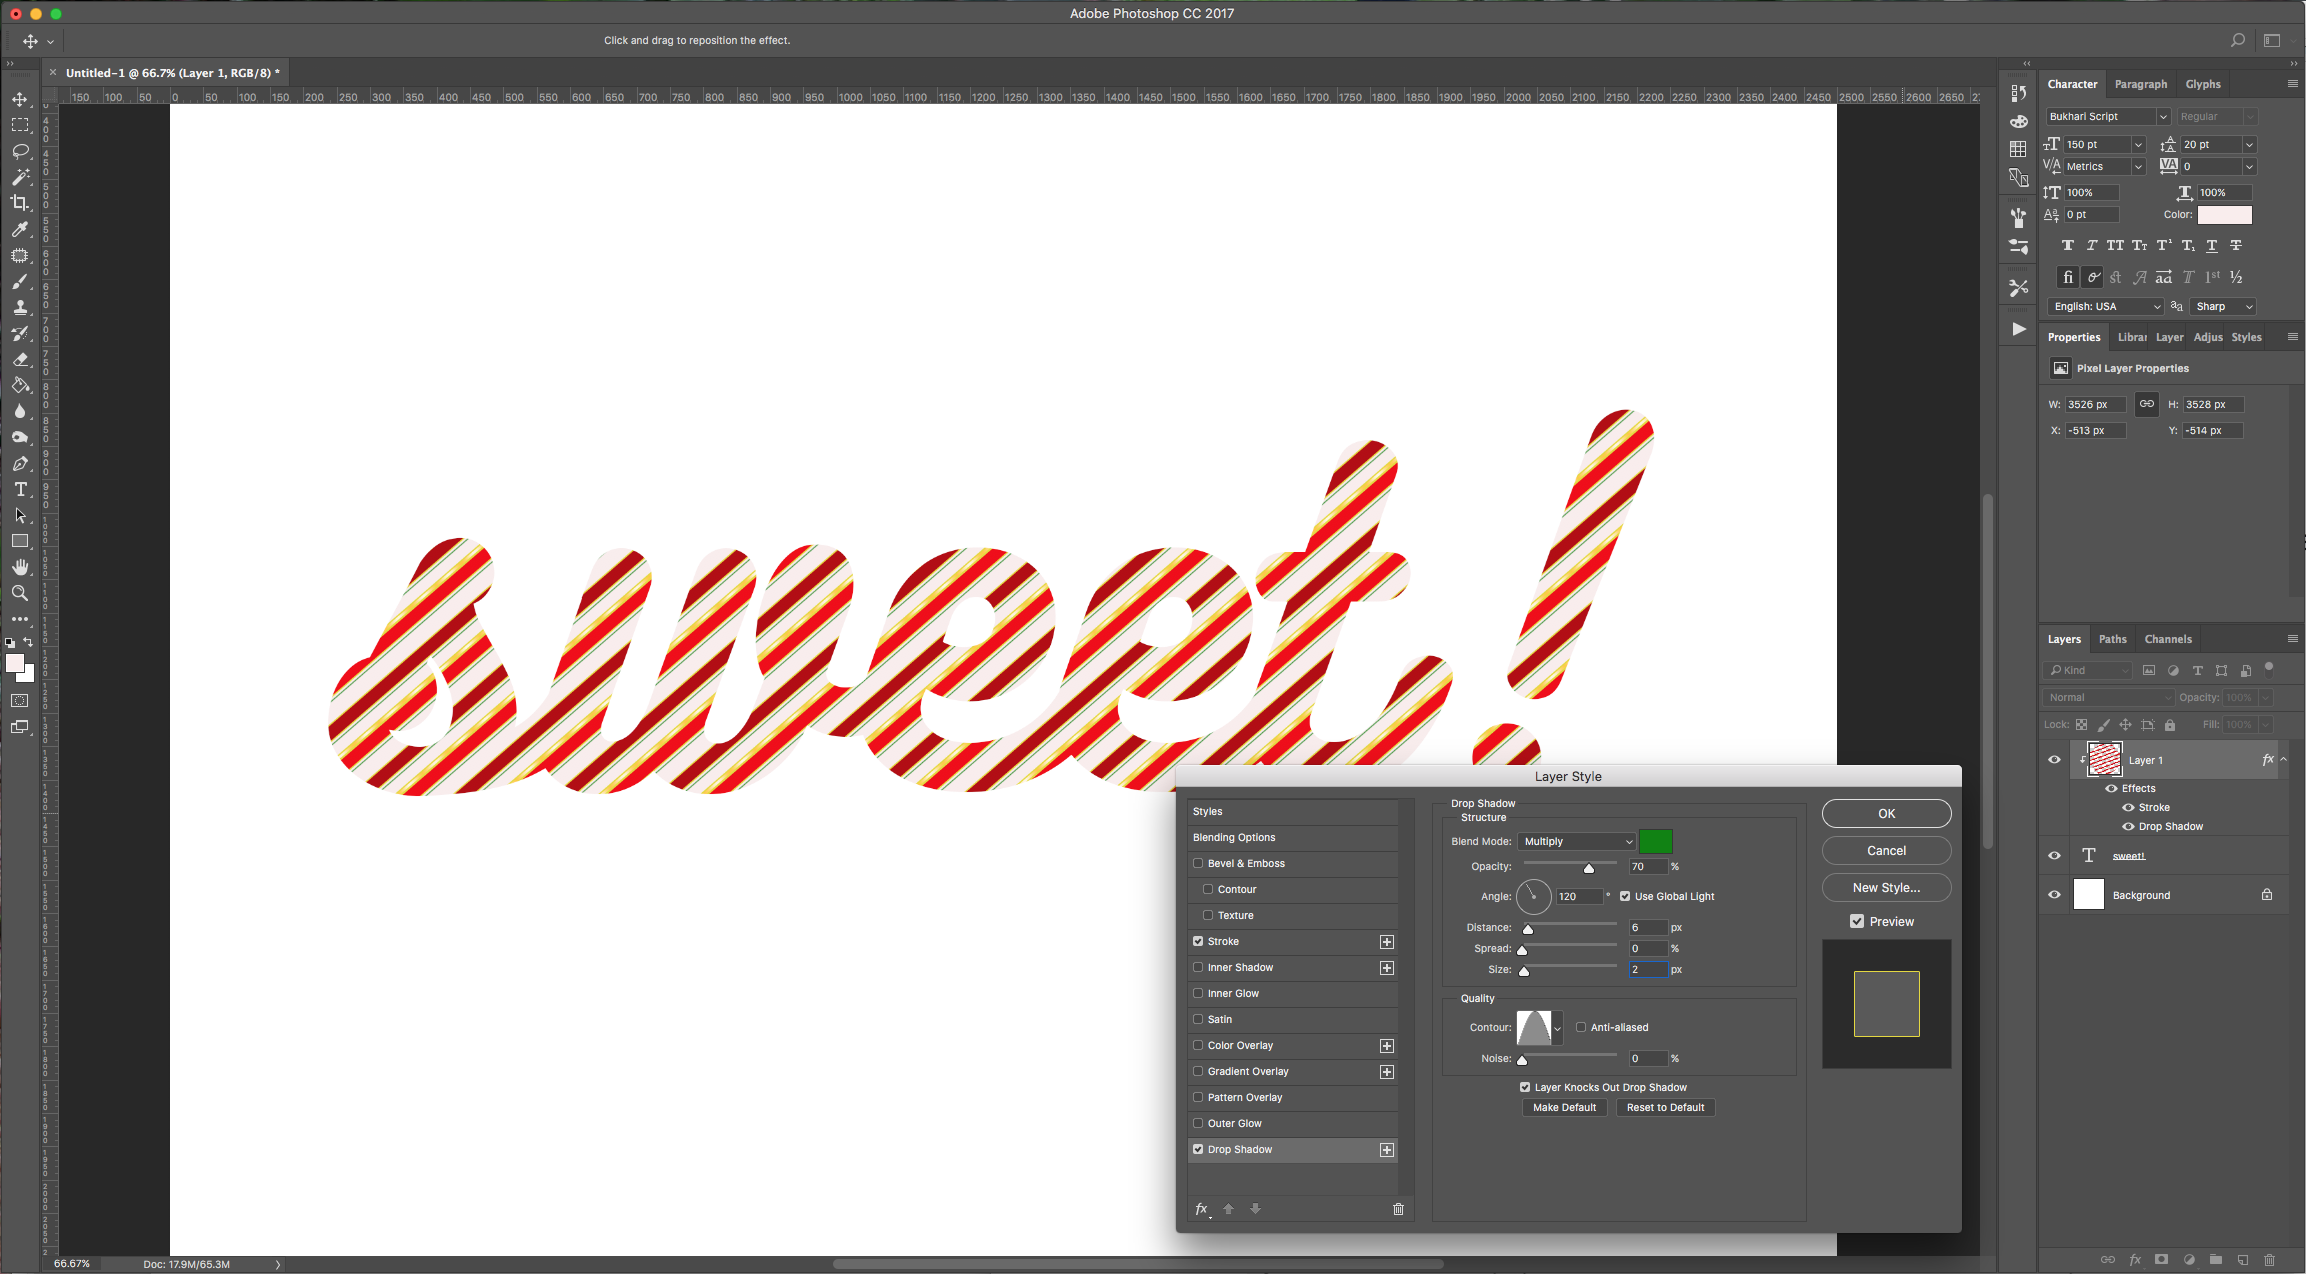
10 - Double-click on your pattern layer thumbnail to apply the following “Layer Styles”:
Stroke: color #e5da2e
Drop Shadow: color #028302
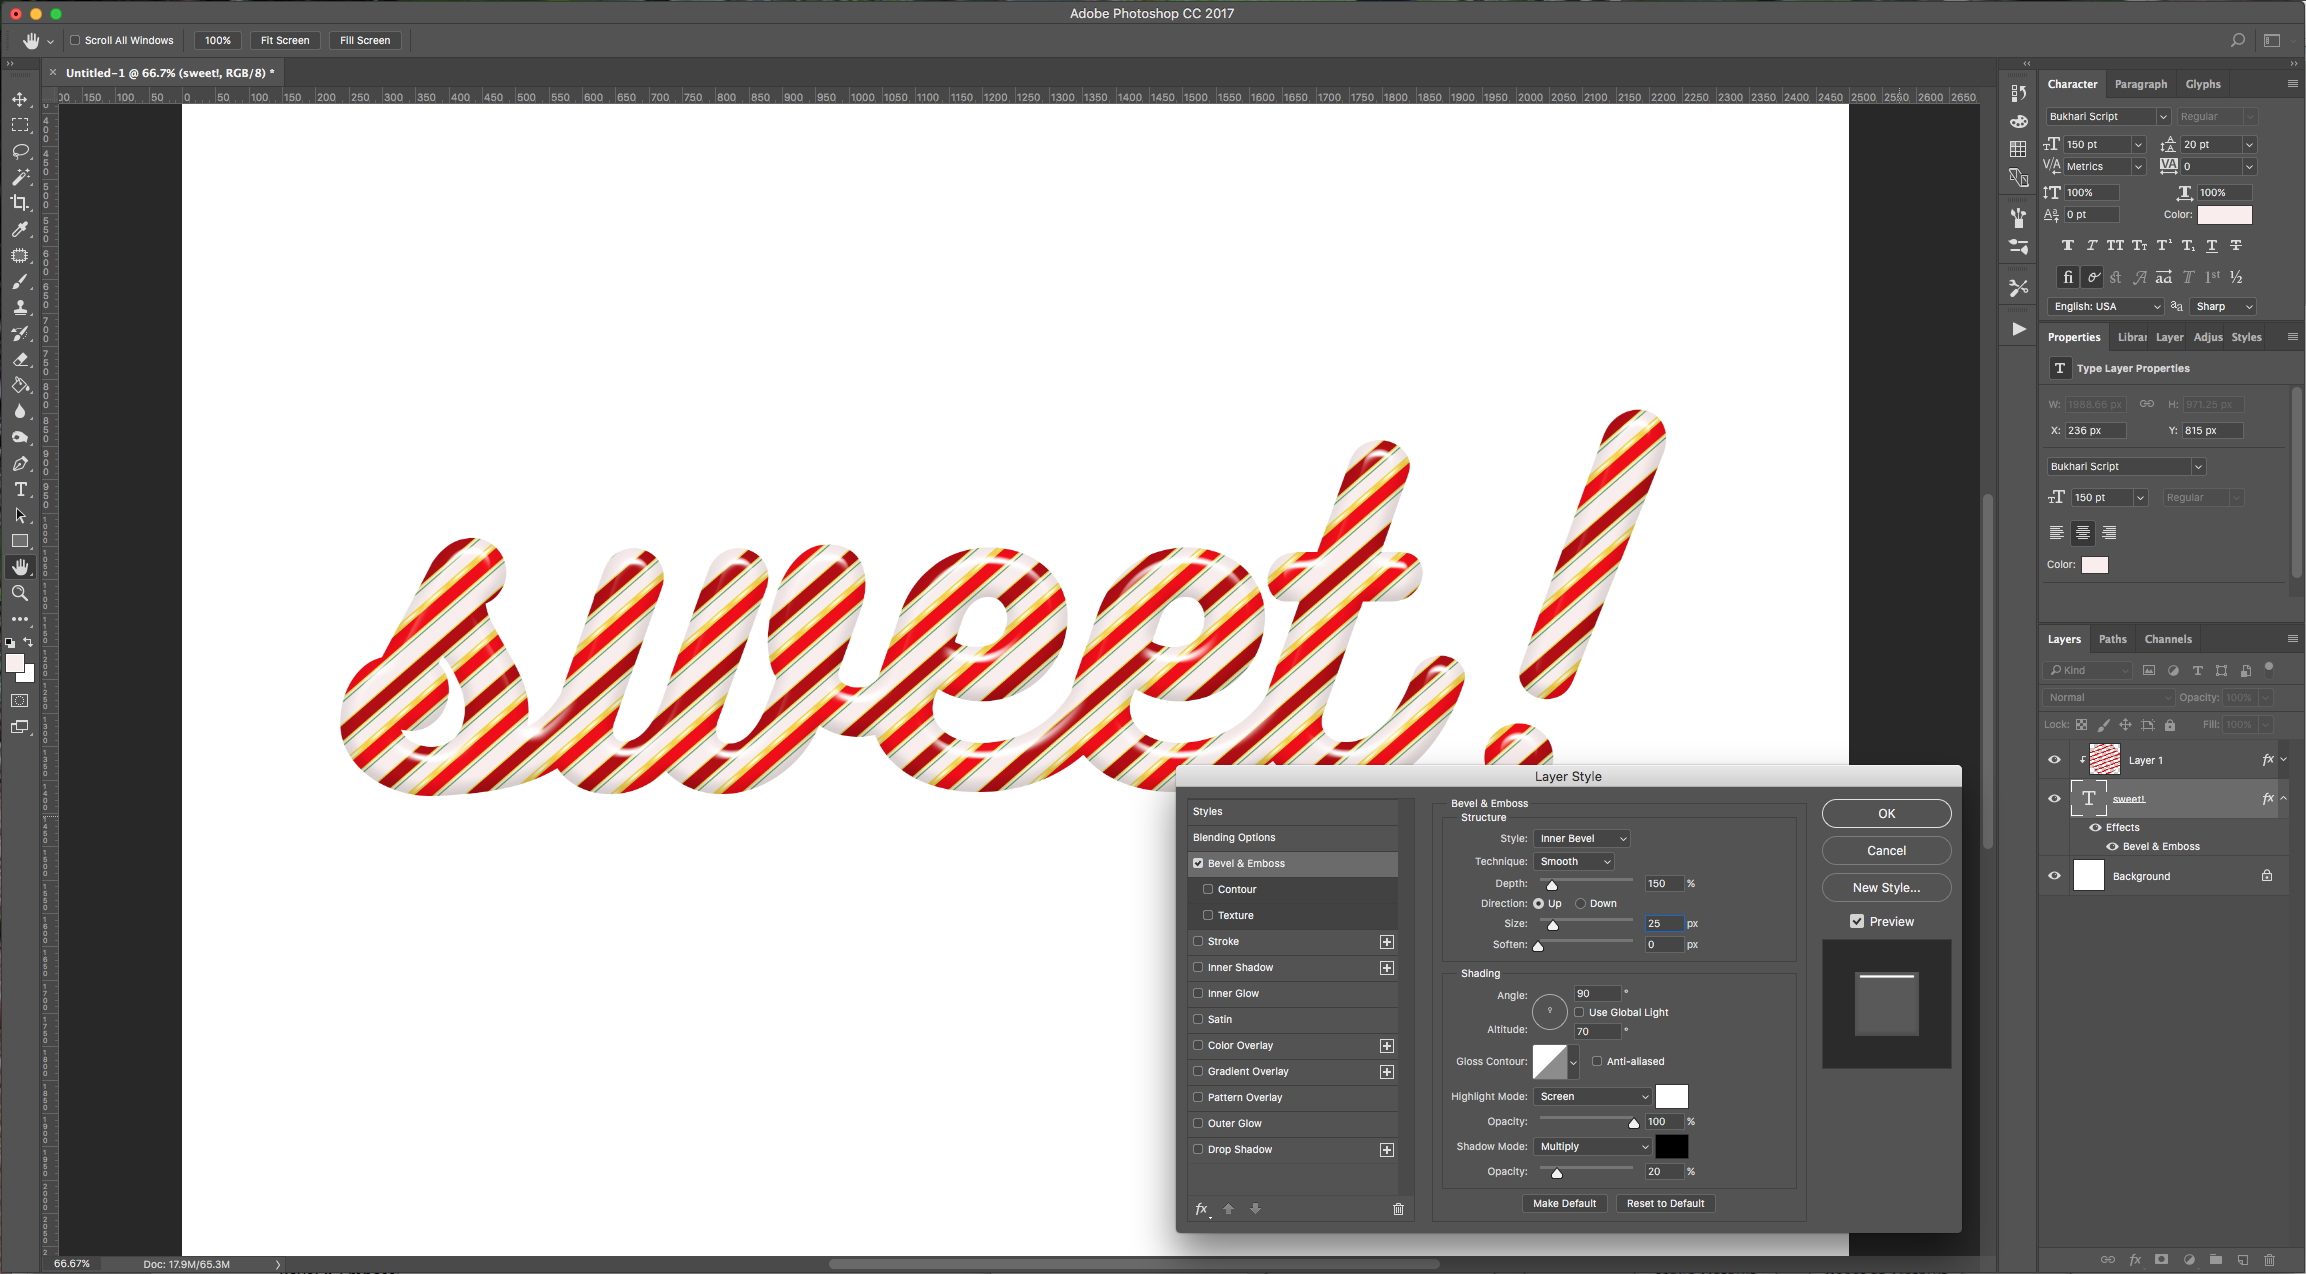
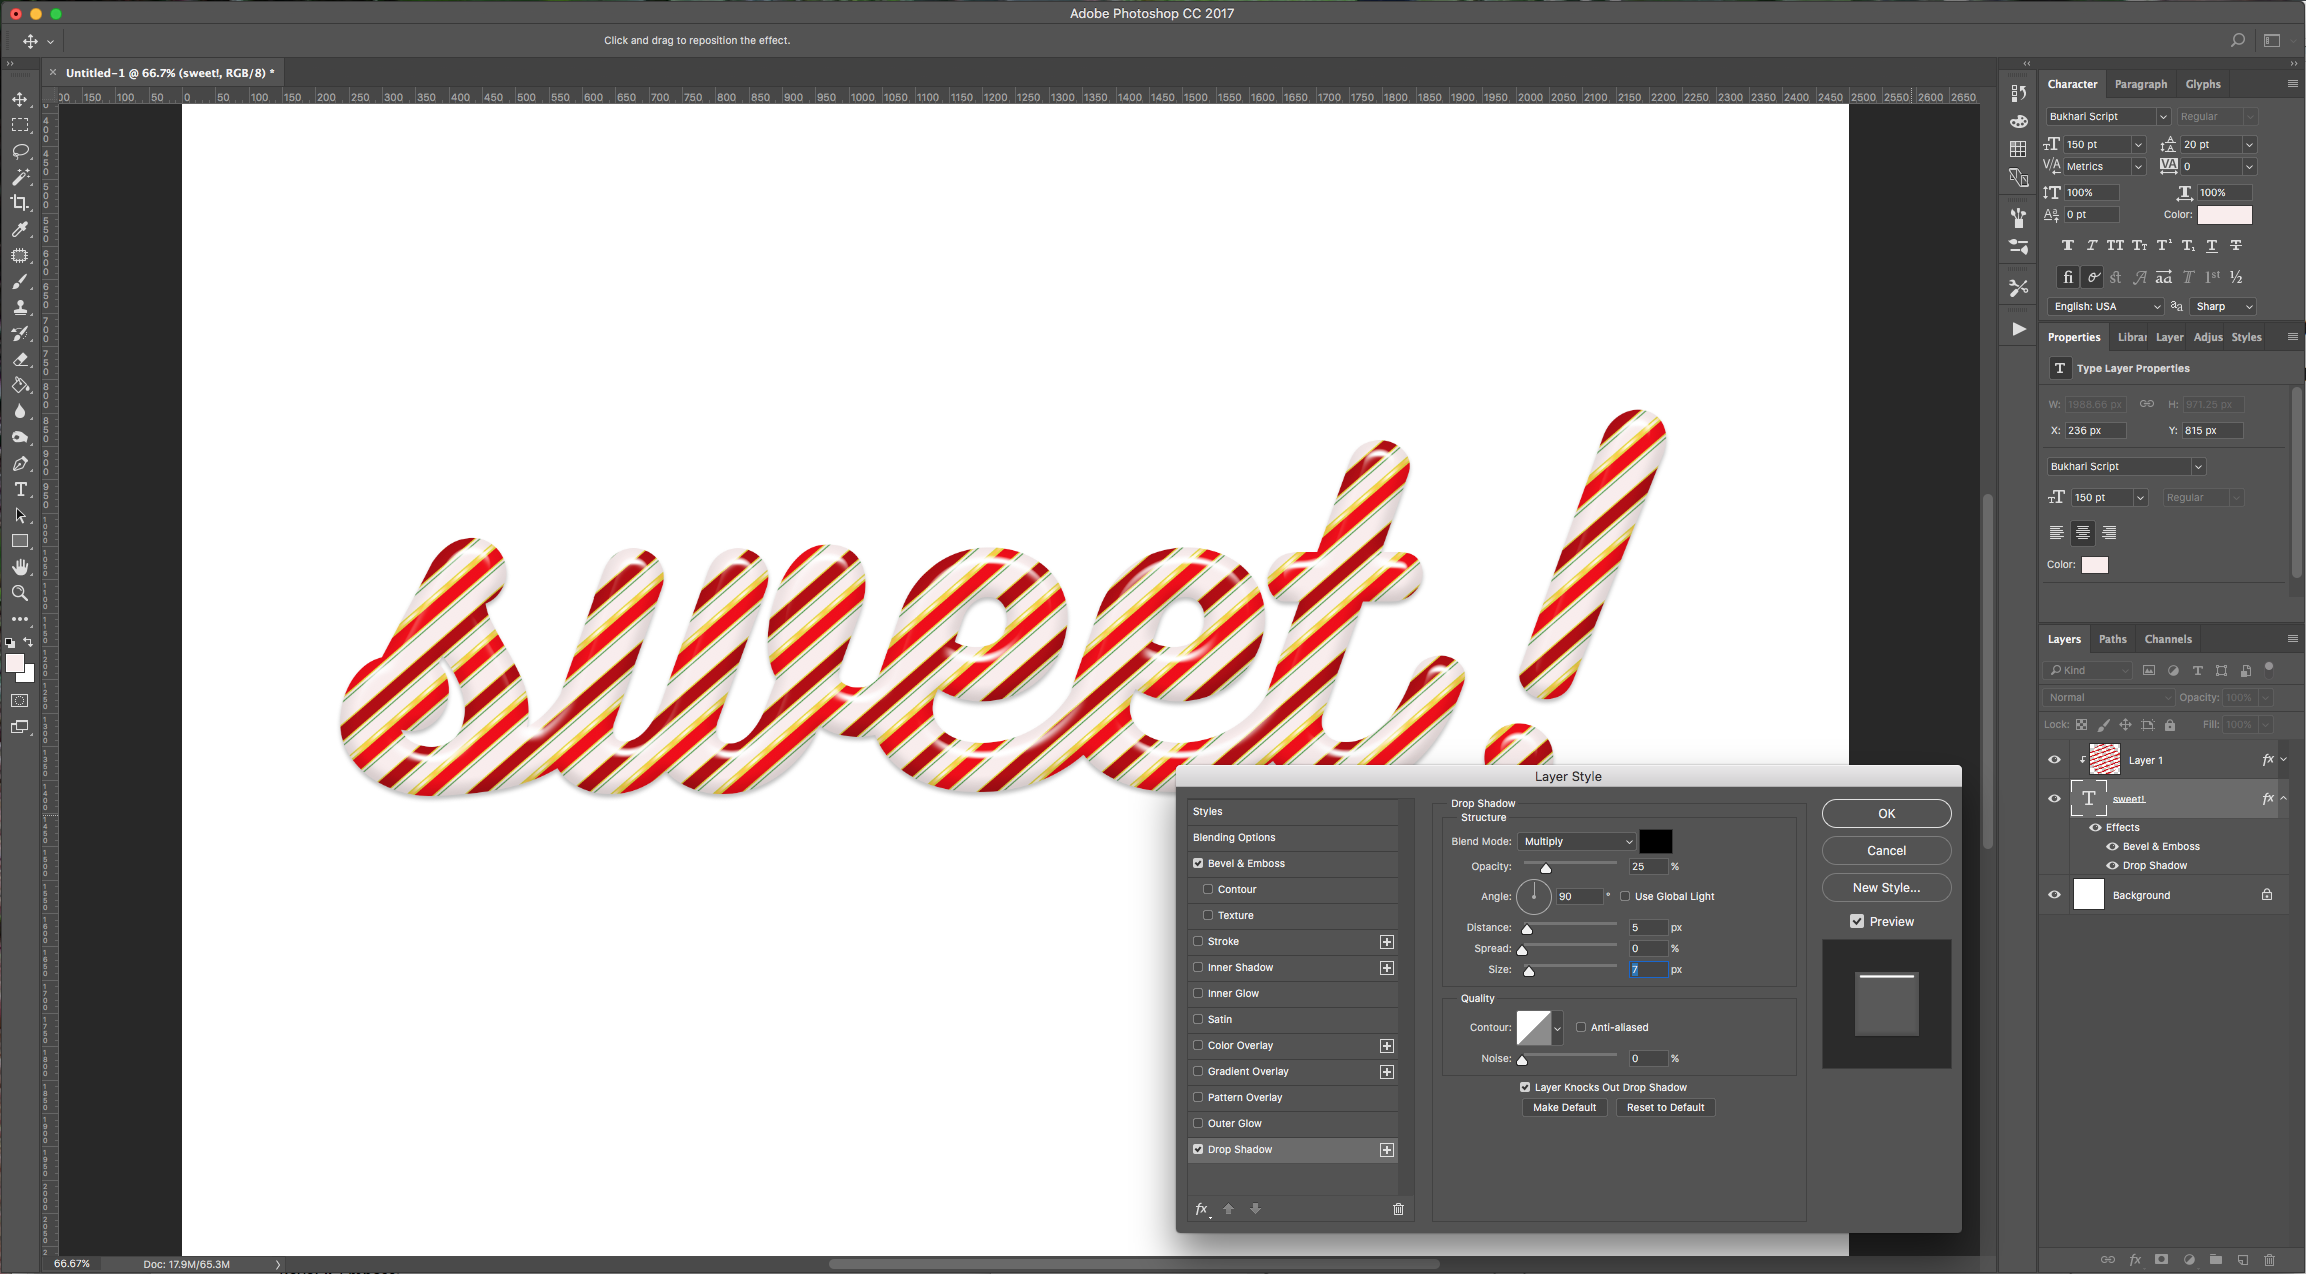
11 - Now, double-click on the text layer and apply the following “Layer Styles” to it:
Bevel & Emboss:
Drop Shadow:
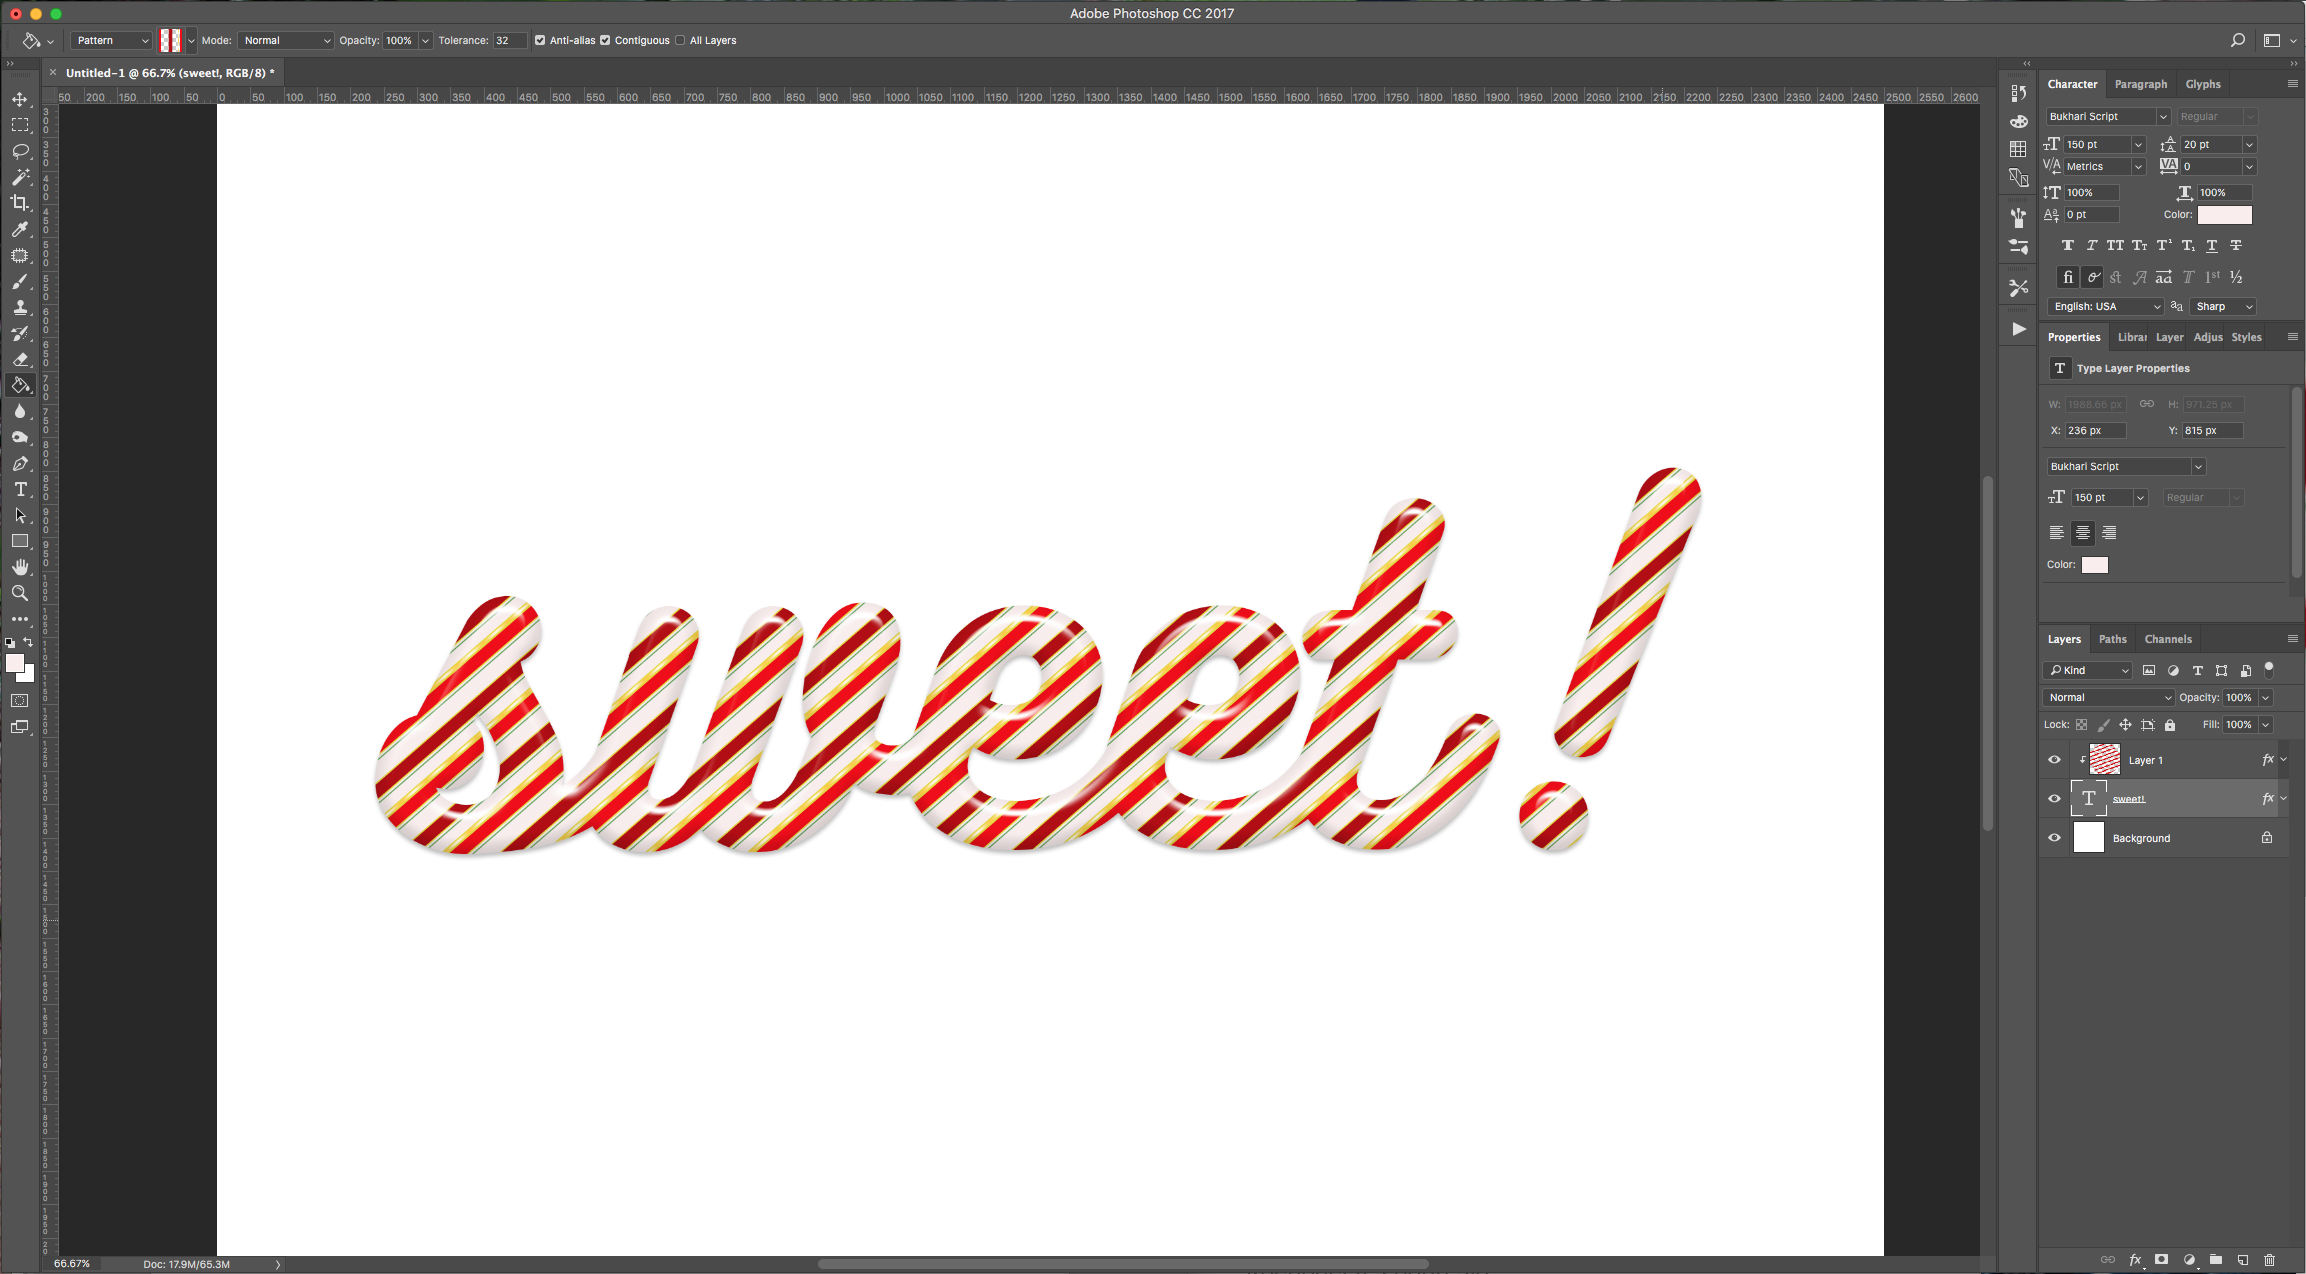
12 - Sweet!
1 - First, we need to make the “Pattern”. Create a “New Document” measuring 100 pixels by 100 pixels. Double-click on the “Background” layer to unlock it, then select the entire layer (Command/Control + A) and hit Delete/Backspace to erase the color. If the document’s rulers are off click Command/Control + R to bring them out, and make sure that “Snap” is selected in the “View” menu.
2 - Drag the cursor from your left ruler and stop in the middle (since you selected “Snap” you will feel when you reach the center) to place a guide.
3 - Use the “Rectangle Tool” (U) choosing a medium ref for the fill (#b40808) and draw a rectangular shape in the middle of your document from top to bottom.
4 - Choose the “Move Tool” (V) and hold the Alt/Option key and drag the rectangle to the edge of the document to duplicate it. Make sure half of the rectangle is outside the document. Double-click on duplicate’s thumbnail and change the color to a lighter shade (#f20303). Duplicate this rectangle and place it on the opposite side of your document.
5 - Draw another rectangle, make it about half the width of the first one and place it near one of the sides. Choose the “Gradient Tool” (G), and go to the upper menu, click to open the “Gradient Picker” and click on the little icon on the top right and select “Metals”. Click on the “Shape Fill Type” button on the “Properties” menu and then choose “Gold” as your gradient.
6 - Go to Edit > Define Pattern and give your pattern a name. You can save and close the document.
7 - Create a “New Document” and then select the “Type Tool” (T), pick the font of your choice (we used Bukhari Script). Give it a pinkish shade of white for fill (#f9eded) and write your text. The size of the font will depend on your document.
8 - Go to your Toolbar and pick the “Paint Bucket Tool” (G), then at the top menu, change the source from “Foreground” to “Pattern”, choose the pattern you created from the dropdown menu (it should be the last one). Create a “New Layer” by clicking the “Create a New Layer” button at the bottom of the “Layers” menu and then click on the document to fill the layer with your pattern.
9 - Right-click on the pattern layer and choose “Create Clipping Mask”. Now click Command/Control + T and rotate the pattern a bit (we used a 49.1 degree angle). Once you are happy click the “Enter” key.
10 - Double-click on your pattern layer thumbnail to apply the following “Layer Styles”:
Stroke: color #e5da2e
Drop Shadow: color #028302
11 - Now, double-click on the text layer and apply the following “Layer Styles” to it:
Bevel & Emboss:
Drop Shadow:
12 - Sweet!
by @lornacane
Related Tutorials
Photoshop Tutorials
Frosted Glass Candy Filled Ornament Text in Photoshop
Photoshop Tutorials
How to Use Text Effects in Photoshop
With Photoshop Text Effects, you can create text with impact in just a few steps.
Photoshop Tutorials
Easy See through Cut Out Text in Photoshop
Create a see-through cut out text design in Photoshop with these easy to follow steps.
Photoshop Tutorials
How to Fill a Shape with Text in Photoshop
Learn how to fill a shape with text in Photoshop in seven quick steps.
Photoshop Tutorials
How to Make a Graffiti Text Effect in Photoshop
Learn how to create a realistic grafitti text effect in Photoshop.
Photoshop Tutorials
How to Create a Holographic Text Effect in Photoshop
Discover how to create a holographic text effect in Photoshop with this step by step tutorial.