By Design Bundles
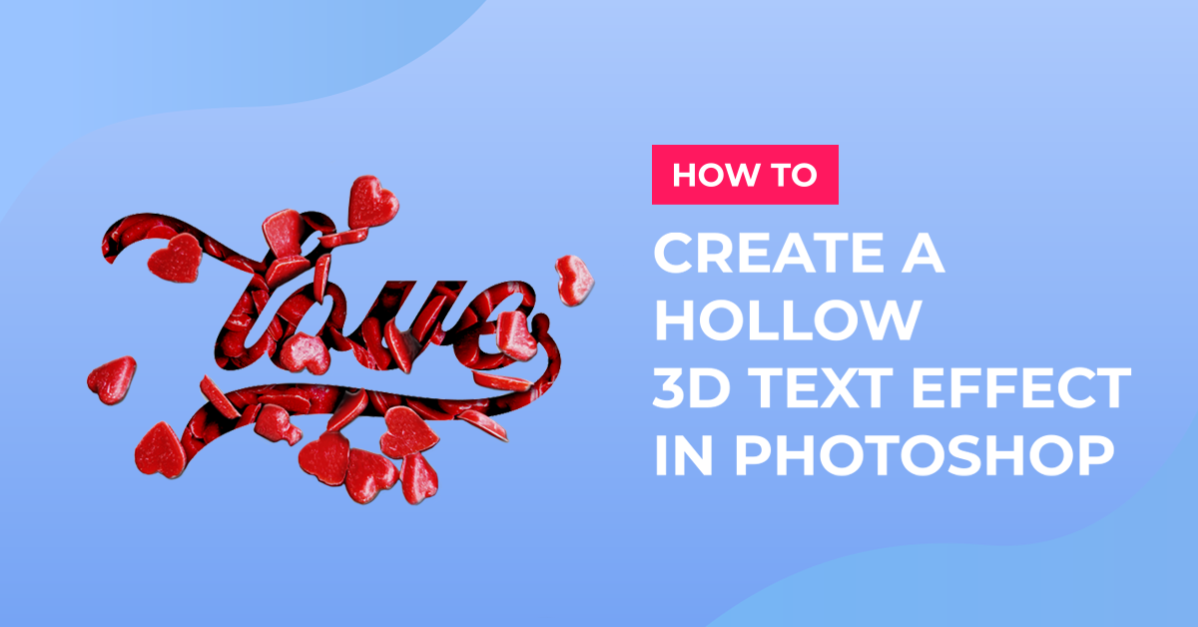
Hollow 3D Text Effect in Photoshop
For this tutorial, we will use an image containing a Texture (Candy, flowers, etc.)and the Free Font Radicals from.
1 - In Photoshop, create a “New Document”, make it 20 x 15 cm @ 300 dpi, RGB “Color Mode” and choose “White” as “Background Contents”.


2 – Double-click on the “Background” layer thumbnail to “Unlock” it and name it “White”.

3 - Open the “Texture” image you chose.

4 - To enhance the overall look of the “Texture” we are going to apply several “Adjustments” (your image may require other settings and/or adjustments). Go to Image > Adjustments > Curves (Command/Control + M) and choose “Medium Contrast (RGB)” Preset.


5 - In the “Adjustments Panel” create a new “Vibrance Adjustment Layer” increase the “Vibrance” value to 100% and the “Saturation” to +5.


6 - Back in the “Adjustments Panel” “Color Lookup Adjustment Layer” and choose “Soft_Warming.look” as “3DLUT File”.


7 - Select all the Layers thumbnails (Shift), right-click on top their thumbnails and choose “Merge Layers”.

8 - Go to Filter > Filter Gallery > Plastic Wrap and input 5, 6 and 10 on the boxes.


9 – Drag the “Texture” image into your original file.


10 - Resize it using “Free Transform” (Command/Control + T). Once you are done hit “Enter” or click the check mark on the Top Menu to “Commit” the changes. Name the new Layer “Hearts” and place it under the “White” layer.


11 - Select the “Type Tool” (T), choose your font and type your text. Use Black as “Fill” color. The size will depend on the word you are typing. This font has variants that you can access through the “Glyphs” Panel.


12 - Center your text by selecting both layers (Shift) and using “Align Horizontal and Vertical Centers” from the Top Menu.


13 - Make a selection of the “Text” by clicking on top of its Thumbnail while holding the “Command/Option” key. Hide or delete the “Text” layer and making sure that the “White” layer is selected, go to Edit > Clear or hit “Delete” to erase the text from the white background.


14 - Select the “Hearts” layer thumbnail and make a “Duplicate” (Command/Control + J). Place it on top of the “White” layer and reduce the “Opacity” to about 50%.


15 – If you are using recent versions of “Photoshop” use the “Object Selection Tool” (W) with the “Lasso” Mode to select some of the objects that are close to the edges of the text (If you are using older versions of “Photoshop” use the tool of your choice). The idea is to create the effect of them coming out of the “Hollow” text. Select some objects from outside as well to be added as decoration. Use “Add” or “Subtract from Selection” to trim your edges.


16 - You can “Fix” the selection using the “Polygonal Lasso Tool” (L) using “Add” or “Subtract from Selection” to trim your edges.


17 - Once you are done, create a “Mask” from your selection by clicking the small button at the bottom of the “Layers” Panel. Bring back the “Opacity” to a 100%.


18 - Select the “Mask” thumbnail and in the “Properties” panel give it a “Feather” of 1 px.

19 - Select the “Brush Tool” (B) with a 10 px 100% “Hardness” brush and making sure that the “Mask” thumbnail is selected “Fix” the edges of the “Text” where the “Objects” come out from. Use “Black” as “Foreground” to “Hide” and “White” to bring out again.


20 - Double-click on top of the layer Thumbnail and apply the following “Layer Styles”:
Bevel & Emboss:

Drop Shadow:

21 - Double-click on top of the “White” layer Thumbnail and apply the following “Layer Styles”:
Drop Shadow:

22 - Select the “Hearts” layer thumbnail and make another “Duplicate” (Command/Control + J). Place it on top of everything. Right-click on top of its Thumbnail and “Create Clipping Mask”


23 - Change the “Blending Mode” to “Hard Light” and lower the “Opacity” to 70%. Create another “Duplicate” and leave it on top of the original “Hearts” layer. Change its “Blending Mode” to “Color Burn”.


24 - Check out your work!

Now you know how to create a hollow 3D text effect with candy in Photoshop.