By Design Bundles
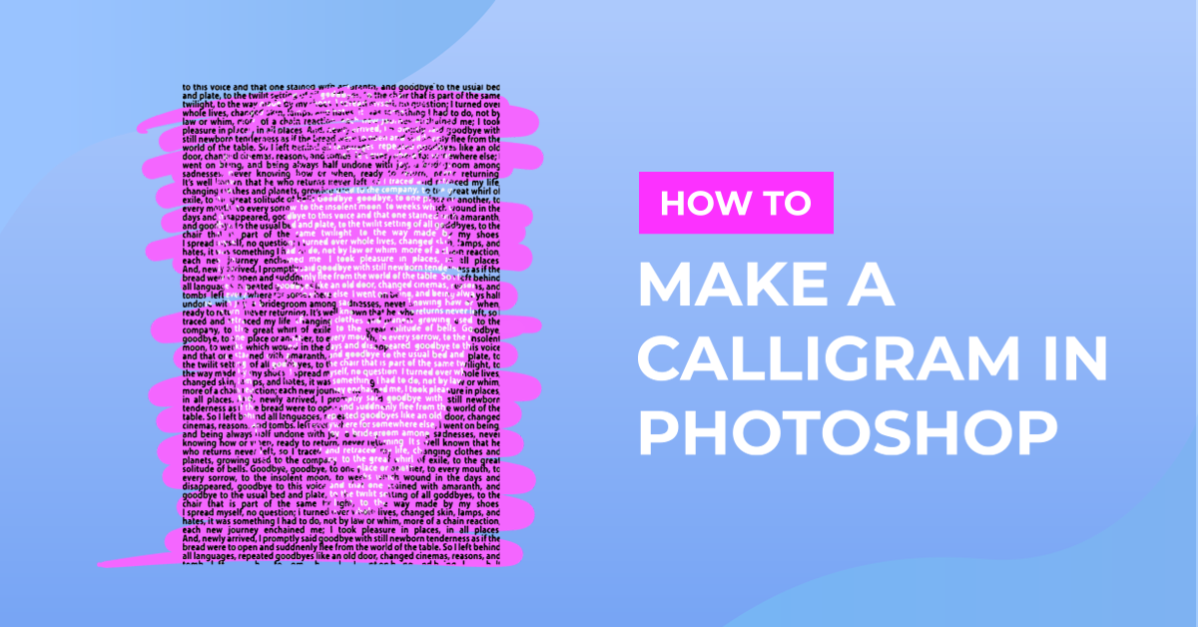
Make a Calligram in Photoshop
For this tutorial, you will need the image of a person’s face (or maybe an animal if you prefer) and the text you wish to embed into the image (we used the poem “Goodbyes” from Pablo Neruda).
1 -In Photoshop, open your image and crop if necessary.


2 – Add a “Black & White” Adjustment layer in the “Adjustments” palette tweak the settings to get more contrast. Depending on your image you may achieve this by lowering the “Reds” or by changing the “Preset” like we did selecting “Neutral Density”. We added a “Brightness & Contrast” Adjustment layer also.


3 – With your image selected go to Filter > Blur > Gaussian Blur and enter a value of about 20 pixels for the “Radius”.


4 -Go to File > Save As (Shift + Command/Control + V) and save as a new document. We named it “Displaced”. Then Undo the filter by clicking Command/Control + Alt + Z.


5 – Select the “Type Tool” (T) and draw a container across the entire file. Paste (Command/Control + V) your text and delete any line breaks. Uncheck the “Hyphenate” box and choose “Justify All” for your paragraph style.

6 – Select the font you want to use (we used Myriad Pro Bold). If your quote doesn’t fill the container, copy and paste until it does. Reduce the “Size” and “Leading” so the text is pretty densely covering your portrait.

7 – With your text layer selected, go to Filter > Distort > Displace. Say yes to “Rasterize Type” and use 10 for “Horizontal Scale” and “Vertical Scale”. Check the “Set To Fit” and “Repeat Edge Pixels” boxes and choose the “Displaced.psd” when prompted.


8 – Click on the text layer thumb while holding the Command/Control key to make a selection and then turn off the layer visibility by clicking on the small eye icon to its left.


9 - Go to Edit > Copy Merged (Shift + Command/Control + C) to make a copy of the portrait using the outline of the text.

10 – Create a New File and fill the background with black (make sure it is the same size and resolution of your original one), then paste your image.


11 – You can experiment by changing the color of the “Background” to another color and/or use some different “Blending Mode” for your text layer to achieve interesting results.


by @lornacane