By Design Bundles
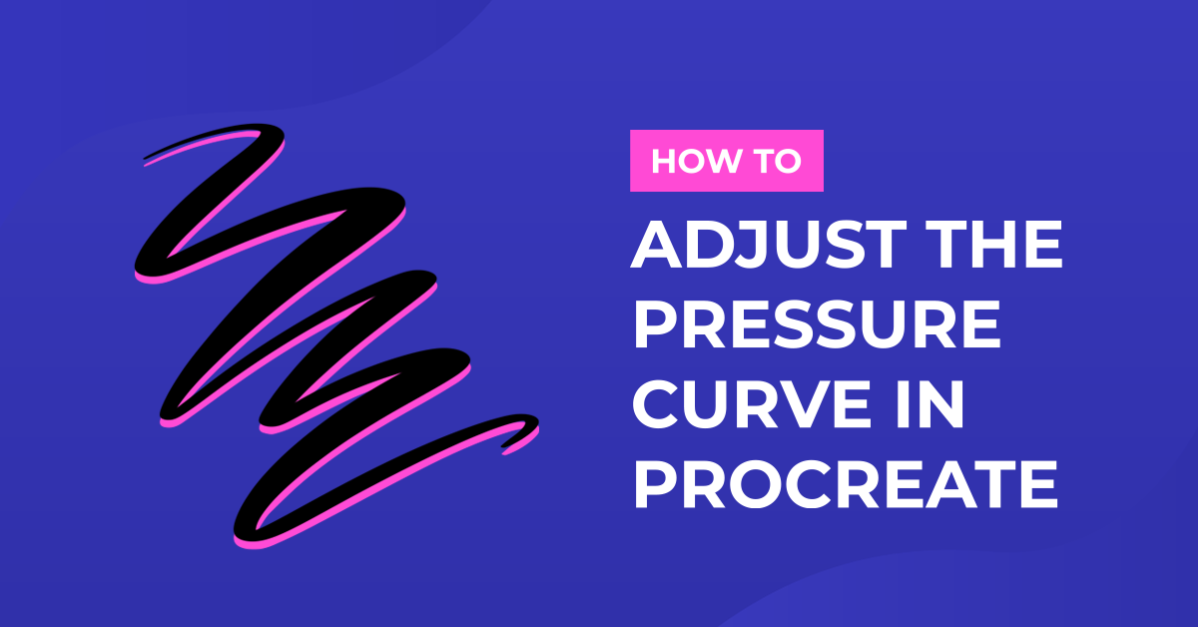
How to Adjust the Pressure Curve in Procreate
If you use an Apple Pencil or any other stylus with Procreate, there's a big possibility that you will need to adjust some preferences to optimize its behavior and your overall user experience.
One of these important settings is the Pressure Curve. It determines how the app reacts to the pressure applied while writing or drawing. By adjusting it, you can match the stylus sensitivity to the way you write or draw.
These types of adjustments are essential for calligraphy and lettering or any other instance where you may need to create a varied line width in a single stroke. The adjustments affect both thick and thin strokes. Creating a varied line width can be achieved through the exerted pressure applied while writing or drawing.
Edit the X and Y-axis of the Pressure Curve
To adjust the pressure curve, tap on the Actions button (small wrench icon) on the top left of your screen, then select Edit Pressure Curve in the Prefs tab.

The bottom portion of the graph or x-axis refers to pressure or force detected. Moving the curve left would make your pencil respond to the lightest touch, and moving it to the right would mean that you need to press harder.
The vertical or y-axis refers to the pencil’s output or the force applied. So, moving the curve up to the maximum value would result in a thicker line, and moving it down to the minimum value would result in a thinner or more transparent line.

So, to give an example. If you pull the curve up, making it concave, your lines will be thicker without the need to apply too much pressure.

If you pull it down, making it convex, the lines will be thinner with the same amount of pressure.

Test Out the Pressure Curve Setting
With the default pressure curve setting, if you press softly, the line will be thin. If we press really hard, there will be a larger stroke. On the pressure curve, it is represented with a straight diagonal line.
Let us test this out. Start the stroke soft-handed, press hard, and then lighten the stroke at the end.

Add More Points to the Pressure Curve
You can adjust the transition between hard and soft pressure or thick and thin lines by adding more points. To add a point, tap anywhere on the line. If you want to delete a point, just tap on it and select Delete. To undo all the changes, tap Reset.

For our purposes, we are setting the pressure curve to an S shape. If light pressure is used, the line will start thin with a gradual transition. As you add more pressure for a thicker stroke, the transition will become more dramatic.

Here's an example of how these lines work in action.

Knowing how to set up your brush is key to creating more harmonious and fluid transitions on your strokes. Or maybe, you need to tweak your pressure curve so you can get a bold stroke without pressing very hard at all.
There's also the chance that you may need to have different pressure curve settings depending on the type of project you are working on. So, take a look at how you can adjust your settings to fit your needs!
If you liked this tutorial, you could check our tutorial on how to make a texture brush or how to draw smoother lines in Procreate. Or take a look at our Procreate videos if you prefer.