By Design Bundles
How to Draw People in Procreate
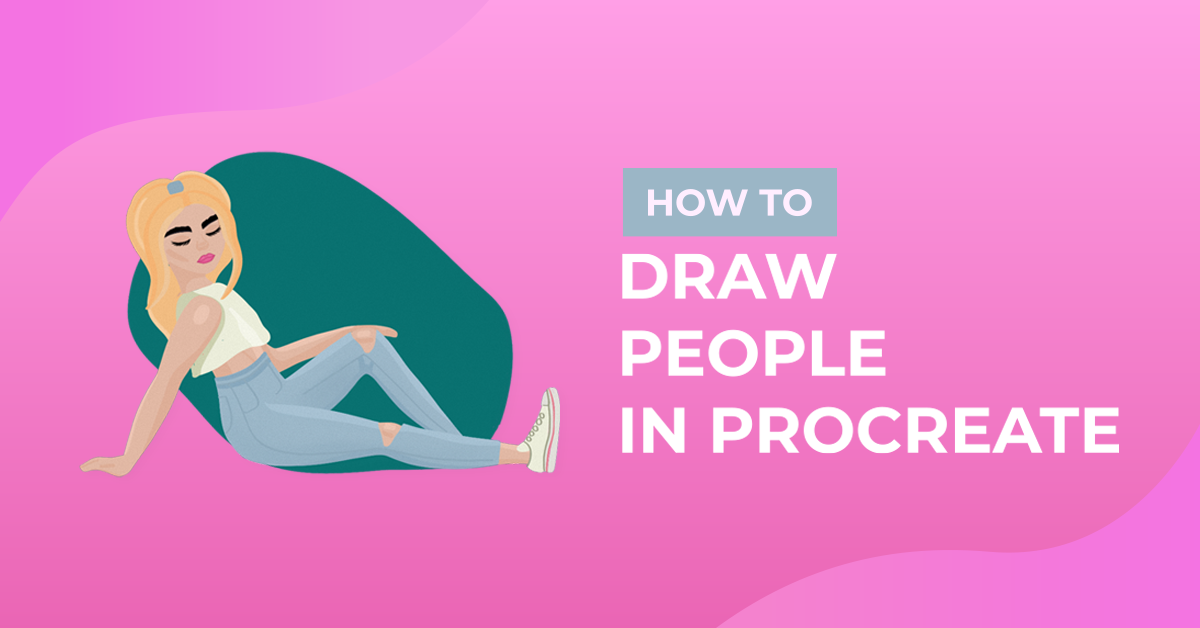
If you think you can’t draw people, think again. With character guide stamp brushes, face and hair stamp brushes, and this tutorial, you will definitely be able to draw people in Procreate. We will go through the steps of creating a drawing guide, sketching the person, actually drawing the person, and adding color to your drawing.
If you would like to follow along, we will be using character pose stamp brushes for the body, stamp brushes for the face and hair, and Procreate skin tone color palettes. Take a look at our tutorial on how to import Procreate brushes if needed.
Step 1 - Create the Drawing Guide
Using the character pose stamp brushes, create the drawing guide. There are stamp brushes available for the head, torso, arms, hands, legs, and feet. Resize the stamp brushes as needed.
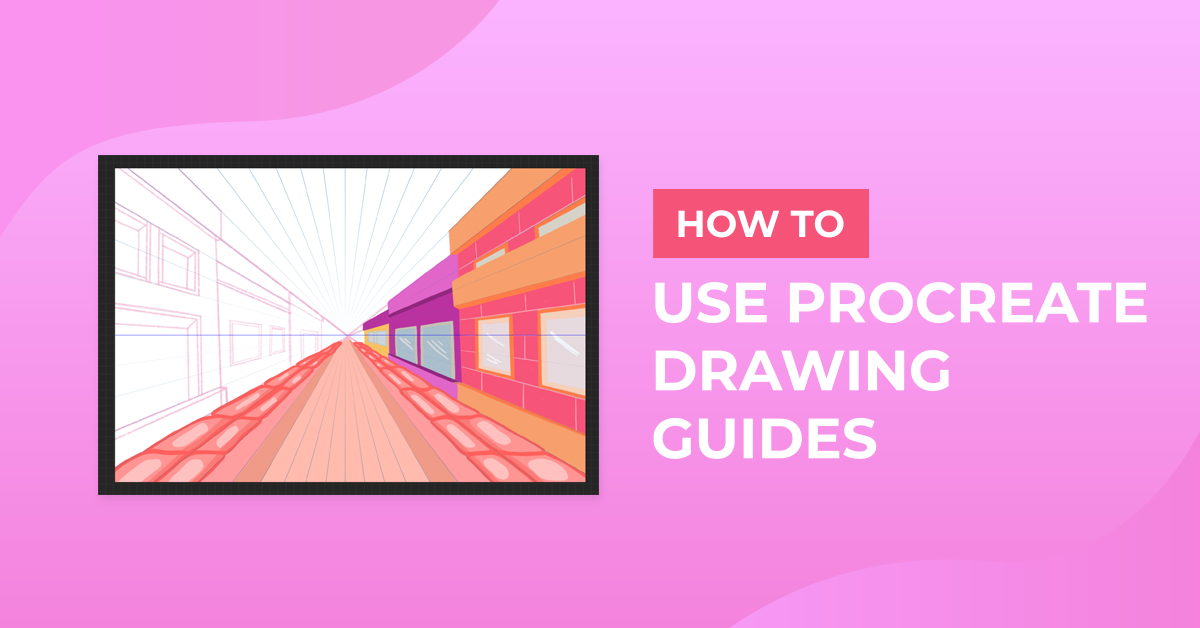
First, add the torso. Enable the Symmetry Guide for the arms, legs, hands, and feet. This makes it easier so you don’t have to draw each part individually. On separate layers, add the head and limbs onto the torso. Finally, add the hands and feet on their own layers. For more information, we have a tutorial available on how to use the drawing guides in Procreate.

Step 2 - Sketch the Outline of the Person
Lower the opacity of the drawing guide layers. Sketch the outline of the person. Enable and use the Symmetry Guide whenever you see fit. You don’t have to follow the guide exactly. Feel free to sketch in any color.

Step 3 - Sketch the Clothes
Hide the guide layers for the body. On a new layer, sketch the clothes. Enable and use the Symmetry Guide where you see fit.

Step 4 - Draw Actual Lines of Body and Clothes
On separate layers, draw the head, body, and clothes following the sketch. Again, enable the Symmetry Guide wherever it is helpful.

Step 5 - Create the Face and Add Hair
The head stamp brushes have lines to guide where the eyes, nose, and lips should go. On separate layers, add the nose stamp and lips stamp using stamp brushes from Design Bundles. On a new layer with the Symmetry Guide enabled, add the eyes using realistic eyes stamp brushes. Draw the eyebrows on a new layer with the Symmetry Guide enabled. Pick and use any hairstyle stamp brush that fits the face position.

Step 6 - Add Color and Shading
Hide the guide and sketch layers. Bring your person to life by adding color. Make your person any skin color using Procreate skin tone color palettes.

For more fun tutorials, check out our guides on how to draw a butterfly and how to draw a flat character in Procreate.