By Design Bundles
Scan N Cut Tutorials3 min
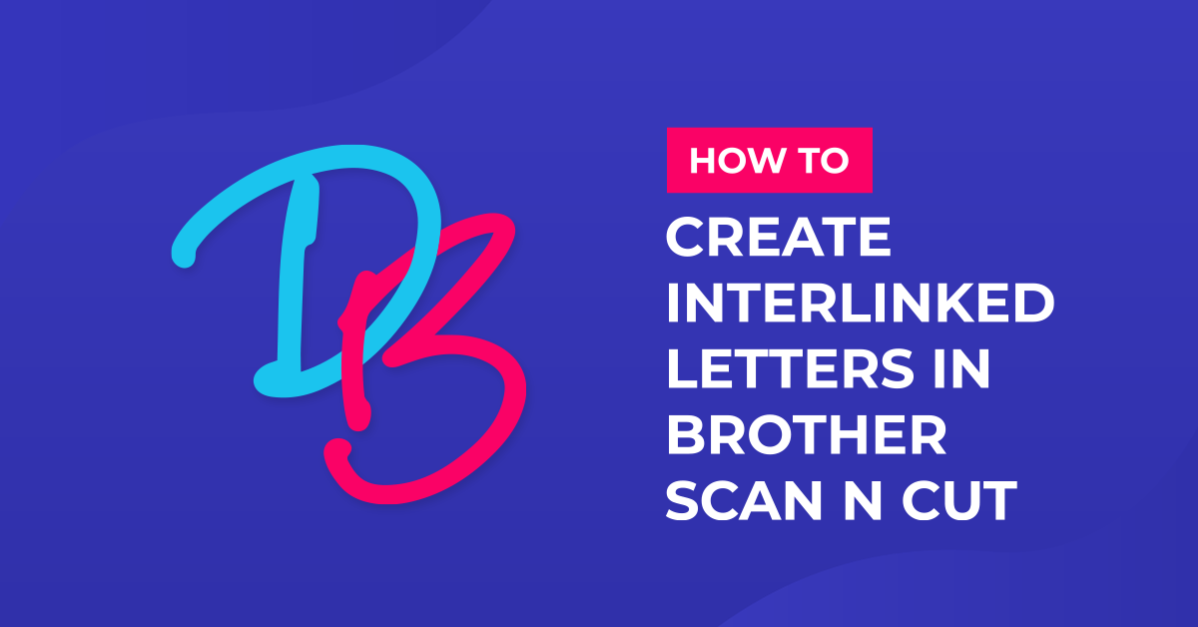
Creating interlinked letters in brother scan and cut canvas workspace
1- Open canvas workspace. Click on the text icon.
2- Type your letters you want to interlink. Make sure you type each one separate.
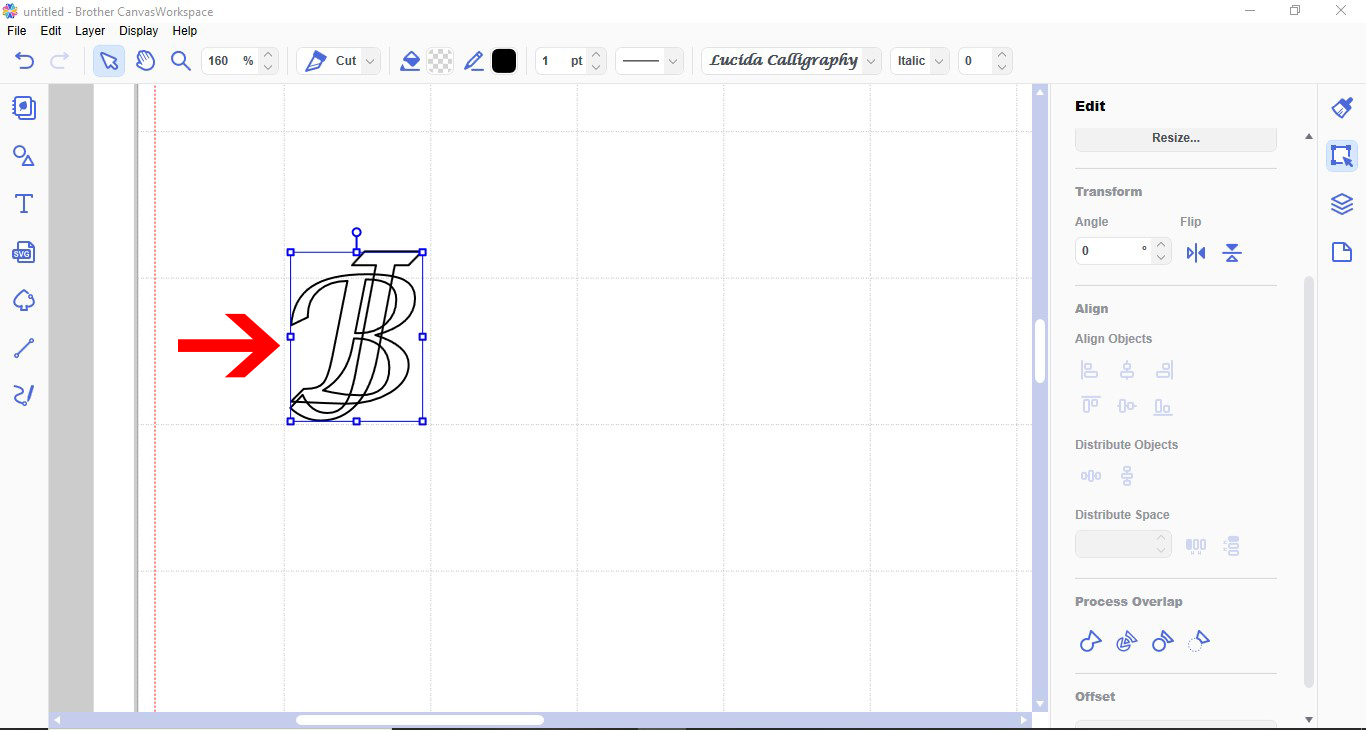
3- Change font to the one needed. Layer each letter on top of each other where you would like them to interlink.
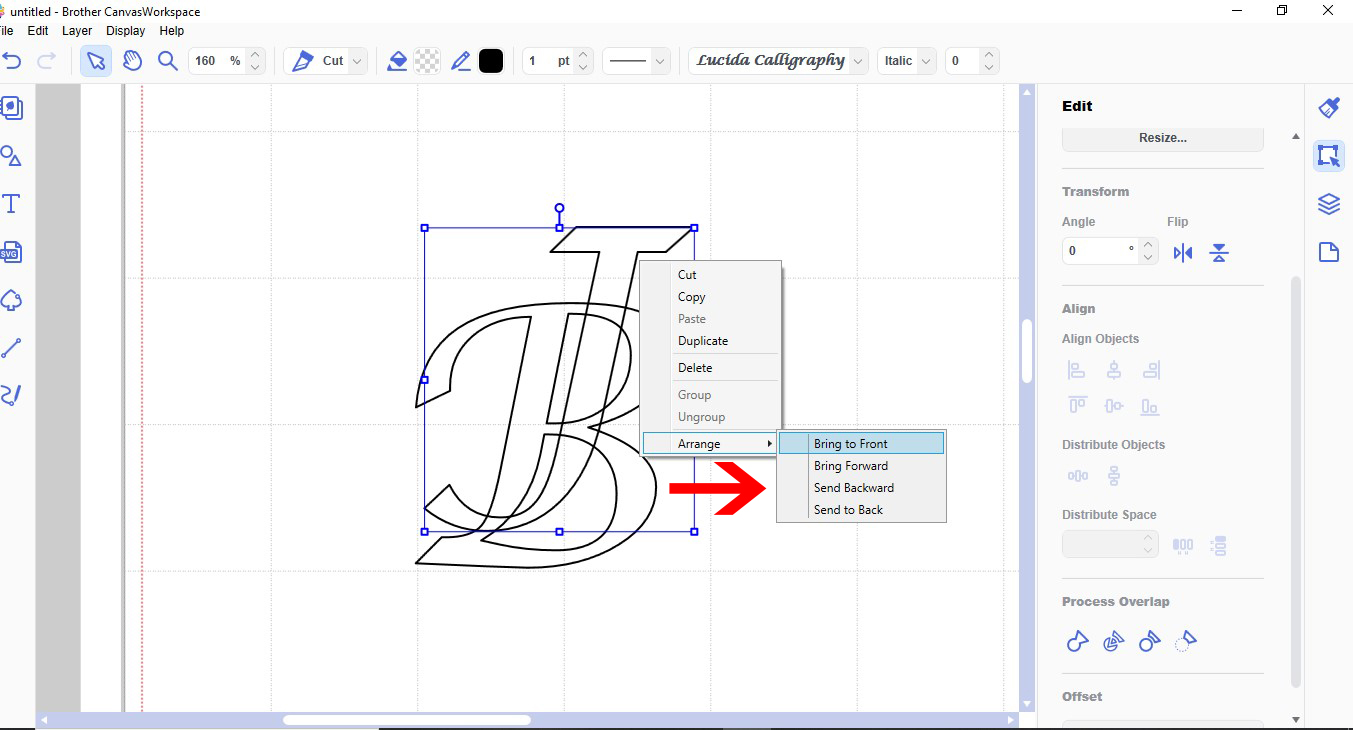
4- Select one of your letters, right click and bring to front. Make sure you have one sent to front and one to back.
5- Select both letters and go to process overlap, click divide.
6- As you can see every intersecting part of the letters has been divided.
7- Select parts of the letters you want to appear at the front. Weld.
8- The letter B now looks like it is in the front.
9- Select the next sections you want to look like are passing through the B. Weld.
10- The parts of your letter now appear interlinked. Select all the parts of one letter. Right click and group.
11- With the letter parts grouped. colour the individual letters.
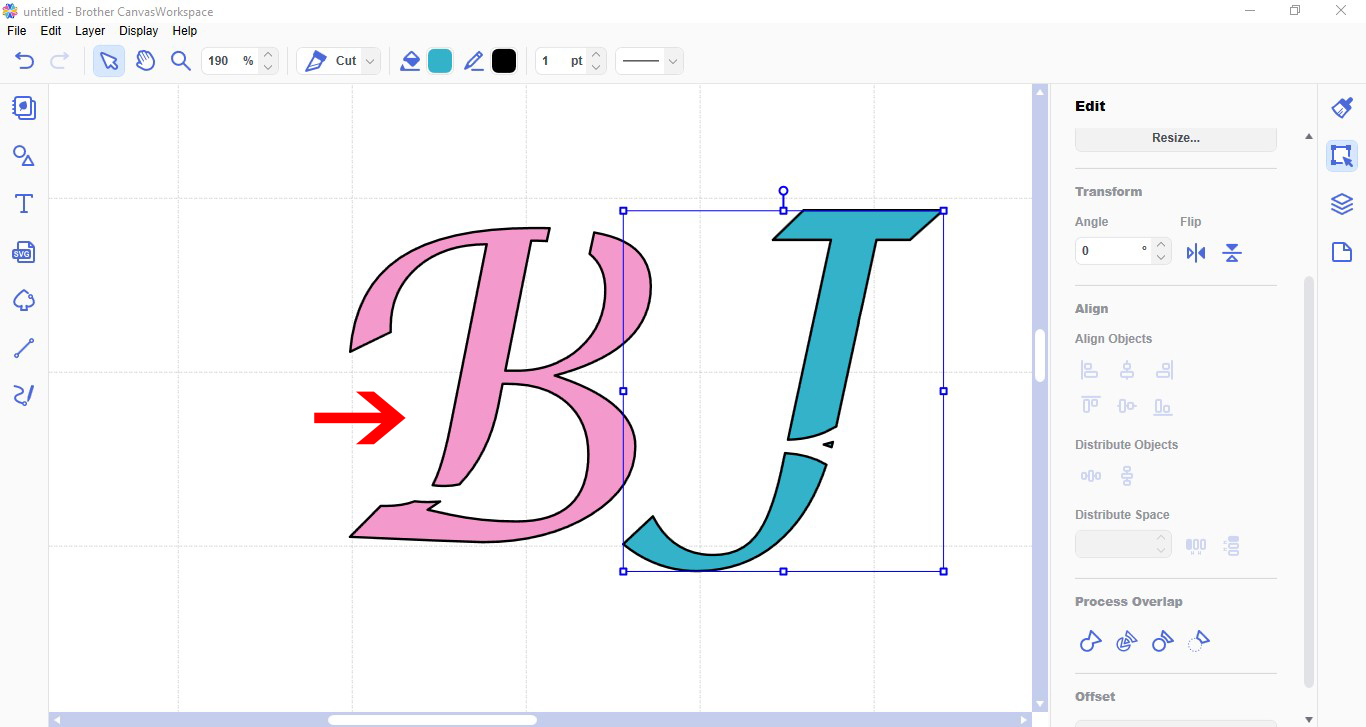
12- When you separate the two letters. As you can see they will cut in parts. They can be adhered together to appear interlinked.
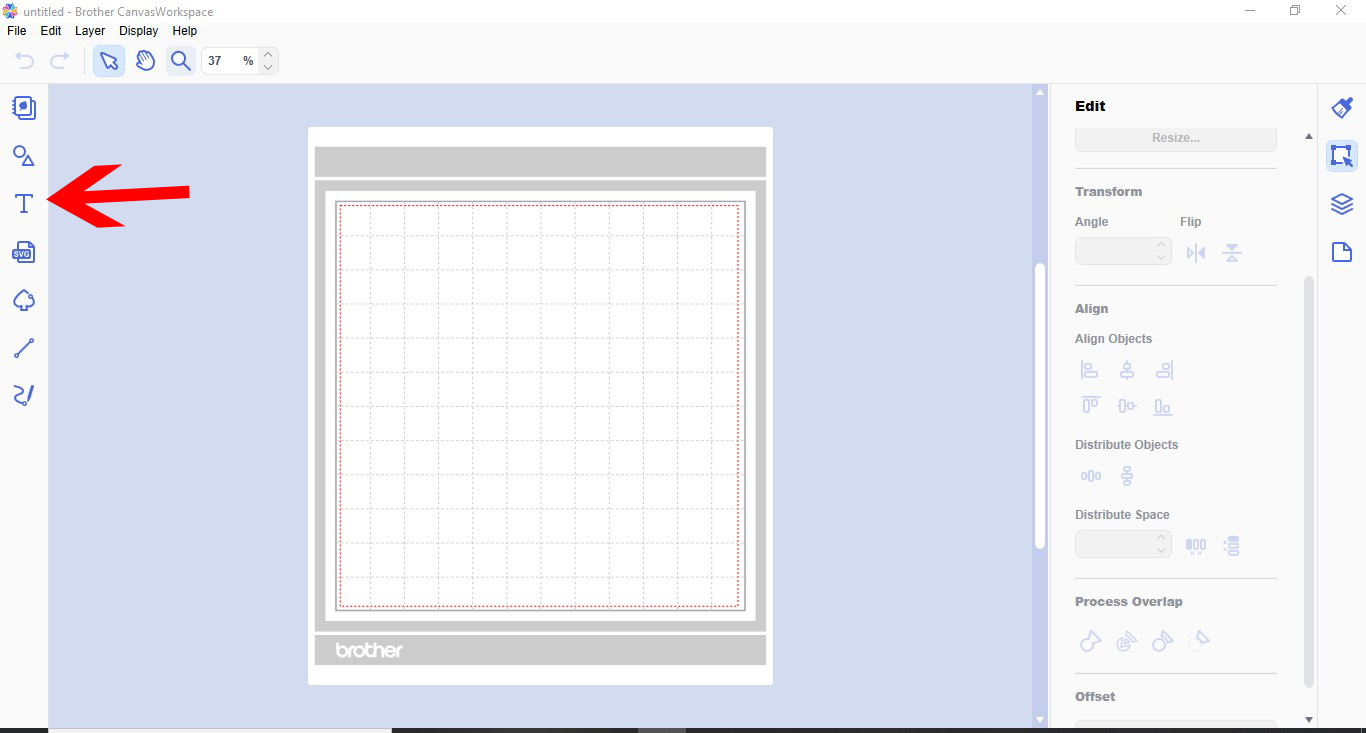
2- Type your letters you want to interlink. Make sure you type each one separate.

3- Change font to the one needed. Layer each letter on top of each other where you would like them to interlink.
4- Select one of your letters, right click and bring to front. Make sure you have one sent to front and one to back.
5- Select both letters and go to process overlap, click divide.
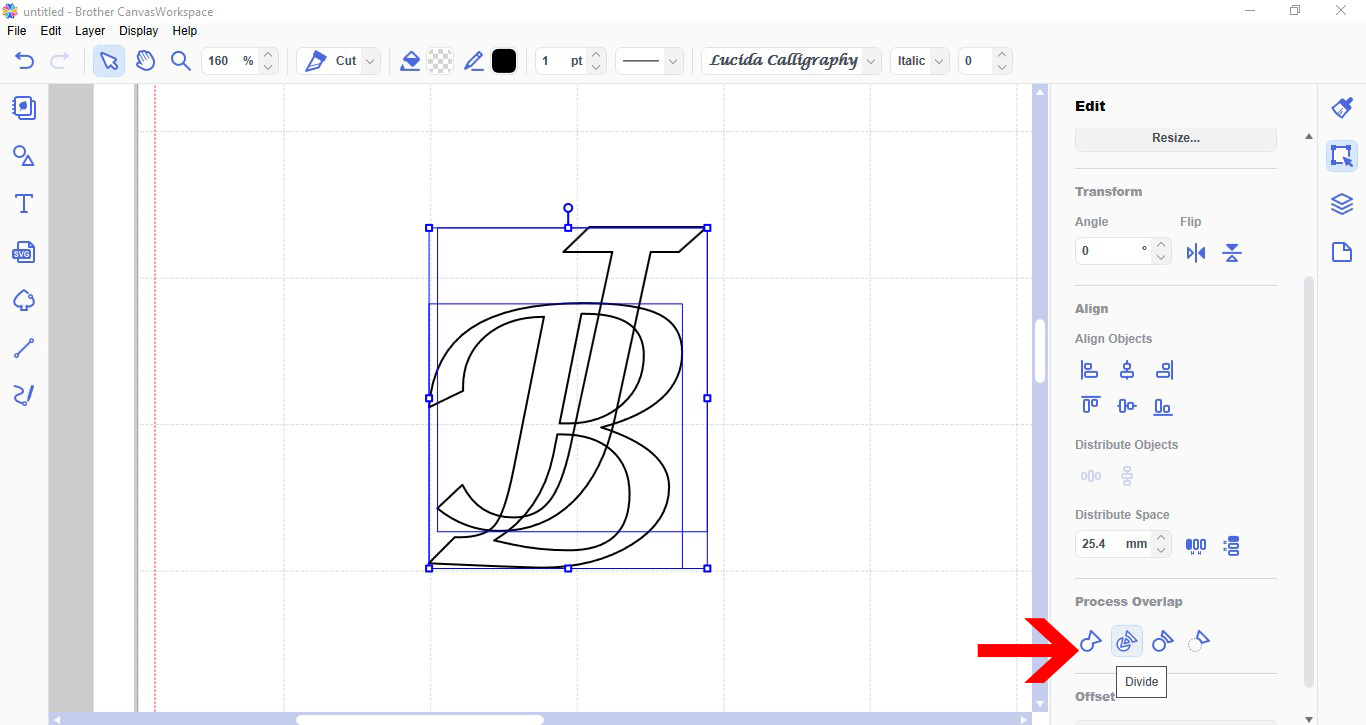
6- As you can see every intersecting part of the letters has been divided.

7- Select parts of the letters you want to appear at the front. Weld.
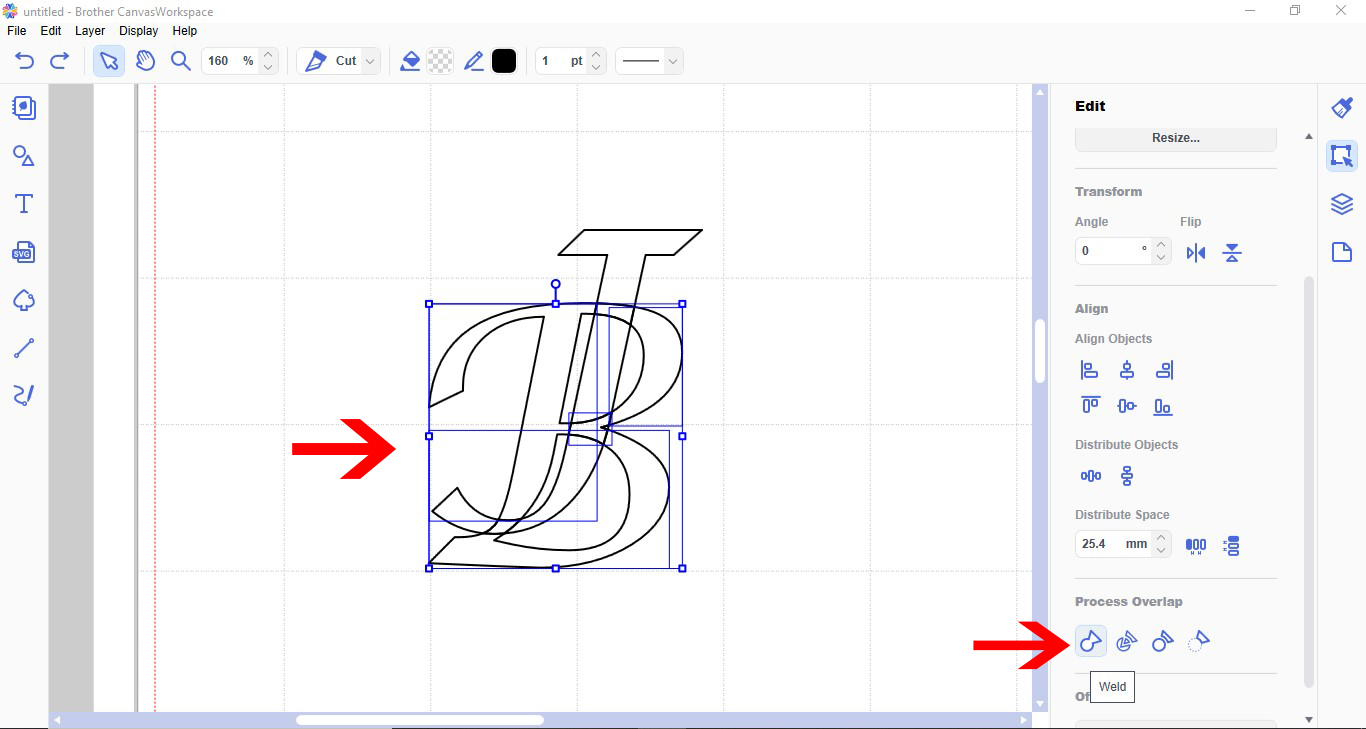
8- The letter B now looks like it is in the front.
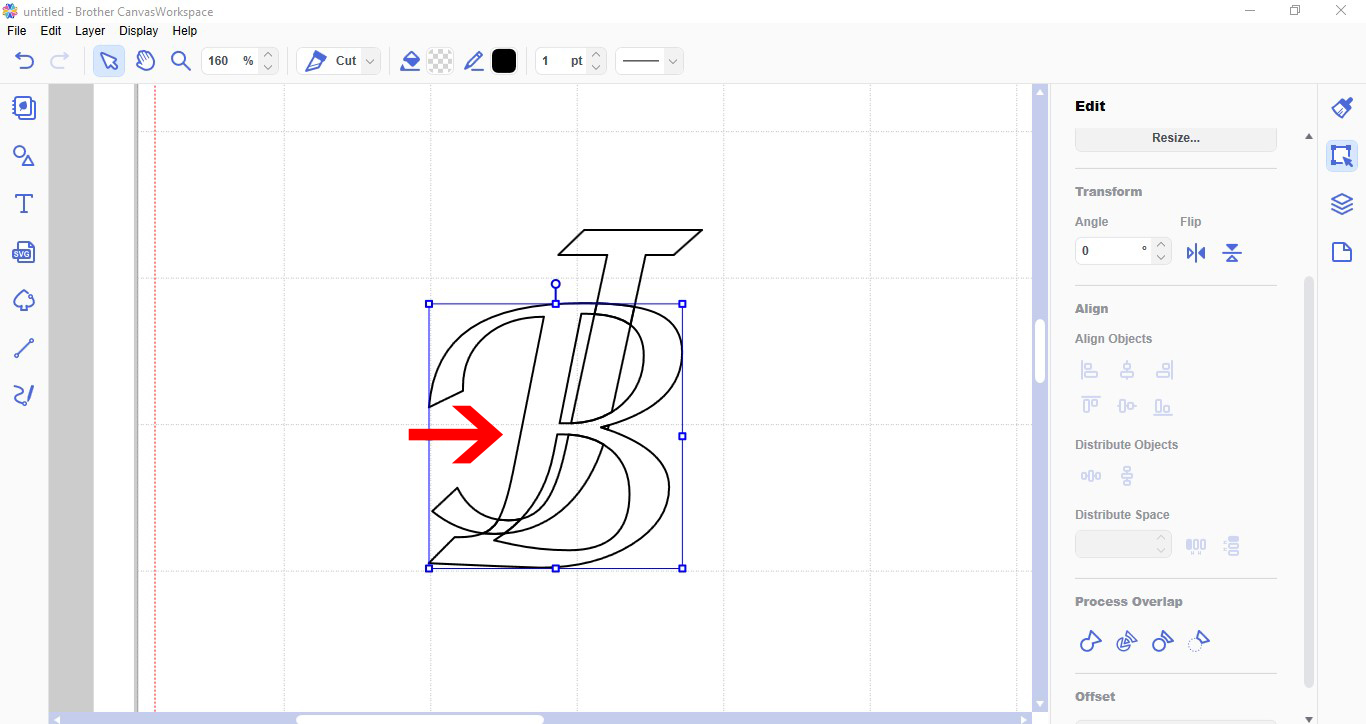
9- Select the next sections you want to look like are passing through the B. Weld.
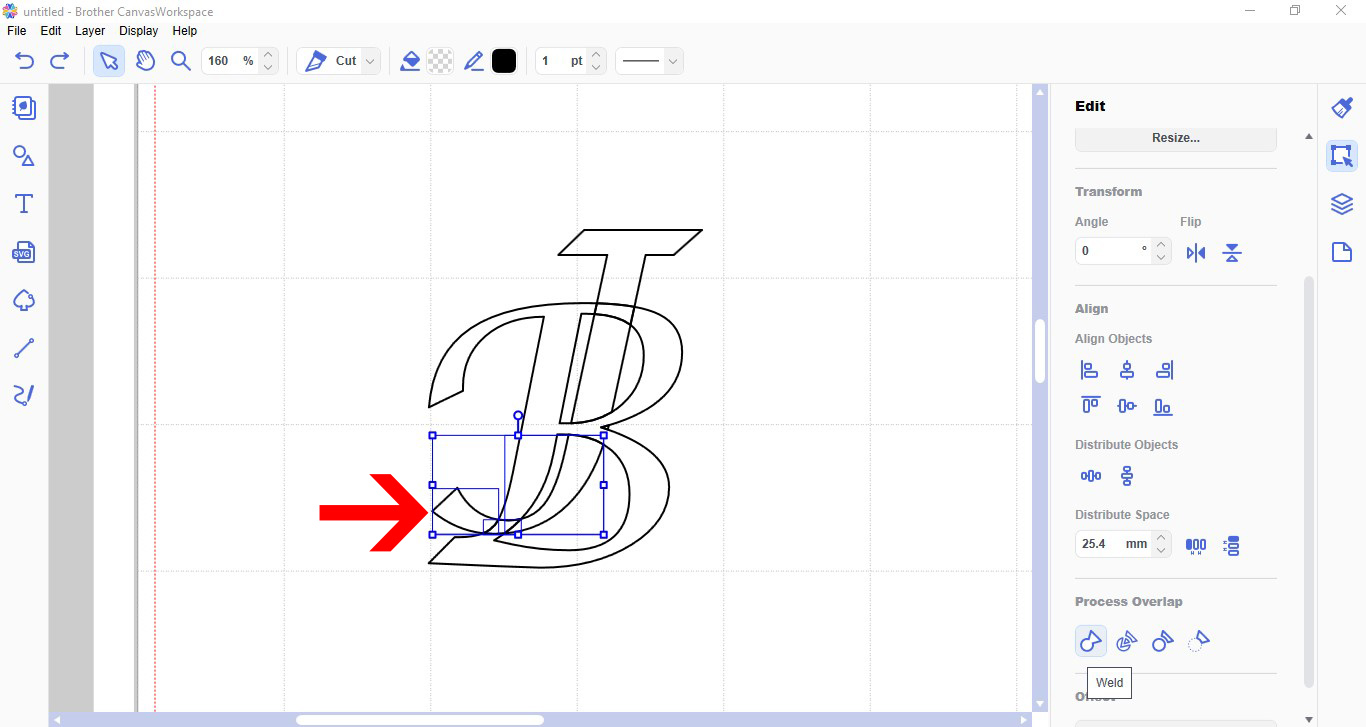
10- The parts of your letter now appear interlinked. Select all the parts of one letter. Right click and group.
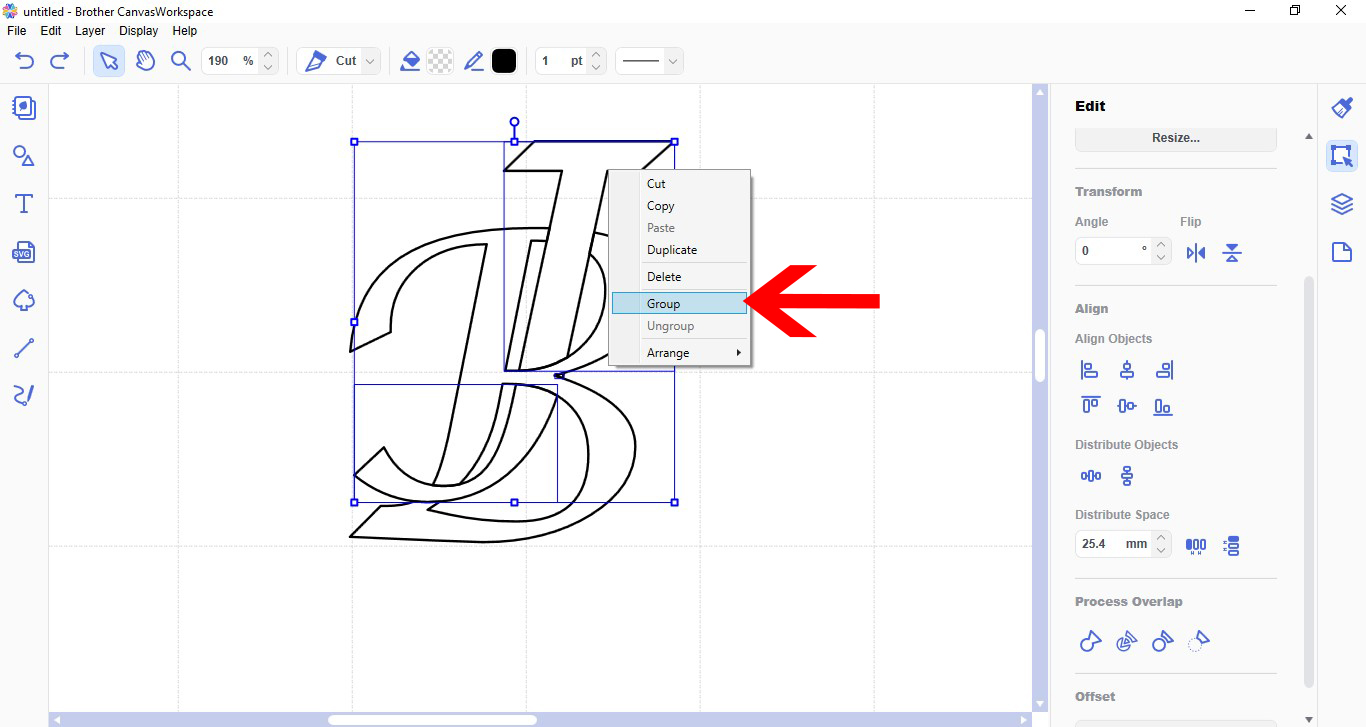
11- With the letter parts grouped. colour the individual letters.
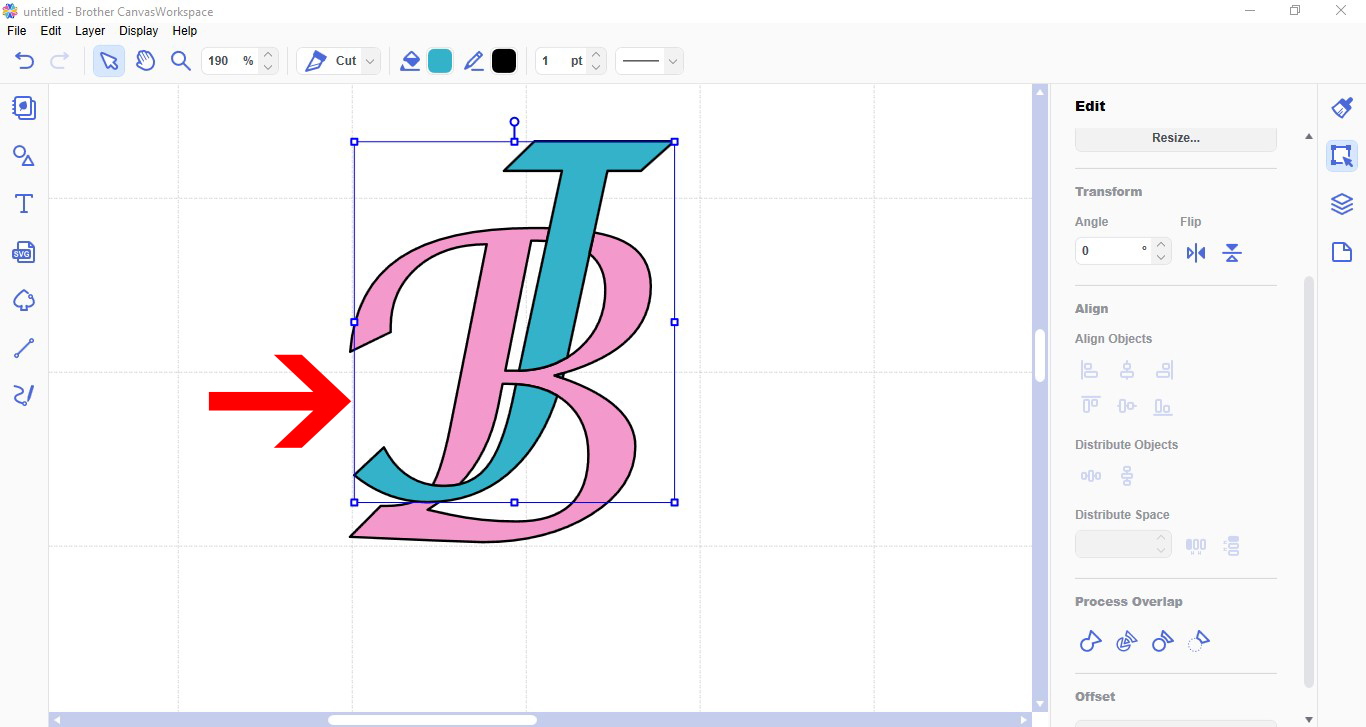
12- When you separate the two letters. As you can see they will cut in parts. They can be adhered together to appear interlinked.
Related Tutorials
Scan N Cut Tutorials
Creating a split monogram with Brother scan and cut canvas workspace
Scan N Cut Tutorials
Creating frames in brother scan and cut canvas workspace
Scan N Cut Tutorials
How to create curved text in brother scan and cut canvas workspace
Learn how to curve text in Brother Scan N Cut
Scan N Cut Tutorials
How to make a image larger than your cutting mat in Brother Scan N Cut canvas workspace
Learn how to cut designs larger than your cutting mat in Brother Scan N Cut canvas.
Scan N Cut Tutorials