By Design Bundles
Silhouette Alta 3D printer modify options
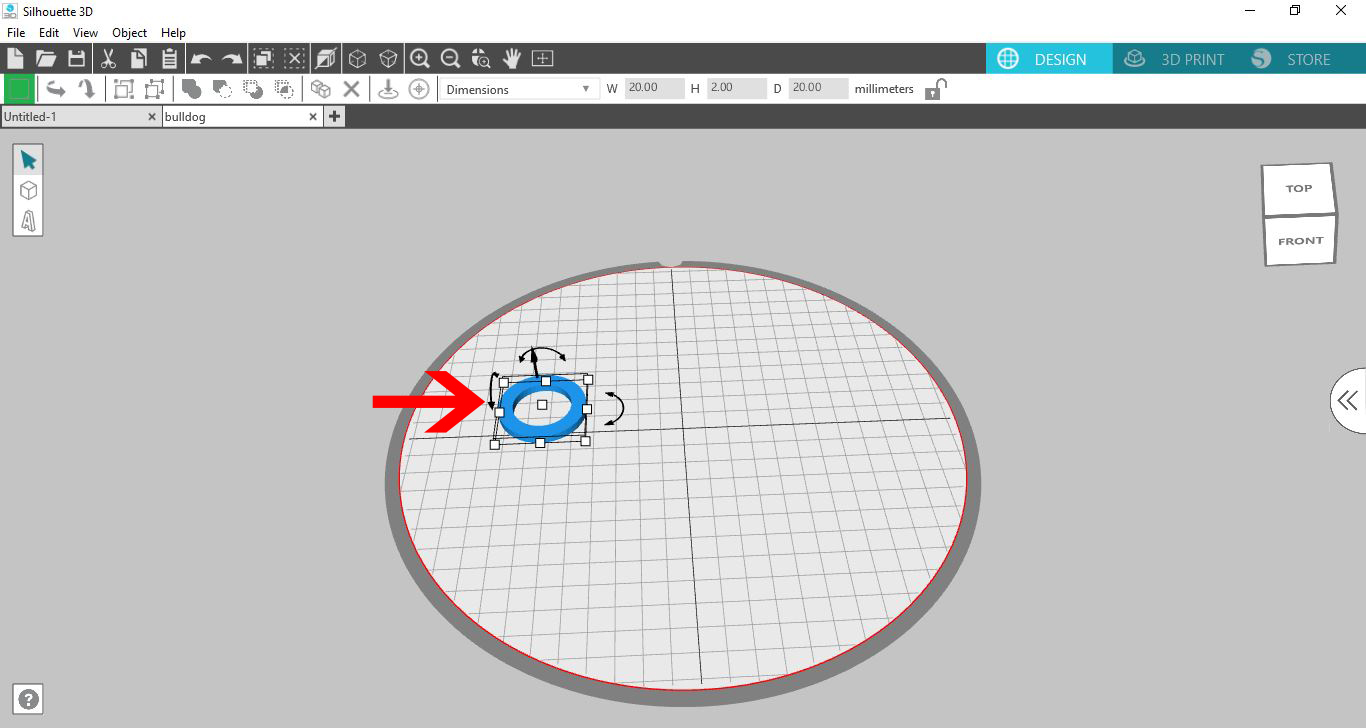
1- Open the Silhouette Alta software. Go to your library/folder to upload your design.
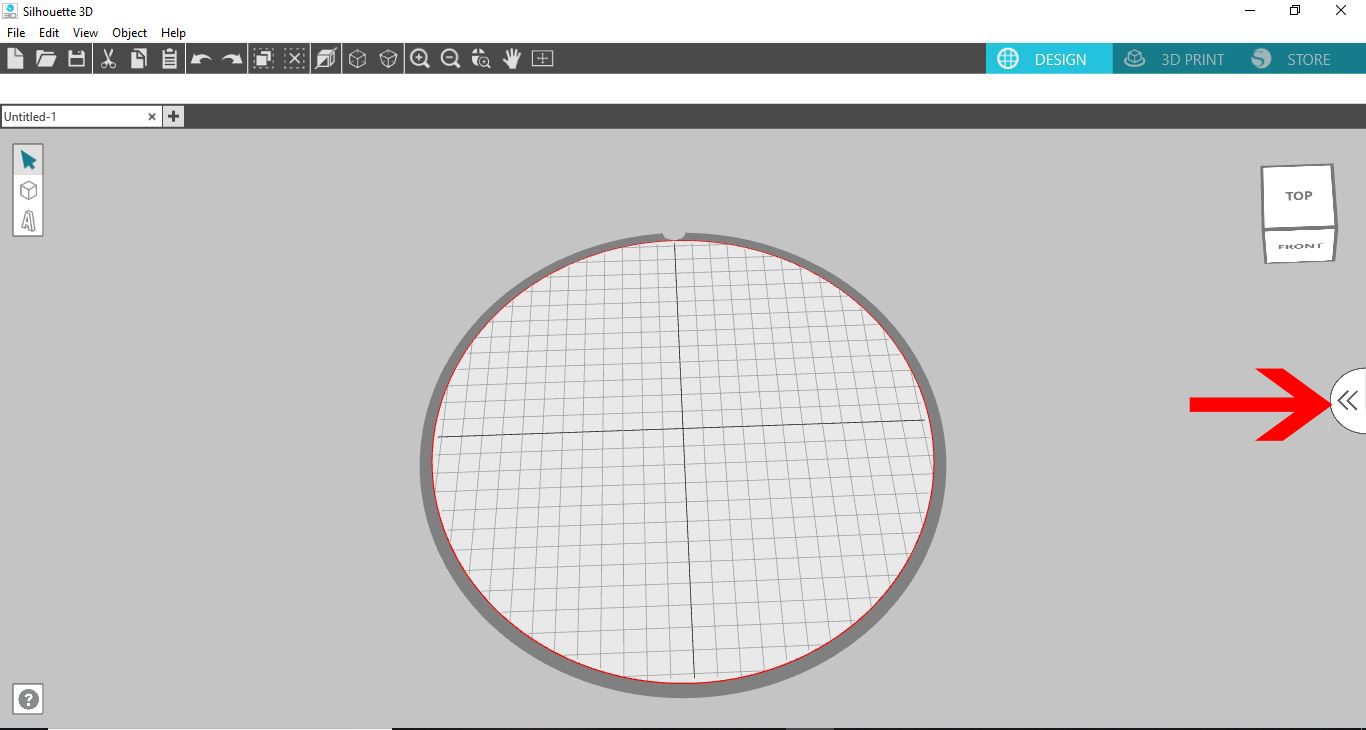
2- Insert your design.
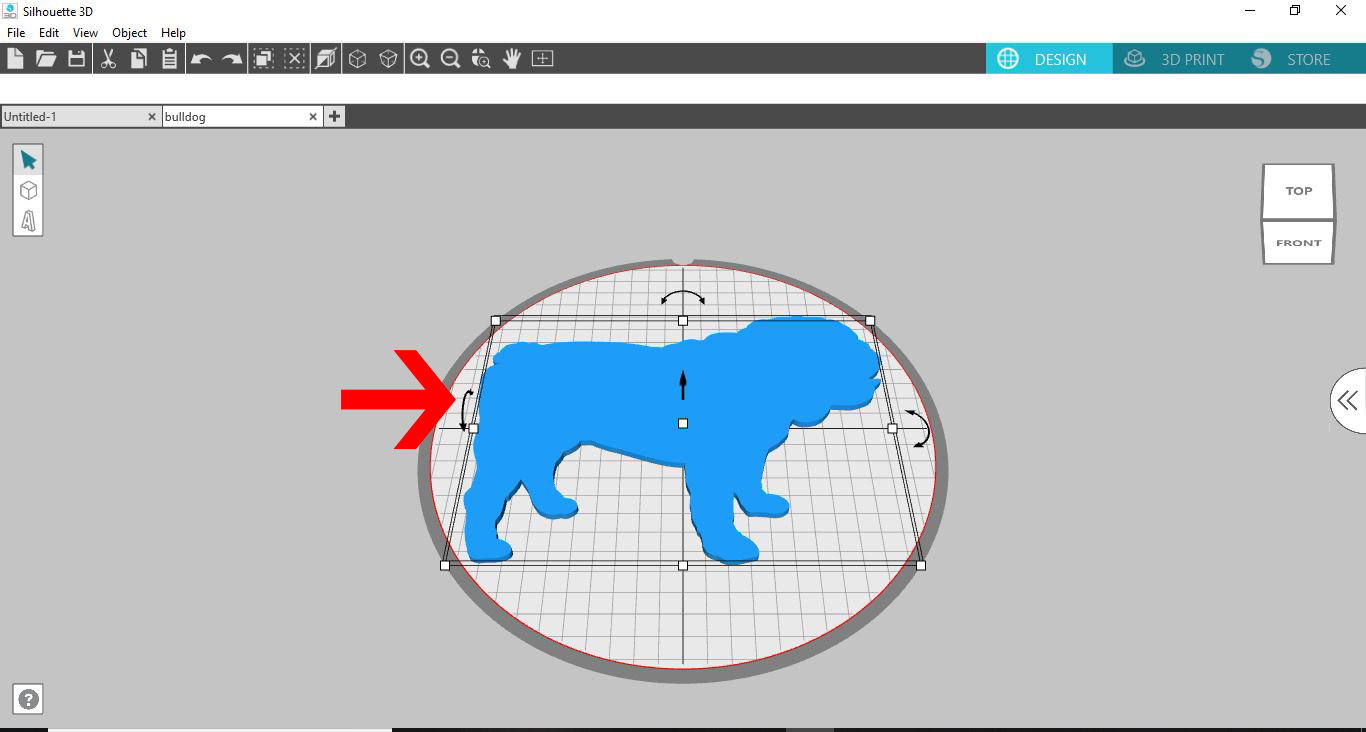
3- Insert a second design.
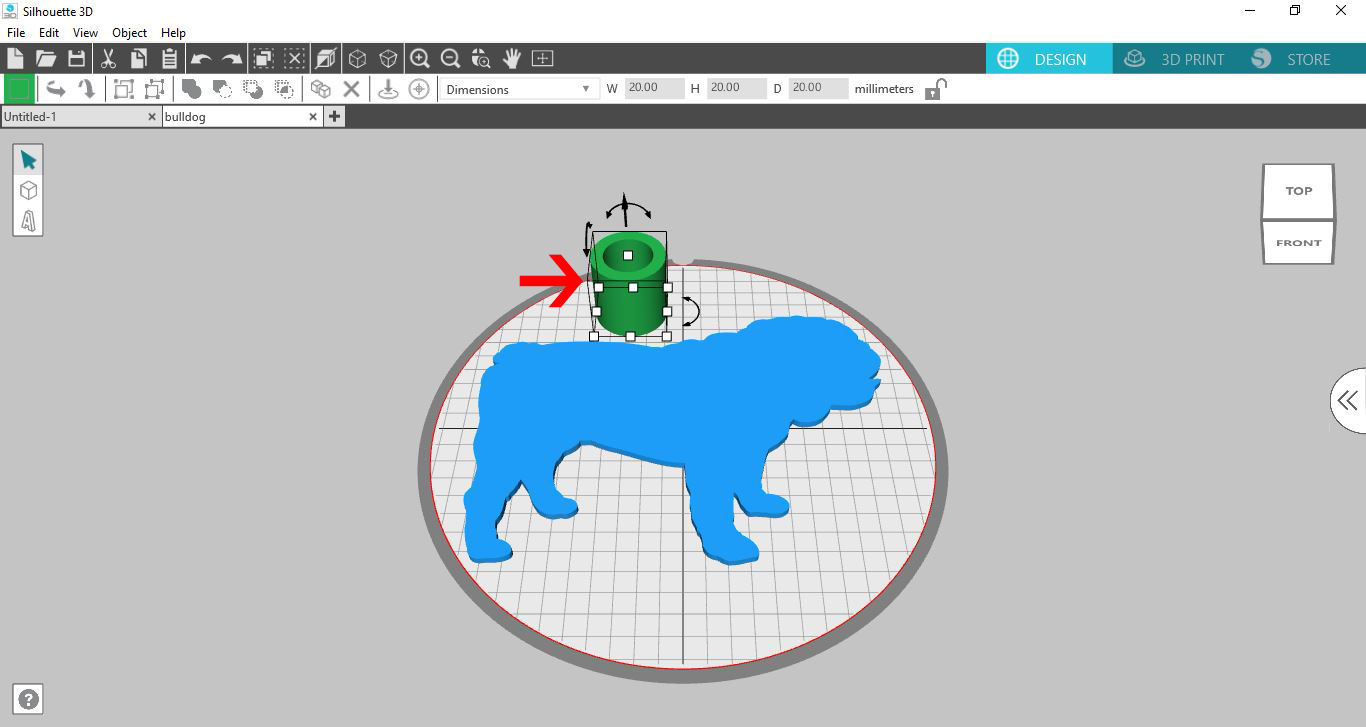
4- There are 3 different options with the modify functions. To modify any design you will need to place one design over the other.
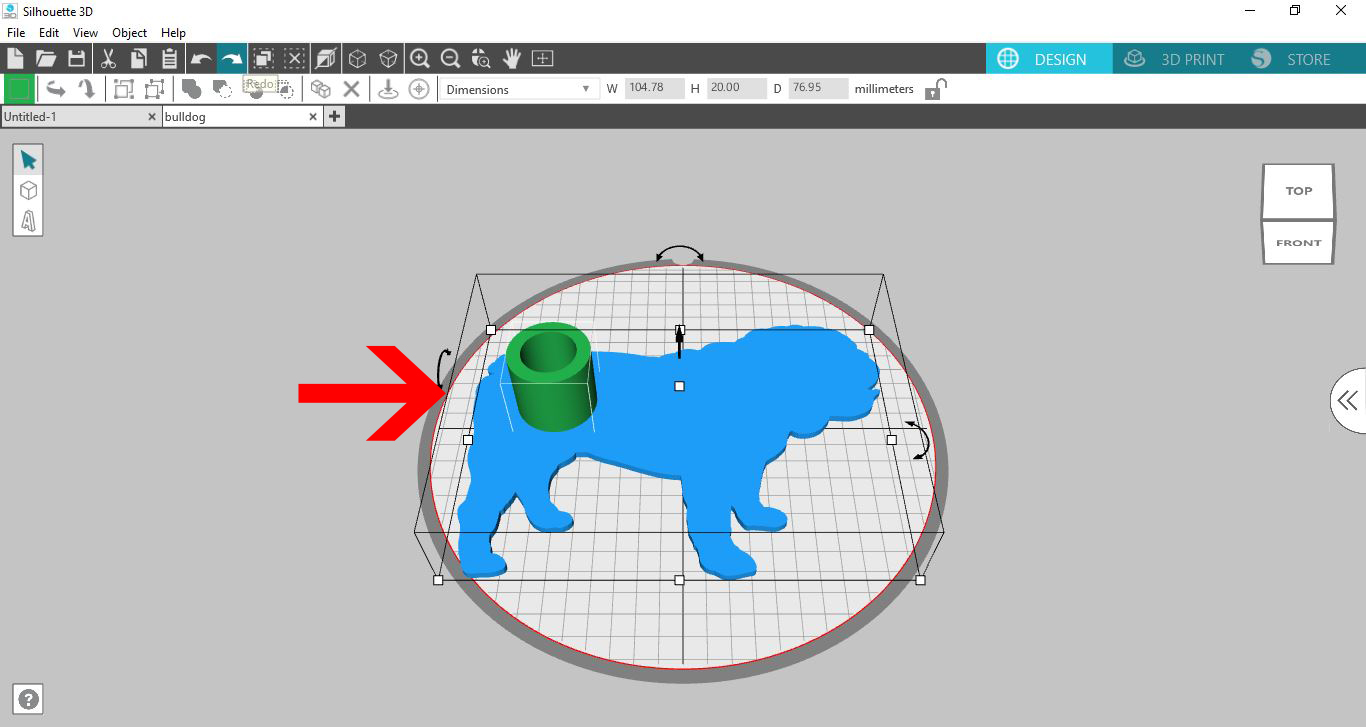
5- Once your designs are places where they need to be. click on the select all icon.
6- Next you can now select the subtract last from first option.
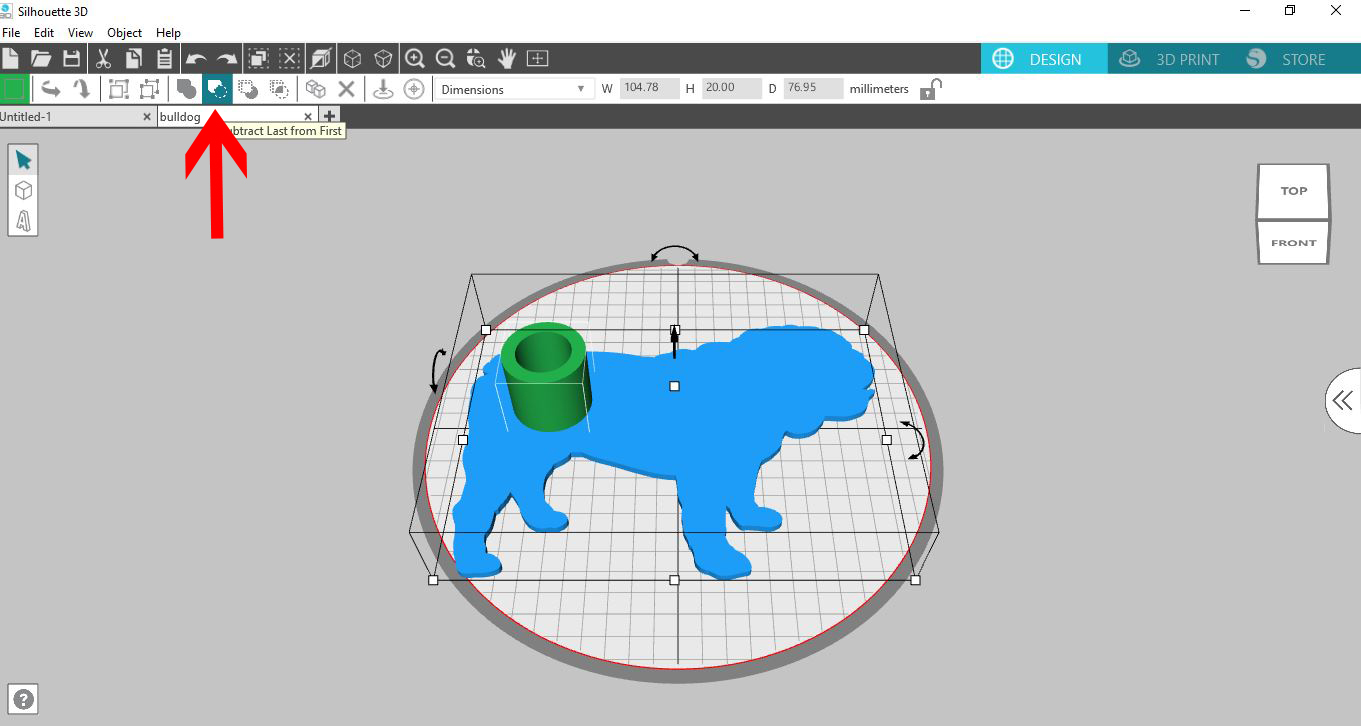
7- This will remove the shape of the last item you placedfrom the first item you placed.
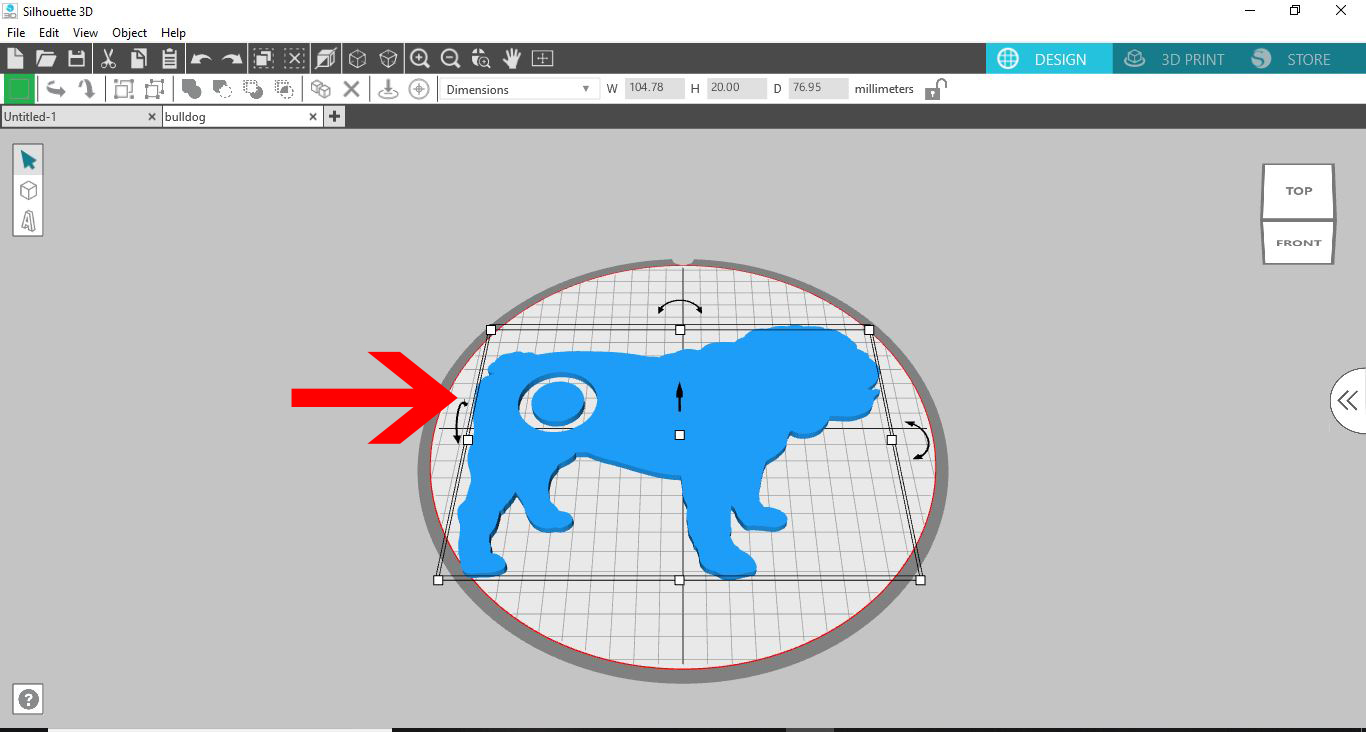
8- The next choice with the modify tools is the subtract first from last. Make sure both designs are selected and then click on the modify icon.
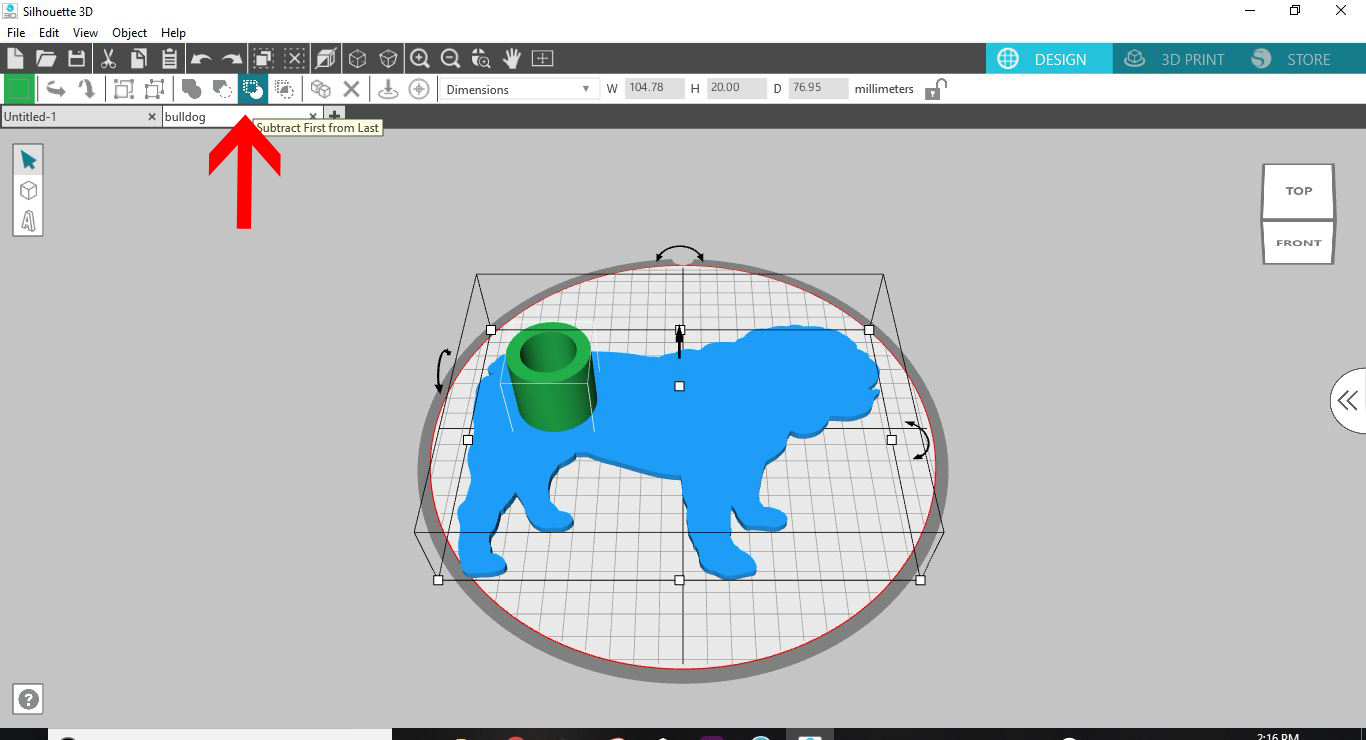
9- As you can see the first design was removed from the last design.
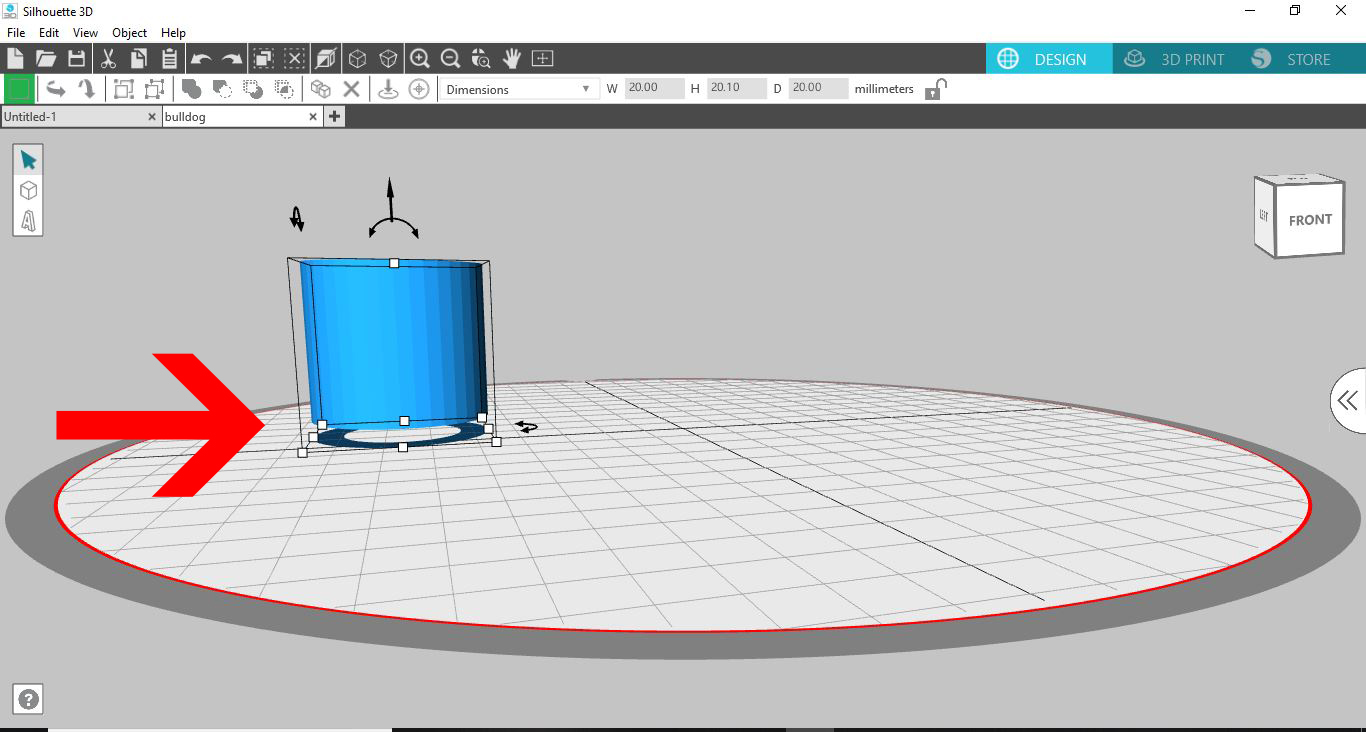
10- Lastly there is the intersect icon. Make sure both design are selected. Click the intersect tool.
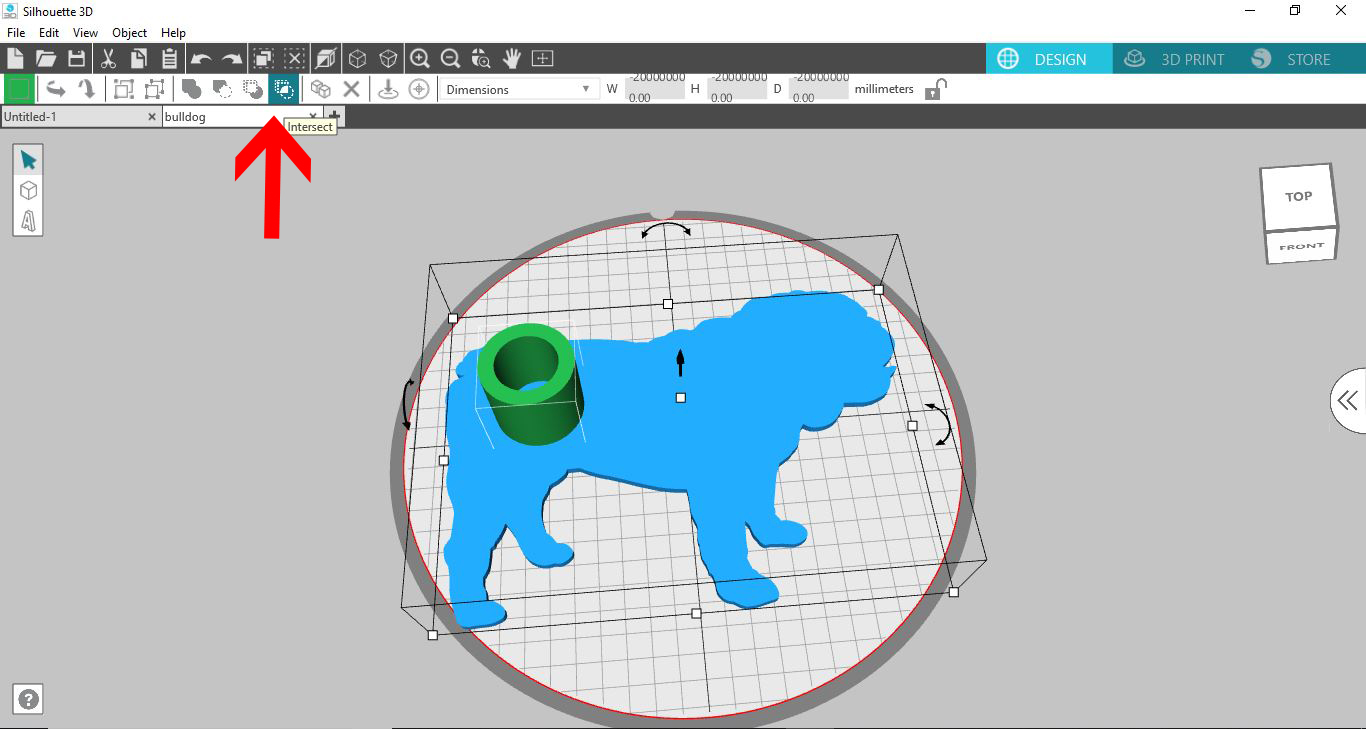
11- The intersect tool will remove all parts of both designs apart from the sections that touch (intersect).