By Design Bundles
How To Print And Cut Clip Art In Silhouette
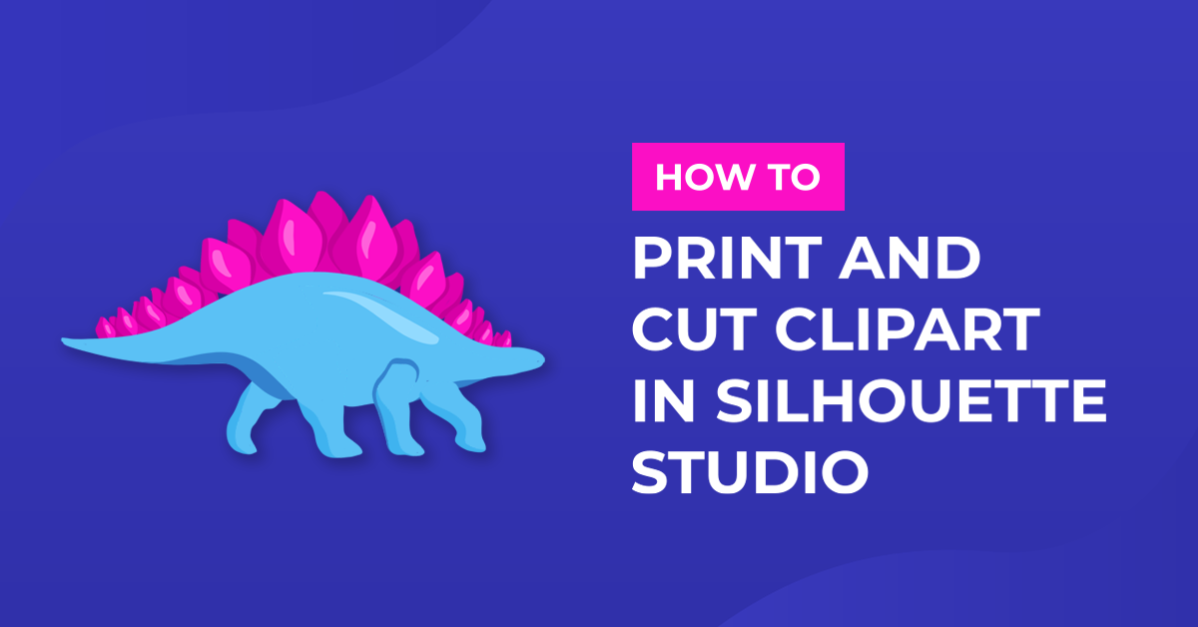
In this tutorial we are going to show you how to print and cut clip art in Silhouette Studio. There are so many clip art designs to choose from but not all are available as cut files. In Silhouette Studio, you can use the Trace option to create a cut file with ease. You will then be able to print and cut your favorite purchased clip art.
To show you how this feature works, we will be using this cute camping clipart. Once you have downloaded your file, remember to unzip the folder to your PC.
For this tutorial we will be working on a PC, however we do have a visual guide if you are working on a Mac.
Step 1 - Trace your Image
Open your JPG clip art file in Silhouette Studio then go to the Send Panel. Click on the Cut option and you will see that a cut line is placed around the entire image. We want the cut line to be around the little bear, so let us fix this.

Select the Trace Area
Go back to the canvas area then click on Open the Trace Panel. In the Trace Panel, click on the Select Trace Area option. Then, click + drag around the clip art on your workspace. You will see the cute little bear highlighted in yellow. There are the areas that will be cut out but we want to extend this area.

Adjust Trace Threshold
We want to have most of the clip art highlighted in yellow, particularly the outer area. We will only be tracing the outer edge. So don’t worry about areas inside the clip art that are not highlighted.
Adjust the Threshold until most of your clip art is a solid yellow. For our clipart, a Threshold of 85% worked great.

Change the Scale
Changing the Scale of the trace will smooth out the edges. A lower number will have less pixelation and jagged edges.

Trace the Outer Edge
Now, click on the option Trace Outer Edge. This will only trace the outside area of the clipart and not anything in between.

The yellow highlight will disappear leaving you with a cut line around your clip art. In the image below we shifted the clip art aside to show you the cut line more easily.

Group Cut Lines and Image
We want to make certain that the cut lines and clip art don’t shift if resizing or repositioning. So click + drag a selection box around both, then right click > Group.

Step 2 - Add Registration Marks
When using print and cut we need to add Registration Marks for more accurate cutting. These are the small squares and lines that Silhouette uses to register the position of your print. Your machine will read these lines as guides on where to cut. This is why it's so important that the lines be printed clearly.
Change the Page Setup
First, we need to change the Page Setup to print accurately as it is currently set for the Silhouette mat size. On the right side toolbar, at the top, click on the Page Setup. Then click on the first icon from the left. Now change the Media Size to Printer.

Turn on Registration Marks
In the Page Setup panel, click on the third icon. This will open the options for Registration Marks. Tick the option to turn the Registration Marks on.

You will see a few things change on your cutting mat.
The Print Border red line defines your print area. Always ensure that your clip art/images are within these lines or they will not print and cut.
The Hatch lines show you the boundary for your cut areas. This is a no cut zone so you must not have any cut lines in this area. Note: these hatched lines are for reference only, they will not print.
Black box/L shape lines are printed along with your clip art for the Silhouette to register. Your Silhouette will read over the black box and L shape lines. This will help your machine register where your cut lines are in relation to your print file.

You will be able to adjust the Length, Thickness and Onset of the Registration Marks. However, making the marks too small to save space will make it difficult for the machine to read.

Print Registration Marks and Image
With everything set up it’s time to print. Go to File > Print and a new window with a print preview will come up. This will show you what will print.

Click on the Print button and your printer settings window will open. Check your settings then send to Print.
Once your file has printed, place it on your cutting mat. Ensure it is lined up on the left edge then load it into your Silhouette cutting machine. Click on the Send panel and adjust your cut settings to reflect the media you are using.
Make sure that the cut area is selected then click on the Send button at the bottom. You may need to ungroup at this point to select only the cut line for the bear.

You have now learned how to print and cut clip art in Silhouette Studio. This very useful feature makes it easy to turn your purchased clip art into cut files for all kinds of projects. We hope that you found this tutorial helpful and can apply it to future creations.