
By Design Bundles
How to Create Your Own Stencil Bridge Cricut Design Space Mobile App
If you've ever wanted to turn a regular SVG cut file into one that you can use with a stencil, look no further! In this tutorial we will be showing you how to make a stencil bridge in the Cricut Design Space App.
Need an upgrade to your font library? Design Bundles has everything you need, including a FREE Font section to get you started!
Let's begin by opening the app and creating a new project. If you have an SVG you want to upload, you can do that now.
Step 1: Select the Text Tool
For this tutorial we will be creating a text stencil object. At the bottom of the screen, tap on the Text tool to create your text object.

Type in your text and edit the text as needed to get the result that you want.

Step 2: Click the Actions Button
Next, we want to separate the letters into individual objects so that they can be edited with the stencil bridges. At the bottom of your screen, tap on the Actions button.

Click on Isolate Layers, depending on your version or use the Ungroup option.

Step 3: Create a Square
On the bottom left-hand corner, click on the Shapes button. Next, select the Square shape that we will be using for our bridges.

Create a small square on the canvas.

Try to make the width of the rectangle the same width as the thickness of your text.

Step 4: Duplicate the Shape
Select your little rectangle and tap on the duplicate icon.

Duplicate the rectangle 5 times so you have 6 rectangles.

Step 6: Place the Rectangles over the Letters
Place the rectangles (stencil bridge) over the letters that have middles (also known as counters). Make sure you place them evenly.

Step 7: Weld Your Design
Tap on the layers tab. Select the two rectangles that are over your first letter. Weld them together.

Step 8: Slice Your Design
Select the letter and the welded rectangles. Tap on Slice icon.

Remove the sliced parts.
This will leave you with a letter with 2 sections cut out. Repeat the above steps on the other letters that need a stencil bridge gap.
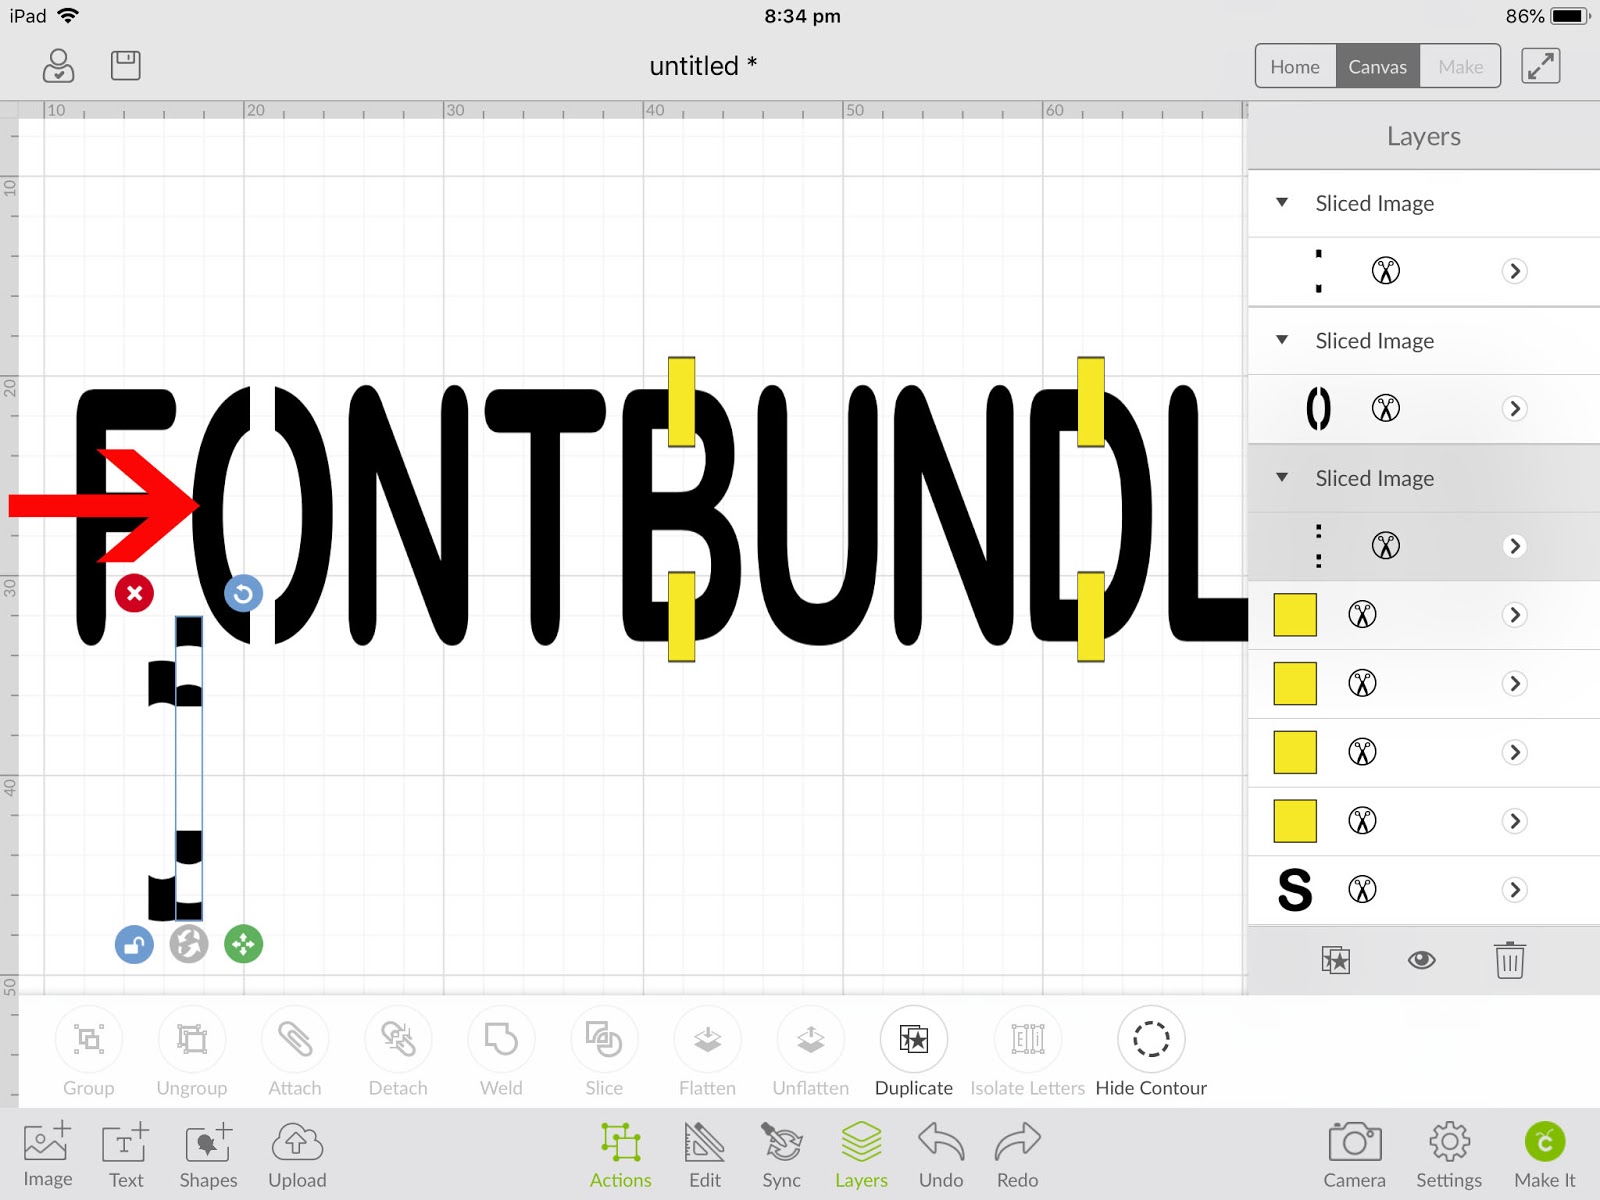
Now the letters have their gaps you can cut the design and use it as a stencil on projects.

You now have a design that is ready to be used with a stencil! By doing this, you are ensuring that no pieces will fall out when you cut the stencil.