By Design Bundles
How to Use Pattern Fill in Cricut Design Space
Today we will be focusing on how to use the Pattern fill feature in Cricut Design Space. This easy process can help you create stunning design using some of your favorite patterns.
Step 1. Create a New Project
To begin, open Cricut Design Space. After logging in, start a new project by simply clicking on the green button that is labeled New Project on the top right-hand corner.
Step 2. Upload your Pattern
Locate your Upload icon. This is usually the last icon on the toolbar located on the left side of your canvas screen. This will navigate you to the next page.

Once on this page, you will need to click the Upload Pattern button.

You can now search for your file and insert it to Design Space. You can do this by clicking the Browse button which is located in the center of your screen or by simply dragging in your file.
Today I’ll search and use a Tropical Pattern set by BonaDesign. This set comes with 14 beautiful tropical patterns that can be used in a wide range of projects.

Once you picked out your pattern, click the beautiful green Upload button on the lower right-hand corner. You have successfully uploaded a digital pattern to Cricut Design Space!

Step 3. Choose a Font
Today I'll be working with Cheeky Bite by Amber Nest Designs. This is a great bold font to add an amazing pattern to. If you need help locating your text tool to choose your font we have a great guide on how to use your Text edit Panel.

Step 4. Add Pattern To Text
Select your text and located your Operation tab. This can be found on your first toolbar on top of your canvas screen right next to your swatch tool. Click on your Operation tab, scroll down and select Standard. This will format your project to be able to print and cut which is exactly what we want.

Click onto your Color swatch which is right next to your Operation Tab. A box will appear on your screen. You will now be able to change the print type from a simple color to a pattern. Click the down arrow on your color tab and then click Pattern.

All the patterns you have uploaded will now appear. Choose a pattern from the list to fill your text.

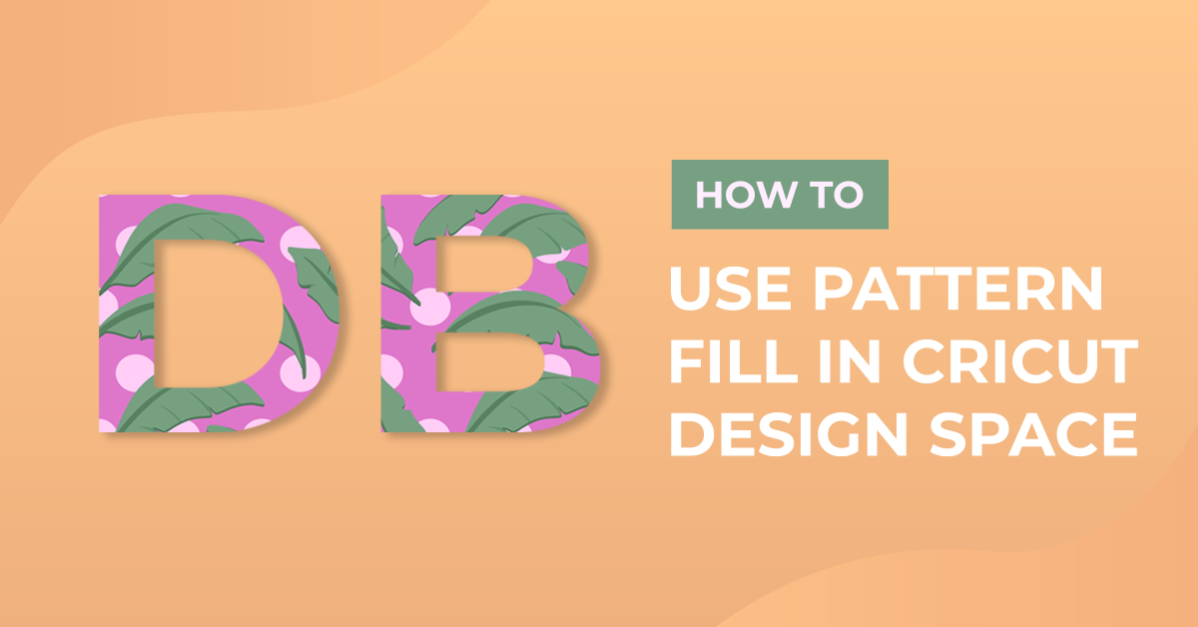
Your pattern will automatically appear in the selected item.

You have officially created a beautiful design using Cricut Design Space pattern fill feature.

Next up, learn how to upload SVGs to Design Space and how to offset text.