By Nadine Spires
How to Use PSD Text Styles in DesignScape
We are going to share a great tutorial on how to use PSD Text styles in DesignScape. While available to Gold Plus Members, you can experience DesignScape for yourself with our free 30 Day Trial of the Gold Plus Membership. There is no need to download anything with this browser based editing program, you can start creating immediately. If you are looking for an alternative to Photoshop and Illustrator, DesignScape is it.
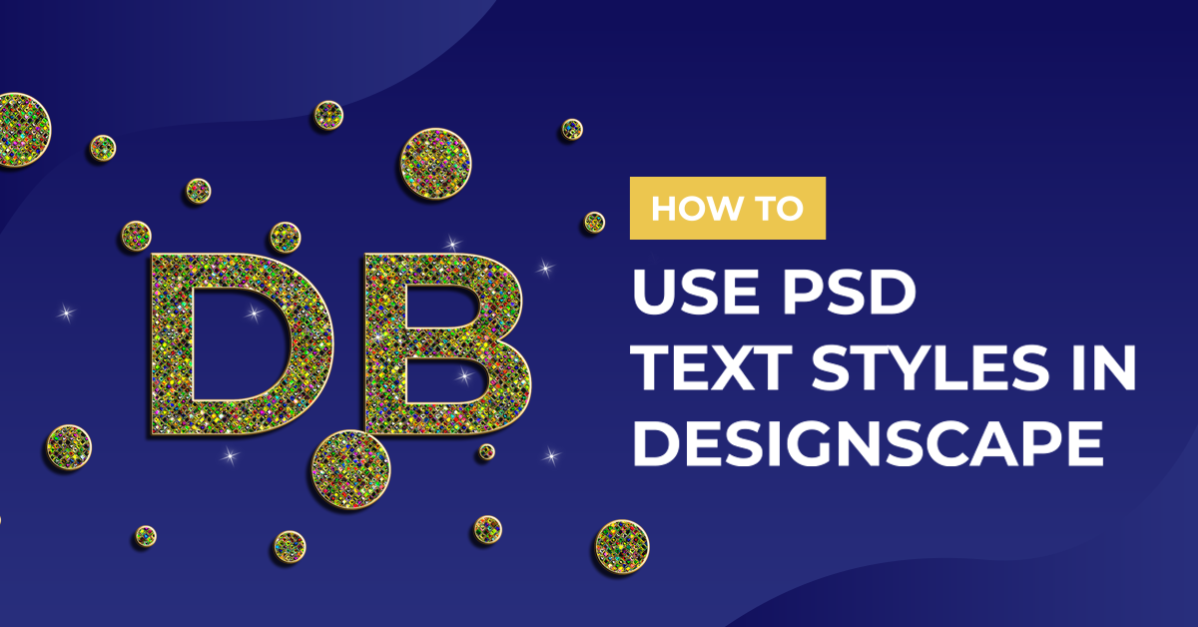
During this tutorial we will be using this Rhinestone text effect and a font duo called Freshly Baked. Before we begin, we need to make sure our files are downloaded and unzipped.
Step 1 - Open the PSD File
Once DesignScape is open, we then need to open our PSD file. If you need more guidance on how to do this, we have an excellent tutorial on opening files in DesignScape.
When the file has opened, you will see a layer in the Layers Panel called Placeholder. Double click on this to open a new window.

In this new window you can edit the Placeholder layer. Double click on the Text Layer (shown as a letter T in a box) to enter Text Edit mode.

Step 2 - Edit the Text Style Layer
Now, when you go to edit the text style layer, you most likely won’t have the font that came with the text style. The font will then change to one available in DesignScape.
Change the font
At the top toolbar you will be able to access the Font Family drop down menu. Here, you can upload your font to DesignScape. We have already applied our font to our text.

With the text still selected, type out what you want. We changed the text to “Design Bundles” then clicked on the Move Tool on the left side panel. At the top toolbar we made certain the Transform controls box was ticked in order to activate the sizing handles.
Next, we clicked + dragged out one corner node to upsize the text. Then clicked + dragged the text to move it around until two red guidelines appeared. This told us that the text was centered.

Adjust Elements if Needed
As you can see, when we changed the size and position of the text, it overlapped on the circles. This is a quick fix. Click on the top most layer in the Layers Panel called Ellipse 1. Now place your mouse over a circle and click + drag to reposition.

Step 3 - Save as Smart Object
When working with text styles or Smart Object mockups, once you are done with the placeholder, it needs to be saved. These specific objects are saved as Smart Objects, which will then update on the original file.
Go to File > Save (Smart Object) and DesignScape will notify you that the file has been updated. You can also use the shortcut Ctrl + S (PC) or Cmnd + S (Mac).

Now click back on the Main Template or main project and you will see that it has been updated.
You can at any point go back to the second window and edit further. But keep in mind, each time you go back to edit, you will need to save as a Smart Object. This is so that the main design can be updated.

If you want to edit the text style further, double click on the Effects layer in the Layers Panel. This will open the Layer Style panel where you can change or add further settings.

When you are done with your editing, the final step is to save your file. In this case we went to File > Export as > PNG.

In the Export window, we adjusted our settings as needed then clicked Save.

Our design is now ready to be used in other projects.

We hope you enjoyed learning how to use PSD text styles in DesignScape. Text styles boost the look of your text with just a few easy clicks. These can then be added to websites, email headers, crafting projects and so much more.