By Christine Hattingh
How to Draw a Birthday Cake
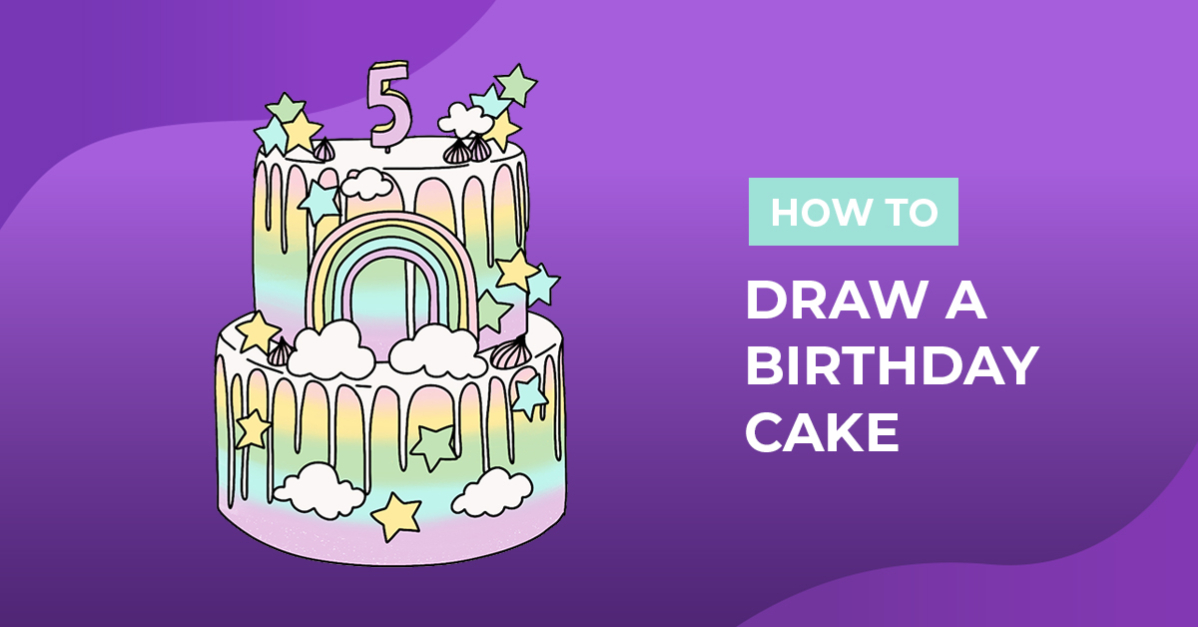
Every year we get to celebrate our birthday and eat cake. Today we will show you how to draw a birthday cake in four easy steps! Your cake drawing will be perfect for birthday cards, stickers, and party decor. Our beginner-friendly drawing guide will take you through the steps from sketches to adding color.

You can use any medium for your cake illustration, from pencils and crayons to digital drawing programs on your tablet or computer.
We will be using Procreate to create our birthday cake. We have a great selection of Procreate brushes to sketch, line, and color your drawing.
Step 1 - Create the Cake Tiers
In our first step, we are going to create cake tiers for the base. For our birthday cake sketch, we are making a two-tiered cake, but feel free to make a single layers cake or add more tiers.
Starting with the bottom tier, roughly sketch an oval for the top. Below the oval, draw lines on the sides going down with a curved bottom line. You can make your birthday cake tiers short or tall. It’s entirely up to you.

Above the first tier, sketch your second tier. With each tier you add, make it smaller than the one below. Sketch the curved bottom line and sides first, then make the top oval shape.
Continue adding tiers until you have reached the amount that you want.

Step 2 - Add the Final Details
With our birthday cake base tiers sketched, we can add decorations. You can add frosting decorations, elements like hearts and stars, and a cake topper. You could even draw a rose with foliage to make an elegant birthday cake.
Add Dripping Chocolate
We are adding a dripping chocolate effect on the top and bottom tiers for our birthday cake drawing. Starting on one side, draw long downward curving shapes towards the other. Repeat this process on the different tiers of your birthday cake.

Add a Cake Topper
Add your birthday cake topper at the top of your top tier. Your birthday cake topper can be anything from a number, words, or an element like a rainbow. Remember to add a three-dimensional shape to your cake topper, as the tiers have dimension.

Add Decorations
Lastly, add your birthday cake decorations. For our birthday cake, we added a rainbow on the top center of our first tier, with clouds scattered around. We then added a couple of stars on all our levels with meringue drops on the top of our birthday cake tiers.

Step 3 - Outline Your Birthday Cake Sketches
In this step, we are going to switch to an outlining medium. To make your cake outline, you can use any outlining media like a pen or black of your chosen medium. If you have a lot of detail in your birthday cake drawing like us, we recommend making your outlines in stages.

First, outline your decorations on top of the drip and base sketches. Then trace the chocolate drips on your drawing. Only outline the visible drip sketches that aren’t behind your decorations.

Finish off your outlines by outlining the tier base shapes. Make sure only to line the sketch lines that aren’t hidden by decorations or frosting. We only lined some areas for the bottoms of our oval shapes on our tiers. This will give our birthday cake the shape but make our chocolate drip look fluid.

Step 4 - Add Color to Your Birthday Cake
In the last and our favorite step, we will add color to our birthday cake clipart. You can use any color, hues, and combinations that you want. For our color palette, we will be using pastel colors.
If you use a digital app and want to use the same colors as us, use a color picker tool or type the hex codes provided.

For our cake tiers, we added our colors as stripes. We then used a Procreate blending brush to create a rainbow ombre effect. For our topper and decorations, we colored them in as usual.

With many coloring possibilities, get creative by making effects with textures and patterns. Want to make your birthday cake sparkle with glitter? Use these Procreate glitter brushes to add a glitter effect to your birthday clipart.
We hope you had a great time with us today, following and learning how to draw a tiered birthday cake with our drawing exercise.