

By Christine Hattingh
How to Draw a Bow
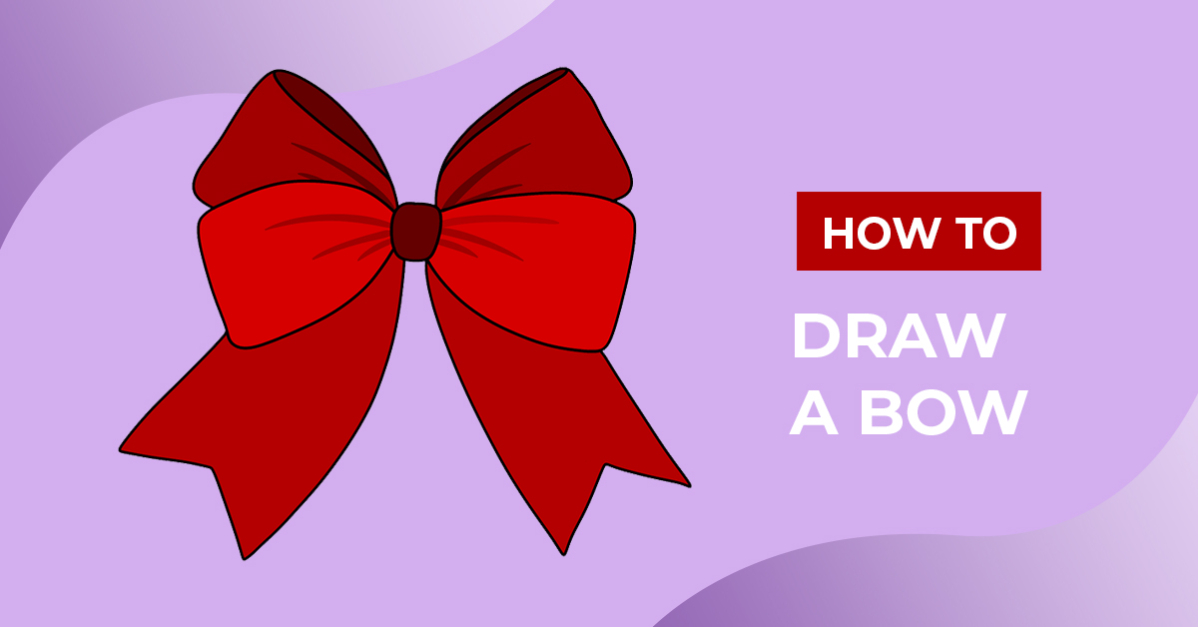
In today’s drawing exercise, we are showing you how to draw a bow in three simple steps. With our easy-to-follow instructions, create Christmas bow clipart, stickers for your planner or small business packaging. You can even vectorize your simple bow drawing to make laser cut earrings or a 3D paper bow.

For this illustration, you can use any medium you have on hand. From colored pens, and paint to Photoshop and Procreate. You can illustrate your bow in any way you want to.
We are using Procreate to draw our bow illustration. If you are too, you are welcome to use any brush or download FREE Procreate brushes from Design Bundles. All of our brushes include personal and commercial use licenses for your projects.
Step 1 - Create Rough Sketches of a Bow
Using an erasable or light-colored medium, we are going to begin making the rough sketches. First, sketch an oval shape for the center of your bow sketch. Then, create the loops by drawing a rectangular shape with rounded corners on either side. Your loops should narrow towards the center.

Let’s add some fullness and make a double bow, by adding another set of loops at the top. Create these top loop shapes the same as you did with the first set or make them bigger or smaller. You can easily add more loops in different sizes to create a fuller design.

Lastly, draw the ribbon ends at the bottom of the loops. Your ends can be squared, rounded, or pointed like ours. Feel free to make them any length, just remember to keep them as close to the same size as your loop height.

Add extra details, like crease lines, or add a curved line on the top or bottom edge of your loops for added dimension.

Step 2 - Outline your Bow Rough Sketch
With a pen or marker, create a defined outline of your bow in this step. Simply follow your sketch lines and line them to create your bow outline. If any sketches overlap and you do not want to include them, do not make them defined.
For our example image, we did not line the creases in the loops, as we are going to add crease lines with color in the next step. Remove any rough sketches you have left when you are done with your outlines.

Step 3 - Add Color to your Bow Outline
Let’s add some color to our outline. Use any color combination or different shades to color your bow. We chose three shades of red to add depth to our drawing and used two of the shades to add our crease lines. Add your crease lines to the front and back loops, or add a pattern like dots or stripes.
Using Procreate and want to add a quick design to your ribbon bow clipart? Have a look at our Procreate pattern brushes to add a pattern with a quick brush stroke.

Add any extra final touches such as texture or shading, and then you are done! We hope you had a fun time following along with our bow drawing guide. Using our easy steps, you can quickly change the shape, loops, and color of your drawing.
Remember to start with rough sketches and begin in the center, draw your loops and ends. Then, outline your rough sketches to create a clean line drawing, add color, and draw the details last.



