By Christine Hattingh
How to Draw a Camel
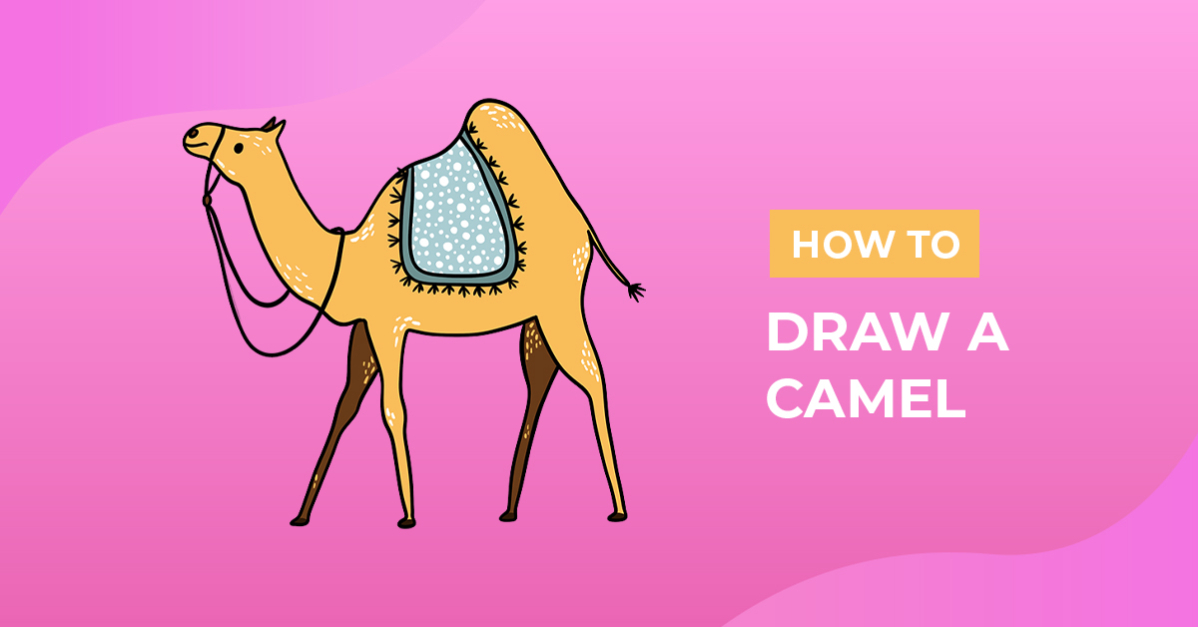
Today you will learn how to draw a camel in three simple steps. This beginner-friendly drawing guide is perfect for animal lovers and desert themes. You will start with basic sketches, then apply color and details. Use your camel illustration to create various projects, such as repeating patterns, travel stickers, and sublimated t-shirts.

For your animal illustration, get your sketching and color mediums ready. Use any medium you are comfortable with, such as traditional tools and digital drawing apps.
We are using Procreate, and this versatile procreate brush set to sketch and add details to our drawing. Looking for other brushes you can use? Check out our collection of Free Procreate brushes to add unique details to your artwork.
Step 1 - Roughly Sketch your Camel
In our first step, you will roughly sketch your camel's appearance. Remember to draw lightly in pencil that you can easily remove later on. If you do not have a pencil, use a light-colored medium that can be hidden when adding color.
Shape the Body and Head
Start by drawing an oval shape with one or two humps at the top for the body of the camel. This will be the main shape that you will be building upon. Draw it as large or small as you want the final drawing.

Next, draw the camel's head and neck shape. Start by drawing a long shape coming out from the body for the neck. Then, narrowing toward the end to shape the head. Camels have a unique head shape, a long nose, and a bump on their forehead.

Add the Legs
Draw four long, thin legs coming out from the body. Camels have long legs that help them move quickly across sandy terrain. Pay attention to the proportions of the legs, as they should be slightly wider at the top. See our example sketch below.

Add Details
Add details to your camel, such as the facial feature, ears, tail, and feet. Starting on the head, sketch the nose, mouth line, and an eye inside. Then add two triangle shapes on top of the head for the ears.
On the rear of your camel, draw a long, thin shape with jagged edges at the end for the tail. Lastly, add the camel's foot at the ends of the legs.

Decorate your Camel
With your camel sketched, you can add decorations like a blanket on its back and steering rope or a desert clipart, such as drawing a cactus.

Step 2 - Define the Sketch of your Camel
With your camel sketch done, swap your sketching medium with a permanent one. In this step, you will trace your sketch lines to create a defined camel outline.
Using a pen, marker, or ink brush, follow the outer shape of your camel. Pay attention to where your sketches overlap, and only trace the ones you want to include in your line art.

Finally, darken the more minor details and decorations. You can add as much or as little to your drawing.

Step 3 - Apply Color to your Illustration
Great job on creating your camel drawing. We are almost done, and all we need to add to complete our animal illustration is to apply some color. You can use any medium and color palette for this third step.

You did a fantastic job following along with our beginner-friendly drawing guide. With many craft and project possibilities, your desert clipart can be used to create anything you can come up with.
Love animals or a boho theme and want more choices for your digital library? Be sure to check out these fantastic bohemian designs on Design Bundles to elevate your creativity.