By Christine Hattingh
How to Draw a Camera
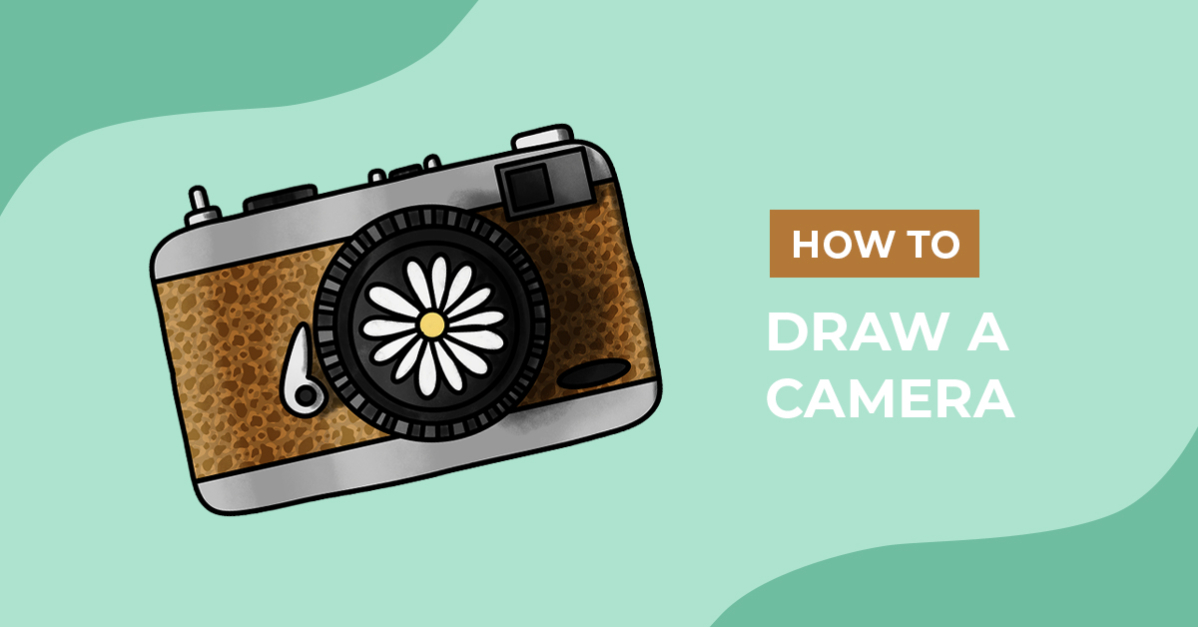
Follow today’s three-step drawing guide to learn how to draw a camera. The first photograph was taken almost two hundred years ago, and cameras have come a long way since then. Whether you want to illustrate a vintage film camera or design your own, this tutorial is for you. Use your camera clipart on various projects, from stickers and logo creation to sublimated totes and tumblers.

Are you looking for elements that will complement your drawing? Check out our library of FREE drawing tutorials, or grab a vintage clipart set to decorate your camera.
Before we start, let’s gather our materials. You will need a sketching medium, a ruler, and something to apply color and define your lines. Use anything you are comfortable with, such as traditional supplies, crayons, or digital applications.
Step 1 - Create your Camera Sketches
In our first step, we will create the shape and details for our camera. If you are recreating an existing one, use a reference image to help with the body and placement of the lens, shutter, etc.
If you are using Procreate, see how to add a reference photo and use the drawing guides feature.
To get started, draw a rectangle or square for the base shape. Draw it as large as you want your camera drawing to be.

Add details
Add basic shapes such as circles, squares, and rectangles for the details of your camera. Create the lens, viewfinder, mode dial, shutter button, and any extra details unique to your artwork.

Decorate
To finish your rough sketches, add decorations or more minor details to your drawing. We added lines around our lens and elements to the camera body. You can even create a themed spring illustration by drawing a daisy in the lens.

Step 2 - Make your Sketches Defined
Once your rough sketch is done, start outlining with an inking brush, felt tip marker, or black pen. When defining your pencil sketches, take your time and make the lines thicker and darker to be more visible.
After you have traced and created your camera outline, clean up your drawing by erasing the remaining sketches.

Step 3 - Color and Shade your Camera
Now that you have a clean line art-style drawing apply your colors. With your preferred medium and color palette, add a base color.

With your base colors applied, add patterns, textures, and shading to your photography illustration. Feel free to use different techniques that work with your chosen medium.
We added a fun animal pattern for our camera using this animal skin brush from the Plus store. The Plus Membership is your key to exclusive designs and much more. Sign up today!

You just illustrated a camera in three easy steps. Add your drawing to your digital library or take a picture to share online with family and friends. We hope you had a fun time following our step-by-step drawing exercise.