By Nadine Spires
How to Draw a Candle
Our glowing tutorial will show you how to draw a candle with these step-by-step instructions. Burning candles have been used for centuries to light the way, for aesthetic reasons, and for all kinds of crafting. They can be used for paper crafting, birthday cards, candle clipart, t-shirt sublimation or even mug wraps.

With a few simple steps, you will learn how to sketch this candle illustration for all your drawing ideas. No matter your skill level, everyone is welcome to follow this tutorial.
Our drawing tutorials can be used with your favorite medium such as colored pencils, crayons, or software like Procreate, or Photoshop. So gather your drawing supplies together and lets get started.
We are using Procreate for our drawing tutorial. You can easily follow along with the same Procreate brushes that we are using. Design Bundles also offers an awesome selection of FREE Procreate brush sets.
Step 1 - Sketch the Basic Shapes of the Candle
We will begin by sketching two basic shapes. First, sketch a vertical rectangle in the width and height that you want. This shape will form the base of your candle. Use a pencil or light-colored medium so it can easily be removed or covered up.

Next, add dimension by sketching two narrow ovals. Place these shapes centered on the lines at the top and bottom of our rectangle. See our example sketch below.

Step 2 - Sketch the Details of Your Candle
For this step, we will be adding the dripping wax and wick details. You can choose how much detail you want to add or leave out.
Add the Candle Wick
Sketch a small oval, and center it on the top. This will act as a guide indicating the middle. Then, add the wick in the center of the oval.

Add the Drips and Flame
At the top of the wick, begin drawing a candle flame. Create a teardrop shape with two sharp points. Sketch the wax drips in different places with melted wax at the very bottom. You can use our example sketch below as a guide.

Step 3 - Outline Your Rough Sketch
Once you have sketched out your candle, switch to a more defined medium. You can use a pen or permanent marker for this. Outline the outermost sketch lines of the candle including the wick, flame, and wax drips. Once you are done outlining, you can remove the rough sketches.

Step 4 - Add Color to Your Candle
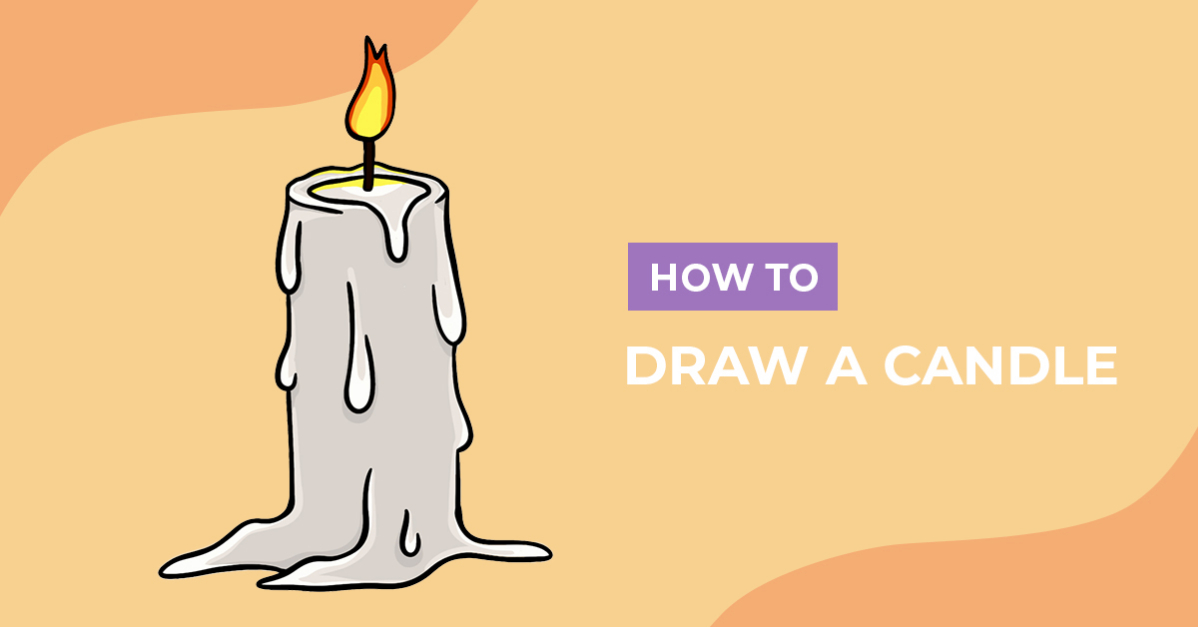
In the final step of this candle sketch, we are going to add some color. Candles come in a variety of colors, so feel free to use any color for the wax. You can also browse the huge selection of Procreate color palettes on offer. For the flame, we used a combination of yellow and oranges.
The candle wax or base was filled with the color white. We then used a combination of three shades of gray to add shadows and highlights.
Next, yellow was added to the center of our flame and on the top edge of our candle. This gives the illusion of light reflecting. We also used two shades of orange to line the inner edge of our flame.

Well done on learning how to draw a candle! By changing the size of your rectangle and ovals you can make many different shapes. We hope you enjoyed following along with this easy drawing lesson and sketching this design with us.