By Christine Hattingh
How to Draw a Chair
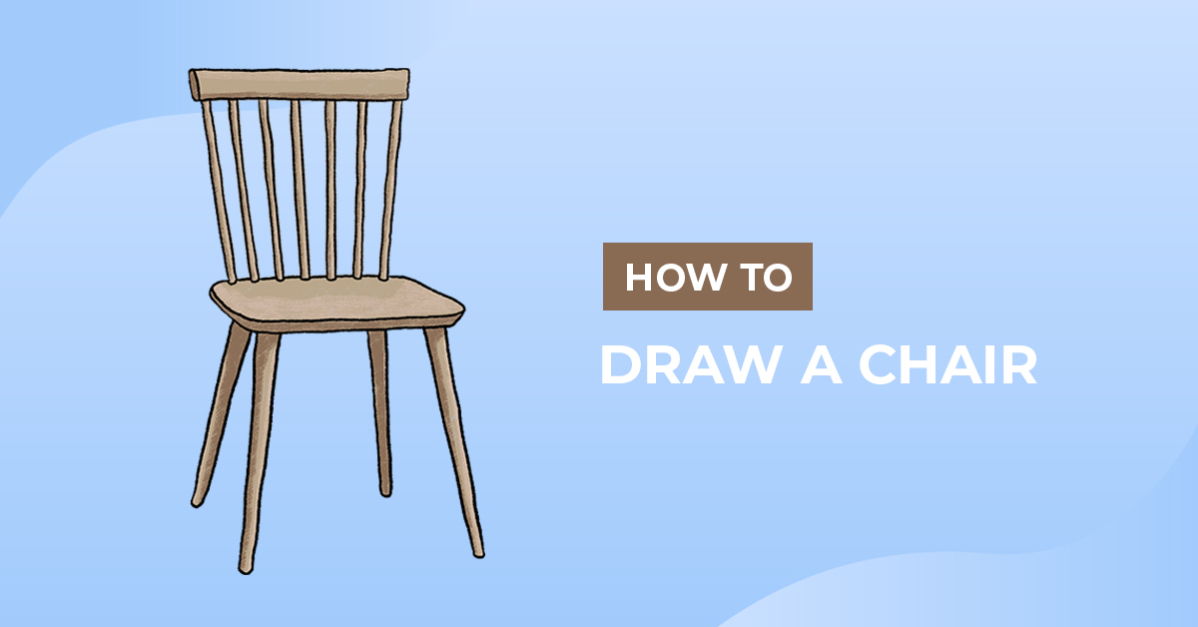
Today's easy drawing tutorial shows you how to draw a chair in three steps. Drawing basic objects like a chair is a great way to improve your skills. Use your furniture drawing to make themed home clipart sets. You can even use it as part of a design project, add it to your collection of illustrations, or make coloring pages.

For this drawing exercise, we are using Procreate. We will also use this versatile Procreate brush set to sketch, outline and color our chair drawing. There are a bunch of different textures in the set to add a unique touch to your artwork.
If you do not have Procreate, you can use your favorite medium. These can include traditional tools such as colored pencils and crayons and other digital apps like Photoshop. All our drawing tutorials are created to be flexible and work with your drawing skills and styles.
Step 1 - Roughly Sketch a Chair
In our first step, you will sketch a rough chair using a pencil or light-colored medium. You can also use other tools to help with your sketches, like a ruler, grid paper, and perspective Procreate drawing guides.
Shape the Seat
Let's establish the foundation of our furniture drawing by sketching an angled rectangle or square for the seat. Remember, you can use any shape you want to illustrate your chair.

Add the Backrest
From the top of the seat, add shape and create the backrest. Make a minimalist backrest by drawing a rectangle, or add more details, such as dowels.

Draw the Legs
Next, draw the legs of the chair. Draw two lines at the bottom corners of the seat. These lines will be the front legs. Then, draw two more lines at the back of the chair for the back legs. The length of these lines will determine how high the seat will be off the ground.

If you want your chair to have arms, draw two lines extending from the top of the front legs. These lines should extend to the backrest and curve the ends of the lines to create the arms.
Step 2 - Outline your Rough Sketch
Switch to a permanent medium to begin outlining your sketches. Use a black pen, fine marker, or an inking brush to create a clean chair outline. As you are lining your graphics, make sure to pay close attention to overlapping sketches. You might want to avoid defining and including some of these sketch lines in your line art.
Once you're happy with your defined lines, clean it up by erasing or deleting any unnecessary sketch lines.

Step 3 - Color your Chair Artwork
Add color to your home clipart using your favorite color palette to color the chair. To create eye-catching artwork, use textures and apply highlights and shadows.
Want to learn how to blend in Procreate? Check out our step-by-step tutorial and get tips on the four color blending techniques you can apply to your illustrations.

Excellent work following along and completing our drawing guide. Add your drawing with another chair clipart or save it to your digital library for later use. Why not draw more furniture, such as our beginner-friendly bed drawing tutorial, or follow four easy steps to draw a couch?