

By Christine Hattingh
How to Draw a Cowboy Hat
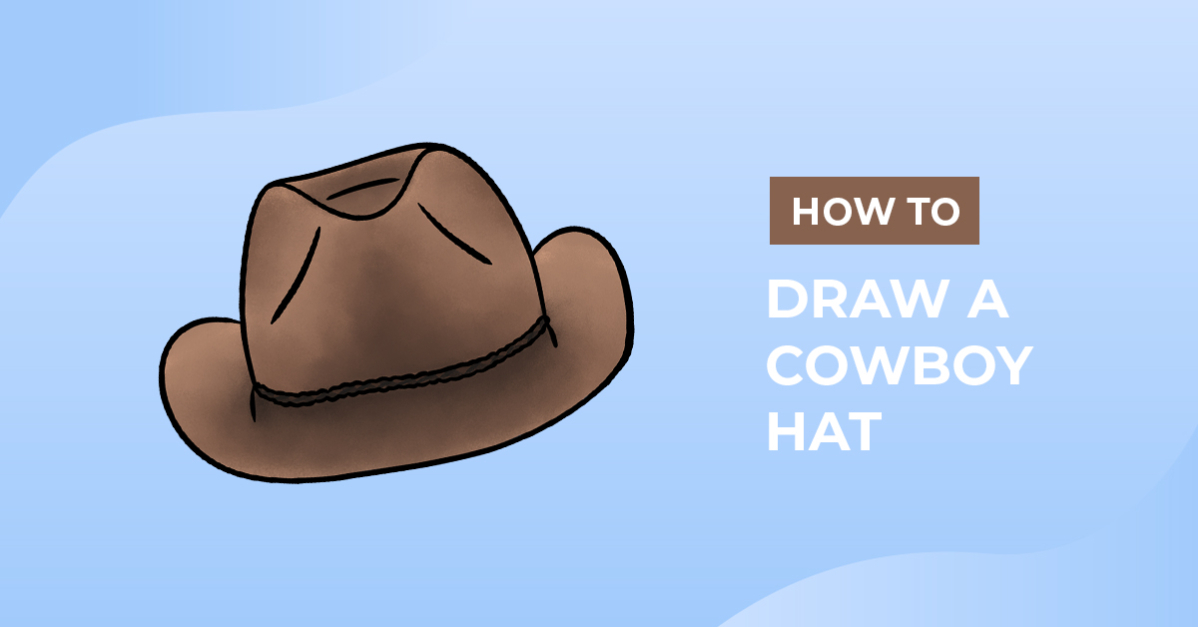
In today's tutorial, we will show you how to draw a cowboy hat step-by-step. Cowboy hats symbolize the Wild West and have become an iconic part of American culture. Apply your cowboy hat to a Western-themed art project, a rodeo poster, cowboy clipart, or stickers.

Want to explore other wild west style drawing lessons? Check out this cactus drawing tutorial to add some greenery to your artwork. You can use our FREE drawing guides with any medium you feel comfortable with, from oil pastels, poster paint, crayons, or digital apps.
So dust off your boots, grab your supplies, and let's get started on creating a cowboy hat illustration.
Step 1 - Create a Rough Cowboy Hat Sketch
In our first step, we are going to create a sketch of our cowboy hat using an erasable or light-colored medium, such as a pencil. Begin by sketching a big horizontal oval that is narrow for the hat's brim.

Next, on the top, sketch a large curved line to make the top of the hat. Draw a smaller downward curved line at the top to create the indent of the cowboy hat (shown in blue).

Add two horizontal lines to finalize your base hat sketch. One line is at the top, and the other is at the bottom of the larger curved line to close it off.

Step 2 - Define your Cowboy Hat Outline
Switch to a darker or more permanent medium, like a pen or marker, and define your cowboy hat outline. Looking at our image below, we first outlined the top of the hat. Making sure we did not trace the very top of the curved line as we needed our hat to be more squared.

Next, define the brim of your cowboy line art by making a bowl-like shape as we did in red. Keep the bottom center of the brim slightly straight and only curve up the sides.
At the bottom of the large curved shape, create a rope line or make a simple line with short lines at the end to define the side folds (shown in green).
Lastly, add a couple of lines to shape your cowboy hat further. We added lines at the top for our hat outline, which you can see in our example image below in blue. Feel free to add fewer or more lines to add more detail to your artwork.

Step 3 - Apply Color to your Cowboy Hat
In our third and final steps, we are going to add color and shading to our drawing. Cowboy hats are generally shades of brown, but you can use any color palette to create a themed cowboy drawing. For our colors, we selected brown and darker shades of brown to add shading to our hat.
Use your preferred blending or one of these four blending methods in Procreate to create gradient effects or add textured shading easily.

Decorate your cowboy hat drawing with western clipart elements to add a unique touch to your drawing, like cowboy boots and interesting textures. Create all kinds of projects like stickers, sublimated t-shirts, and tumblers.
Thank you for following along. If you enjoyed this beginner drawing exercise, we have much more available in the Design School for all kinds of drawing skills or learning tips and tricks for design applications.



