

By Christine Hattingh
How to Draw a Crown
Follow our step-by-step beginner drawing guide and learn how to draw a crown in three simple steps. Crowns symbolize royalty and power and have been worn by kings, queens, and emperors throughout history. Create one-of-a-kind illustrations for your crafts, such as princess clipart, cupcake toppers, stickers, and so much more.

Create a crown fit for royalty using your favorite art media. These mediums can include traditional supplies and a digital application on your computer or tablet to make digital artwork.
If you are using Procreate to follow this drawing guide, check out the versatile Procreate brushes. We used the brushes in the kit to make sketches and outlines and apply color and shading.
Step 1 - Make a Crown Rough Sketch
Let's create rough sketches for our crown to plan its shape. We suggest using a removable or light-colored medium to make your sketches for this step. Using a sketching medium such as a pencil will make changing or fixing a shape easier before permanently outlining.
Create the Base Shape
Start drawing a narrow and wide oval. This oval shape is for the bottom of our crown width. Our crown sketch will have a slightly tilted angle, but you can draw a simple straight line if you want to or increase the width to add more dimension.

Next, create a rectangular shape that curves at the top of your oval. The higher the form is sketched, the higher your crown can be drawn. Use this shape as your width and height guide for your design.

Define the Shape
Now that you have built your basic crown shape, it's time to add shape. We started by drawing five guidelines to form symmetrical peaks. These lines will also help decide where to position the diamonds and gems. See our below example sketch.

Shape the top of the crown by drawing curved lines between each vertical line, starting from the side. Looking at our example sketch below, all our peaks roughly stayed in proportion with the base. The center peak has the highest elevation while gradually going lower to the sides. Then, draw another line slightly curved line close to the top of your oval to create a band.

Add the Details
Add details to your design to finish your rough sketches. You can make curls and swirls to make intricate designs and draw a diamond or gem wherever you want for your queen clipart.

Step 2 - Darken the Crown Sketch Lines
Using a dark or permanent medium, begin tracing your sketch lines to create your crown line art. We will be using the "rough inker" brush for the versatile Procreate set, but alternatively, you can use a clean lining tool like a pen, marker, or these ink Procreate brushes.
Carefully follow along with the shaped crown sketches, such as the diamonds, gems, swirls, peaks, and bottom. Do not outline sketch lines you do not want to use, like the guidelines and the top of the base shape.

Step 3 - Add Color to the Crown Outline
Switch to your color medium for this step. Start by coloring the crown in a metallic color palette with shading. Soften your shadows and highlights using these easy methods to blend in Procreate.

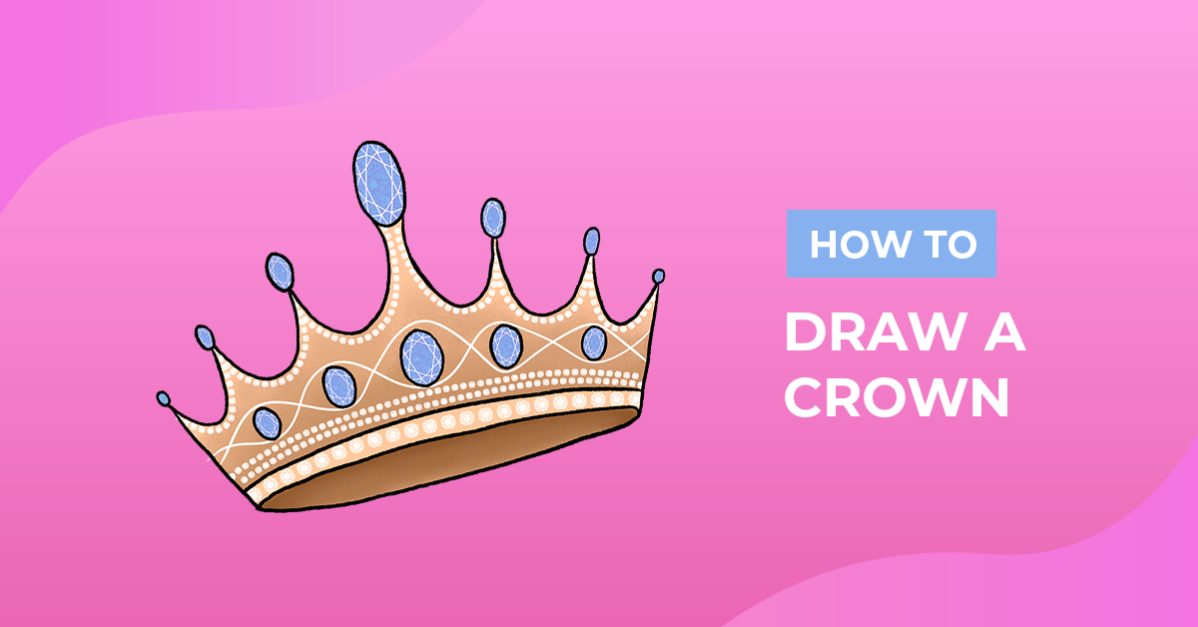
For our final result below, we used this gemstone pattern collection from the Plus Membership to add blue and white diamonds. If you're not a Plus Member, you can sign up for a free month of the Gold Plus Membership today!

Great job on sketching, lining, and coloring with us. Make your princess illustration sparkle by adding diamond graphics to make it stand out even more. Remember to check out our other free drawing tutorials and practice your skills.



