By Nadine Spires
How to Draw a Cupcake
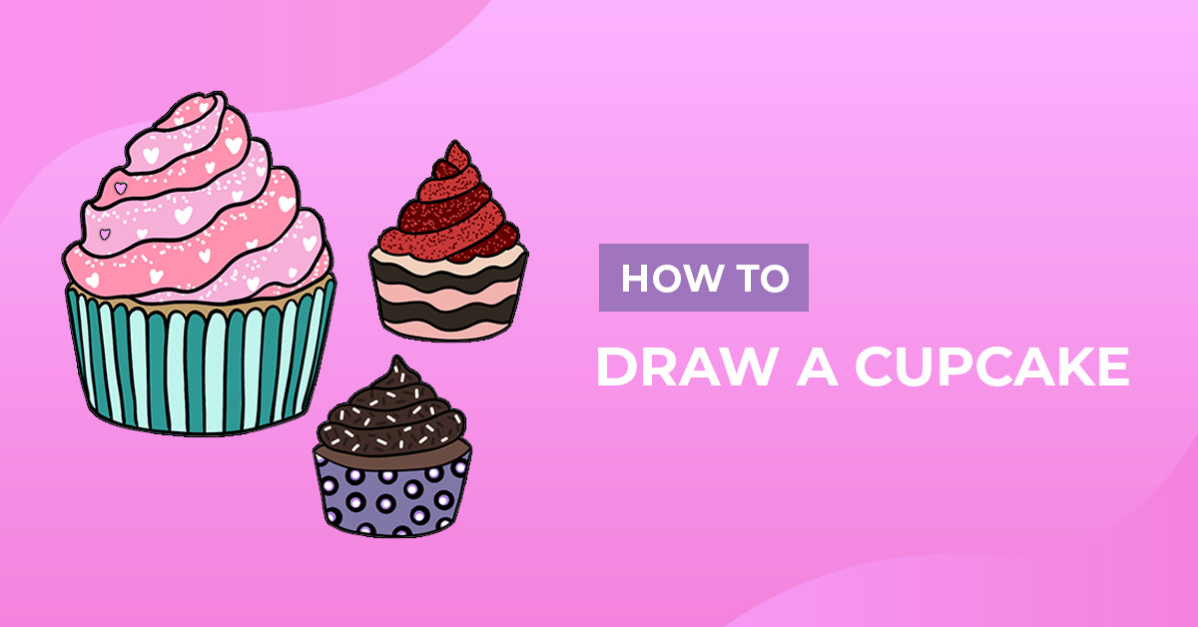
Today we are going to show you how easy it is to draw a cupcake. Sweet and colorful, they are perfect for any occasion and project. You can make stickers for your food stall, fun birthday cards, sublimate on sweet little baby grows and the list goes on. Create this cute cupcake drawing in any color you want and use in tons of creative ideas.

Delicious vanilla, chocolate, or fruity flavors, cupcakes are both fun to bake and draw. No matter how old you are, cupcakes are always a favorite for any party or event.
Before you begin this easy step by step drawing tutorial, get your supplies together. You can use any medium you have available across any of our drawing tutorials. Whether you like to use pencils, paint, or digital software like Procreate, Affinity and Photoshop, anyone can learn how to draw this cupcake.
During this tutorial, we will be using Procreate as well as a few ink brushes to make our sketches. The brushes will also be used for adding an outline and color to our cupcakes. If you are looking for a selection of brush sets, Design Bundles has a ton of Procreate brushes to choose from.
Step 1 - Sketch the Cupcake Base Shape
Let's start our drawing by first roughly sketching the base shapes that make up our cupcake. It's recommended to use a medium that can easily be removed or covered up. You can use a pencil or a light-colored medium that can be hidden when outlining and adding color to your cupcake. The sketch will be the grounding for us to work from as we build up our drawing.
Sketch the Base of the Cupcake
For the first rough shape, sketch an open rectangle where the sides curve up slightly. This will be the base shape. You don't need to make this perfect, we will refine it later on when permanently outlining the drawing.

Next, sketch a narrow oval shape with sharp points on the ends. This will be placed at the top of the base sketch. We have outlined this in red in the image below so that you know where we have drawn the shape.

Sketch the Base Shape for Icing
Next, we are going to sketch a triangle that will be connected to the top of the cupcake base. The triangle will act as a guideline for the frosting shape, making it easier to create a swirled design.

Step 2 - Create Your Cupcake Outline
In this step, change over to something more permanent like a pen or marker to add more definition to your sketch. For both the cupcake frosting and base, we are including three designs to give you inspiration. Have fun and create all three or just try your hand at one.
Create the frosting on the Cupcake
Starting at the top of our cupcake, use the triangle sketch as a guide to create the outlines of the frosting. Frosting can have many different shapes, heights and details. Please feel free to use any one of our designs or create your own frosting.

Create the Cupcake Wrapper
Next, we are going to create the design of our cupcake wrapper. You can use the base sketch shape and add a design inside as we did in the image below. Alternatively, create any kind of wrapper with a patterned edge.
Once you have outlined your cupcake base, we need to add two small lines. Draw a line on each side using the oval shape between the base and the frosting. This will connect everything together. See our example image below for a visual guide.

Step 3 - Add Color to Your Cupcake
In the final step, add color to your cupcake and sprinkles to your frosting. Use any combination of contrasting colors to make your drawing stand out. We used two shades of pink and two shades of blue/green on the one option. White hearts and sprinkles were added for character, texture and depth.
Get creative by adding different shaped sprinkles to your frosting. Draw any kind of shape you want like dots, hearts, lines etc. Why not add a cherry on top just for fun?

These cupcakes look so delicious, you might mistake them for the real thing! We can just imagine how amazing these will look on product packaging or even a t-shirt.
Well done on creating your cupcake drawing! You can create many kinds of styles using a different frosting and wrapper each time. There is no end to your creativity and what your imagination can come up with. We hope you had a sweet time following along and drawing a cupcake with us.