

By Christine Hattingh
How to Draw a Dress
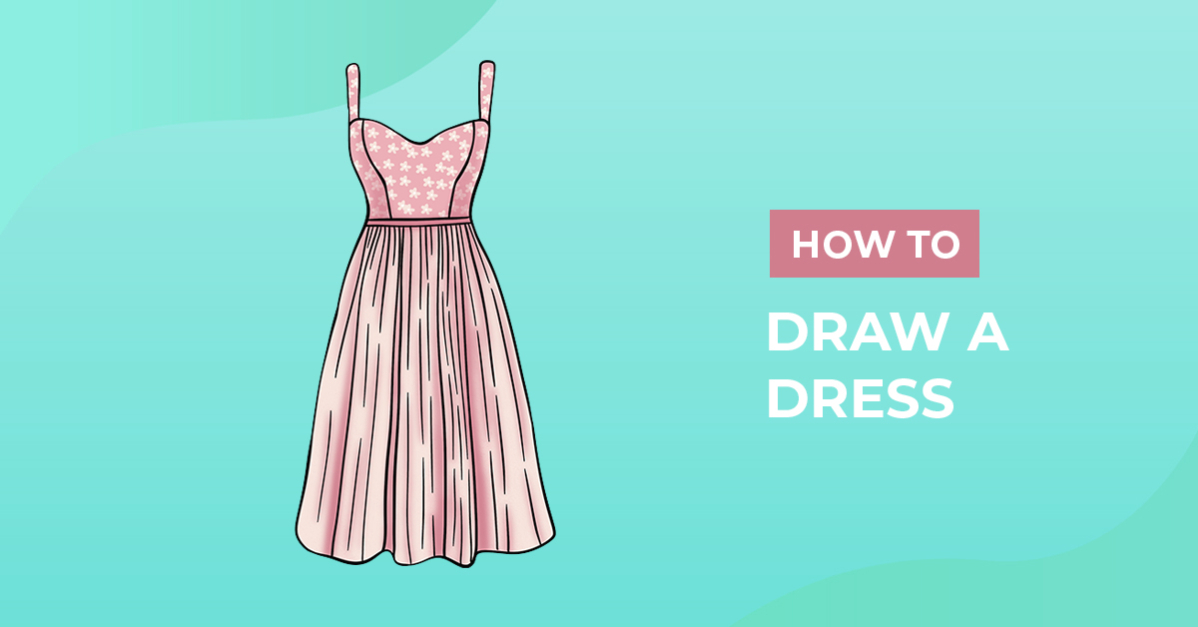
Learn how to create a beautiful dress with our step-by-step drawing guide on how to draw a dress. Once you have made your stunning dress illustration, there are endless possibilities for using it in various projects. Turn it into a unique business card for a fashion designer or create a custom coloring page for children. You could even incorporate it into a personalized map for a bridal shower or bachelorette party.

In today's fashion drawing tutorial, we will use Procreate, an outlining brush, and these Procreate watercolor brushes. You can use any traditional and digital medium for your dress illustration. Use whichever you have on hand or are most comfortable working with.
Are you interested in drawing more fashion items? Check out our tutorials on how to draw a hoodie or create headwear by drawing a cowboy hat.
Step 1 - Create Guidelines
Let's get started with creating guidelines to help us draw a dress. Use any light-colored or erasable medium, like a pencil.
First, draw a vertical guideline for the center of the dress.

Next, you need to add guides where the shoulders, chest, and waist are. A handy tip is to use a Procreate body pose stamp to help with proportions or lightly sketch a torso.
Then, add guidelines at the top for the shoulders and very bottom to define the height of your dress. Draw another line for the armpit and chest areas as we did with blue in our example image below, and add the guideline for the waist.

Step 2 - Roughly Sketch your Dress
In our second step, keep using the same sketching medium. You will sketch the shape of the bodice and skirt and add details like seamlines and folds to the dress.
Shape the Bodice
Begin creating the shape of the bodice between the shoulder and waist guidelines. Take note of where your armpit and chest line is to determine how long the shoulder straps should be. As you get closer to the waistline, narrow the bodice a little.

Draw the Skirt
Below the bodice, sketch the skirt piece of your dress drawing. Add flare to the dress to create fullness or narrow it to make a bodycon style dress.

Add Seam Lines and Folds
Once you have your bodice and skirt sketches, it's time to add seamlines and fabric folds. Add a look of flowing fabric at the bottom of your dress by drawing a wavy line. Then add lines on the skirt to show where the folds of the material are.
Then, add seamlines to enhance the shape of the dress. Add any details you want, like lace detailing to make a wedding clipart, or draw a bow for cute detailing.

Step 3 - Define the Dress Outline
Once you're happy with your dress sketch, it's time to define the outline of your dress with a permanent medium. You can use an inking brush, marker, or any other permanent medium you're comfortable with.
Begin tracing the outer sketch lines of your dress shape.

Next, define the detail lines inside the dress shape. You can use a thicker pen or marker to create bolder lines for the outline or a thinner one for more delicate details.

Lastly, remember to let your line art dry entirely if you used a traditional tool, like a pen, before erasing the remaining pencil sketches.
Step 4 - Add Color to your Dress Outline
Now that you have the basic outline of your dress defined, it's time to add color to your dress clipart. Start by choosing the colors you want to use for your dress. If you're unsure which colors to use, look at fashion magazines or get a premade kawaii color palette.

Add darker shades to the fabric fold to add depth. You can even use watercolor flowers to decorate your fabric for a softer, elegant style.
Great work, you have just designed a dress! We hope you had a fantastic time with us today, following and learning how to illustrate a dress. Why not explore our other FREE drawing tutorials to add even more hand-drawn clipart to your digital library?



