By Christine Hattingh
How to Draw a Feather
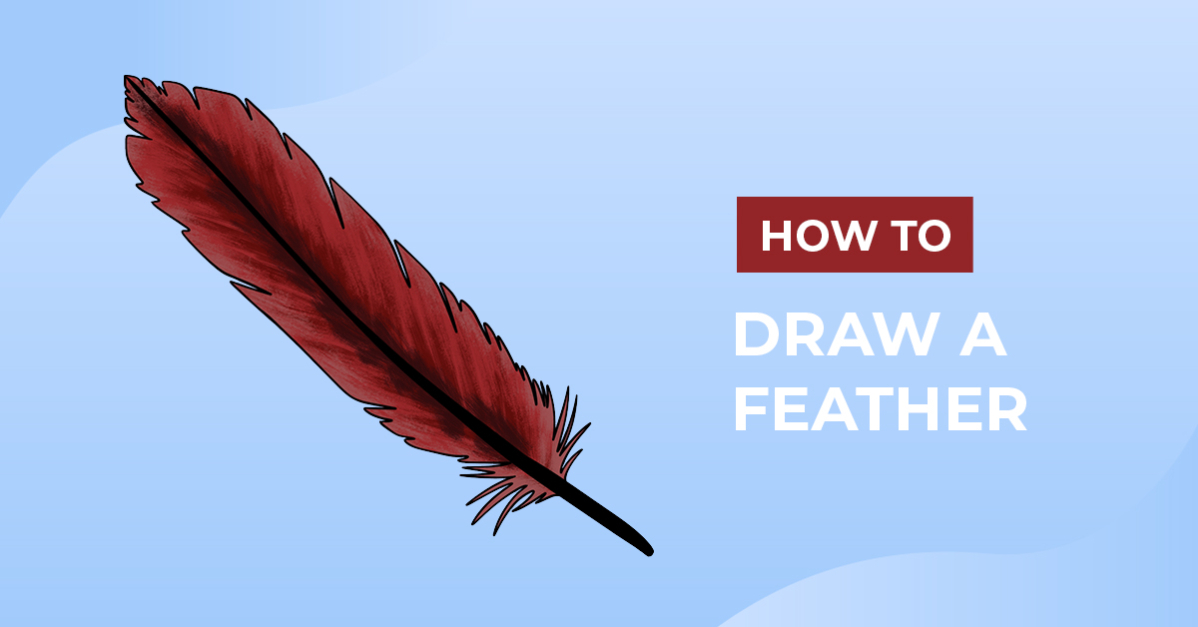
We are going to show you how to easily draw a feather in today’s drawing guide. In three easy steps, you will have your feather clipart sketched, lined, and colored. Use it to create boho-inspired projects, practice your watercolor skills, or add it to other elements to make a new style.

For your illustration, you can use any drawing and coloring medium you have available. These can be pencils for sketching, ink brushes, and digital drawing programs such as DesignScape.
DesignScape is an online design program that is available with our Plus Membership. Not a Plus member yet, then sign up today to get a FREE 30-day Gold Plus Membership trial and get access to all Plus exclusive products and DesignScape.
Step 1 - Sketch the Shape of your Feather
In the first step, you will need a pencil or light-colored medium to make rough sketches. You are going to create the shape of your feather using simple lines and add feathering detail.
In your drawing area, start drawing a long and narrow shape that is pointy at the top and a little wider at the bottom. See our sketch below for guidance. This is the center of your feather drawing that consists of the calamus at the bottom and the rachis continuing to the top.

To create your feather shape, roughly sketch a long hexagon from the top of the center toward the bottom. Make sure to leave some of the bottom open as we did in our image below.
Your feather sketch doesn’t have to be perfect, so you can free-hand the hexagon lines or make use of a ruler.

Lastly, create the feathering detail around your hexagon shape and at the bottom. Simply draw a couple of “V” shapes, varying in width and length around your feather shape. Then, at the bottom of your hexagon, draw long jagged edges.

Step 2 - Outline your Feather Rough Sketch
For this step, switch to a dark or permanent medium to create your feather outlines. Using pressure-sizing ink Procreate brushes to outline your rough sketches is a fantastic way to get a unique look.
Start your outlines around the feather shape and jagged edges that you drew. As you are tracing over your sketch lines, make sure not to line the tops of your “V” shape to create gaps in your drawing.

Once you have lined your feather shape, outline the center. We filled our center to create a solid black line, but you could line the outside and keep the middle clear. After making your outlines, remove your rough sketches if you used an erasable sketching medium.

Step 3 - Color in your Feather Outline
For our final step, swap to your coloring medium. Using any color you have available, color in your feather illustration.
You can add solid colors, and shading or use a texture brush in Procreate to apply your creative style. We have an excellent tutorial to help with shading in Procreate.

You have reached the end of our drawing guide, great work! Why not color your illustration to match other bird clipart or add it to other elements?
We hope you had fun following along with our drawing exercise. For more easy-to-follow drawing guides like this one, check out our collection of free drawing tutorials.