By Christine Hattingh
How to Draw a Horse
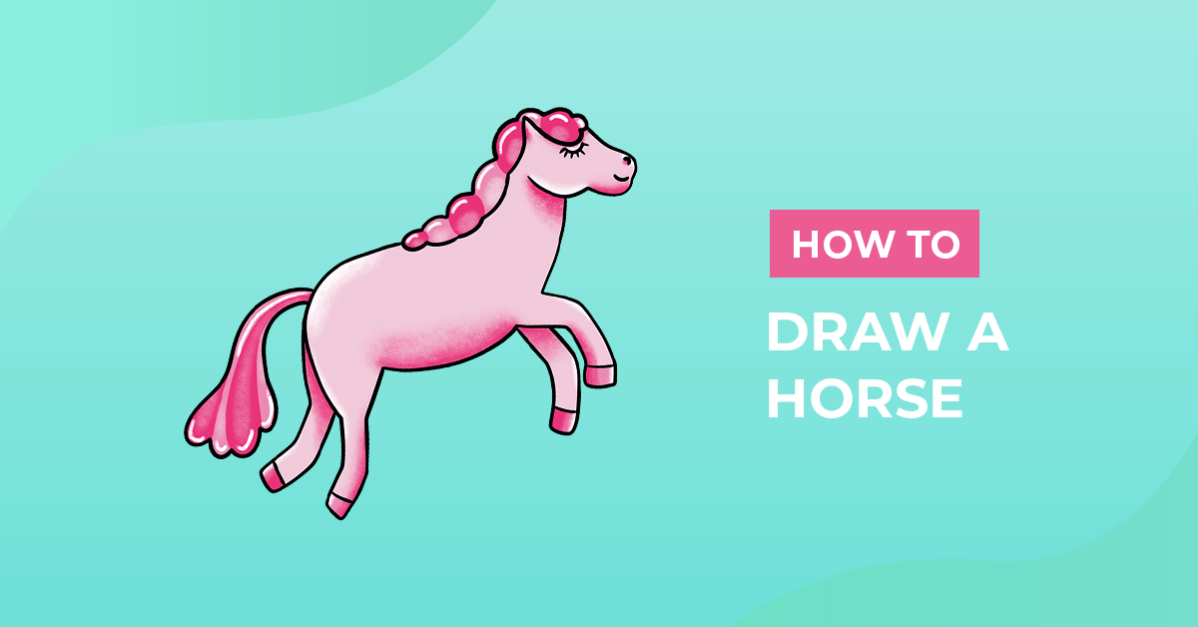
In today’s animal drawing guide, we will show you how to draw a horse step-by-step. Horses are majestic animals that have drawn the attention of artists for years. Use your horse illustration to add hand-drawn elements to your digital library and create sublimated shirts, party stickers, or magical nursery wall prints.

Curate a collection of animal clipart with other animal clipart drawings. Your horse will be complimented with a chicken drawing and this how-to-draw a red panda tutorial.
Before you gallop down to the steps, gather your supplies. Anyone of any skill level can follow our FREE drawing tutorials. So follow along with your most loved traditional and digital mediums, such as paint, markers, and Procreate.
Step 1 - Create your Horse Sketch
Grab your sketching medium to start with the first step in drawing a horse. You will need an erasable medium like a pencil or light-colored medium to create your rough sketches.
Draw the Body
To draw your horse's body, simply sketch a bean-like shape as we did in our example below. Our horse will face the right side, so we rounded the left slightly more.

Add the Neck and Head
Close to the body, leave a gap and draw a circular shape with an outward bump on the right side for the head. Then, sketch curved lines from the head that connect to the body (shown in blue).

Shape the Legs
Below the body of your horse, draw the from and back legs. Looking at our blue example sketches, shape the legs at the front of your viewing angle.
Next, add the shape of the legs at the back, similar to the front legs. You can shape your legs any way you want to. Have them straight or pose upward to convey a motion such as trotting or jumping.

Add your Features
Give your horse feature, which includes the face, ears, and hoove lines. Make sure you add the mouth and nose on the right side of the head and draw cartoon eyes close to the top.
Feel free to add other features to transform your drawing. Create a unicorn drawing by adding a horn close to the ear, or add wing clipart to illustrate a pegasus.

Draw the Mane and Tail
Lastly, draw the mane that begins in front of the ear and goes down along your horse's neck and back. Then, on the rear end of your horse, draw the tail.

Step 2 - Make a Defined Horse Outline
Switch to a black or dark medium to create your line art. You can use any lining tool, such as a monoline brush, ballpoint pen, or black paint.
Start tracing your horse outline's mane, tail, and face features first. Only line the sketches that are part of the main shapes, so do not define overlapping lines you do not want to include.

Outline the rest of your horse, going around the outer shape and legs. Add any last line details to finish your line drawing.

Step 3 - Color your Horse Illustration
Coloring your animal drawing is a fantastic way to add your unique style and bring your artwork to life. You can add any color combination that matches a theme, much like these fairytale color palettes. Add different colors or shades to create a fun horse clipart.

Oh, hayyy, what a fantastic drawing you illustrated in three simple steps! Apply your drawing to your next sublimation and digital project. Just think how your horse clipart will look as wall art, rodeo designs, and carousel-themed digital paper.