By Christine Hattingh
How to Draw a Mandala
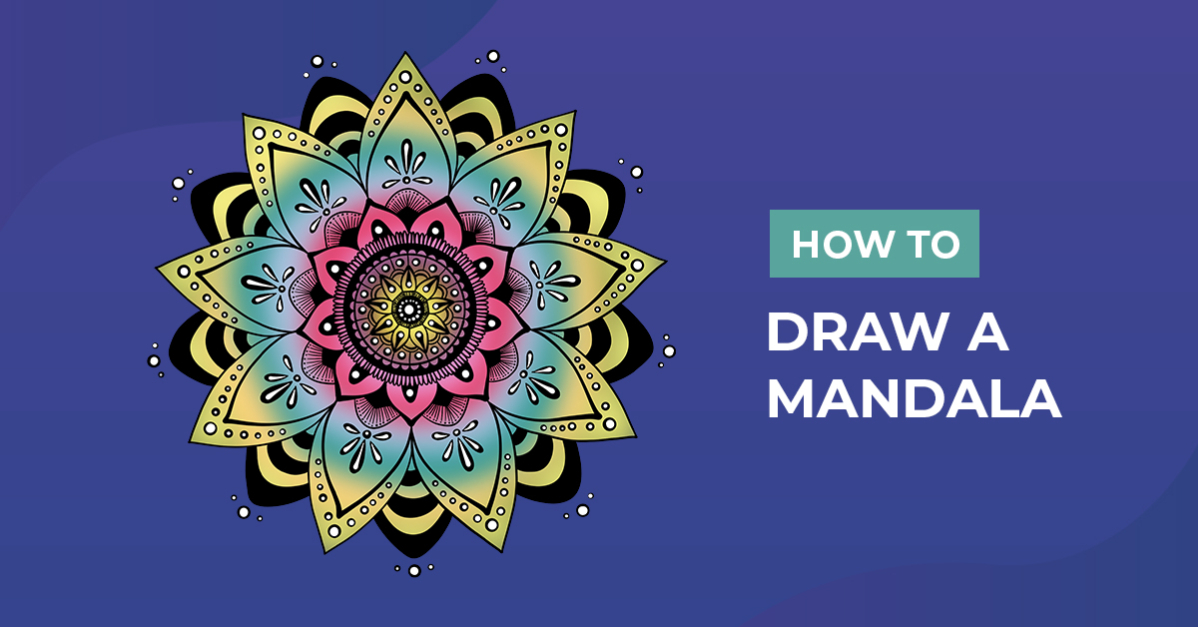
Follow today’s step-by-step instructions to learn how to draw a mandala. With a guide and some sketches, you’ll have your mandala drawing lined and colored in four simple steps. Drawing a mandala can be a relaxing and meditative process that allows you to express your creativity and tap into your inner peace. This drawing tutorial is perfect for adding intricate detailing and color to your crafts. Easily use it for sublimated pillows, keychains, or print-on stickers.

Get started by gathering your drawing supplies and tools. You will need a pencil, compass, or round object to trace around, a ruler, a lining, and coloring mediums. These tools can be traditional media such as crayons and acrylic pastels or use a digital drawing app like Procreate.
Are you creating your mandala clipart in Procreate? Check out our collection of helpful Procreate tutorials for tips, tricks, and guides.
Step 1 - Create a Mandala Guide
With your pencil and circle drawing tool, draw a large circle in the center of your drawing space. Add more rings inside the circle, going smaller toward the center. This will serve as the foundation for your mandala.

Then with a ruler, divide the circle into equal sections. You can divide it into four, six, eight, or more areas depending on how complex you want your mandala.

Step 2 - Sketch your Mandala
You have created your guide in the first step, and now you will begin to create your mandala sketch for this one. There are no rules when it comes to designing a mandala, so feel free to be creative and experiment with different shapes and patterns.
We started drawing petal shapes in the three main sections of our circles. Making sure the petal points are on a section line.

Add smaller shapes to fill large open spaces. Create symmetry in your mandala, and repeat the same patterns in each section. You can rotate or flip the designs to create a mirror effect. This will give your mandala a harmonious and balanced look.

Continue adding more details to your mandala. Focus on creating the general design first, as you can add more detail, such as thick lines or solid shapes, when outlining your artwork.

Step 3 - Permanently Line your Mandala
Replace your sketching medium with a darker one to create your mandala outline. Use an outlining tool so that you can control how thick your lines are. These Procreate calligraphy brushes will work perfectly.
Trace your Sketch
Begin tracing over your sketch lines carefully using a steady hand. Add thick line work in areas you want to stand out, such as the petal points.

Add Details
Create more intricate details on your mandala by adding smaller designs and making some solid black.

After your outlines are done, and dried, erase your sketches, including the guides you created.

Step 4 - Add Color to the Mandala Line Art
In the final step of this drawing exercise, we will add color to our mandala illustration. You can use any color or a combination of shades to fill the open spaces of your outline. These tie dye backgrounds can easily be applied with an editing app like Photoshop.

Fantastic job on designing your mesmerizing mandala! Imagine how great a color-themed set of these beautiful designs will look. Now your artwork is ready for your next craft project, like drawing pages and wall prints combined with quotes.
We hope you had as much fun following along with our step-by-step tutorial as much as we did creating it. Follow more of our FREE drawing tutorials and enjoy more drawing adventures.