By Design Bundles
How to Draw a Monkey
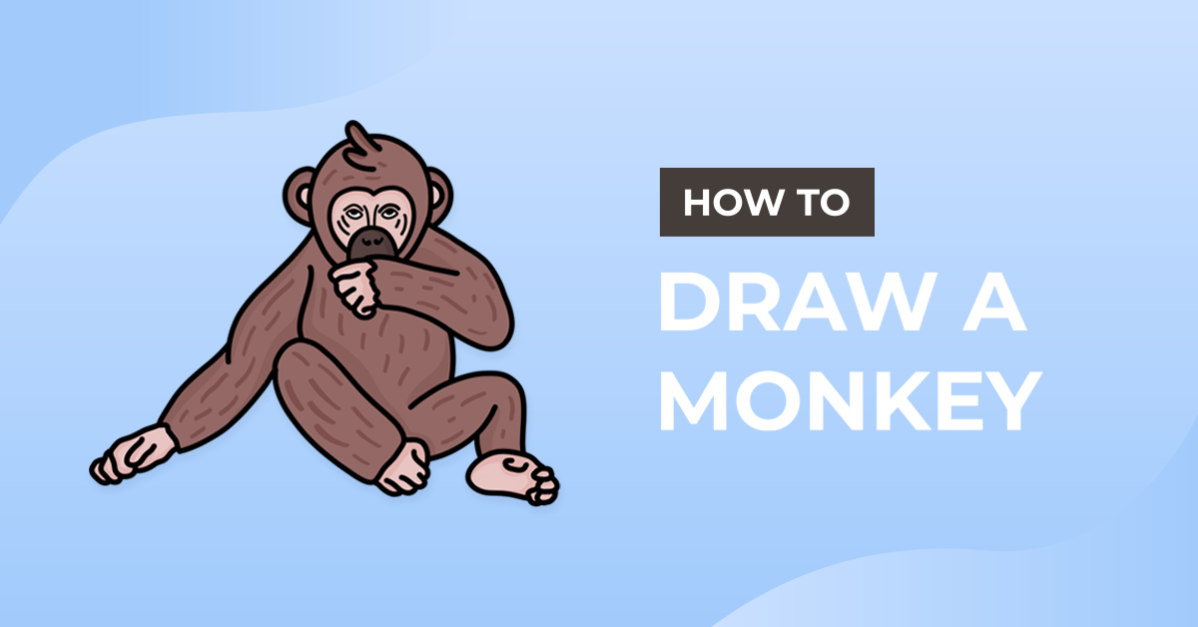
There are more than 260 species of monkeys in the world, and for today’s tutorial, we will be drawing a chimpanzee. In this step-by-step tutorial, we’ll show you how to use shapes to help with drawing limbs and adding hair to your monkey.
Before you get started, grab your supplies. You can use anything you have on hand to draw your monkey, like the Procreate app, pencils, crayons, Photoshop, etc. If you are using Procreate, we will use a Procreate chalk brush. You can check out our Procreate texture brush section for more choices.

Step 1 - Sketch Support Shape
To get started, you are going to use a pencil or other sketch tool to make two oval shapes. Start with a mid-sized oval that is flatter on the top for the head. Then sketch a bigger oval for the body that overlaps on the smaller oval.

Step 2 - Connecting Joints and Limbs
Next, you are going to sketch joints and limb lengths. The most helpful way to plan limb position and angles is to use circles and lines. Start by drawing small joint circles on either side of the body at the top, close to the head shape, and at the bottom.
From the joints connected to the body, draw lines for the upper arms and legs. Then add another joining at the end of the lines, which will be the placement of elbows and knees. Continue drawing limb lines and finish off with joint circles for the wrists.
Our chimpanzee is sitting with legs bent and one arm going towards its face. Feel free to use the joints and limb line positionslike oursto help you.

Step 3 - Sketch Outline Shape
In this step, you are going to fill out the limbs and add ears to the monkey. Start on one side and fill out the arms. They almost look like human arms, so you will have a shoulder, and the arm narrows in at the elbows. When you get to the wrist joint, make a rough outline shape for hands and feet.

Step 4 - Erase Overlapping Shapes
At this point, there are many overlapping shapes, and things are starting to look a bit messy. To clean up the sketch, you can erase the overlapping lines and shapes to have a clean body, head, and limb outline.

Step 5 - Sketch Face and Digits
With your rough sketch cleaned up, you can go ahead and sketch the outline of the chimpanzee’s face and features like eyes, nostrils, etc. On the handsand feet outline, you can draw in the digits of the hands and feet, along with where the hairline stops.

Step 6 - Add Outlines
Now we are going to swap out the sketch tool to something a little more permanent or darker, like a pen, marker, black crayon, etc. Start by drawing the solid outlines for the ears, face, hands, and feet. On the rest, draw hairlines around the head, body, and limbs.

Step 7 - Add Thicker Hair Outline
Next, go in around the hair outline and make it thicker. Making the hair outline thicker will help keep the outlines prominent when you fill in the hair.

Step 8 - Add Hair Strands
This step can take some time but will add dimension and a good amount of texture. You can decide if you want the hair strands to be thick or thin. To make it easier, don’t have the strands too thin, or it would take much longer and not too thick as you want to keep some open space and give the illusion of hair strands.

Step 9 - Add Color
This step is optional. You can color in your monkey drawing or leave it on the previous step. A chimpanzee’s hair is black, and its face, hands, and feet are light cream/brown. To not completely lose the work of the hair, you can use light pressure or a more washed-out black color.

We hope you found these steps useful, and you can apply the same strategy when drawing other animals. Next up, check out our other drawing tutorials, such as drawing a flower and drawing a pumpkin.