By Christine Hattingh
How to Draw a Pear
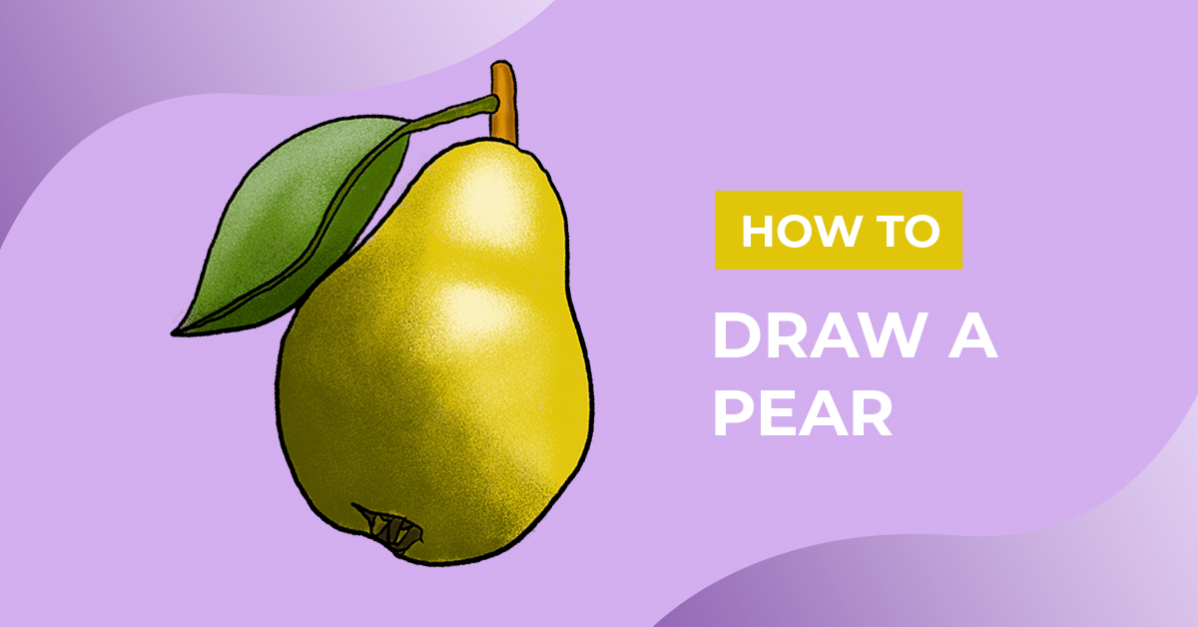
For today's fruity tutorial, we are going to show you how to draw a pear. Their easy shape and textured skin make them perfect for illustrating. Use your fruit clipart to make funny greeting cards, digital paper, or sublimated designs for shirts and tumblers.

To create your pear illustration, gather your drawing tools. Our drawing guides cater to everyone of all skill levels. So feel free to use traditional or digital mediums to draw your fruit.
Looking for more easy fruit drawing exercises like this one? Then check out these fun tutorials where you can learn how to draw a banana or draw a pineapple.
Step 1 - Make Rough Sketches of your Pear
With a sketching medium such as a pencil or light color medium, let’s make rough sketches of our pear. If you are using a light-colored medium to make your sketches, you can cover them up when lining and applying color to your drawing.
Create the Pear Shape
On the lower half of your drawing area, roughly sketch a big circle for the bottom of your pear sketch. You can draw the circle free-hand, or make use of QuickShape in Procreate.

Above your circle, draw an arched shape that is slightly narrower than the circle. Then, at the bottom of your circle, sketch a shallow indent.

Add the Stem and Leaf
On top of your arched shape, in the center, draw a vertical rectangle for the stem. Next, at the bottom by the shallow indent roughly sketch a few shapes to create the calyx.

Lastly, sketch the leaf attached to the stem of your pear. You can draw your leaf on either side and in any shape you like. We drew our leaf stem attached to the pear stem at the top and sketched a curved line on either side of it.

Step 2 - Outline your Pear Rough Sketch
Switch to an outline medium for this step and start tracing over the sketch lines. Use any dark or permanent medium to make your pear outlines. We used the rough inker from this versatile Procreate brush set to make our outlines.
First, trace around your whole pear shape, making sure to only include the shallow indent at the bottom.

Then, trace your leaf, stem, and calyx sketch lines. Once you have outlined your pear, clean up your drawing by removing your rough sketches.

Step 3 - Color in your Pear Outline
For our third and final step, get your colors ready. You can use brown, green, and yellow shades to color your pear clipart. Feel free to add solid colors or create shading with texture brushes.
Fill your design with your base colors first. Then, add shadows and highlights using the texture brushes.

You have reached the end of our drawing exercise, great job on your fruit drawing! Easily apply your drawing to your next project or add it to your digital library for future crafts.
We hope you had a great time following along and drawing your fruit clipart. See how to use DesignScape to make sublimation designs with your newly created pear art.