By Christine Hattingh
How to Draw a Spider
Today we have a very exciting drawing tutorial for you. We are going to show you how to draw a spider, particularly a Tarantula. Spiders come in all shapes and sizes, from a Wolf Spider to a delicate Daddy Long Legs. Ideal for seasonal projects such as Halloween, this arachnid is also great for educational purposes.

For your spider clipart, you will need some basic art supplies such as colored pencils. You are welcome to use Procreate, like we are, along with this ink brush set to outline your sketch.
Step 1 - Sketch the Base Shape of your Spider
When ready, begin your spider drawing by roughly sketching the body. We highly suggest using a medium that is easy to remove or light enough to cover up when adding color.
Create the Body Shape
We will first sketch the abdomen and carapace that make up the body shape. Sketch a vertical oval that is rounded at the top and narrow at the bottom. This will be the abdomen of the spider.
Then, right below the abdomen, sketch a circular shape for the carapace or head.

Add the Fangs and Spinnerets
At the bottom of the carapace, sketch two bumps for the fangs. Above the fangs make two small circles for the eyes. Then, at the top of the abdomen, sketch two short protruding shapes for the spinnerets. See our sketch below for a guideline.

Step 2 - Sketch the Legs of the Spider
With the main body sketched, we can move on to drawing the legs. We need to first plan the placement of the legs and knees, then add thickness to the design.
Plan the Leg and Knee Placement
Begin sketching the eight spider legs and two palps. Sketch lines for the legs starting at the carapace and going outward. Our spider’s second legs at the back of the body will have a bend in them, so the line will be shorter than the rest for perspective.
Then, at the very front, next to the fangs, sketch two short bent lines for the pedipalps. You are welcome to follow our image below as a guide for the leg and pedipalps placement.

Draw four to five short lines on each leg and palps for the knees or joints. We added five joints on the long leg lines and four joints on the shorter or bent lines as well as the palps.

Add Shape to the Legs
We need to give shape and thickness to our spider legs and palps. Looking at our image below, the legs and palps are a bit wider at the base of the body and rounded at the ends.

Step 3 - Outline the Rough Spider Sketch
For this step, we suggest using a dark permanent medium to define and outline the sketch. Outline the center body shape first, with the fangs, eyes, and spinnerets.

Next, outline the legs of your insect. Create the leg segments by making rectangular shapes to include the knees or joints. Once you have outlined the body and legs, go ahead and remove your rough sketches.

Step 4 - Add Color to your Spider
For our final step, we are going to add color and the final details to our insect clipart. Spiders, particularly tarantulas, can be brightly colored. So you can experiment with your chosen colors.
Add the Base Colors to your Insect Drawing
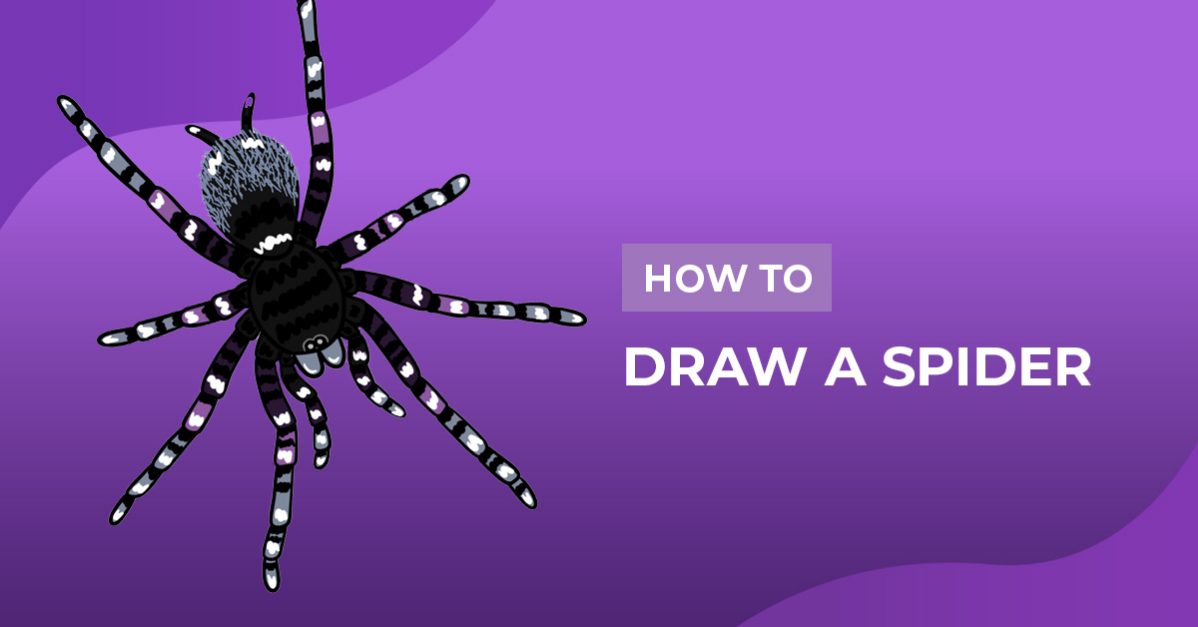
For our color palette, we chose three shades of purple, and grey. With dark purple, we applied color to the body, spinnerets, and the first segments of the legs.
On the second and third leg joints, we added purple and light purple. Gray was added to the remaining leg joints and fangs of our spider.

Add the Final Spider Details
Using black and white, we drew scribbles on the body and legs for the tarantula hair. We also gave our spider a hairy abdomen using the gray. Our spider drawing is now complete.

Fantastic job on drawing a realistic-looking spider! Use different colors and leg positions, then turn your design into a coloring page. We also have an excellent collection of spider coloring pages if you want ready-to-use illustrations.