By Christine Hattingh
How to Draw a Sunset
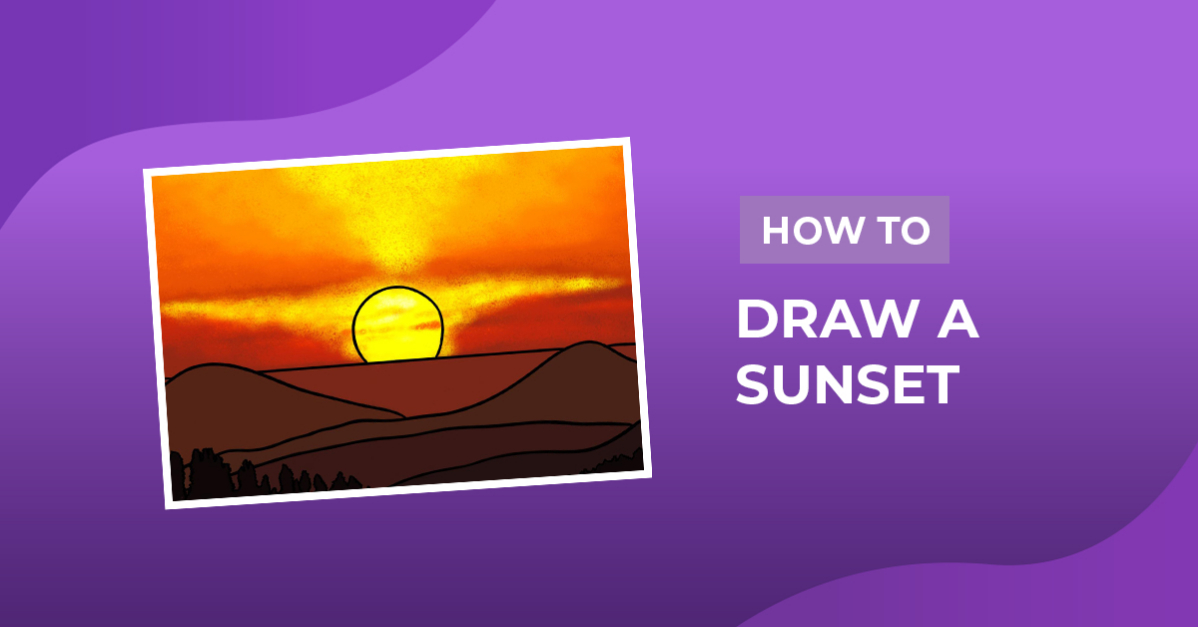
Today we are going to explore landscape art by showing you how to draw a sunset. In this drawing guide, we take you through the steps of creating a horizon and adding a landscape to make your very own sunset art. Print your sunset outline for a fun drawing activity for kids, or make custom postcards or sunset wall art to decorate your home.

To create your sunset drawing, you will need something to create the sketches, a permanent medium for the outline, and your sunset color palette. Our drawing tutorials can be used by anyone with any skill level. So, feel free to use pencils, poster paint, or even a digital drawing app during this drawing lesson.
Have you seen the amazing sunset clipart available on Design Bundles? Each design comes with personal and commercial use licenses!
Step 1 - Create a Horizon Line for your Sunset
Let's begin by creating a horizon line for your sunset drawing. A horizon line is where the ground meets the sky. You will need a sketching medium, ruler, or any object to draw straight lines.
Draw a line from the left to the right side of your drawing area. Above your horizon line, draw part of a circle for your setting sun.

Step 2 - Add Hills and Trees to your Sunset Drawing
Continue adding landscape elements like hills, and trees to complete your sunset sketch. To create our landscape we will add our hills first, sketching each section lower to create depth.
Add Your Hills
Create your landscape below your horizon by adding peaked hills that slightly overlap your horizon line. To make hills simply draw curved lines with bumps. Remember to draw your hills the full width of your drawing area.

Below these hills, sketch slightly curving lines to add more structure to your landscape. We added two additional lines for hills, where the last one ends at the bottom.

Add Your Trees Details
Along the bottom edge of your drawing area, add a tree line. Create a dense or compacted tree line by drawing jagged lines going up and down as we did below. Alternatively draw specific types of trees, such as pine trees.
You can easily add trees in Procreate with this tree stamp brush from the Plus Hub. Interested but not a Plus Member yet? Sign up for a 30-day FREE trial to the Gold Plus Membership and find out what amazing benefits await you.

Step 3 - Outline the Rough Sunset Sketches
With your permanent medium, trace over your rough sketches to create an outline drawing. Begin outlining your sunset illustration at the bottom, and then work your way up. This will make it easier to outline the rough sketch lines. Once your outlines are complete, clean up your drawing by removing your rough sketches.

Step 4 - Add Color to your Sunset
For your sunset color, we recommend using a warm color palette. This can be different hues of yellow, orange, and red. For your landscape, which includes the hills and trees, use different shades of brown.
Choose from a selection of ready-to-use Procreate color palettes for your brush library and have a range of colors for your projects.
We first added color to our landscape with the darkest shade of brown for the tree line. . As we moved up each hill we added lighter shades of brown to give an almost gradient appeal.

When you get to your horizon line, start adding hues of yellow to the sun with dark reds and oranges on the side.
As you progress to the sky area of your drawing, use lighter yellow and orange shades. Create a color bleed effect around your sun by using a texture brush or the Procreate smudge tool.
In just a few easy steps, you have created a beautiful sunset landscape. Experiment with different colors for unique and imaginative sunset crafts.