By Nadine Spires
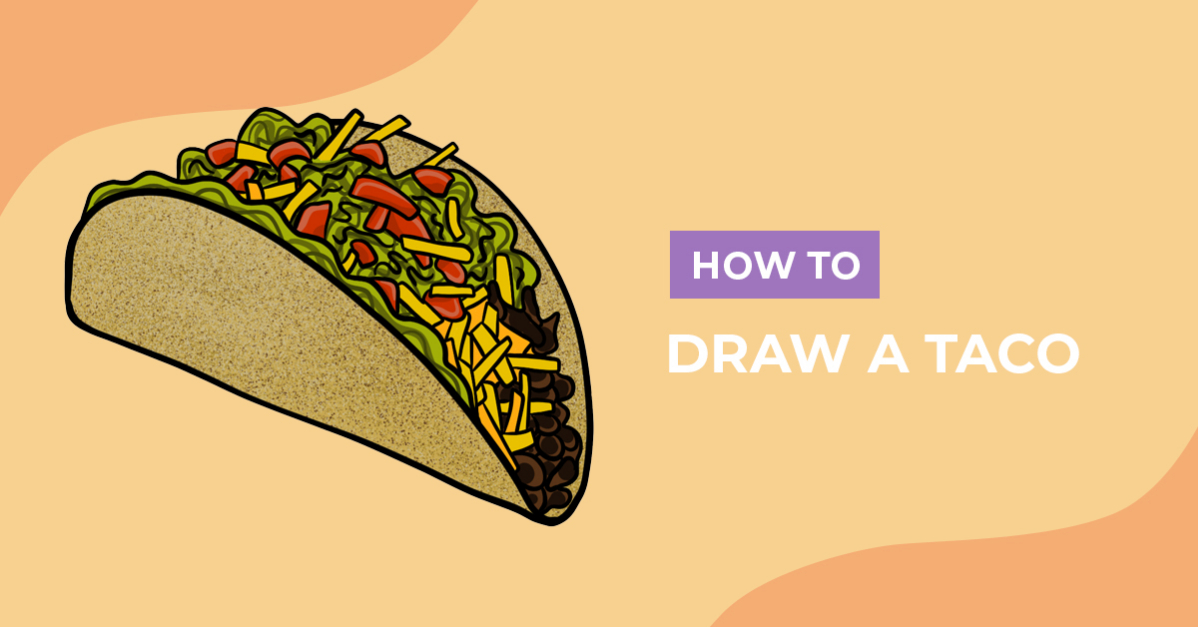
How to Draw a Taco
In today’s tutorial, you are going to learn how to draw a taco. With their crunchy shell, filled with delicious food, tons of tacos are eaten in the US every year. We love and celebrate this traditional Mexican dish, including on National Taco Day. This design is perfect for food stalls, event projects and even cool t-shirts.

Gather your supplies together, whether it's a set of markers, colored pencils or even Procreate. As we will be using Procreate, we will also be using a great selection of Procreate crayon brushes to add texture to our taco drawing.
Step 1 - Roughly Sketch the Taco Shell
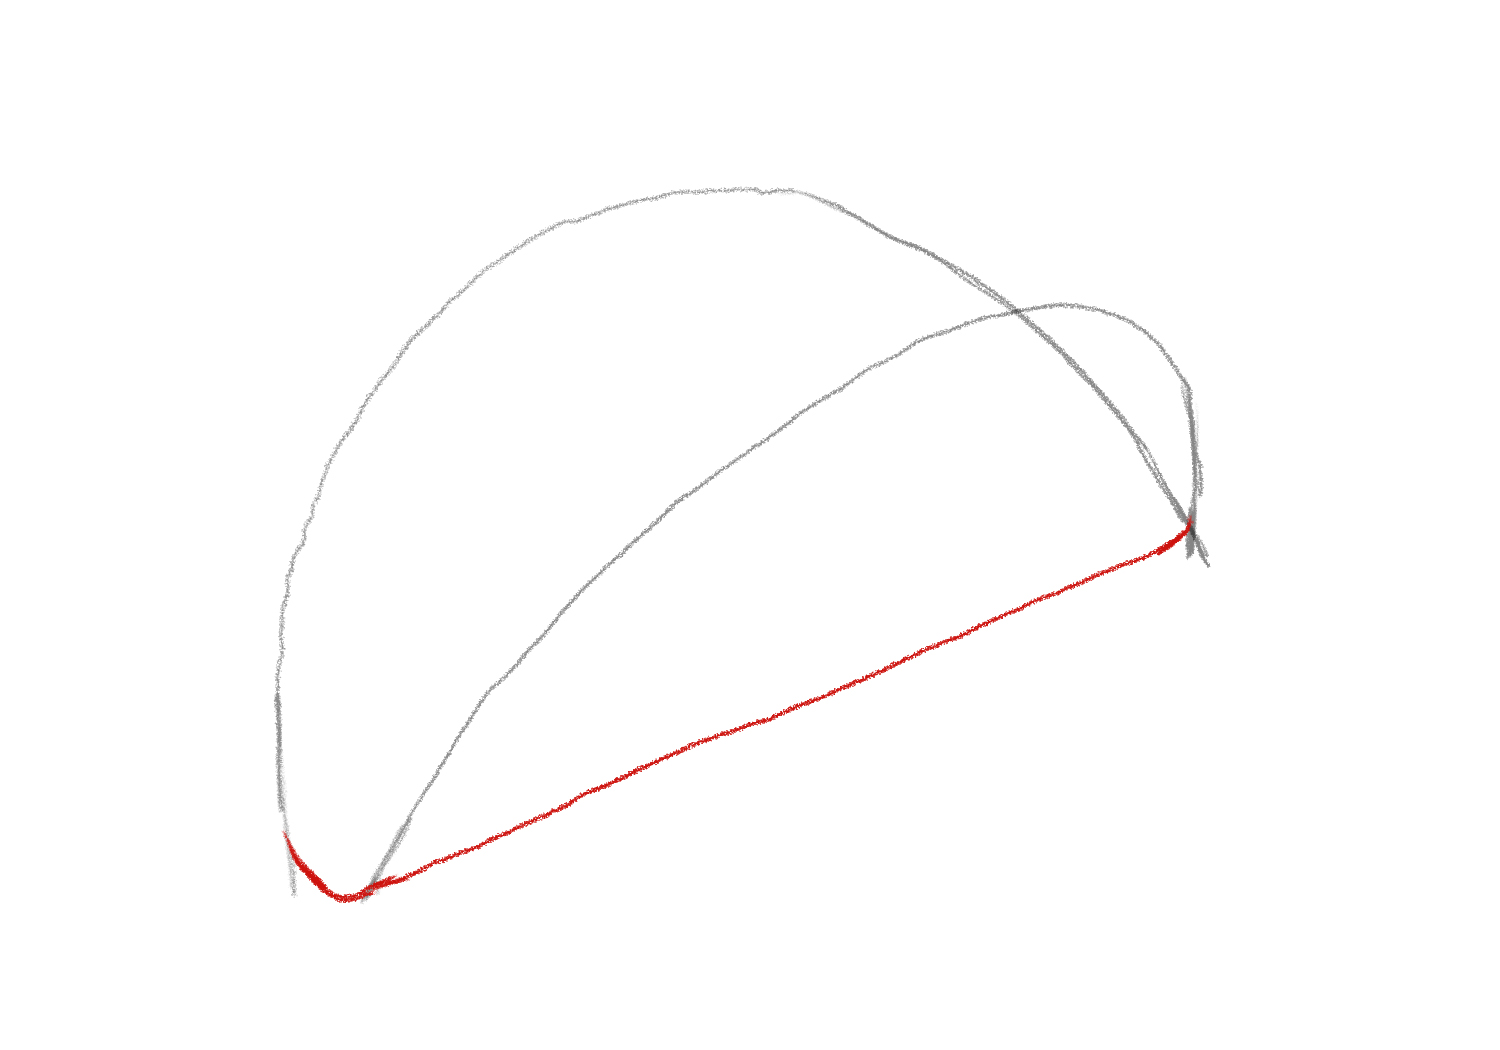
In our first step, we are going to roughly sketch the taco shell. For your sketches, we recommend using a medium that is easy to remove or can be hidden when adding color. Begin by sketching an arched line. Curve this line longer on the left side.

Next, make a curved line that is shorter and more rounded to the right of the first arch. Leave a gap between the left points and joining the right points. See our example sketch below.

Lastly, connect the two lines at the bottom with a curve. Your shell should have a flat base curving up slightly on the lower left to create an opening.
Step 2 - Roughly Sketch Your Taco Filling
Tacos can be filled with a variety of foods, so feel free to sketch any filling that you want. We will roughly sketch lettuce, tomatoes, shredded cheese, and ground beef.
Start by sketching the lettuce inside the shell, using a wavy line that follows the curve. Then, draw rough shapes on the top for the tomatoes pieces.

Next, on the left side opening, make some wavy and rounded lines for the ground beef filling. See our number three example sketch below. Following our number four sketch, add the shredded cheese on the top and side, using rounded rectangle shapes.

Step 3 - Outline Your Rough Taco Sketch
With the rough sketches complete, we can move on to outlining our taco drawing. Use a permanent medium such as a pen, or marker to outline your design. Remember to pay close attention to which sketch lines you want to include. Some overlapping lines you don't want to outline.
Outline The Shell
Begin by outlining the shell first. We left gaps for the bits of shredded cheese and lettuce filling that extend past the shell.

Outline the Filling of Your Taco
Next, we can begin creating the outlines for our filling. We recommend starting your outlines with the pieces that are easiest to see. Then, continue outlining your taco-filling piece by piece.

Add a few wavy lines between your tomatoes and shredded cheese to break up big gaps. Lastly, add circles to your ground meat for more definition. Once you are done outlining, go ahead and remove the rough sketches.

Step 4 - Add Color to Your Taco
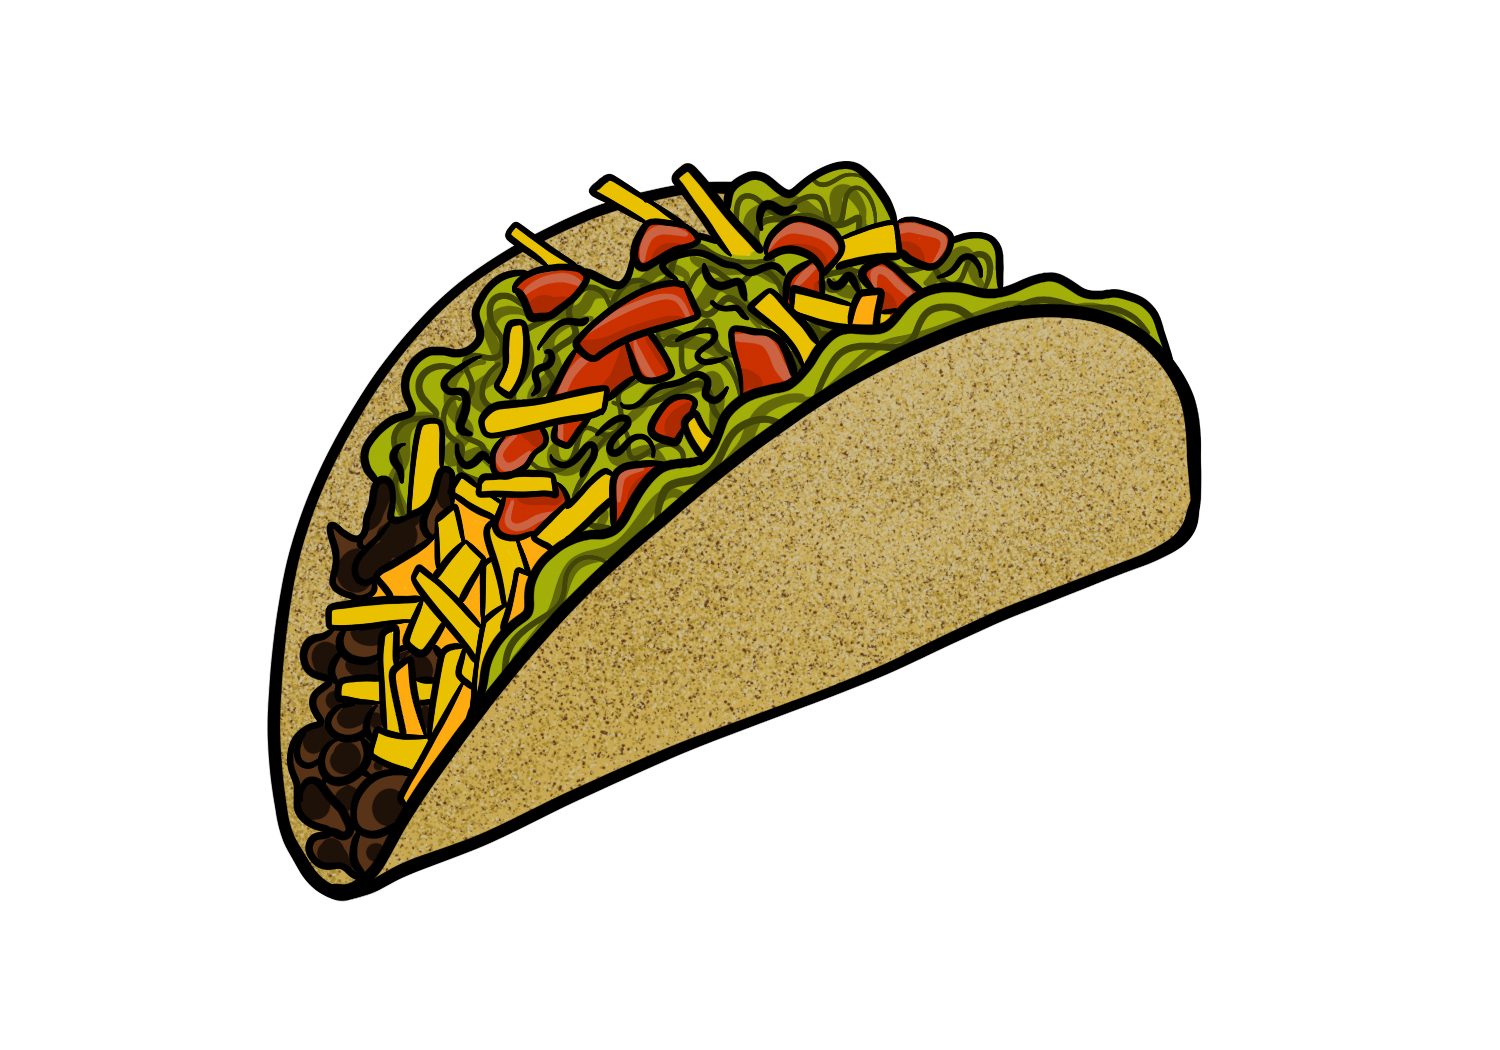
In our final step, we are going to add color to our drawing. For our base color palette, we are using beige, two shades of yellow, green, and red.
Add the Base Color
Starting with our taco shell, fill with the beige color. Then, add the red to the tomatoes, two shades of yellow to the shredded cheese, and brown to the ground beef. Lastly, use the green on the rest of your taco for the lettuce.

Create the Texture
We are going to create a speckled texture for the taco shell. You can create the texture by making small dots all over. You can also save time by using a FREE Procreate stamp brush.

Add the Final Details
Lastly, add the final details to your filling. For our taco, we used a darker shade of brown and made circles in our ground beef. Then, we added light and dark red lines to our tomatoes. Dark green wavy lines were created on our lettuce to give it depth.
Spect-taco-lar job on drawing your delicious taco. Why not change things up and add different fillings to make a feast? We hope you enjoyed following this drawing tutorial and drawing a taco with us.